- [2014/08/26追記] 続編を書きました。
前回の その①:考察編 の続きで、今回は その②:環境構築編 です。
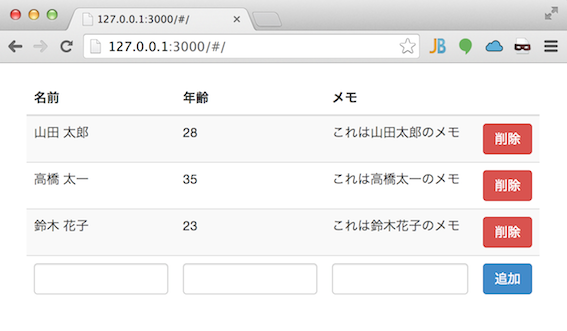
で、結果から言うと、手元では下の図のように、Rails × AnguraJS の連携が上手くできました^^
(その① で述べているとおり、Rails は APIに徹してレスポンスは全て JSON。Rails の public ディレクトリで AngularJS が動作しています。)
Rails 部分と AngularJS 部分が同一ソースツリーで管理できますし、フロントエンドは Grunt や Bower が使えますし、ぼっちでバックエンドとフロントエンドを作る場合にいいかも^^;
下図では、ローカル環境にて、Rails の 3000ポートで、AngularJSが動作しているのが分かるかと思います。
実装は手元では終わっているのですが、説明が長くなるので(次回の その③ で書きます)、今回は開発環境の構築について書きます。
前提
- 私の環境(Mac)は次のとおりです。
- OS:
Mac OS X 10.9.4 (Mavericks) - Ruby:
2.1.2 - Rails:
4.1.1
- OS:
- AngularJS 部分では、Yeoman と Yeoman の generator-angular を使います。
-
もしまだ入ってなければ、次のようにセットアップしてください。
$ npm install -g yo grunt-cli bower $ npm install -g generator-angular -
npm がはいってなければ、Homebrew で Node.js をインストールしてください。
$ brew install node -
Homebrew自体が入ってなければ、Homebrewの公式ページどおり、次のようにインストール
$ ruby -e "$(curl -fsSL https://raw.github.com/Homebrew/homebrew/go/install)"※ 執筆時とコマンド内容が変わってるかもしれないので、公式ページを確認ください。
※ 事前に Xcode のインストール(および起動して許諾への同意)が必要かも。他にコンパイル環境があれば不要だけど。
-
Railsアプリケーションの構築
-
rails new で新しくアプリケーションを作成します。
$ bundle exec rails new rails_angular_app --skip-bundle -T※ テストは Rspec を使いたいので、
-T(test::unitを組み込まない)を指定しています。
※ Rails では JSON だけ扱えればいいので、-S(sprocketsを組み込まない)や-J(javascriptを組み込まない)を指定してもいいかもしれない。試してないけど。
※ データベースはデフォルトのsqlite3が適用されます。 -
Gitで管理する場合は、ここで git init することをオススメします(Git管理しない場合は、ここは飛ばしてOKです)。
$ cd rails_angular_app $ git init-
また、Git管理の対象から外すものを定義しておきます。
rails_angular_app/.gitignore/vendor/bundle /.idea※ 後述のとおり、gemファイルはプロジェクト内にインストールしますが、Git管理は不要なので外す。
※ 私の場合は RubyMine を使っており、勝手に.ideaが作成されるのでこれも外す。 -
一旦、コミットしておきます。以降は、適切にGit管理してください。
 $ cd rails_angular_app
 $ git add .
 $ git commit -m "first commit"
-
-
使いそうな gem を
Gemfileに追記します。rails_angular_app/Gemfilegem 'better_errors', group: [:development, :test] gem 'binding_of_caller', group: [:development, :test] gem 'brakeman', group: :development gem 'rails_best_practices', group: :development gem 'pry-rails', group: [:development, :test] gem 'rspec-rails', group: [:development, :test] gem 'factory_girl_rails', group: [:development, :test] -
gem をインストールします。
 $ cd rails_angular_app
 $ bundle install --path vendor/bundle
※
vendor/bundleディレクトリに gem 郡がインストールされます。 -
Spring を有効にしておきます。
 $ cd rails_angular_app
 $ bundle exec spring binstub --all
※ 以降は
./bin/rails./bin/rakeの実行時に、自動で Spring が適用されます。 -
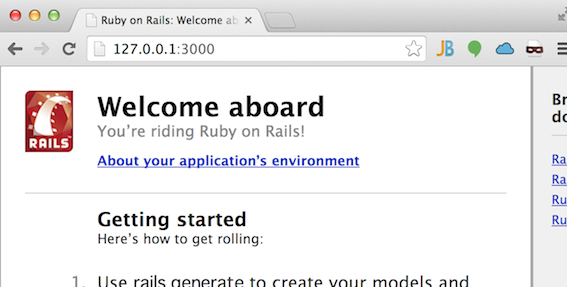
ここで動作確認。
$ cd rails_angular_app $ ./bin/rails s -
ブラウザで
http://127.0.0.1:3000にアクセスし、お馴染みの画面が表示されればOK。
AngularJSアプリケーションの構築
-
Rails環境内に、フロントエンド環境用のディレクトリを作成し、AngularJS のジェネレータを起動します。
 $ cd rails_angular_app
 $ mkdir front
 $ cd front
 $ yo angular --coffee --minsafe
※ どちらでもいいのですが、今回は CoffeeScript で書きます。
※ 最終的に minify したいので、--minsafeを指定。 -
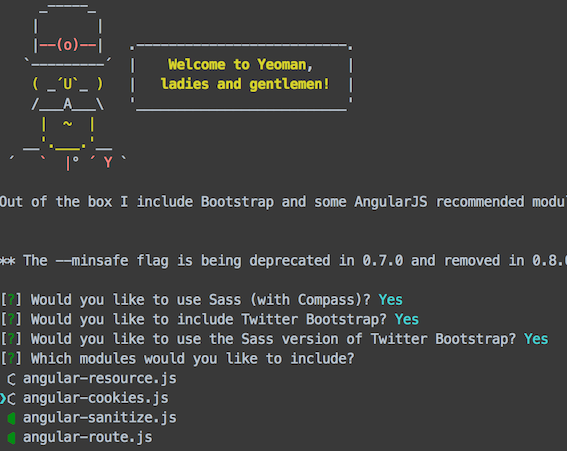
今回、選択したオプションは次のとおり。
-
Git関連の整備。管理が Rails 側と重複してしまうので、AngularJS 側の下記ファイルを削除します(Git管理しない場合は、ここは飛ばしてOKです)。
$ cd rails_angular_app $ rm front/.gitattributes $ rm front/.gitignore-
また、Git管理の対象から外すものを定義しておきます。
rails_angular_app/.gitignore/front/node_modules /front/.tmp /front/.sass-cache /front/app/bower_components
-
-
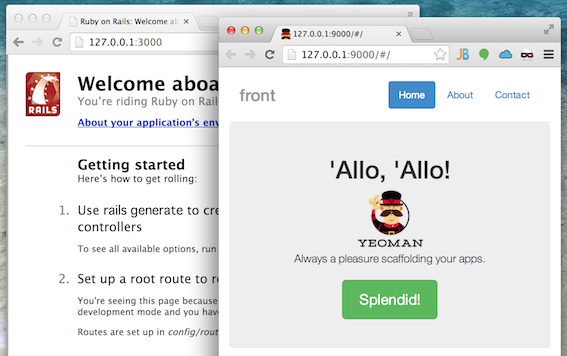
ここで動作確認。
$ cd rails_angular_app/front $ grunt serve -
ブラウザが自動で開きます。下図の右側のように表示されればOK。
-
以上で環境構築は完了です。
おわりに
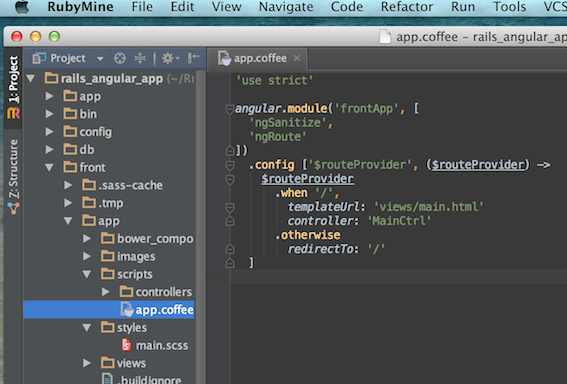
Rails と AnugularJS の開発環境を同一ソースツリーに構築しました。私は Rails 開発用の IDE に RubyMine を使っているのですが、フロントエンド系のファイルもいい感じに表示されてて良さげです。
実装編へ続く!
