参考サイト
[最新版]Xcode6 Version 6.0.1で確認済み!SwiftをHello Worldする方法
[Swift]Xcode Version 6.0.1で確認済み!Hello Worldの次に試したい!超簡単にwebViewを表示してみる
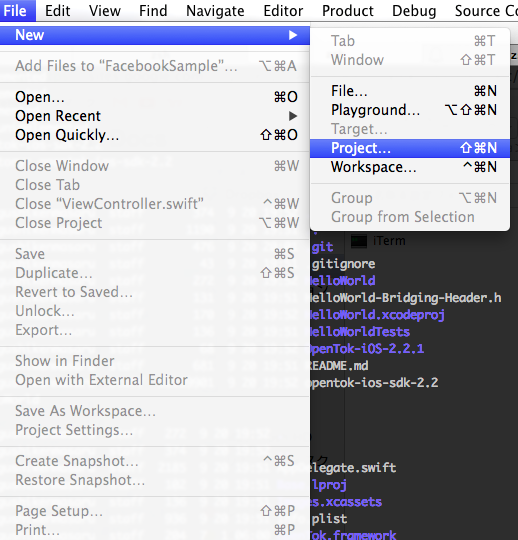
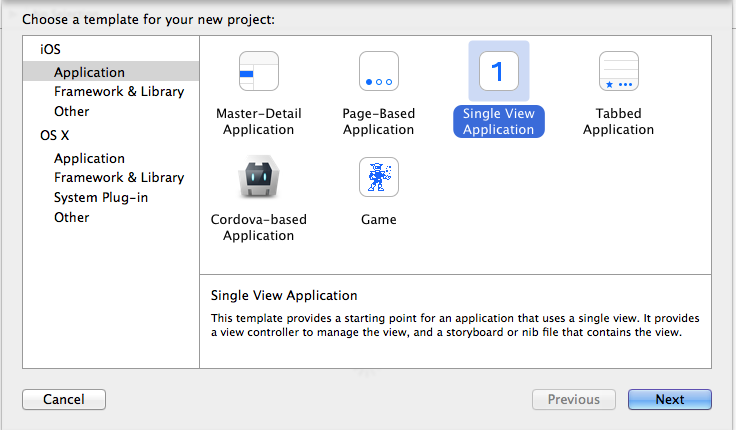
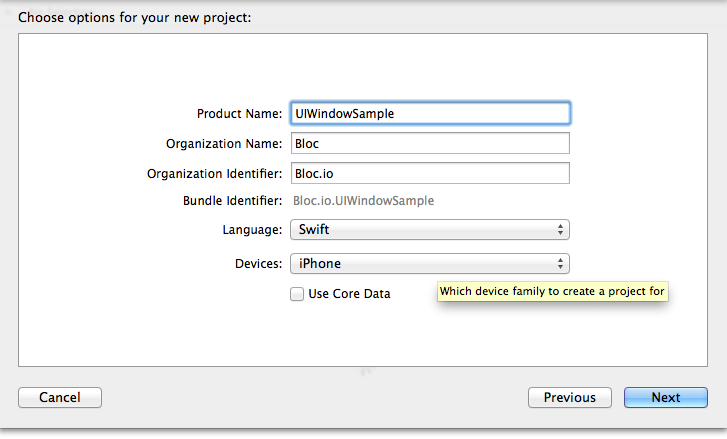
1・新規ProjectをSingleViewで作成する
ここではUIWindowSampleというプロジェクト名で作成しています。
2・view Controllerを以下のように修正する。(画面のボタンなどはソース内で生成しています。)
//
// ViewController.swift
// UIWindowSample
//
// Created by g08m11 on 2014/09/21.
// Copyright (c) 2014年 Bloc. All rights reserved.
//
import UIKit
class ViewController: UIViewController {
// 初期化(他のメソッドで汎用的に使うためにここに記述)
let myWindow = UIWindow()
let myWindowButton = UIButton()
let myButton = UIButton()
override func viewDidLoad() {
super.viewDidLoad()
// Do any additional setup after loading the view, typically from a nib.
// 背景に画像を設定する
// 画像は自分で用意。
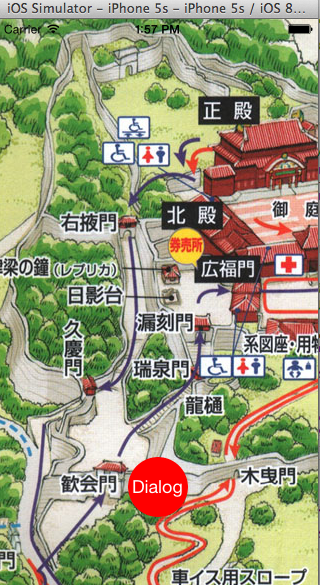
let myImage = UIImage(named: "syuri.jpg")
var myImageView = UIImageView()
myImageView.image = myImage
myImageView.frame = CGRectMake(0, 0, myImage.size.width, myImage.size.height)
self.view.addSubview(myImageView)
// ボタン生成
myButton.frame = CGRectMake(0, 0, 60, 60)
myButton.backgroundColor = UIColor.redColor()
myButton.setTitle("Dialog", forState: .Normal)
myButton.setTitleColor(UIColor.whiteColor(), forState: .Normal)
myButton.layer.masksToBounds = true
myButton.layer.cornerRadius = 30.0
myButton.layer.position = CGPointMake(self.view.frame.width/2, self.view.frame.height-100)
myButton.addTarget(self, action: "onClickMyButton:", forControlEvents: .TouchUpInside)
self.view.addSubview(myButton)
}
// Windowの自作
func makeMyWindow(){
// 背景を白に設定
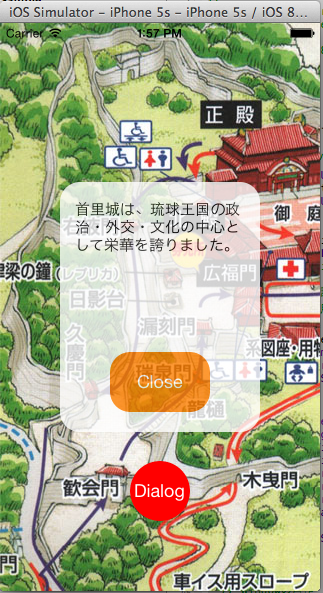
myWindow.backgroundColor = UIColor.whiteColor()
myWindow.frame = CGRectMake(0, 0, 200, 250)
myWindow.layer.position = CGPointMake(self.view.frame.width/2, self.view.frame.height/2)
myWindow.alpha = 0.8
myWindow.layer.cornerRadius = 20
// myWindowをkeyWindowにする
myWindow.makeKeyWindow()
// windowを表示する
self.myWindow.makeKeyAndVisible()
// ボタン生成
myWindowButton.frame = CGRectMake(0, 0, 100, 60)
myWindowButton.backgroundColor = UIColor.orangeColor()
myWindowButton.setTitle("Close", forState: .Normal)
myWindowButton.setTitleColor(UIColor.whiteColor(), forState: .Normal)
myWindowButton.layer.masksToBounds = true
myWindowButton.layer.cornerRadius = 20.0
myWindowButton.layer.position = CGPointMake(self.myWindow.frame.width/2, self.myWindow.frame.height-50)
myWindowButton.addTarget(self, action: "onClickMyButton:", forControlEvents: .TouchUpInside)
self.myWindow.addSubview(myWindowButton)
// TextView生成
// 表示したい文言の変更は「myTextView.text」を変更
let myTextView: UITextView = UITextView(frame: CGRectMake(10, 10, self.myWindow.frame.width - 20, 150))
myTextView.backgroundColor = UIColor.clearColor()
myTextView.text = "首里城は、琉球王国の政治・外交・文化の中心として栄華を誇りました。"
myTextView.font = UIFont.systemFontOfSize(CGFloat(15))
myTextView.textColor = UIColor.blackColor()
myTextView.textAlignment = NSTextAlignment.Left
myTextView.editable = false
self.myWindow.addSubview(myTextView)
}
/*
ボタンイベント
*/
func onClickMyButton(sender: UIButton) {
if sender == myWindowButton {
myWindow.hidden = true
} else if sender == myButton {
makeMyWindow()
}
}
override func didReceiveMemoryWarning() {
super.didReceiveMemoryWarning()
}
}
point
- ボタンなどを全部コード内に生成
- ボタンの挙動は「onClickMyButton」メソッドで行う。
3・UIWindowの表示、非表示が出来れば成功