目的
【Windows7】VirtualBox + Vagrant + Ruby + Rails4 開発環境の構築【初心者必見】
でsqliteを使用したサンプルアプリの起動までを記述しました。
今回はDBにmysqlを使用したサンプルアプリの起動までを記載します。
VirtualBox + Vagrant + Ruby + Rails4の環境構築までは前回の記事で完了していることを前提とします。
80番ポートの転送設定
仮想マシンで起動したApacheへホストマシン(Windows)からブラウザアクセスする場合は、あらかじめ80番ポートをホスト側の80ポートに転送する設定をしておきます。
ホストマシン(Windows)のC:\src\work\CentOS6.5にある、「Vagrantfile」を編集します。
※仮想マシンが起動中の場合はvagrant haltで停止しておいてください。
  # Create a forwarded port mapping which allows access to a specific port
  # within the machine from a port on the host machine. In the example below,
  # accessing "localhost:8080" will access port 80 on the guest machine.
  # config.vm.network "forwarded_port", guest: 80, host: 8080
  config.vm.network "forwarded_port", guest: 80, host: 80
編集が終わったらvagrant upで仮想マシンを起動します。
リポジトリのアップデート
ここからの作業は仮想マシンとSSH接続したターミナルでの作業となります。
以下はCentOSにPHP5.5とphpMyAdminをインストールを参考にさせていだきました。
> sudo yum -y update
> sudo yum -y install http://pkgs.repoforge.org/rpmforge-release/rpmforge-release-0.5.3-1.el6.rf.x86_64.rpm
> sudo sed -i -e "s/enabled = 1/enabled = 0/g" /etc/yum.repos.d/rpmforge.repo
> sudo rpm -Uvh http://dl.fedoraproject.org/pub/epel/6/x86_64/epel-release-6-8.noarch.rpm
> sudo sed -i -e "s/enabled = 1/enabled = 0/g" /etc/yum.repos.d/epel.repo
> sudo rpm -Uvh http://rpms.famillecollet.com/enterprise/remi-release-6.rpm
> sudo sed -i -e "s/enabled = 1/enabled = 0/g" /etc/yum.repos.d/remi.repo
> sudo yum -y update --enablerepo=rpmforge,epel,remi
Apache、MySQL、PHPのインストール
> sudo yum -y --enablerepo=rpmforge,epel,remi install httpd mysql-server mysql-devel php php-mbstring php-mysqli
MySQLの設定
> sudo /etc/init.d/mysqld start
> sudo chkconfig mysqld on
Apacheの設定
/etc/httpd/conf/httpd.confの下記を編集します。
# If your host doesn't have a registered DNS name, enter its IP address here.
# You will have to access it by its address anyway, and this will make
# redirections work in a sensible way.
#
# ServerName www.example.com:80
ServerName localhost:80
編集後に下記を実行します。
> sudo /etc/init.d/httpd start
> sudo chkconfig httpd on
phpMyAdminのインストール
wgetを使用するのでインストールします(インストール済みの場合は省略してください)
> sudo yum -y install wget
phpMyAdminをダウンロードします。
ダウンロードサイトはココです。
今回は最新のphpMyAdmin 4.2.11を使用します。
> cd
> wget http://sourceforge.net/projects/phpmyadmin/files/phpMyAdmin/4.2.11/phpMyAdmin-4.2.11-all-languages.tar.gz
インストールします。
> cd /var/www/html
> sudo tar zxvf ~/phpMyAdmin-4.2.11-all-languages.tar.gz
> sudo mv phpMyAdmin-4.2.11-all-languages phpMyAdmin
> cd phpMyAdmin
> sudo cp config.sample.inc.php config.inc.php
↓元アーカイブが不要な場合
> rm ~/phpMyAdmin-4.2.11-all-languages.tar.gz
rootのパスワードなしで使用できるように設定します。
※通常はrootのパスワードなしで運用するのはセキュリティ上問題がありますが、今回はローカル開発を目的とした仮想マシン環境なのでrootのパスワードなしの運用とします。
/var/www/html/phpMyAdmin/config.inc.phpに下記の変更をします。
//$cfg['Servers'][$i]['AllowNoPassword'] = false;
$cfg['Servers'][$i]['AllowNoPassword'] = true;
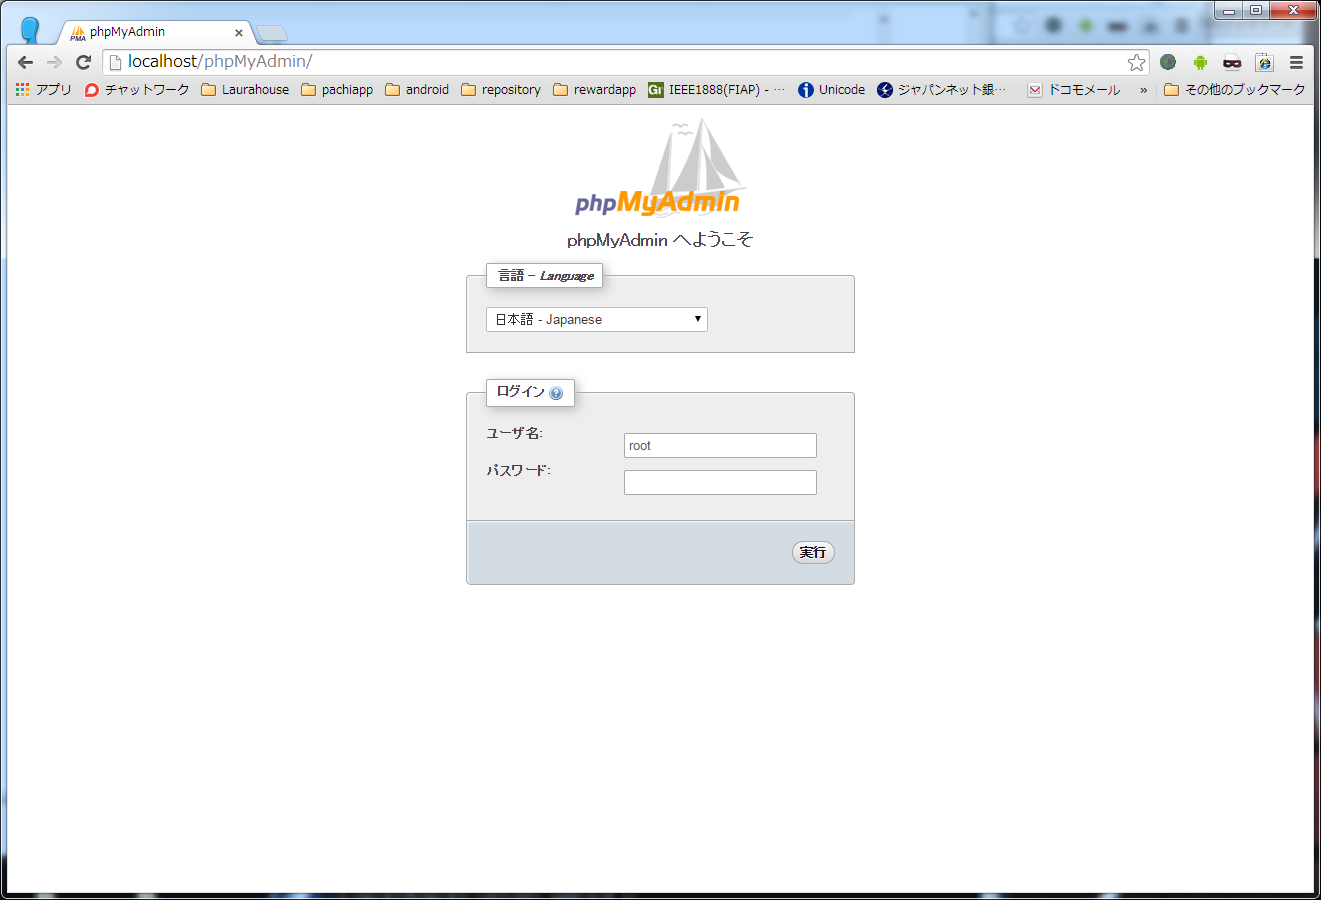
設定が終わったらホストマシンのブラウザで
http://localhost/phpMyAdmin/
にアクセスします。
サンプルアプリの作成
DBにmysqlを使用したサンプルアプリを共有フォルダに作成してみましょう。
> cd /vagrant
> rails new mysample --database=mysql --skip-bundle
> cd mysample
> bundle install
> bundle exec rake db:create
> rails s
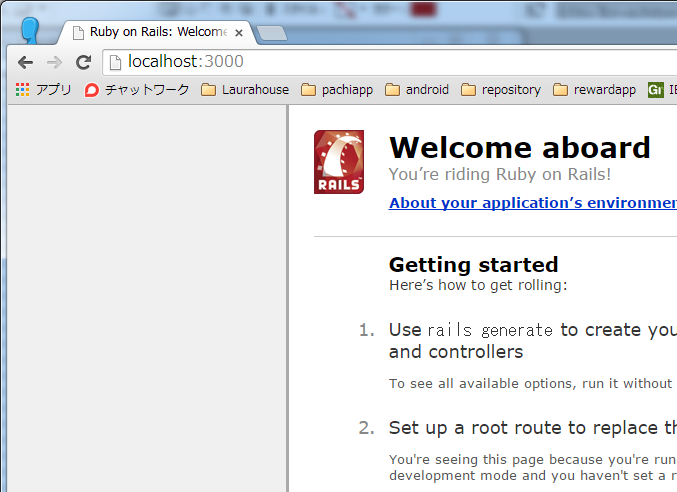
実行したらホストマシンのブラウザで
http://localhost:3000/
にアクセスします。
この画面が表示されれば成功です。
おまけ UNIX socketの問題
mysqlを使用したRailsアプリをMacとCentOSような複数のプラットフォームで共同で開発している場合、
Railsアプリやrailsコマンド実行時に下記のエラーが発生する場合があります。
Mysql2::Error: Can't connect to local MySQL server through socket '/tmp/mysql.sock' (2)
これはmysqldのUNIX socketのPATHが異なることが原因です。
UNIX socket
Mac : /tmp/mysql.sock
CentOS : /var/lib/mysql/mysql.sock
対処する方法としては、database.ymlを下記のように編集します。
<%
socket = ["/tmp/mysqld.sock",
          "/tmp/mysql.sock",
          "/var/run/mysqld/mysqld.sock",
          "/var/lib/mysql/mysql.sock"].detect{|socket| File.exist?(socket)}
%>

default: &default
  adapter: mysql2
  encoding: utf8
  pool: 5
  username: root
  password:
  socket: <%= socket %>
以下省略
関連エントリ
【Windows7】VirtualBox + Vagrant + Ruby + Rails4 開発環境の構築【初心者必見】
【Windows7】VirtualBox + Vagrant + Ruby + Rails4 開発環境の構築【RubyMine編】
【Yosemite】Mac OSX 10.10 Yosemite に Ruby + Rails4 開発環境の構築【初心者必見】
【Yosemite】Mac OSX 10.10 Yosemite にAMP環境の構築【初心者必見】【続編】
筆者紹介
札幌圏でリモート開発、在宅勤務を中心としたシステム開発の会社を立ち上げました!
ローラハウス

