httpsのページを作るには証明書を置いたりしないといけないので
ちょっとめんどくさかったりします
Github pagesはSSLに対応しているので、簡単に作成することが可能です
Github Pagesではユーザー用とプロジェクト(リポジトリ)用の2種類が作れます
ユーザー用
ユーザー用のページはアカウントにつき1つ作れます
リポジトリ作成
(username).github.ioというリポジトリを作成します
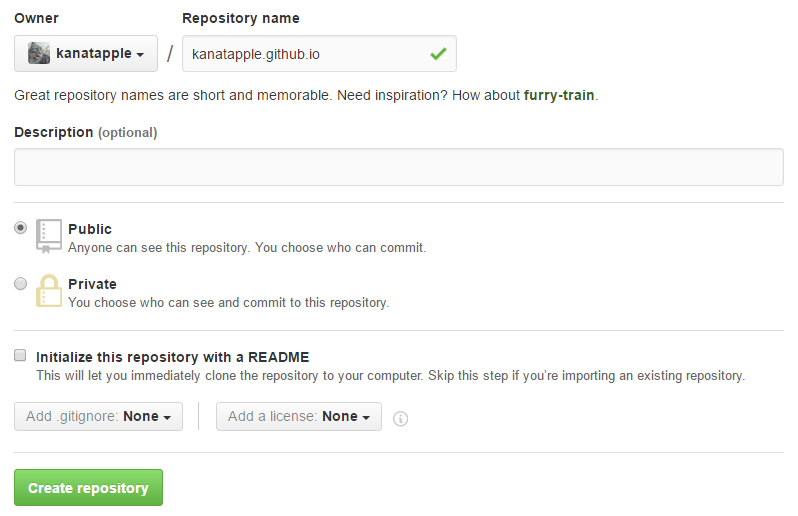
READMEファイルは必要ないので、「Initialize this repository with a README」には
チェックはいれません
ファイル配置
次に、masterブランチに配置したいHTMLファイルをコミットします
↓こんな感じで
[https://github.com/kanatapple/kanatapple.github.io]
アクセスしてみる
ユーザー用のページは(username).github.ioというURLになるのでアクセスしてみます
[https://kanatapple.github.io/]
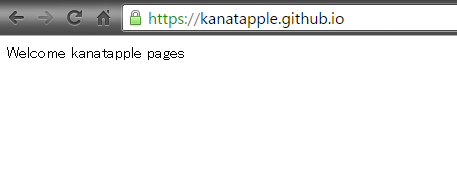
ちゃんとできてますね
プロジェクト用
プロジェクト用はリポジトリごとに作れます
リポジトリ作成
github-pages-sampleというリポジトリを作ってみます
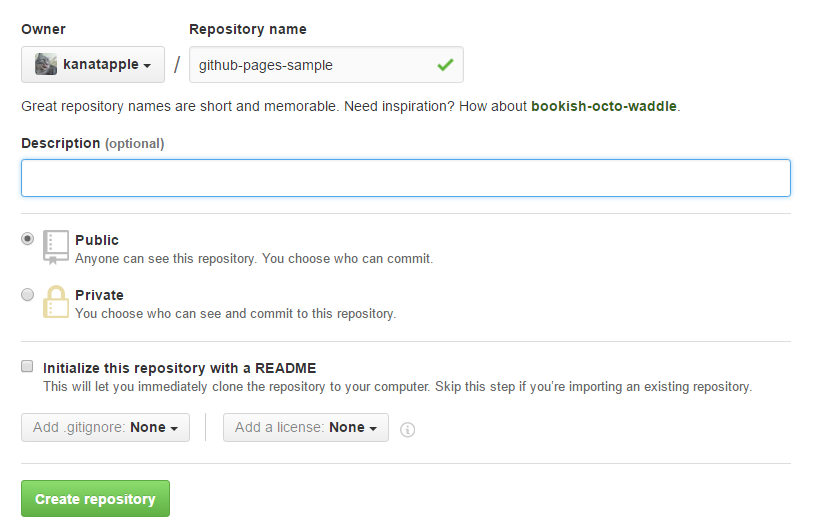
READMEファイルについては「ユーザー用」と同様
ファイル配置
プロジェクト用では「gh-pages」というブランチにファイルを配置します
↓こんな感じで
[https://github.com/kanatapple/github-pages-sample]
masterブランチは必要ないので、作ってしまった場合は消してもOKです
2016/08/18からmasterブランチでもできるようになったようです
2016年新機能! GitHubのmasterブランチをWebページとして公開する手順
アクセスしてみる
プロジェクト用のページは(username).github.io/リポジトリ名というURLになるのでアクセスしてみます
[https://kanatapple.github.io/github-pages-sample/]
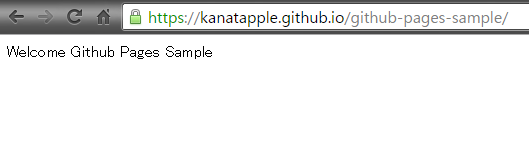
ちゃんとできてますね
まとめ
- ユーザー用サイトは
(username).github.ioというリポジトリのmasterブランチにファイルを配置する。URLはhttps://(username).github.io - プロジェクト用サイトは
(username).github.io/リポジトリ名というリポジトリのgh-pagesブランチにファイルを配置する。URLはhttps://(username).github.io/リポジトリ名
Service Workerなどhttpsでの接続が必要なものも、Github Pagesを使えば簡単に検証できますね