Re:dash のPostgreSQL へ CSVファイルを Digdag * Embulk 経由で登録する
0.はじめに
こちらはre:dash Advent Calendar 2016の22日目の記事です。
Advent Calendarについて出遅れたと思っていたところ、、、
こちらはまだ空き枠がありましたので参加しました。
Mac上で以下のような感じで
CSVファイルを digdag -> embulk -> (Re:dashの)PostgreSQLへ格納してRe:dashから見るところまでを記事にします。
デモや素振り用などの参考にして頂ければと思います。

以下は今回本記事では取り扱いませんが以前書きましたこちらの記事や、こちらの記事を参考に応用するとChatOps的な感じでデータ登録が可能です。

1.環境
- OSX Yosemite
- Docker version 1.13.0-rc3, build 4d92237
- docker-compose version 1.9.0, build 2585387
以降は今回インストールするもの(2016/12/21時点)
- java version "1.8.0_111"
- Digdag 0.9.1
- embulk 0.8.15
- embulk-output-postgresql (0.7.2, 0.6.3)
- Re:dash 0.11.1+b2095
- nginx/1.9.10
- Redis server v=2.8.23
- postgres (PostgreSQL) 9.3.14
2.各種インストール
2.1.Java8のインストール
DigdagとEmbulkはJava のインストールが必要です。
macの場合はこちらからダウンロードしてインストールをしてください。
2.2.Didagのインストール
http://docs.digdag.io/getting_started.html#downloading-the-latest-version
より引用
1. Downloading the latest version
Digdag is a single executable file. You can install the file to ~/bin using curl command as following:
$ curl -o ~/bin/digdag --create-dirs -L "https://dl.digdag.io/digdag-latest"
$ chmod +x ~/bin/digdag
$ echo 'export PATH="$HOME/bin:$PATH"' >> ~/.bashrc
Please reopen your terminal window or type following command so that the change of PATH takes effect.
$ source ~/.bashrc
なお、macなので.bashrcから.bash_profileへ変更
curl -o ~/bin/digdag --create-dirs -L "https://dl.digdag.io/digdag-latest"
chmod +x ~/bin/digdag
echo 'export PATH="$HOME/bin:$PATH"' >> ~/.bash_profile
source ~/.bash_profile
2.3.Embulkのインストール
https://github.com/embulk/embulk#linux--mac--bsd
より引用
curl --create-dirs -o ~/.embulk/bin/embulk -L "http://dl.embulk.org/embulk-latest.jar"
chmod +x ~/.embulk/bin/embulk
echo 'export PATH="$HOME/.embulk/bin:$PATH"' >> ~/.bashrc
source ~/.bashrc
Digdagで既に~/bin/へパスを通しているので
Digdagに合わせて格納先を~/bin/配下にコピーするように変更
curl --create-dirs -o ~/bin/embulk -L "http://dl.embulk.org/embulk-latest.jar"
chmod +x ~/bin/embulk
# digdag でパスを通しているので以下2行は不要
# echo 'export PATH="$HOME/bin:$PATH"' >> ~/.bash_profile
# source ~/.bash_profile

# 今回利用するPluginをインストール
embulk gem install embulk-output-postgresql
2.4.Re:dashのインストール
http://docs.redash.io/en/latest/setup.html#docker-compose
より引用
Docker Compose
1.Make sure you have a Docker machine up and running.
2.Make sure your current working directory is the root of this GitHub repository.
3.Run docker-compose up postgres.
4.Run ./setup/docker/create_database.sh. This will access the postgres container and set up the database.
5.Run docker-compose up
6.Run docker-machine ls, take note of the ip for the Docker machine you are using, and open the web browser.
7.Visit that Docker machine IP at port 80, and you should see a Re:dash login screen.Now proceed to “Setup”.
Docker for mac を利用してインストールしますが、公式のままだとmac特有問題にあたりますので以下手順で行います。
詳細は以前書いた「Re:dash」を「Docker for Mac」上で動かしてみたを参照してください。
# 1.git clone と ディレクトリ移動
git clone https://github.com/getredash/redash.git
cd redash/

# 2.docker-compose-example.ymlより、docker-compose.ymlを作成
#   Dockerホスト上のPostgreSQLのデータ置き場を/opt/postgres-dataからカレントディレクトリ配下./postgres-dataへ変更(環境により適宜変更してください)
#   sedを使わずに `mv docker-compose-example.yml docker-compose.yml`して `vi docker-compose.yml`でもOK
#  なお、macではなく、Linuxであれば`mv docker-compose-example.yml docker-compose.yml`だけで問題と思います。
cat docker-compose-example.yml | sed -e "s/\/opt\/postgres-data/\.\/postgres-data/" > docker-compose.yml
また今回は
embulkからPostgreSQLコンテナの5432portへアクセス可能なように
docker-compose.ymlのpostgres部分へports: - "5432:5432"の設定を追記します。
これをやっておかないと後半のdigdag/embulk部分でエラーとなります。
redash:
  image: redash/redash:latest
  ports:
    - "5000:5000"
  links:
    - redis
    - postgres
  environment:
    REDASH_LOG_LEVEL: "INFO"
    REDASH_REDIS_URL: "redis://redis:6379/0"
    REDASH_DATABASE_URL: "postgresql://postgres@postgres/postgres"
    REDASH_COOKIE_SECRET: veryverysecret
redis:
  image: redis:2.8
postgres:
  image: postgres:9.3
  ports:
    - "5432:5432"
  volumes:
    - ./postgres-data:/var/lib/postgresql/data
redash-nginx:
  image: redash/nginx:latest
  ports:
    - "80:80"
  links:
    - redash
# 3.`-d` オプション(バックグラウンド起動)をつけてPostgreSQLだけ起動
docker-compose up -d postgres

# 4.create_database.shの実行
./setup/docker/create_database.sh

# 5. 残りも`-d` オプション(バックグラウンド起動)をつけて起動
docker-compose up -d
3.各種設定
3.1.Digdag
以下のファイルを準備します。
timezone: Asia/Tokyo

_export:
  workflow_name: "csv2postgres"
  start_msg:     "digdag ${workflow_name} start"
  end_msg:       "digdag ${workflow_name} finish"
  error_msg:     "digdag ${workflow_name} error"

+strat:
  echo>: ${start_msg}

# make config file for embulk
+guess_embulk:
  sh>: embulk guess ./guess.yml -o ./config.yml

+csv_to_db:
  embulk>: ./config.yml

## This is for _error confirmation.
## +fail:
##  fail>: "fail!"

+end:
  echo>: ${end_msg}

_error:
  echo>: ${error_msg}
3.2.Embulk
元データのCSVファイル(今回は./data/org_sample.csv)とguess.ymlを準備します。
EmbulkのGuessを使って、csvファイルからPostgresqlへ入れる際のConfigファイルを自動生成します。
yyyy/mm/dd,user,item,cost
2016/12/21,user01,AAA,2000
2016/12/22,user02,BBB,100
2016/12/23,user03,AAA,2000
2016/12/24,user01,BBB,100
Guess機能で自動生成させるために以下のようにInのparserのcolumns:配下を空行にします。
inのcsv-parser-plugin部分の詳細設定についてはこちらを
http://www.embulk.org/docs/built-in.html#csv-parser-plugin
なお、path_prefix:については、対象ファイル群の先頭の一部文字列の指定が必要です。
outのembulk-output-postgresql部分の詳細設定についてはこちらをご確認ください。
http://www.rubydoc.info/gems/embulk-output-postgresql/0.7.2
table: が今回作成されるテーブル名となります。
PostgreSQLのDB名等はdocker-composeでインストールした際のデフォルト値を利用しています。デフォルトから変更している場合は自環境に合わせた設定をお願いします。
in:
  type: file
  path_prefix: ./data/org_
  parser:
    charset: UTF-8
    newline: CRLF
    type: csv
    delimiter: ','
    quote: '"'
    escape: '"'
    trim_if_not_quoted: false
    skip_header_lines: 1
    allow_extra_columns: false
    allow_optional_columns: false
    columns:
out:
  type: postgresql
  default_timezone: Japan
  host: localhost
  user: postgres
  password: postgres
  database: postgres
  table: sampledata
  options: {loglevel: 2}
  mode: insert_direct
3.3.Re:dashのDataSource設定
Re:dashと一緒にインストールしたPostgreSQLをそのまま利用するためにDATASOURCESを以下にように設定します。
なお、PostgreSQLのDB名等はdocker-composeでインストールした際のデフォルト値を利用しています。
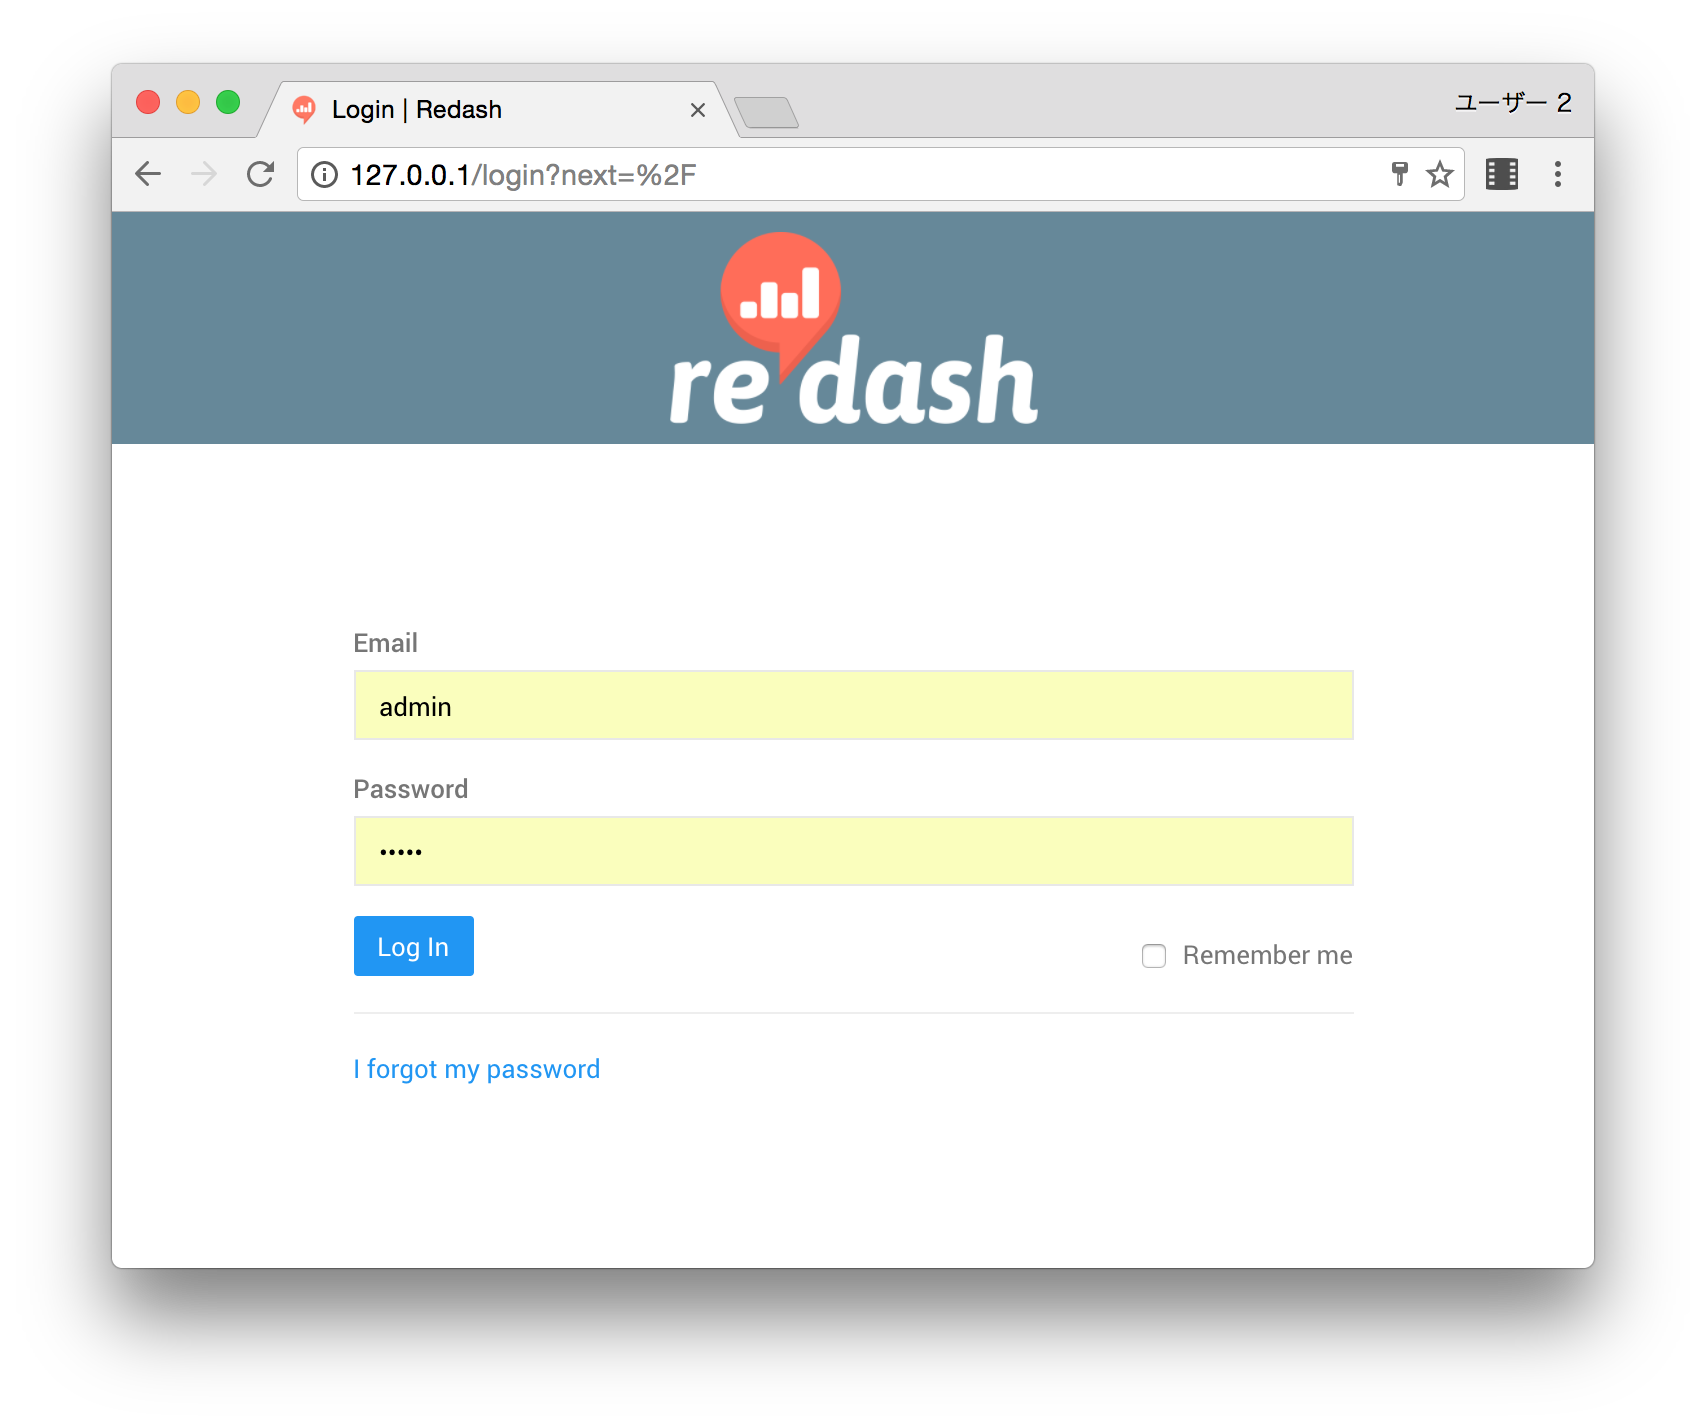
ブラウザで http://127.0.0.1/ ログイン画面へアクセスし
admin/admin(初期値)でログインします。
ログイン後に右上のDBアイコンをクリックして
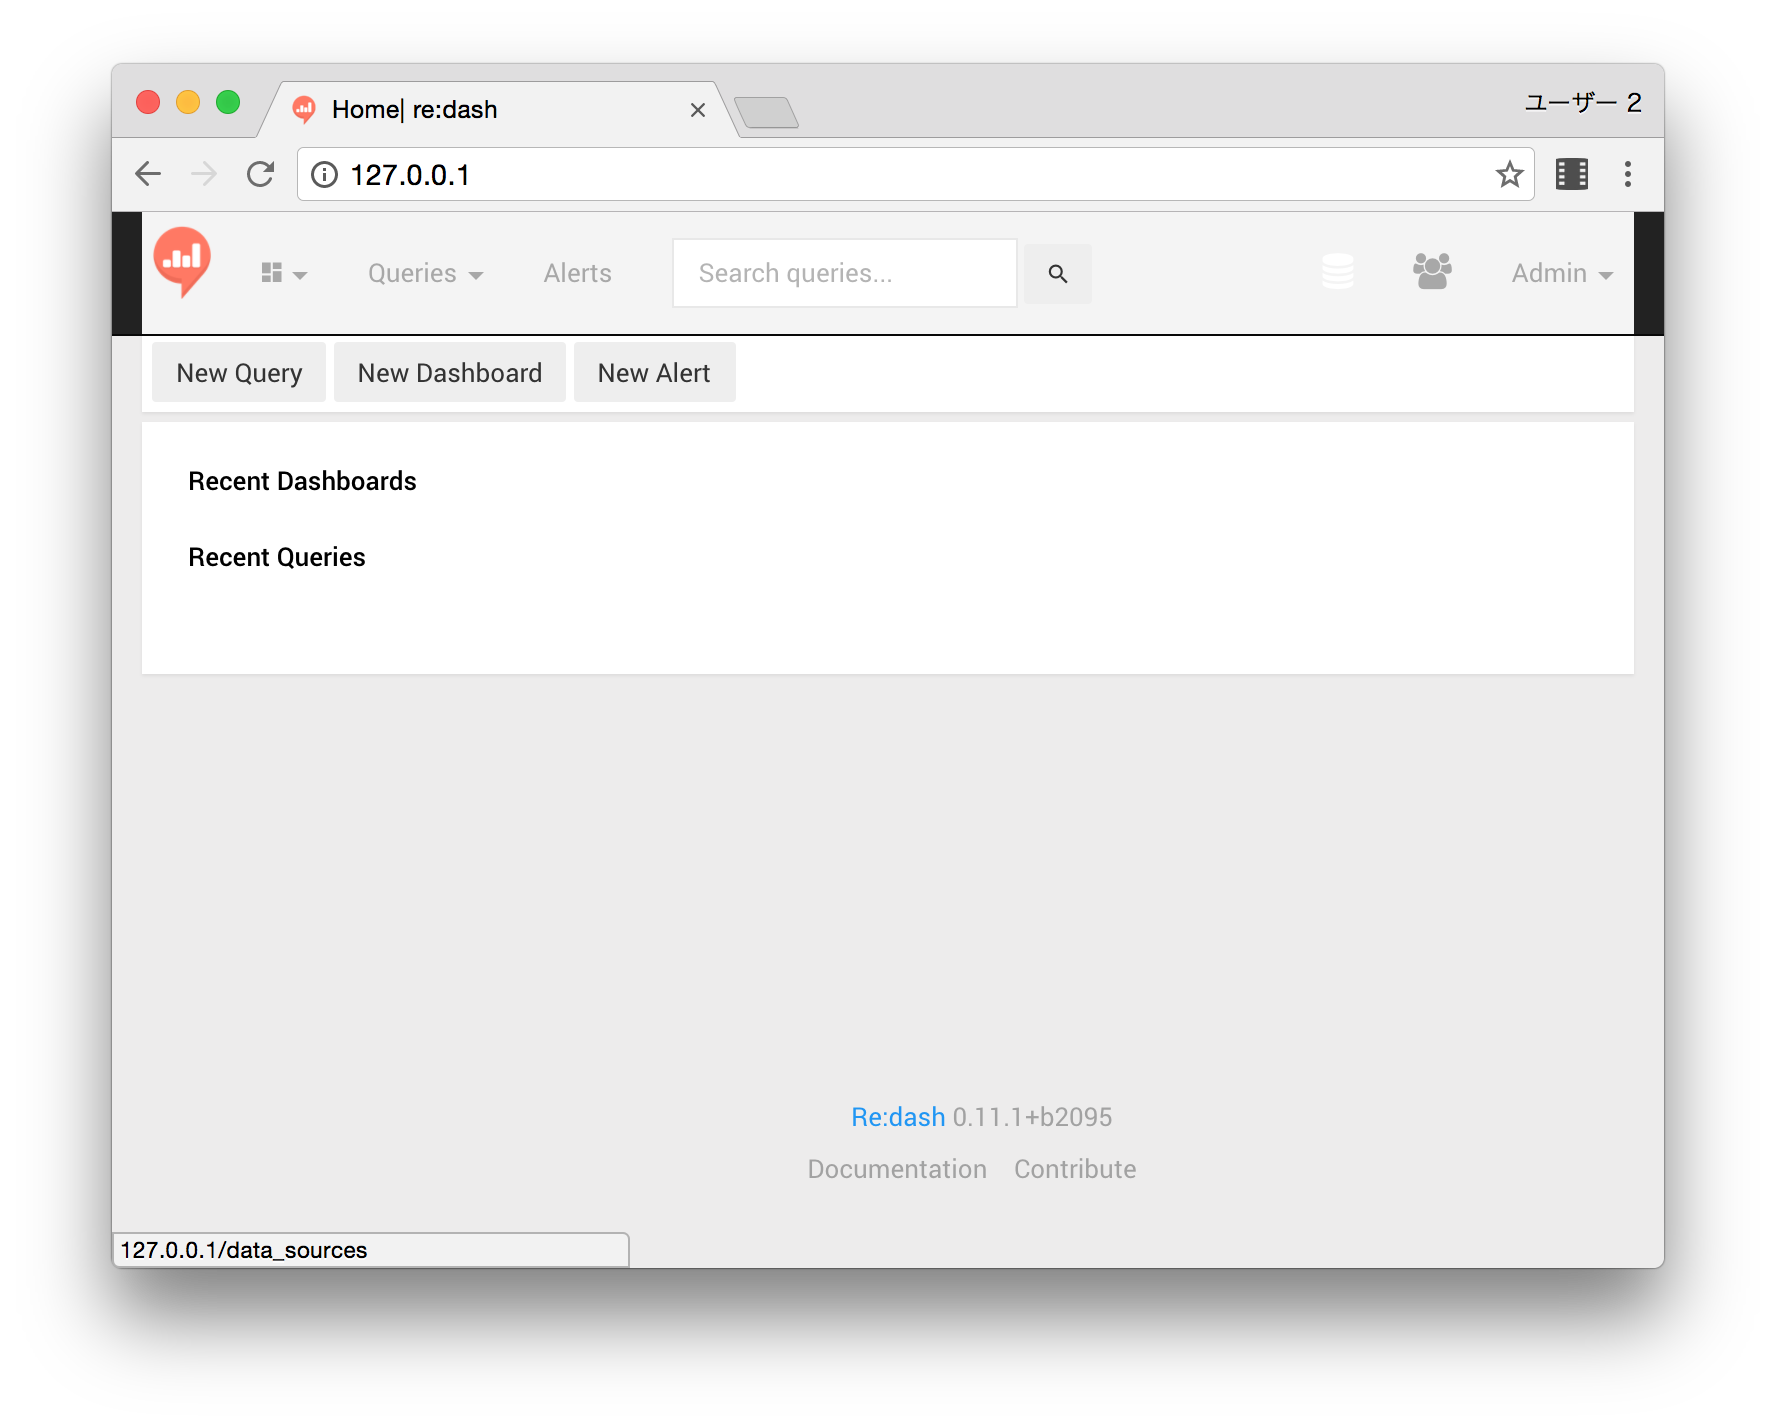
+New Data Sourceを選択します。

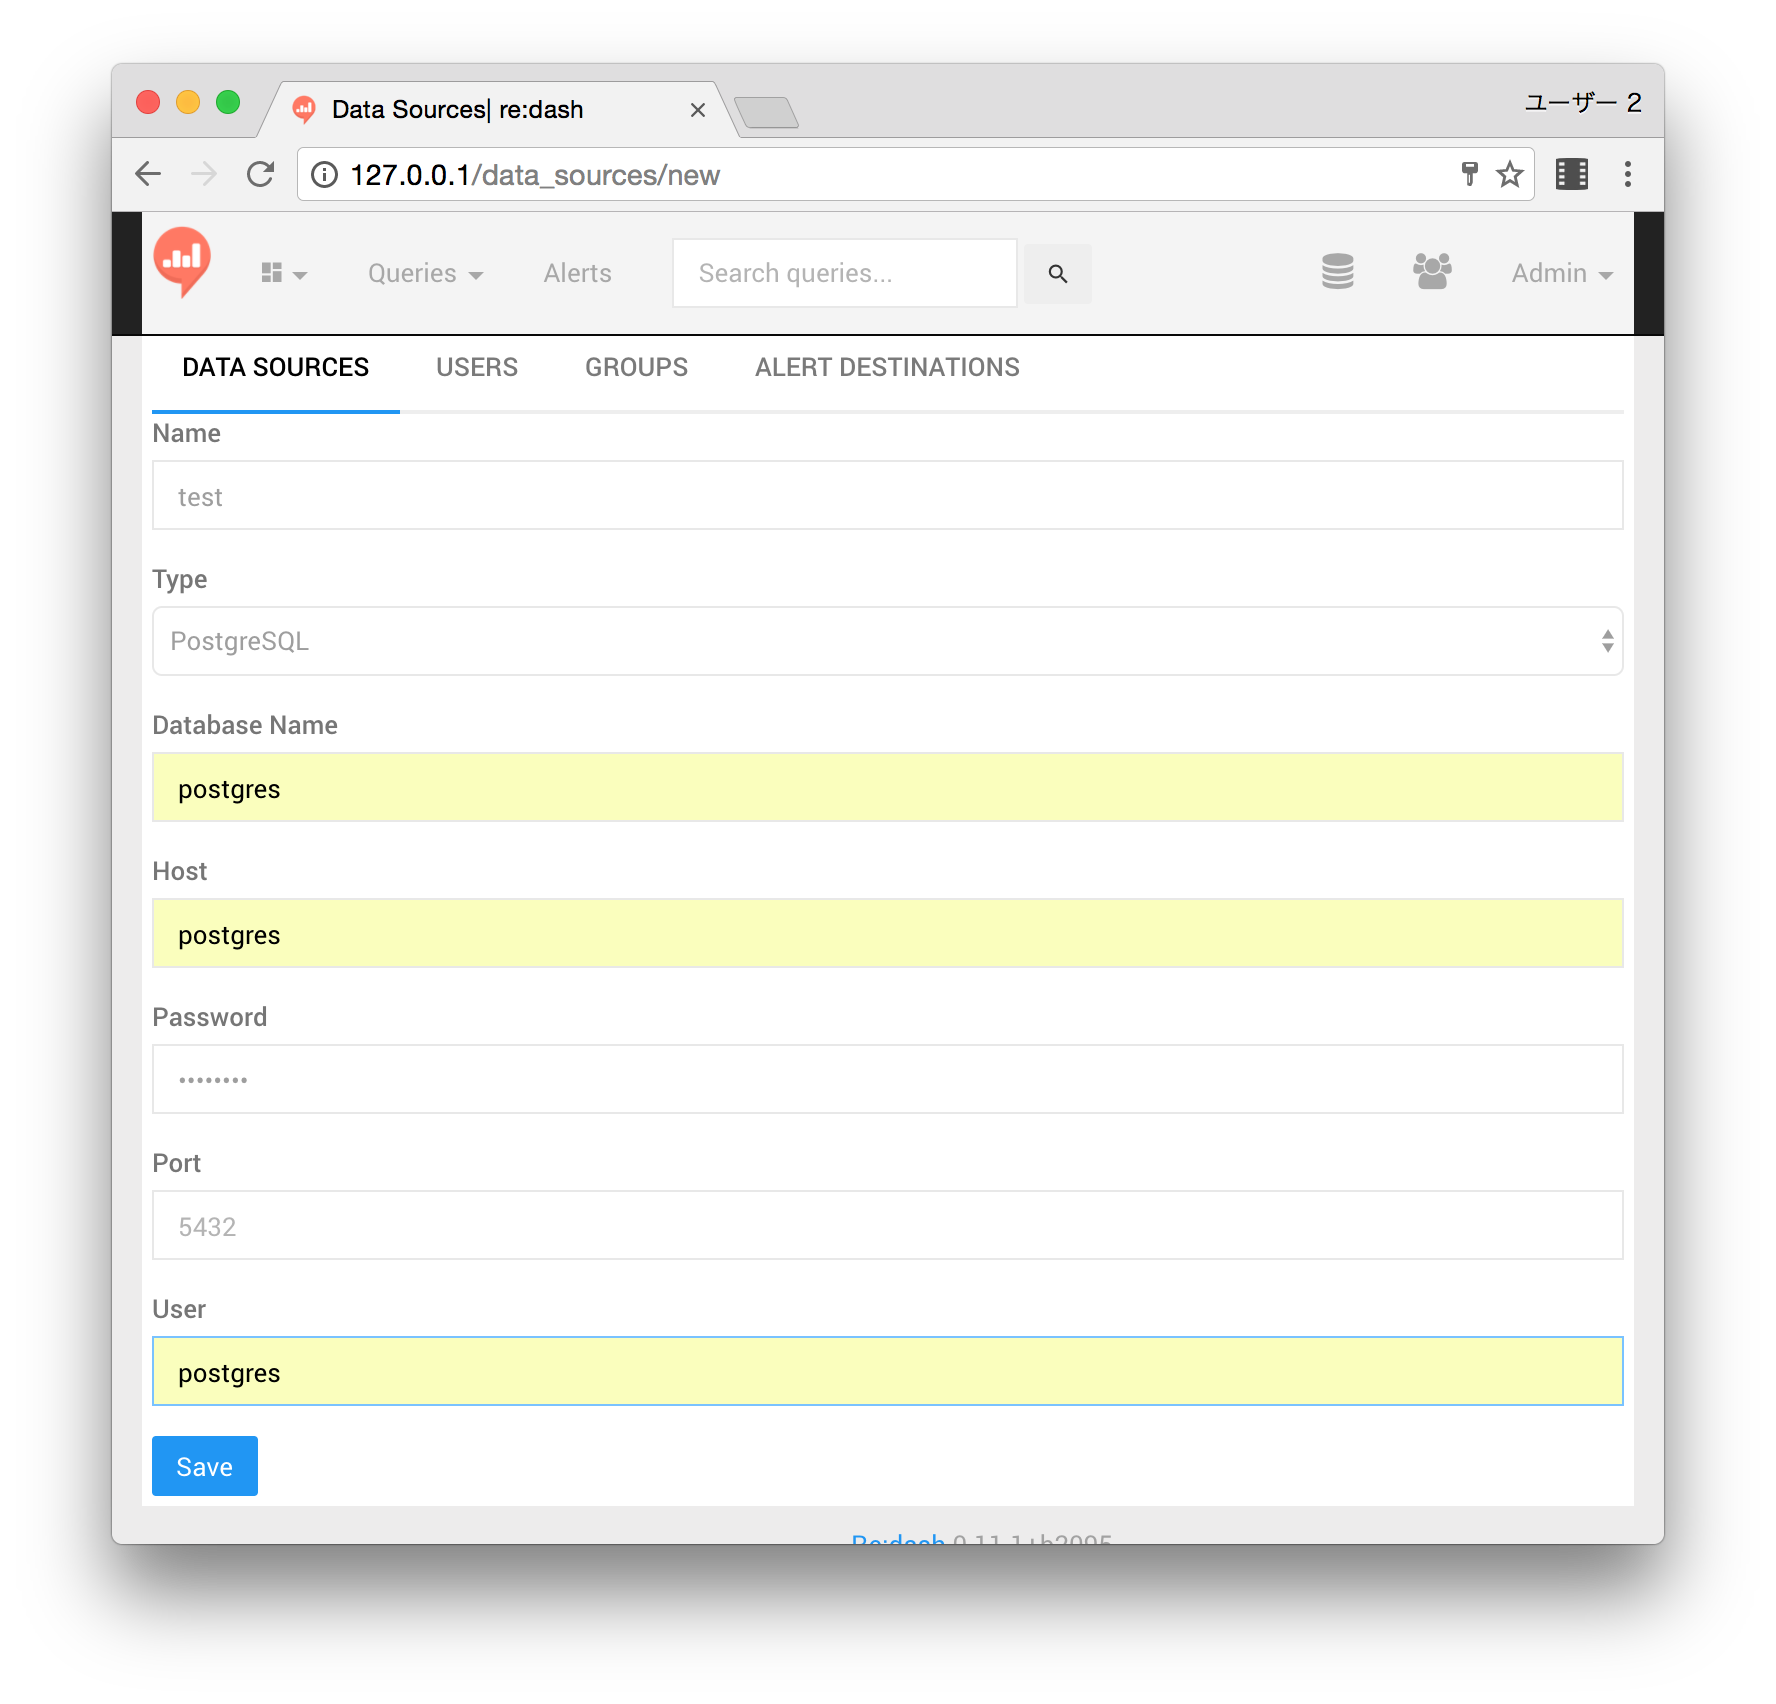
Nameに適当な名前(今回はtest)を入れて、TypeとしてPostgreSQLを選択します。
docker-composeでredashをインストールしている前提で
Database Name,host,password,userに全てpostgresを設定してSaveします。
デフォルトから変更している場合は自環境に合わせた設定をお願いします。
上段のQueriesからNew Queryを選択
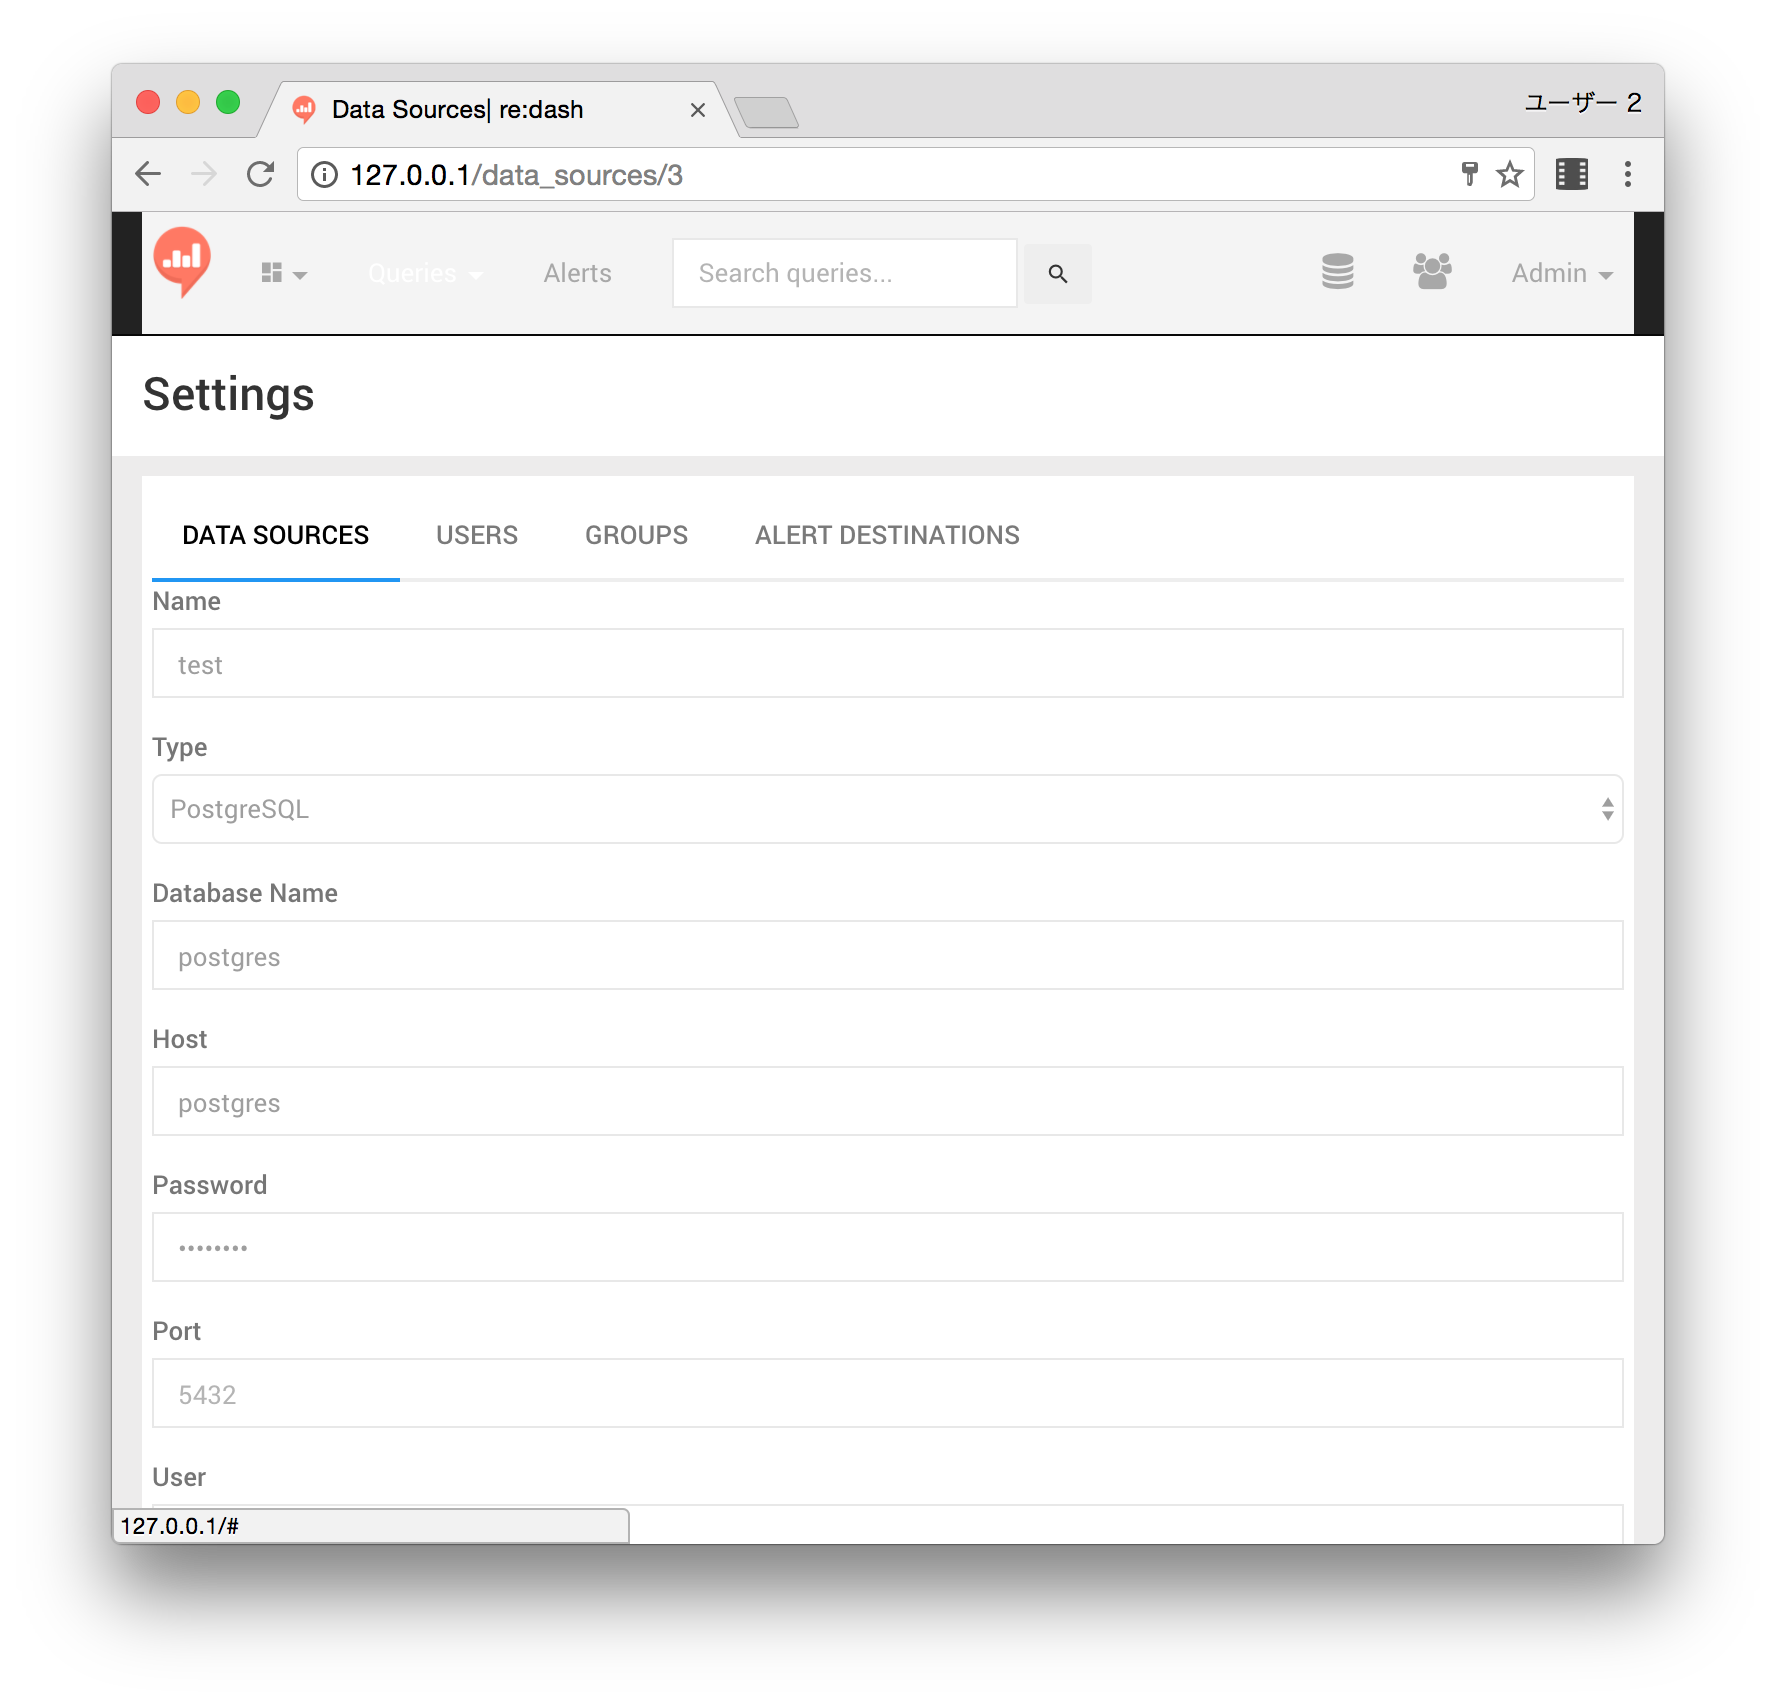
Data Sourceのプルダウンから先ほど登録したtestが選択できればOKです。

4.実行
以下のようにファイルを配置し
├── csv2postgres.dig
├── data
│   └── org_sample.csv
└── guess.yml
terminalからDigdagを実行してCSVデータをPostgreSQL上テーブルへ格納します。
なお、下の例では、繰り返し確認するために-aオプションをつけています。
digdag run csv2postgres.dig -a
実行結果として最後に
Success. Task state is saved at /Users/*********
と出れば成功です。
なお、PostgreSQLへのアクセスでエラーとなる場合以下をご確認ください。
- postgresqlのid,passwaordなどをデフォルトから変更していないか?
- 上述の
2.4.Re:dashのインストールでdocker−compose.ymlについてpostgresqlコンテナへの5432portのバインドを忘れていないか?
参考:以下はembulkのGuess機能で自動生成したEmbulkのconfig.yml
以下のようにcolumns:配下についてイイ感じに自動性生成してくれます。
in:
  type: file
  path_prefix: ./data/org_
  parser:
    charset: UTF-8
    newline: CRLF
    type: csv
    delimiter: ','
    quote: '"'
    escape: '"'
    trim_if_not_quoted: false
    skip_header_lines: 1
    allow_extra_columns: false
    allow_optional_columns: false
    columns:
    - {name: yyyy/mm/dd, type: timestamp, format: '%Y/%m/%d'}
    - {name: user, type: string}
    - {name: item, type: string}
    - {name: cost, type: long}
out:
  type: postgresql
  default_timezone: Japan
  host: localhost
  user: postgres
  password: postgres
  database: postgres
  table: sampledata
  options: {loglevel: 2}
  mode: insert_direct
5.確認
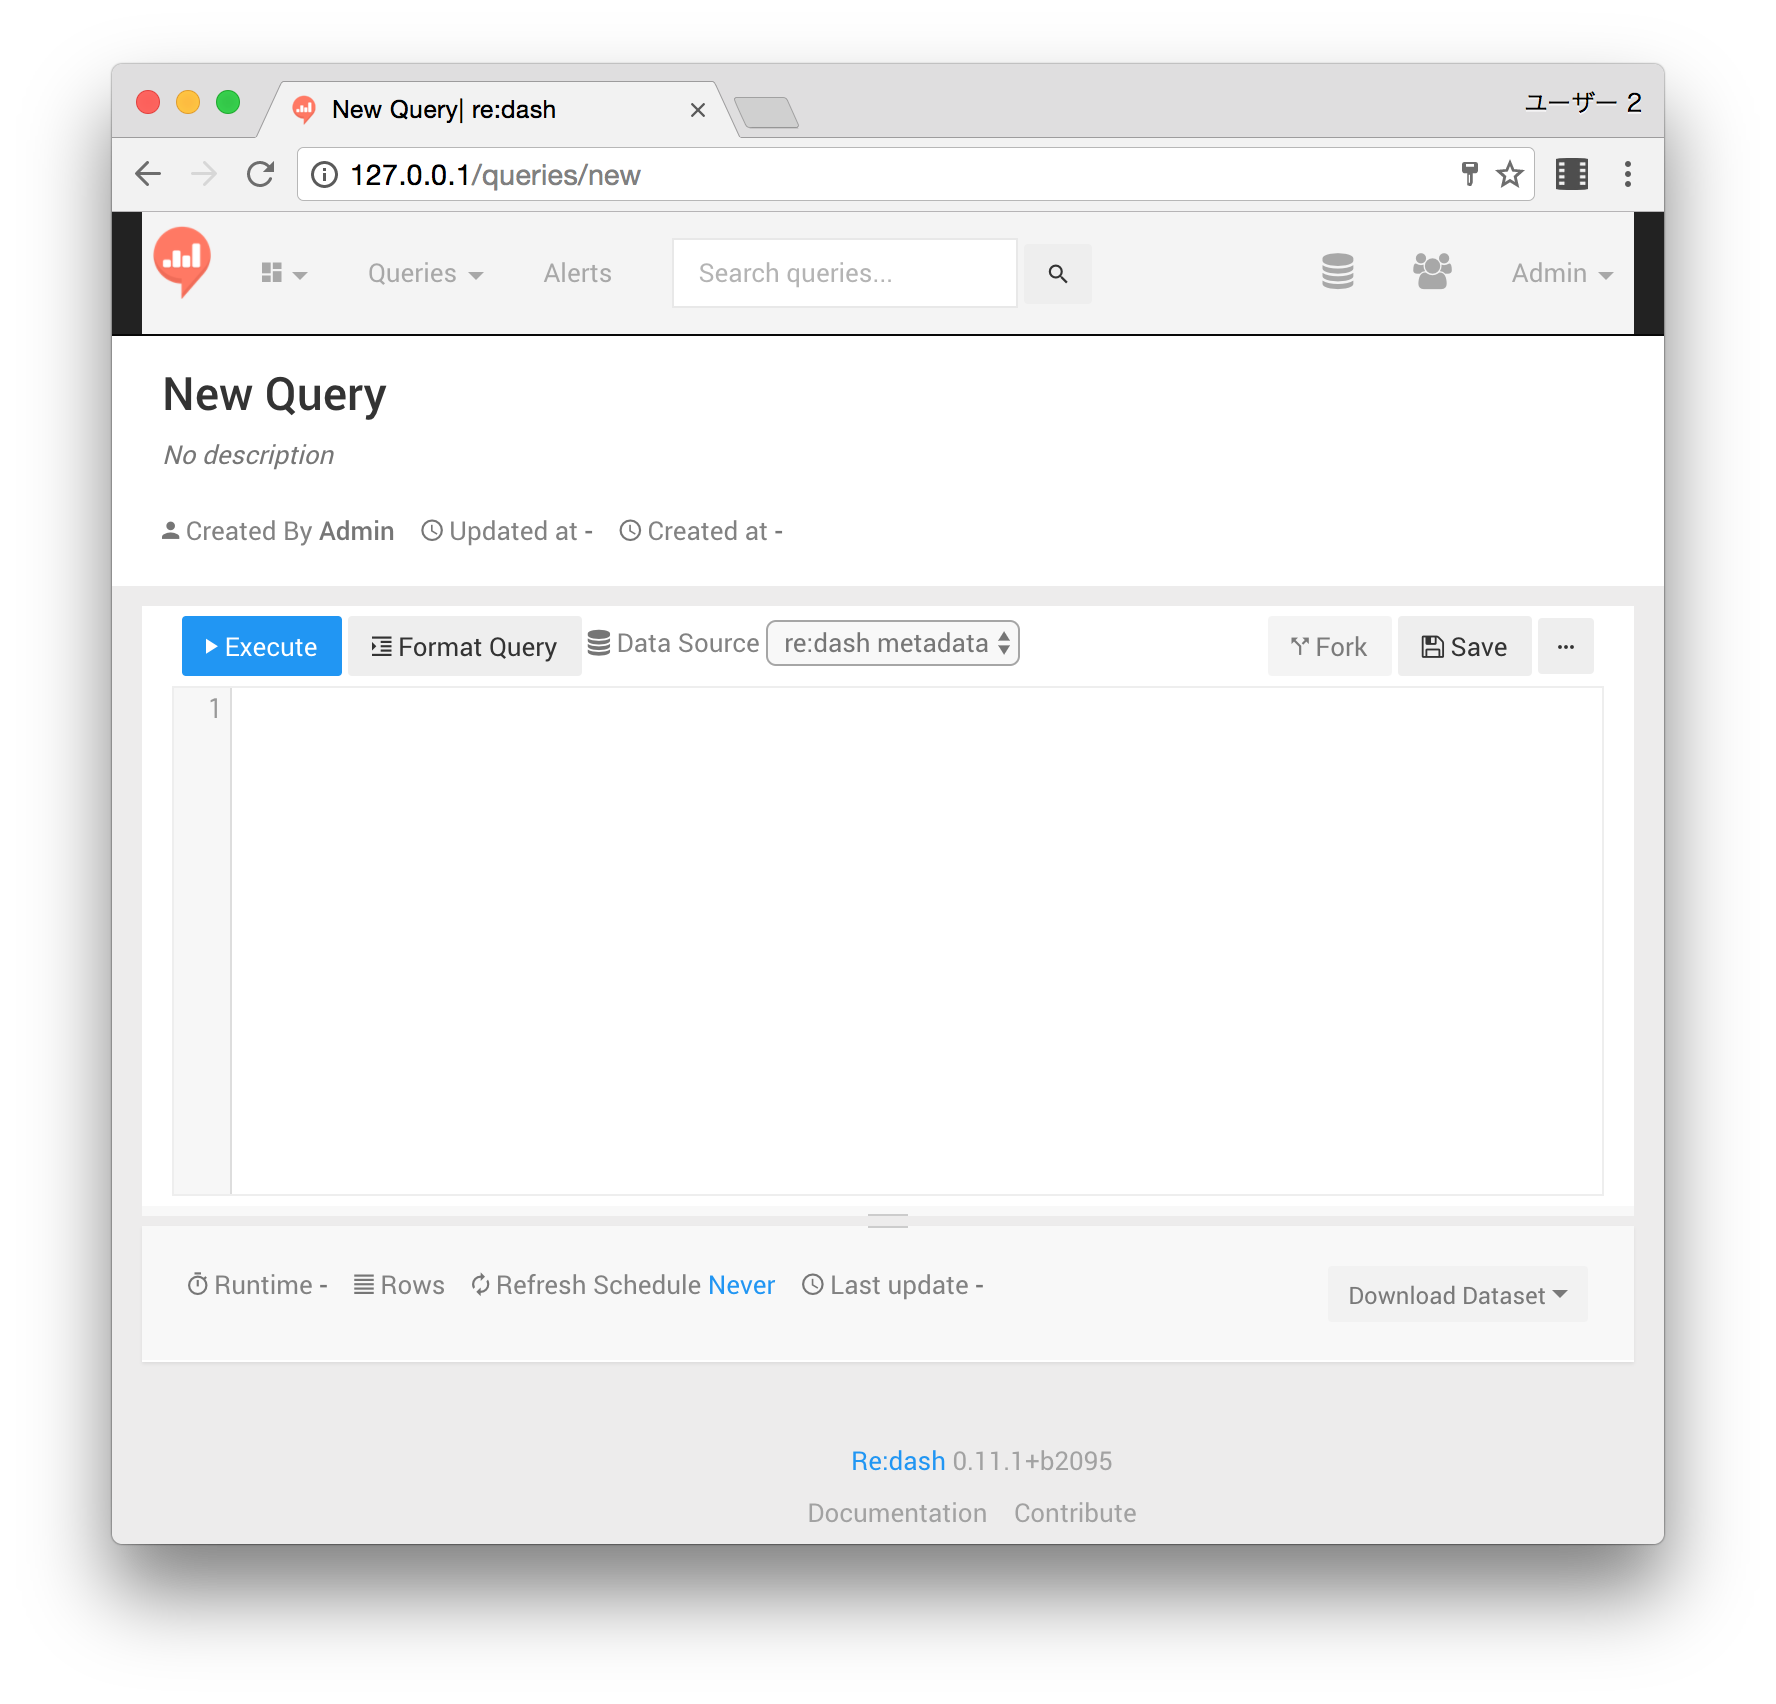
ブラウザよりRe:dashの New Querryに戻り、追加したテーブルが利用できることを確認します。
Datastoretestを選択して
例えばselect * from sampledata;のようなSQLを入れて
Excuteボタンを押下します。

以上です。