はじめに
Jupyterは次のVersionより Jupyter Lab として大きくUIや機能が進化する予定です。ここでは、AWS EC2上でJupyter Labの環境を構築方法、簡単な使い方を自分用にチラシの裏しておきます。細かい設定はさておき、手っ取り早くEC2上にJupyter Lab環境を構築し、どんな風に進化したかを試して見る所までを目標とします。
Jupyter LabはまだPreview版で、最新情報はJupyter Lab Githubを参照下さい。
また、旧来のJupyter Notebookの環境構築方法はこちらを参照下さい。
Jupyter Labの機能概要
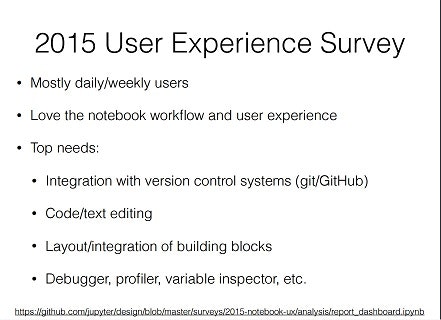
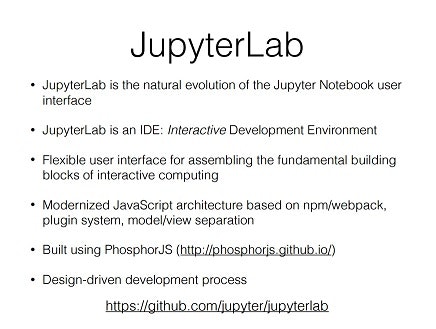
Jupyter Labの開発の背景、機能紹介は、SciPy 2016でのJupyterLabの紹介動画と、その時の説明Slideがわかりやすいですが、ポイントとなる資料は以下の2枚です。
- Browser上でありながら、IDEに近い編集機能を持つ。(UIなどの新機能はこの記事がまとまっています)
- JS baseになったので、plugin開発が楽になった
- 各種Inspector機能がついた
Jupyter Labの環境構築手順
AWS EC2上にJupyter Lab環境を構築する手順です。旧来のJupyter Notebookの環境構築方法とほぼ同じです。
EC2の作成
Jupyterを動かすEC2を起動して、sshでloginします。
- Ubuntu 14.04を前提 (Amazon Linuxを使う場合には、aptをyum等に置き換えて下さい)
- EC2はm4.largeぐらいは合った方が良い
- EC2のSecurity GroupでPort
8080を開けておく
必要なmoduleのinstall
atp-getで必要なmoduleを入れて、pipをupdateして、jupyterlabをinstallします。
$ sudo apt-get update && sudo apt-get -y upgrade
$ sudo apt-get install -y python-pip libpq-dev python-dev
$ sudo pip install -U pip
$ sudo pip install jupyterlab widgetsnbextension
$ sudo jupyter serverextension enable --py jupyterlab --sys-prefix
MatplotlibでChartを書きたい場合には、更に追加でnumpyやmatplotlibなどの必要なmoduleを入れます(が、installに数分かかります)。
$ sudo apt-get install -y libpng12-dev libjpeg8-dev libfreetype6-dev libxft-dev
$ sudo pip install numpy pandas matplotlib seaborn scikit-learn
Jupyter Labの環境設定
以下のコマンドを実行すると、Jupyterの設定ファイルの雛形(~/.jupyter/jupyter_notebook_config.py)を作成してくれます。
$ jupyter notebook --generate-config
続いて、~/.jupyter/jupyter_notebook_config.pyを編集します。全てComment outされたデカイfileなので、fileの先頭など好きな場所に以下4行を入れて保存します。
c = get_config()
c.NotebookApp.ip = '*'
c.NotebookApp.open_browser = False
c.NotebookApp.port = 8080
Jupyter Labの起動
以下のコマンドを実行すると、Jupyterが起動します。
$ jupyter lab
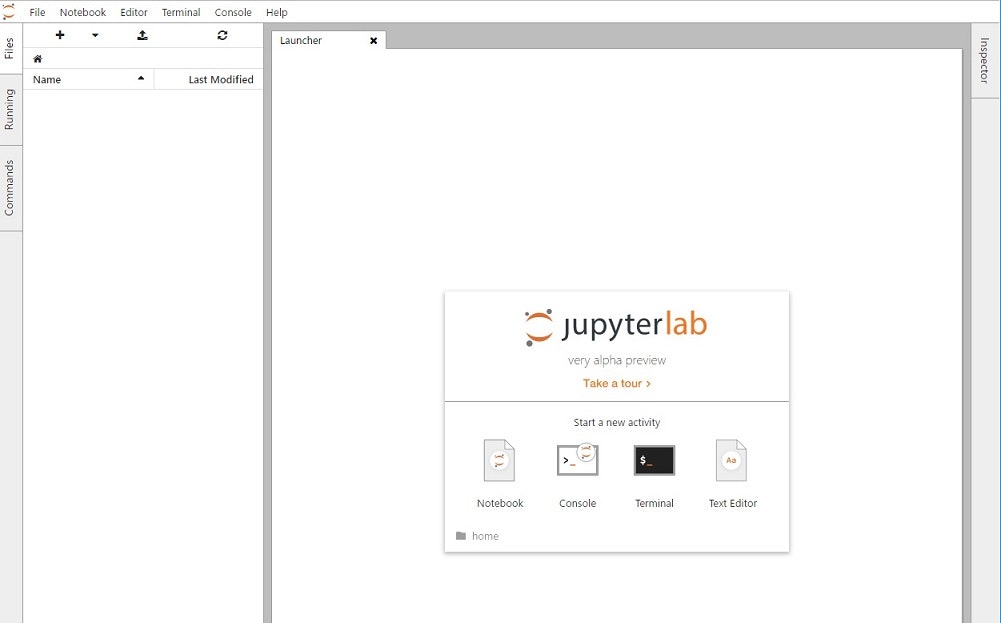
この状態でBrowser上でec2-53-239-93-85.ap-northeast-1.compute.amazonaws.com:8080など、EC2にアクセスに行き、以下のJupyter Labの初期画面が出れば成功です(portの8080をお忘れ無く)。
Background実行させたければ、nohup jupyter lab > /dev/null 2>&1 &としておくと、sshを切断してもJupyterが動き続けます。
Jupyterの自動起動の設定
Jupyter labを自動起動させたい場合は、以下の手順でAWS EC2起動時にjupyter labが実行される様にすることが可能です。
touch ~/start_jupyter.sh-
start_jupyter.shを編集し、中に/usr/local/bin/jupyter lab、と書いておく chmod 777 ~/start_jupyter.sh- root権限で
/etc/rc.localを編集し、su - ubuntu /home/ubuntu/start_jupyter.sh &の1行をexit 0の前に入れる - root権限で
shutdown -r nowでEC2を再起動させる - Browserから、EC2にアクセスに行き、jupyterのlogin画面が出たら成功です
最後に
良いJupyter生活を!


