前置き
Bluemixとは
- IBMが提供するPaaS(Platform as a Service)。
- 迅速かつ簡単にクラウド上でアプリケーションを作成、デプロイ、管理することができる。
- 数多くのアプリやサービスが提供されており、自然言語を解釈するWatsonなどが有名。
やってみる
前提
- BluemixのIBM IDをすでに登録済み(トライアルでも可)であること
- 登録していない人はhttps://console.ng.bluemix.net/registration から登録
- スマホを持っていること(加速度センサーが対応していれば可能なはず)
- Twitterアカウントを持っていること(持っていなければ作成)
- GitHubのアカウントを持っていること(持っていなければ作成)
内容
-
Node-REDアプリの立ち上げ
BluemixでGitHubの連携やWeb IDE、Delivery Pipelineを利用できるようにするを参考にNode-REDを立ち上げる。 -
モバイルセンサーの組み込み
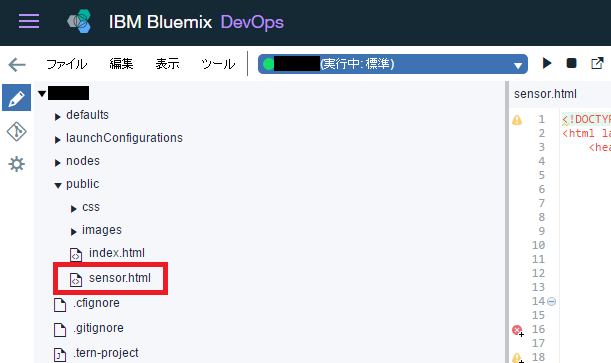
- 下記のソースコードをコピーして、Tool ChainsのEclipse orion Web IDEから、publicフォルダへ配置
-
ソースコード
sensor.html<!DOCTYPE html> <html lang="ja"> <head> <meta charset="utf-8"> <meta http-equiv="X-UA-Compatible" content="IE=edge"> <meta name="viewport" content="width=device-width, initial-scale=1"> <title>加速度センサー</title> <link rel="stylesheet" href="https://maxcdn.bootstrapcdn.com/bootstrap/3.3.5/css/bootstrap.min.css"> <link rel="stylesheet" href="https://maxcdn.bootstrapcdn.com/bootstrap/3.3.5/css/bootstrap-theme.min.css"> <script src="https://ajax.googleapis.com/ajax/libs/jquery/1.11.3/jquery.min.js"></script> <script src="https://maxcdn.bootstrapcdn.com/bootstrap/3.3.5/js/bootstrap.min.js"></script> <script src="https://cdnjs.cloudflare.com/ajax/libs/paho-mqtt/1.0.1/mqttws31.js" type="text/javascript"></script> </head> <body> <div class="container"> <div class="table-responsive"> <h3 id="deviceid"></h3> <table class="table table-striped table-bordered"> <thead> <tr><th>Keys</th><th>Values</th></tr> </thead> <tbody> <tr><td>x</td><td id="acx"> </td></tr> <tr><td>y </td><td id="acy"> </td></tr> <tr><td>z </td><td id="acz"> </td></tr> </table> </div> </div> <script type="text/javascript"> var client; var deviceid; $(function () { fncGetDeviceId(); fncMqttConnect(); if (window.DeviceMotionEvent) { window.addEventListener("devicemotion", evtDeviceMotion); } }); function fncGetDeviceId() { var did = null; cookies = document.cookie.split("; "); for (var i = 0; i < cookies.length; i++) { str = cookies[i].split("="); if (unescape(str[0]) === "deviceid") { did = unescape(unescape(str[1])); } } deviceid = did !== null ? did : fncGenerateDeviceId(); $("#deviceid").html("device id : " + deviceid); } function fncGenerateDeviceId() { var did = ""; for (var i = 0; i < 12; i++) { did += "0123456789abcdef".charAt(Math.floor(Math.random() * 16)); } var str = "deviceid=" + did; document.cookie = str; return did; } function evtDeviceMotion(event) { event.preventDefault(); var ac = event.acceleration; if (ac !== null) { $('#acx').html(ac.x); $('#acy').html(ac.y); $('#acz').html(ac.z); } if (deviceid !== null){ var message = new Paho.MQTT.Message(JSON.stringify({ ac : { x : ac.x, y : ac.y, z : ac.z } })); message.destinationName = 'iot-2/evt/status/fmt/json'; client.send(message); } } function fncMqttConnect() { var client_id = "d:quickstart:MyDevice:" + deviceid; client = new Paho.MQTT.Client("ws://quickstart.messaging.internetofthings.ibmcloud.com:1883/", client_id); client.connect({onSuccess: onConnect, onFailure: failConnect}); client.onConnectionLost = onConnectionLost; function failConnect(e) { console.log(e); } function onConnect() { console.log("connect success."); } function onConnectionLost(response) { if (response.errorCode !== 0) { console.log("lost connection : " + response.errorMessage); } client.connect({onSuccess: onConnect, onFailure: onConnectFailure}); } } </script> </body> </html> -
配置先
- 補足)GitHubでのPushやCFコマンドラインからのデプロイでも可
-
- 下記のソースコードをコピーして、Tool ChainsのEclipse orion Web IDEから、publicフォルダへ配置
-
アプリのデプロイ
- デプロイボタンをクリック
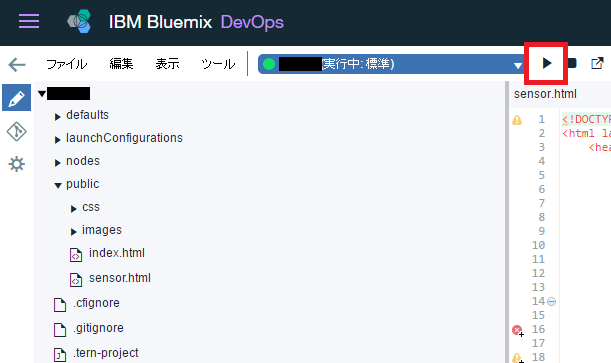
- デプロイボタンをクリック
Node-REDの実装
-
Device IDの取得
-
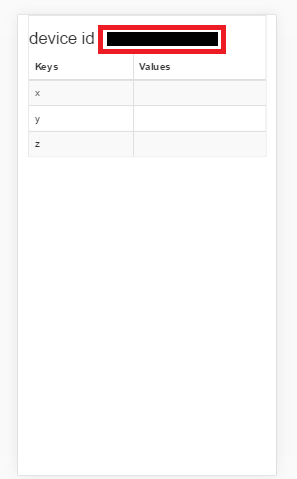
http://<アプリ名>.mybluemix.net/sensor.htmlをスマホで開いてDivice IDをコピー ※プロトコル(http)に注意
-
http://<アプリ名>.mybluemix.net/sensor.htmlをスマホで開いてDivice IDをコピー ※プロトコル(http)に注意
-
Node-REDフローエディタ画面を開く
- https://<アプリ名>.mybluemix.net/red
-
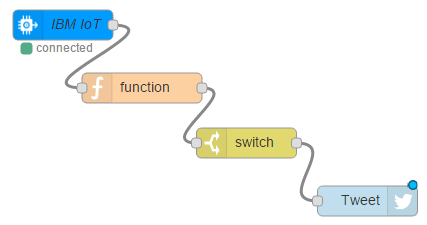
以下の4つのノードを配置し、順番に連結させる
- TBM IoT
- function
- switch
- Twitter (output)
- 例)完成図
-
IBM IoTノードを設定する
- Device ID入力欄に、取得したDevice IDをペースト
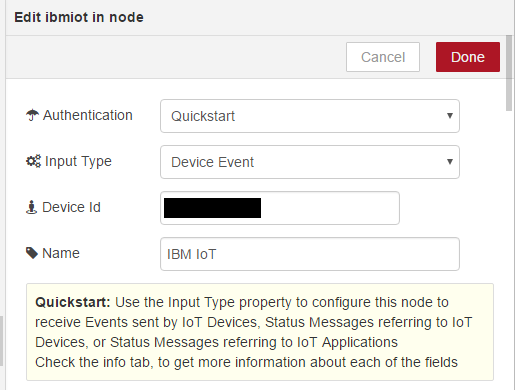
- Device ID入力欄に、取得したDevice IDをペースト
-
functionノードを設定する
-
加速度センサーXYZ軸のいずれかの値が-10~10の範囲外になったら、Tweetメッセージをセット
-
Tweetしたいメッセージを
msg.payloadに代入(連投を防ぐためメッセージに日付を入れる)参考if (Math.abs(msg.payload.ac.x) > 10 || Math.abs(msg.payload.ac.y) > 10 || Math.abs(msg.payload.ac.z) > 10) { var date = context.global.moment(); date.locale("ja").tz("Asia/Tokyo"); msg.payload = date.format("LLL") + " です。"; } else { msg.payload = null; } return msg;補足)Bluemix Node-REDに2行追加して日本時間を簡単に出力する でタイムゾーン指定をできるようにしておく
していない場合は、以下で代用参考if (Math.abs(msg.payload.ac.x) > 10 || Math.abs(msg.payload.ac.y) > 10 || Math.abs(msg.payload.ac.z) > 10) { msg.payload = "スマホを振りました。 " + new Date().getTime(); } else { msg.payload = null; } return msg;
-
-
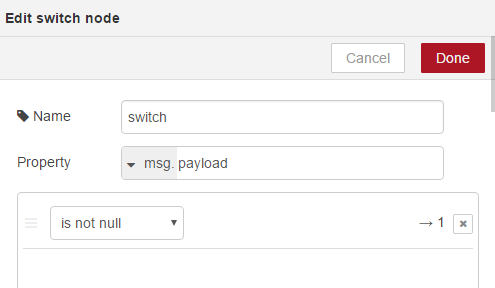
switchノードを設定する
-
msg.payloadがnullでなければ、次のノードへトークンが進むようにする
-
-
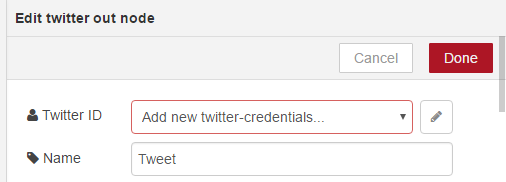
Twitterノードを設定する
- 編集ボタン(鉛筆マーク)をクリック
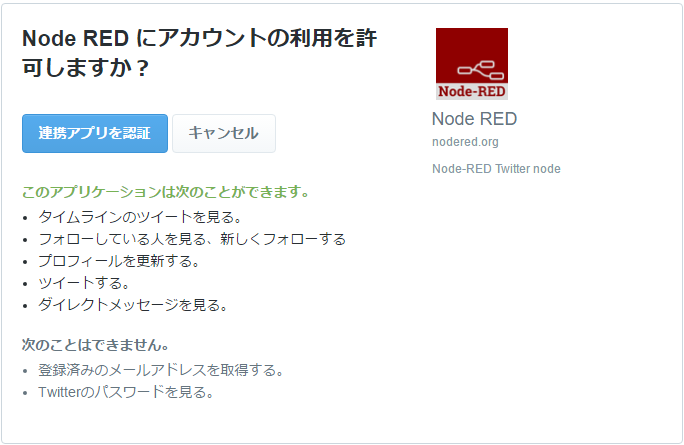
- 「Click here to authenticate with Twitter.」ボタンをクリック
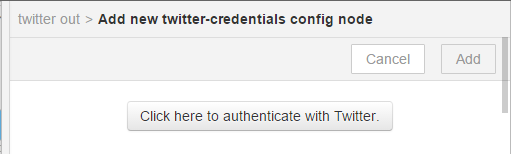
- Twitterのページが開くので、「連携アプリを認証」をクリック(必要に応じてログイン)
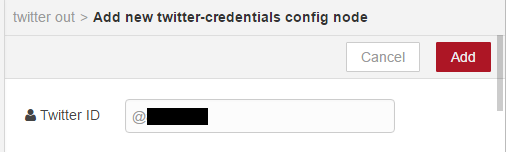
- アカウント名が表示されるので、「Add」ボタンをクリック
- 「Done」をクリック
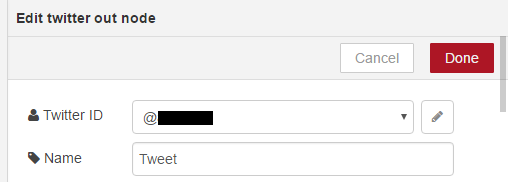
- 編集ボタン(鉛筆マーク)をクリック
-
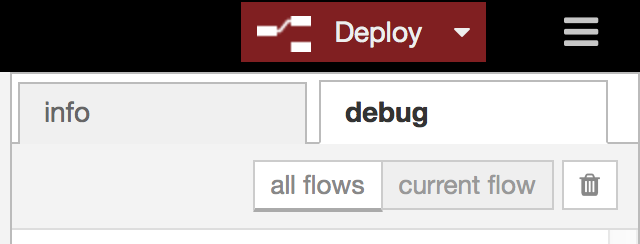
アプリをデプロイ
- 右上のDeployボタンをクリック
動作確認
- スマホ(Android、iOS)でhttp://<アプリ名>.mybluemix.net/sensor.htmlを開く
- スマホを振る
- Tweetを確認
以上
補足
動作確認はAndroid 5.1.1 でのみ