Scalaはじめます。
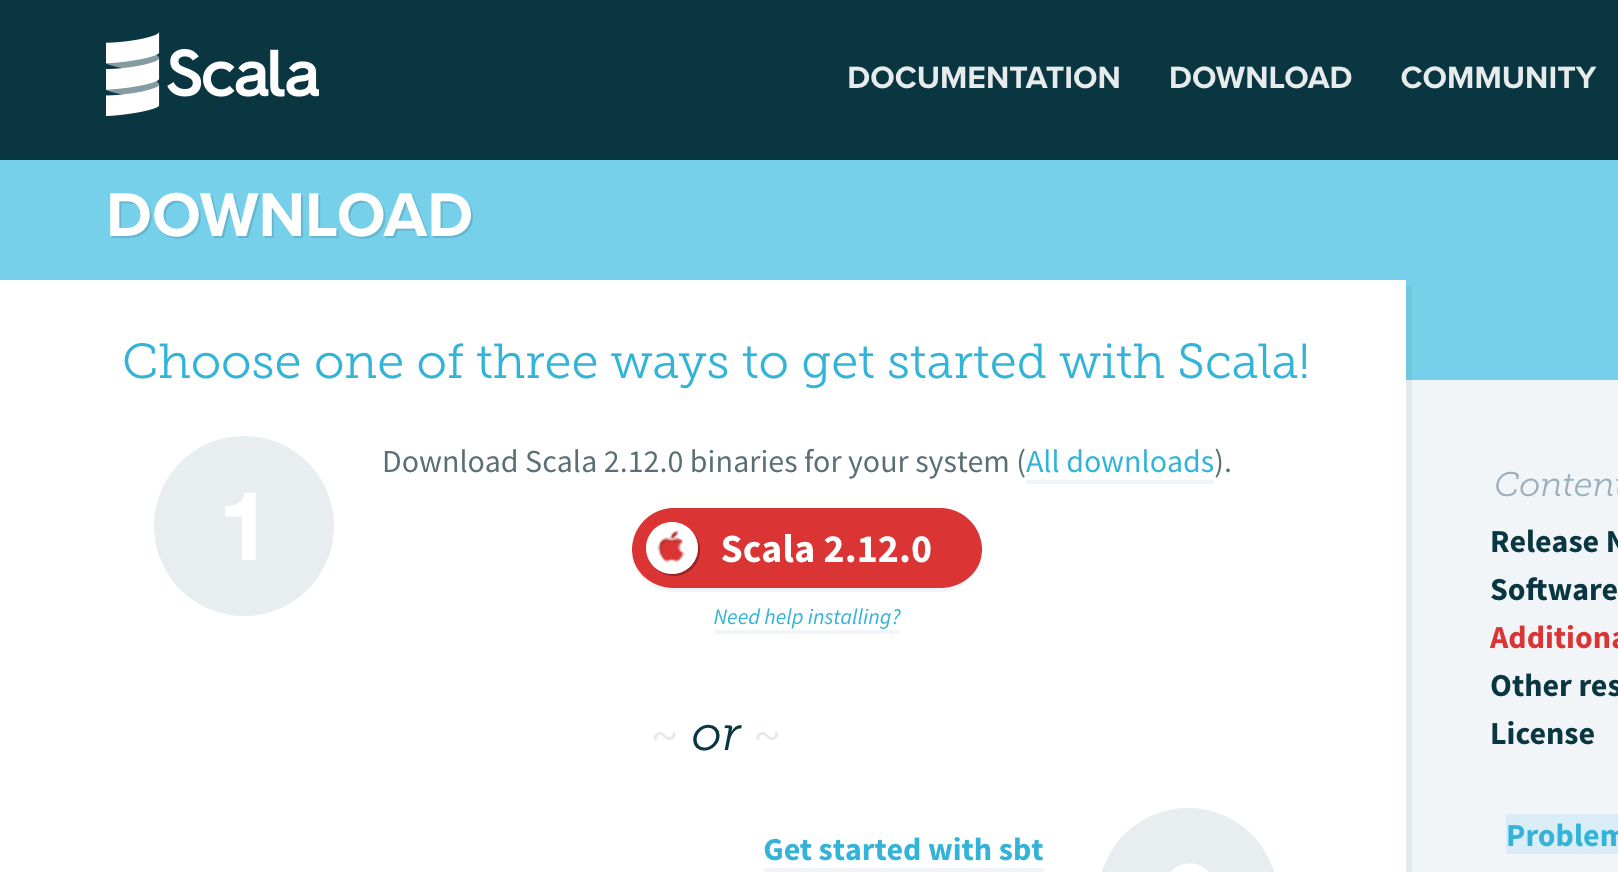
ダウンロード
https://www.scala-lang.org/download/
ここからダウンロードします。
tgzファイルがダウンロードされるので、解凍して任意の場所に配置します。
bin下のscalaコマンドでバージョンを確認します。
※別途あらかじめJavaをインストールしておく必要があります。
$ {配置したディレクトリ}/scala-2.12.0/bin/scala -version
Scala code runner version 2.12.0 -- Copyright 2002-2016, LAMP/EPFL and Lightbend, Inc.
scala-2.12.0/binにパスを通しておくといいかもしれません。
$ export SCALA_HOME={配置したディレクトリ}/scala-2.12.0
$ export PATH=$PATH:$SCALA_HOME/bin
$ scala -version
Scala code runner version 2.12.0 -- Copyright 2002-2016, LAMP/EPFL and Lightbend, Inc.
Scalaの実行
公式のGetting Startedを参考に実行してみます。
https://www.scala-lang.org/documentation/getting-started.html
scalaコマンドを実行し、Scala shellに入ります。
$ scala
Welcome to Scala 2.12.0 (Java HotSpot(TM) 64-Bit Server VM, Java 1.8.0_111).
Type in expressions for evaluation. Or try :help.

scala>
サンプルのHello WorldをコピーしてScala shellに貼り付けてEnter
scala> object HelloWorld {
     |   def main(args: Array[String]): Unit = {
     |     println("Hello, world!")
     |   }
     | }
defined object HelloWorld
メソッドの実行
scala> HelloWorld.main(Array())
Hello, world!

scala>
※Scala shellは:qで抜けられます。
正常に動いたみたいです。
Eclipseでscalaを実行
Scala Ideのインストール
「Help」→「Eclipse Marketplace」でScala Ideをインストールします。
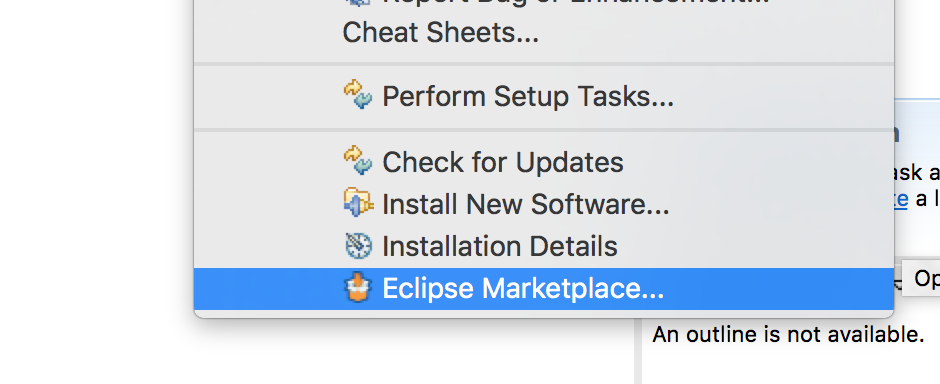

インストール後、再起動します。
Scalaプロジェクト作成
Scala Ideをインストールすると、新規プロジェクトでScalaプロジェクトが作れるようになります。
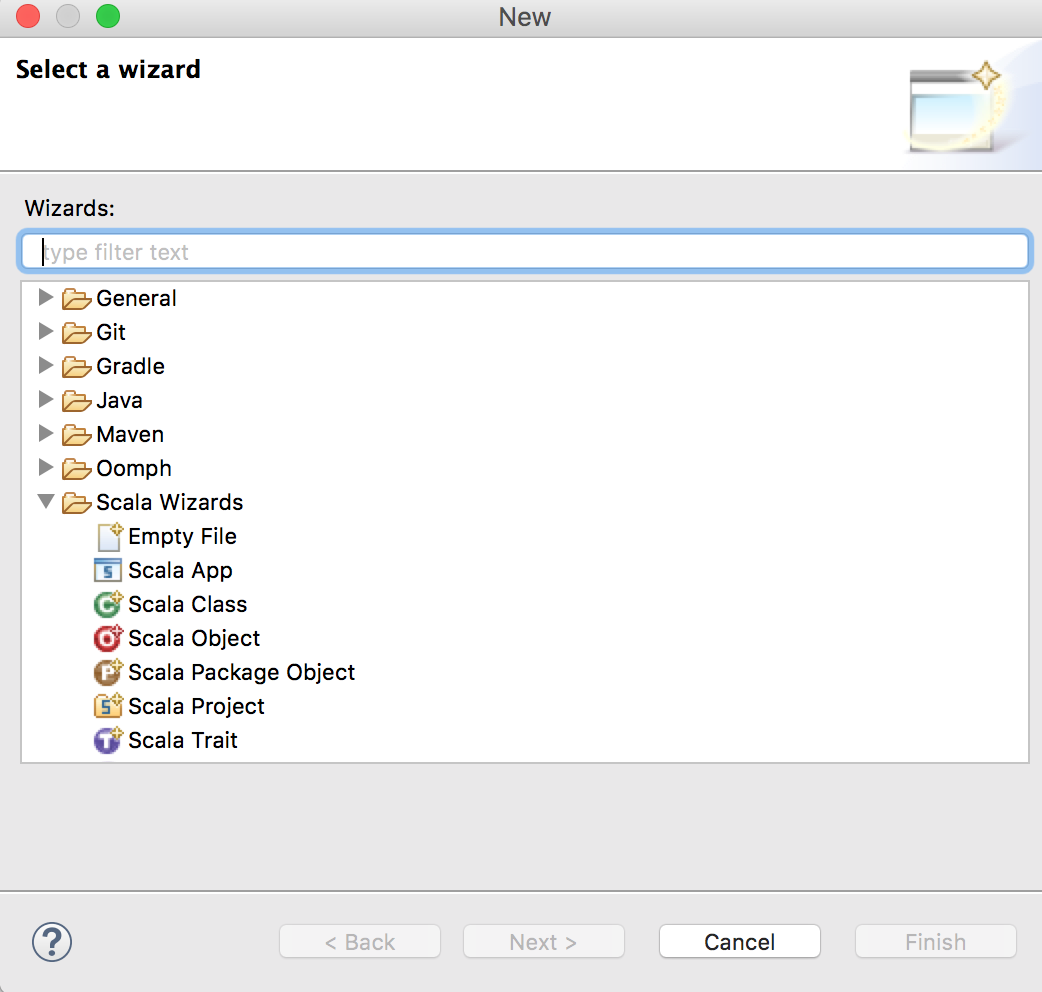
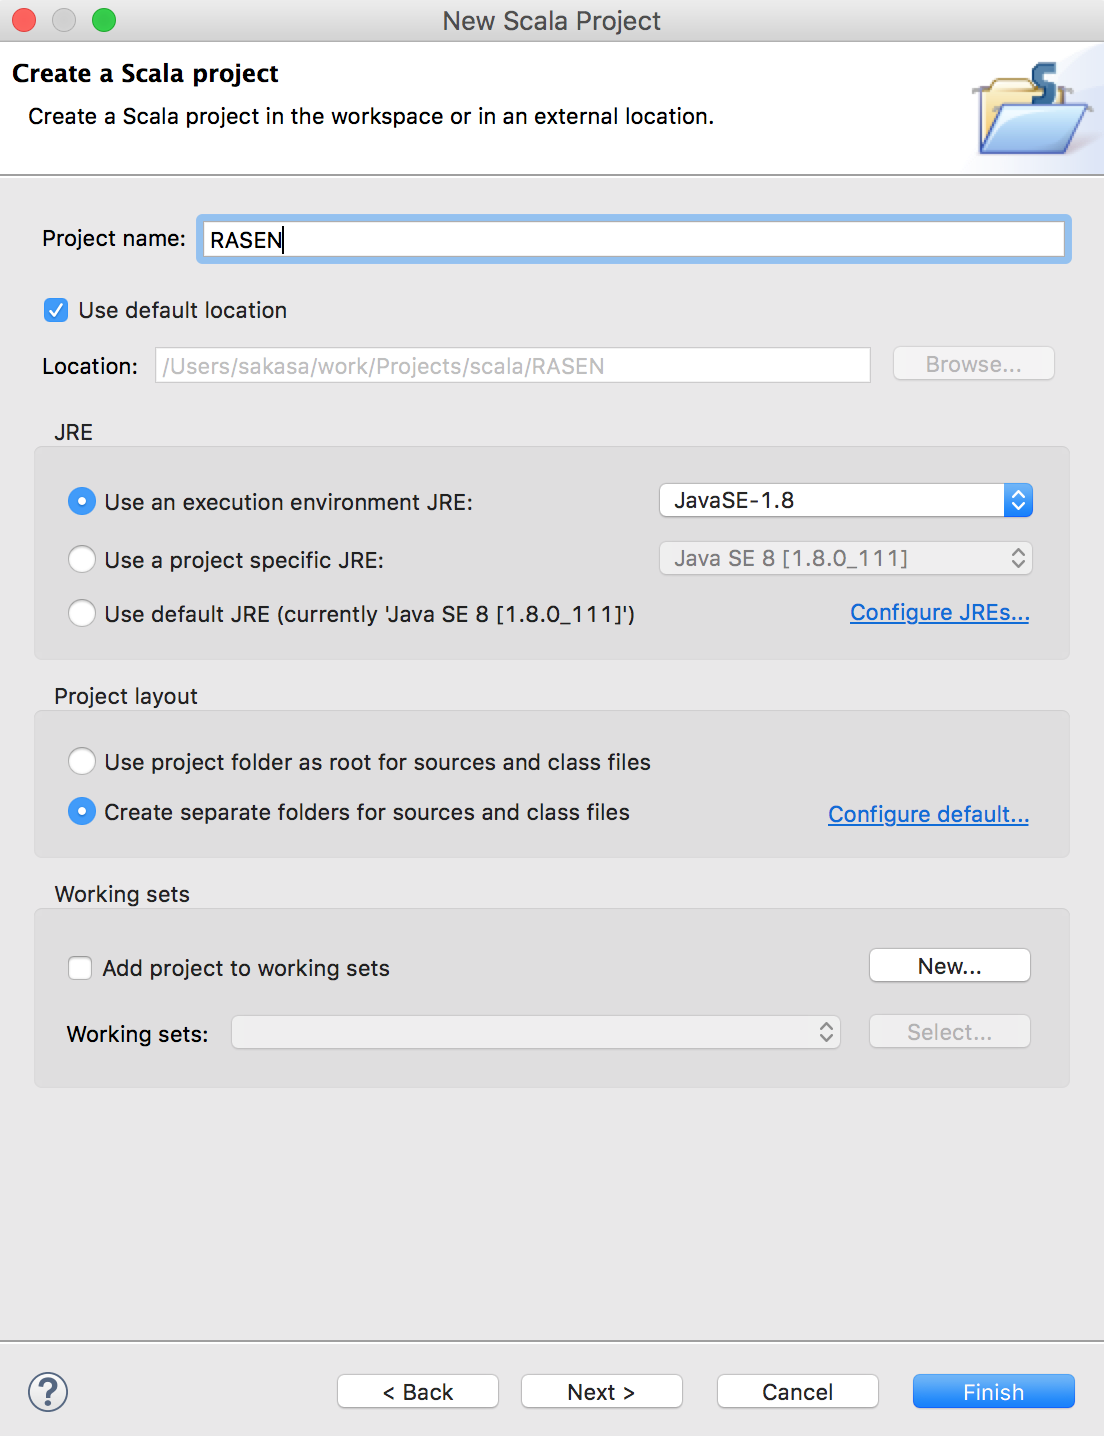
任意の名前でプロジェクトを作成します。
Hello World
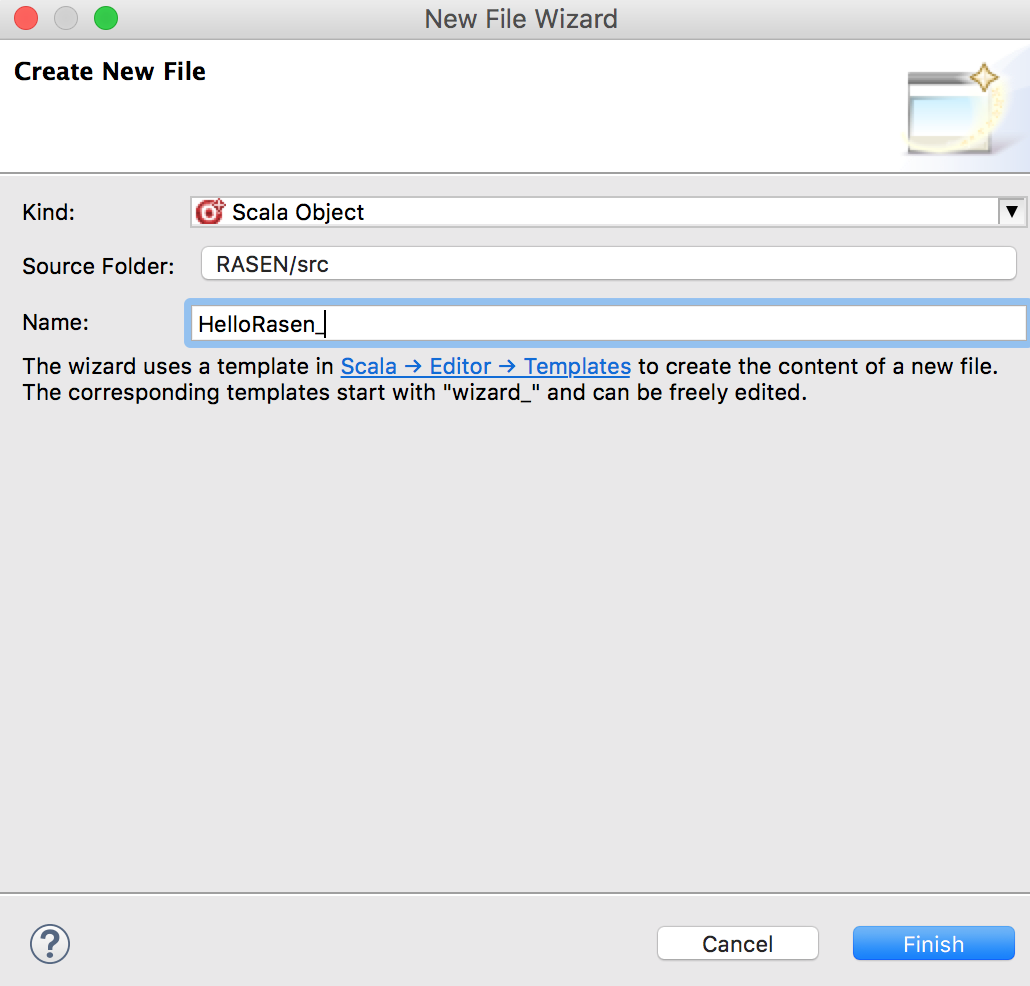
プロジェクトで新規Scalaオブジェクトを作成します。

任意の名前でオブジェクト作成。
作成したファイルに以下のコードを実装します。
object HelloRasen {
  def main(args: Array[String]): Unit = {
    println("Hello RASEN!!!")
  }
}
「Run」→「Scala Application」を選択し実行。

「Console」タブに結果が出力されればOK

Webアプリケーション
playフレームワークを使ってwebアプリケーションを作成してみます。
ダウンロード
ダウンロードページ中段の「Play with Activator」にあるリンクから「Activator 1.3.12 including Play 2.5.10」をダウンロードします。
https://playframework.com/download#older-versions
アプリケーションの作成(クイックスタート)
https://playframework.com/documentation/ja/2.4.x/Installing
このページを参考に進めます。
ダウンローしたzipファイルを解凍し、任意のディレクトリに配置してパスを通します。
$ export ACTIVATOR_HOME={配置したディレクトリ}/activator-dist-1.3.12
$ export PATH=$PATH:$ACTIVATOR_HOME/bin
アプリケーションを作成するディレクトリに移動し、以下のコマンドを実行します。
$ activator new my-first-app play-scala
正常に終了したら、作成されたmy-first-appディレクトリに移動してactivatorコマンドを実行します。
$ cd my-first-app/
$ activator
※activatorコマンドを実行すると必要なjarを諸々ダウンロードしてくるそうです。
正常終了するとPlay consoleコンソールに入った状態になります。
[my-first-app] $
runコマンドを実行してサーバが起動したら、localhost:9000にアクセスすると作成したwebアプリケーションにアクセスできます。

「Ctrl+D」でサーバ停止します。
参考
https://playframework.com/
http://qiita.com/n0bisuke/items/73a2ba879d339b35587d
http://www.techscore.com/blog/2012/11/27/scala-%E6%89%8B%E7%BF%92%E3%81%84/