はじめに
この資料はスクーはじめてのiOSアプリ開発② - 基本操作を覚えようの第5回 (はじめてのiOSアプリ開発 - Twitterのタイムラインのベースを作ろう(ユーザーアクションイベント))の内容の写経です。
授業を見ていない人でもなるべく分かるように書いていきます。
前提
数回の授業を通してTwitterなアプリケーションを作っていきます。
前回までの授業で、UIを作るためのツールであるStoryboardの使い方の基本を学んでいます。
前回の続きなので前回の記事を読んだ方が良いです。
今日やること
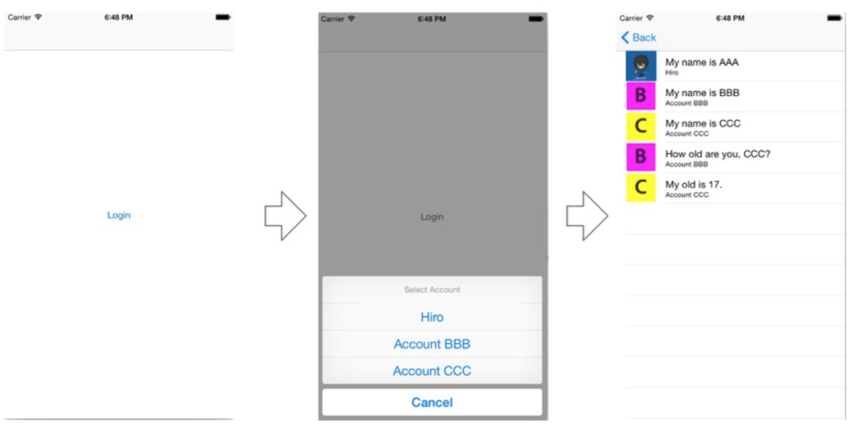
Twitterアプリケーションのログインロジックを作ります。
- UITableViewを利用してツイートを表示
- ユーザーごとにアイコンを表示
- ツイート内容は名前と発言
- 詳細画面
1. UI準備
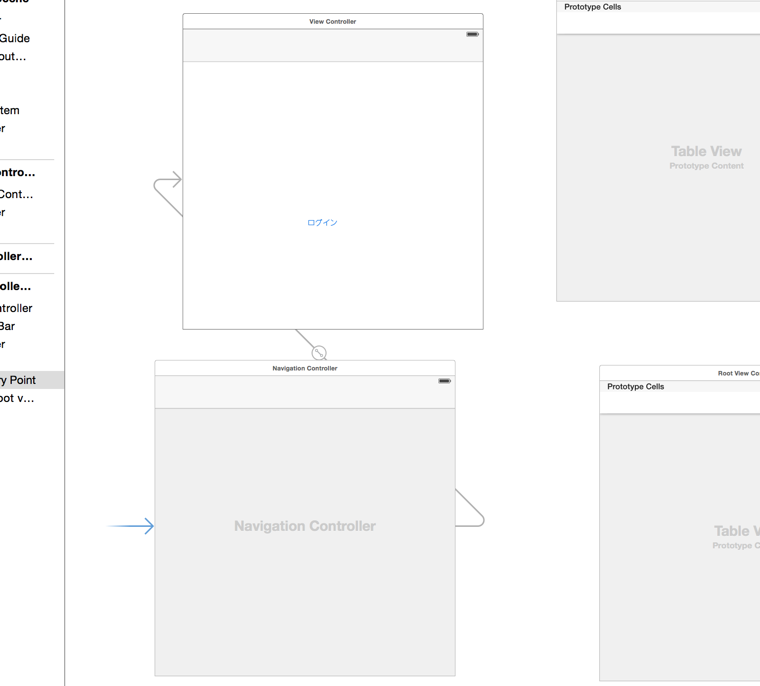
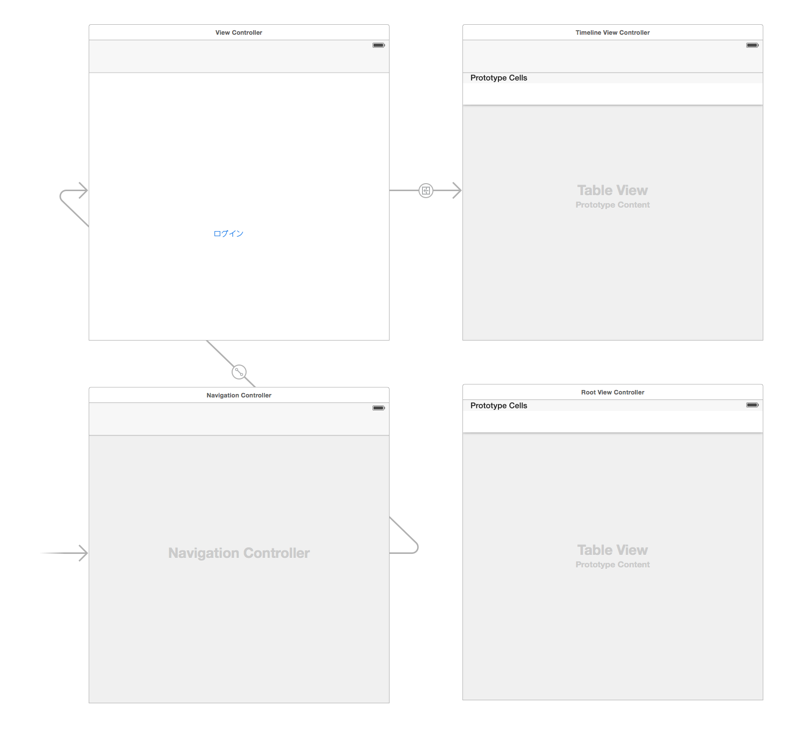
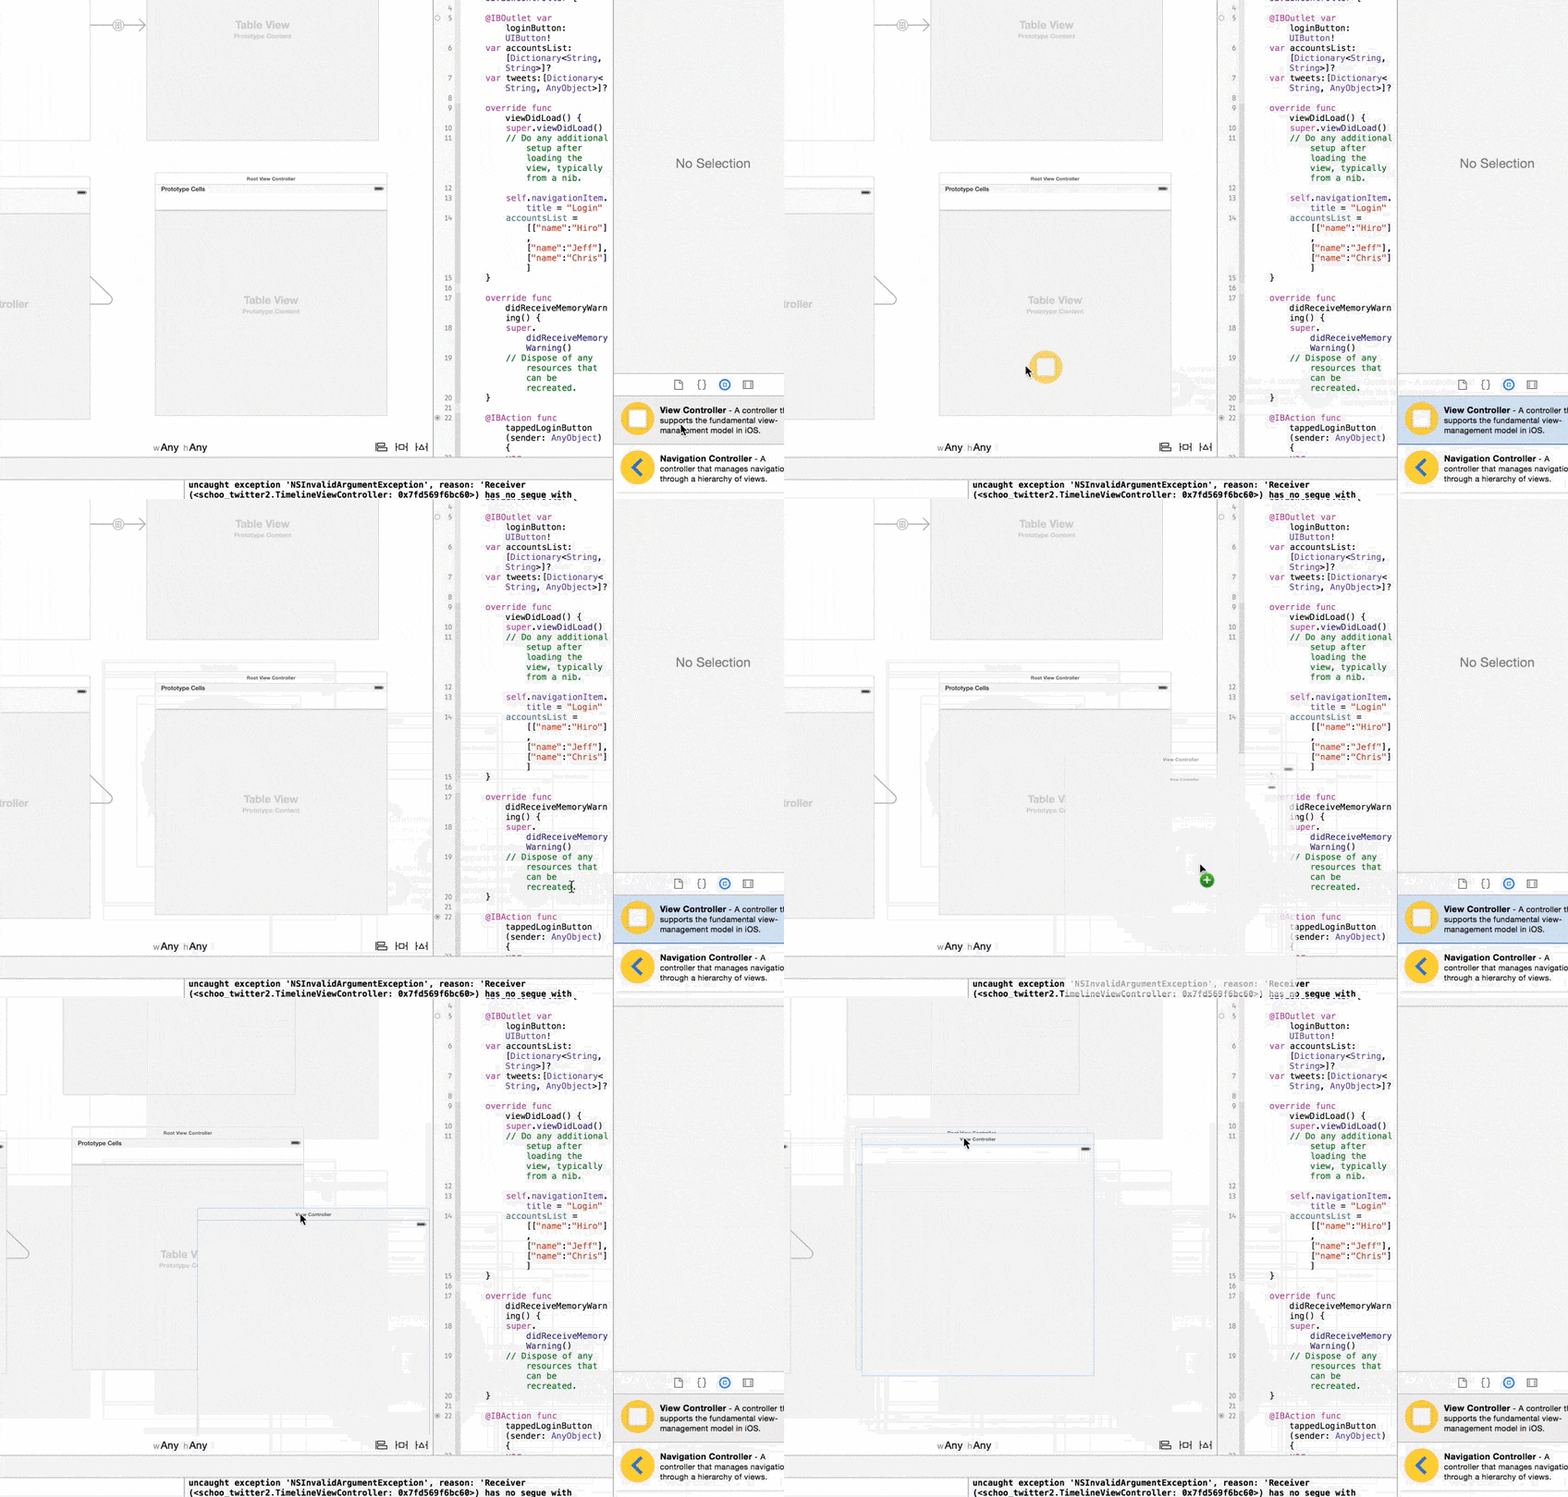
Navigation Controllerを新規で追加します。
Navigation Controllerを追加すると、Navigation ControllerとつながったRoot View Controllerの二つのビューが追加されます。
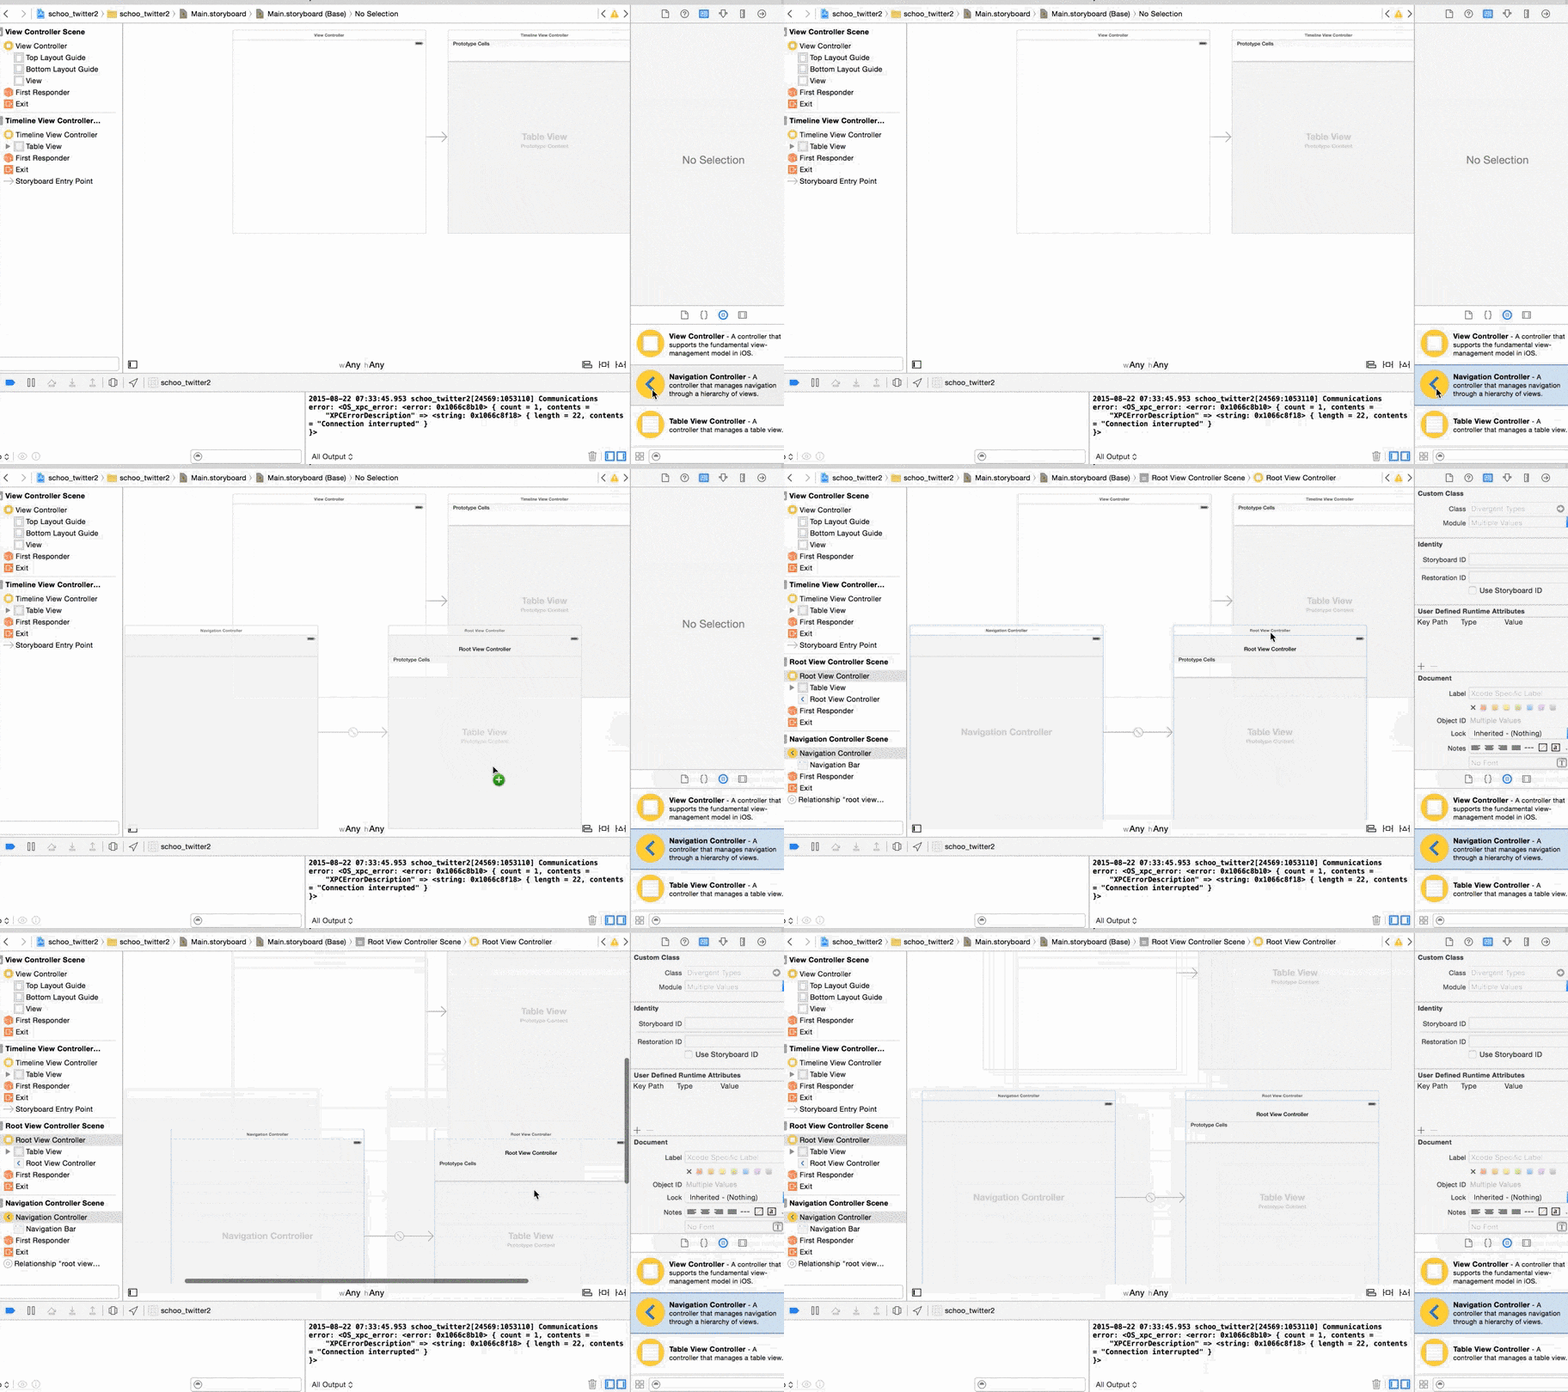
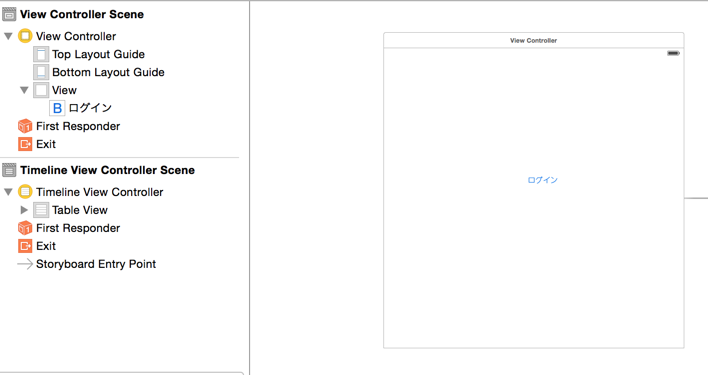
もともとあったViewControllerにボタンを追加して、テキストをログインに変更しておきます。
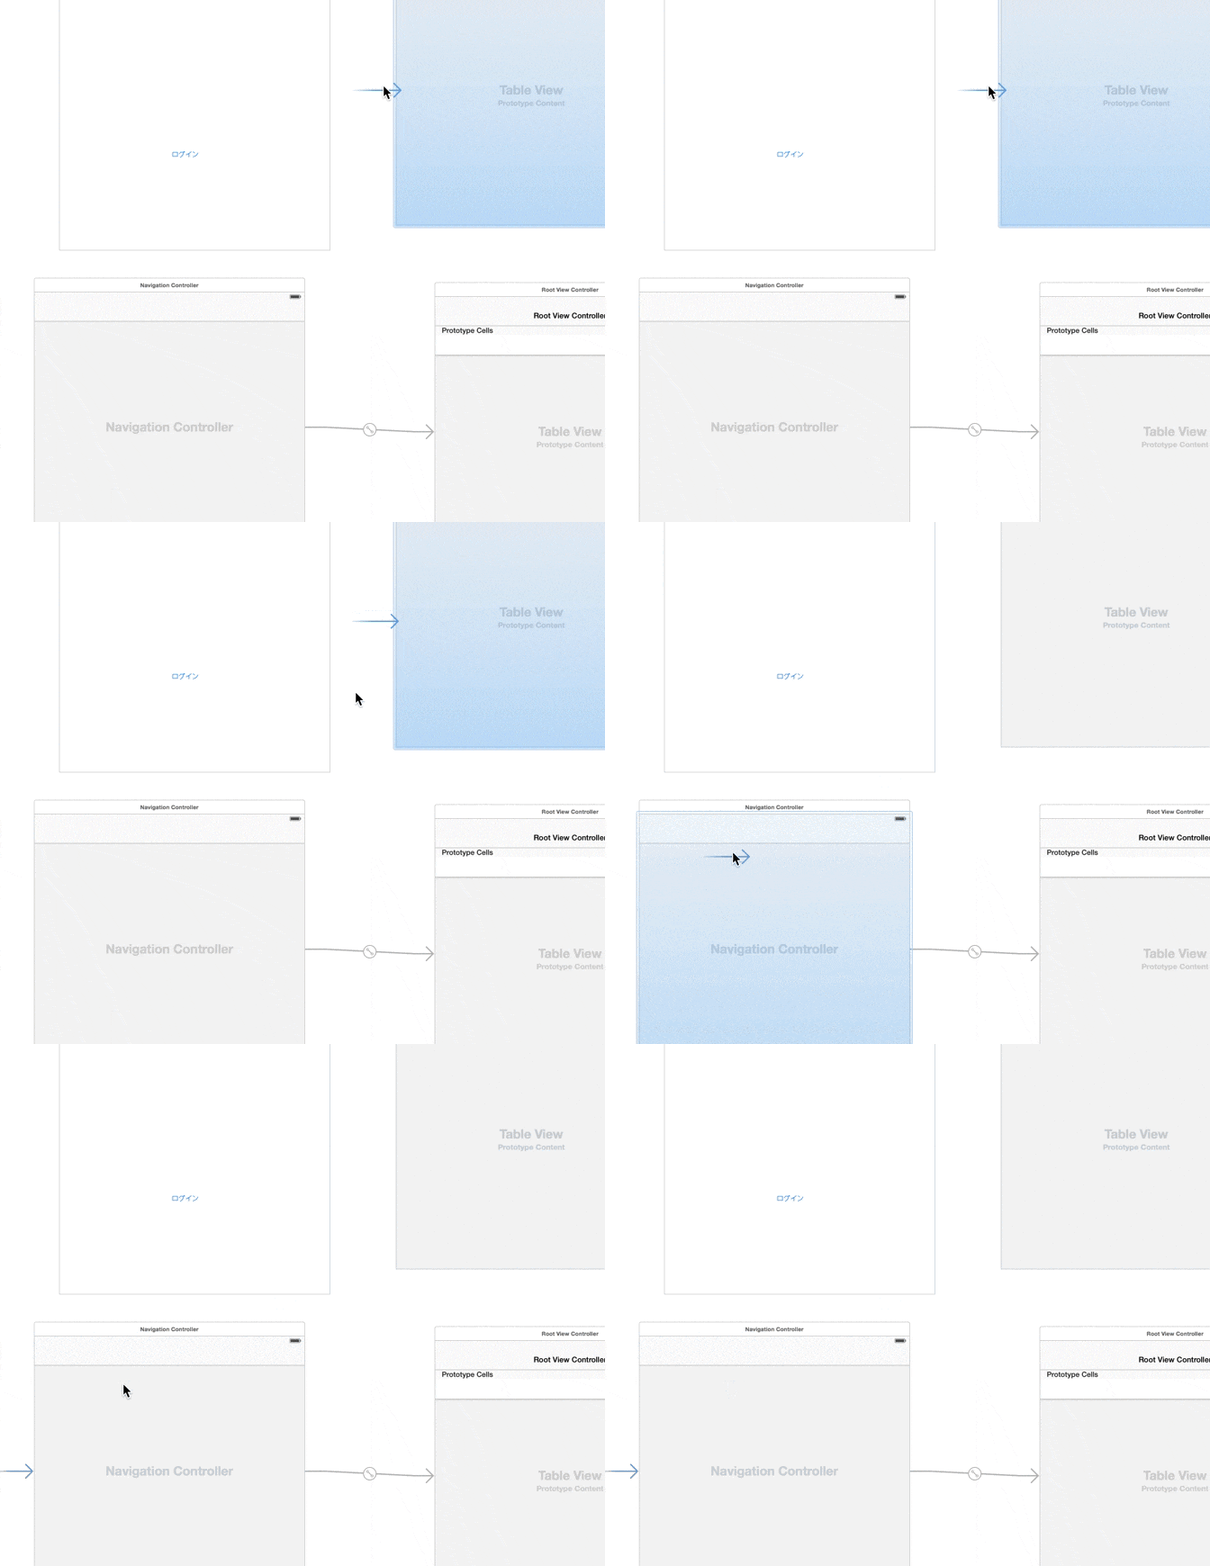
起動時のViewを変更
第4回ではTableView側だけで作業したのでTableViewに起動の矢印が向いてましたが、今回はNavigation Controllerに向けます。
リレーションを変更
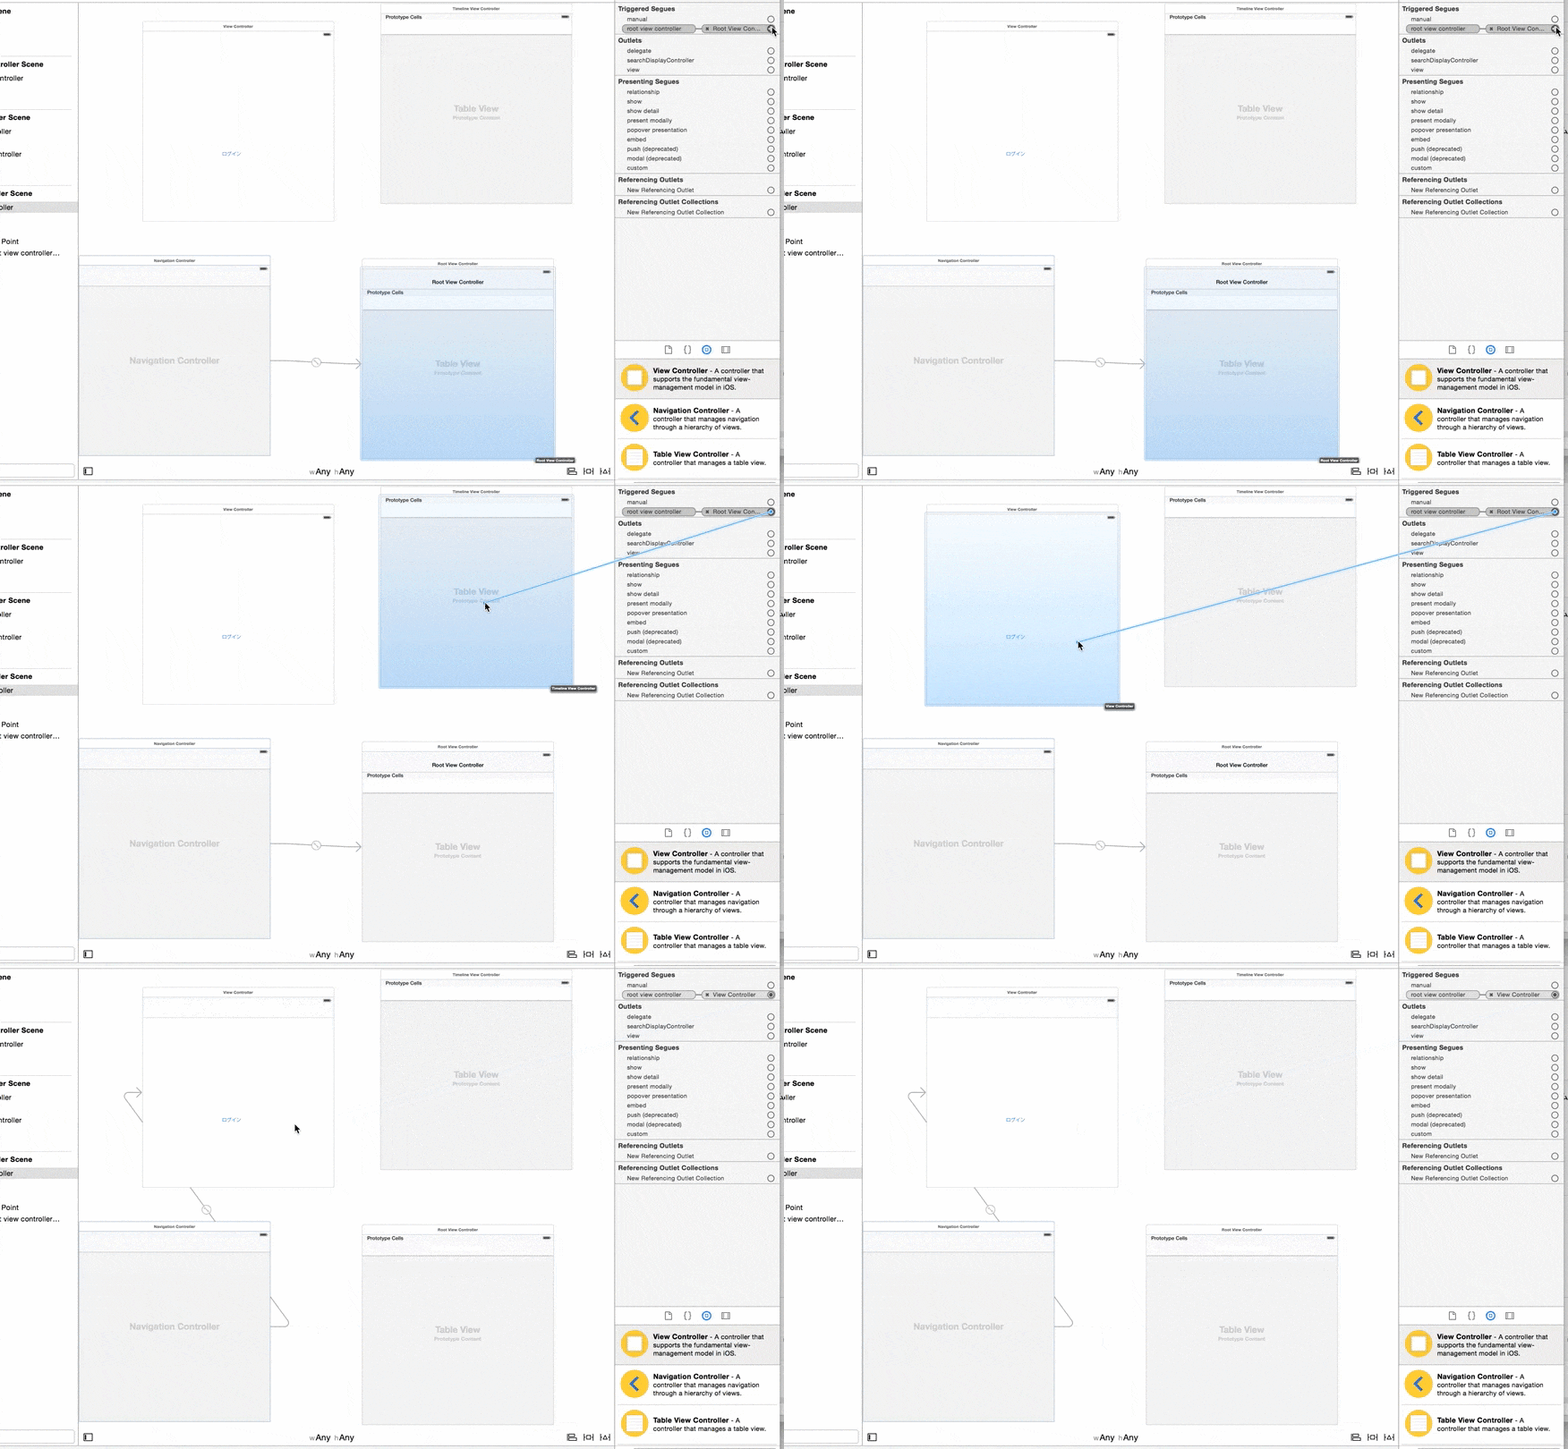
Navigation ControllerからRoot View ControllerへのリレーションをもともとあったViewControllerに変更します。
Navigation Controllerをクリックした際にインスペクタエリアに表示される のマークを選択して
Triggered Seguesの部分にある線をもともとあったViewControllerへドラッグアンドドロップで変更できます。
2. ViewController.swiftにプログラムを書く
コピペでいけます。説明は授業内で。
import UIKit

class ViewController: UIViewController {

    @IBOutlet var loginButton: UIButton!
    var accountsList:[Dictionary<String,String>]?
    var tweets:[Dictionary<String, AnyObject>]?

    override func viewDidLoad() {
        super.viewDidLoad()
        // Do any additional setup after loading the view, typically from a nib.

        accountsList = [["name":"Hiro"], ["name":"Account BBB"], ["name":"Account CCC"]]
    }

    override func didReceiveMemoryWarning() {
        super.didReceiveMemoryWarning()
        // Dispose of any resources that can be recreated.
    }

    @IBAction func tappedLoginButton(sender: AnyObject) {
        var accountSelectionSheet = UIAlertController()
        accountSelectionSheet.title = "Select Account"

        let selectAction =  { (var action: UIAlertAction!) -> Void in
            self.performSegueWithIdentifier("showTimelineViewController", sender: nil)
        }

        if let accounts:[Dictionary<String, String>] = accountsList{
            for account in accounts {
                let action = UIAlertAction(title: account["name"]!, style: .Default, handler: selectAction)
                accountSelectionSheet.addAction(action)
            }
        }

        let CanceledAction = UIAlertAction(title: "Cancel", style: .Cancel, handler: nil)
        accountSelectionSheet.addAction(CanceledAction)

        self.presentViewController(accountSelectionSheet, animated: true, completion: nil)
    }

}
3. イベントと処理を結びつける
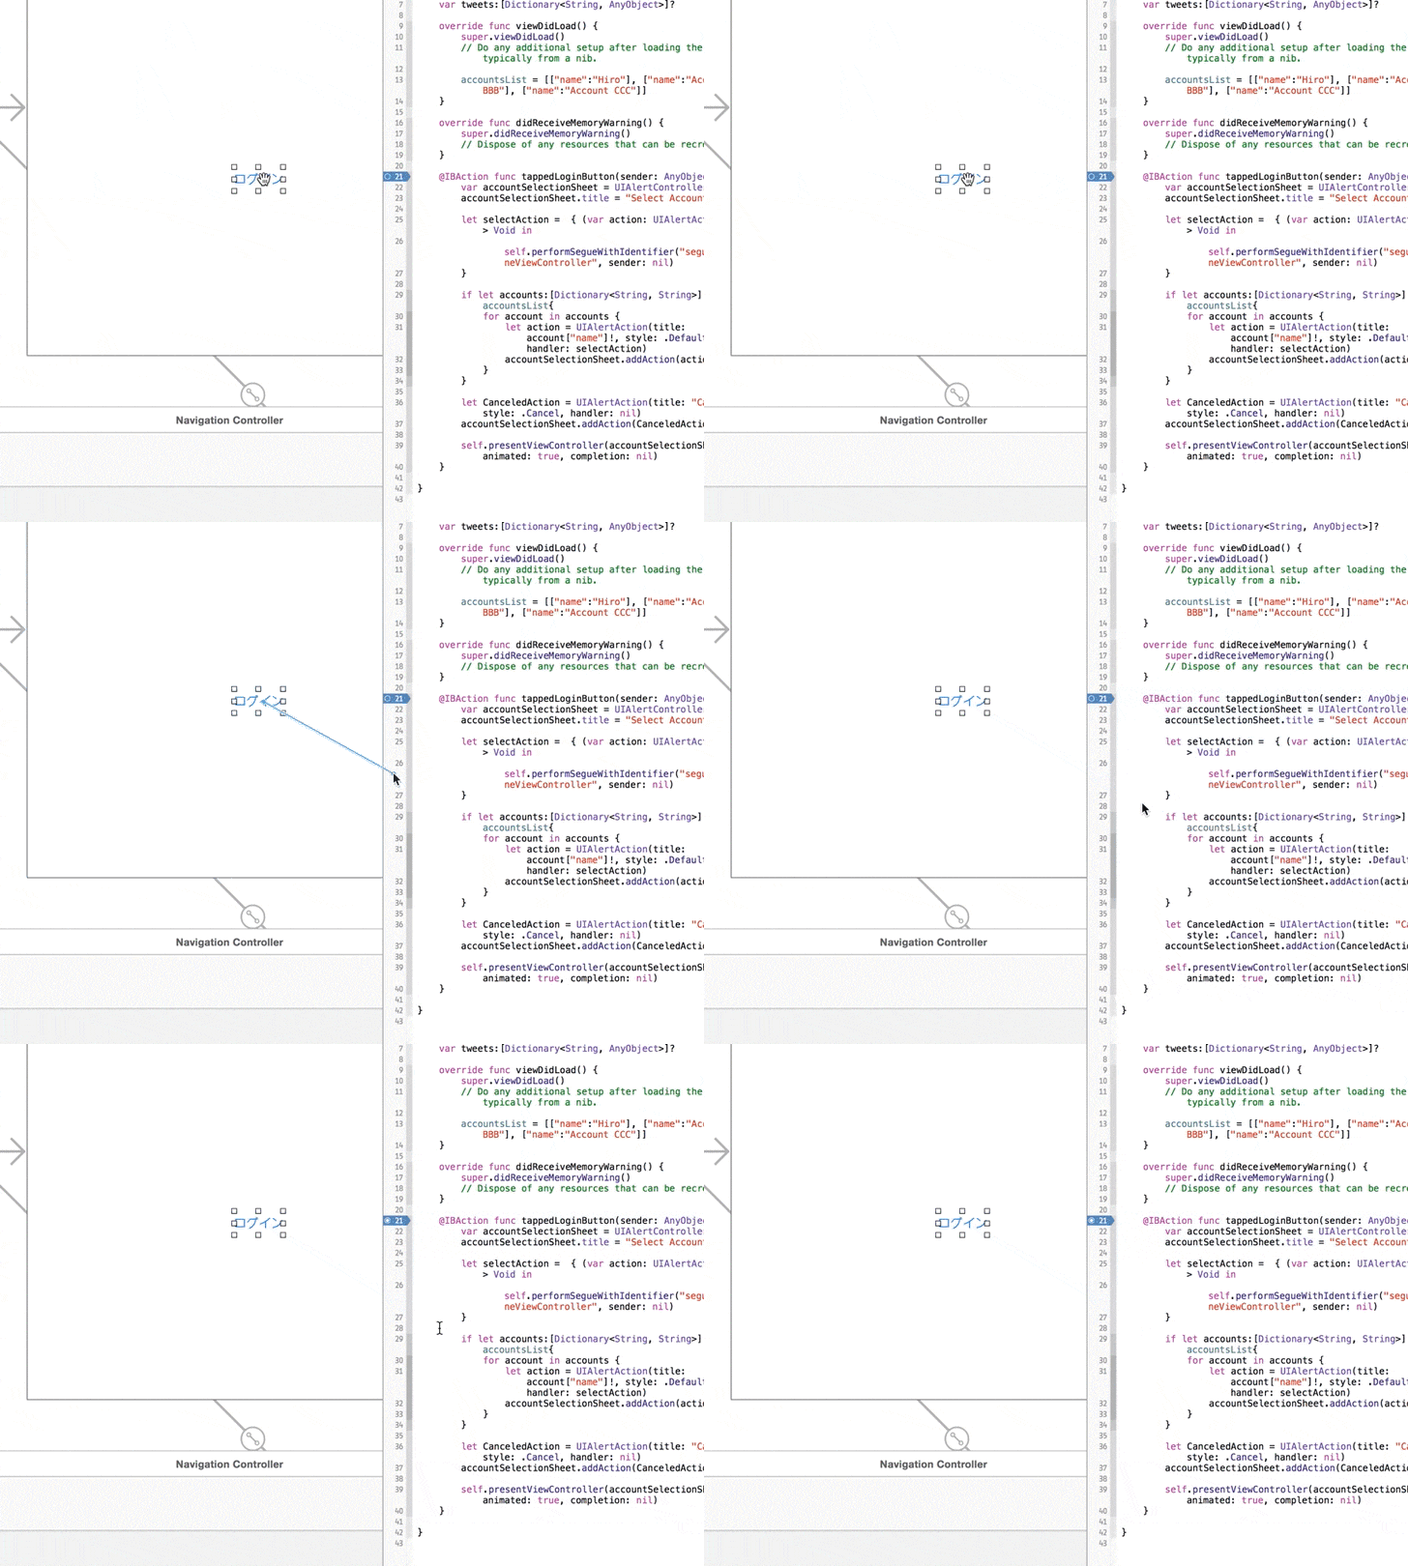
ViewController.swiftに記述したtappedLoginButton()という関数を、ログインボタンを押したら実行するようにします。
Storyboardとソースコードの両方が見えるようにして下さい。
ログインボタンをコントロールキーを押しながら選択肢、ドラッグしてソースコードのtappedLoginButton()付近にドロップすれば繋がります。
途中経過確認
ここまででこんな感じです。
4. ログインからTimeline表示まで
もともあったViewControllerとTimelineViewControllerをつなげる
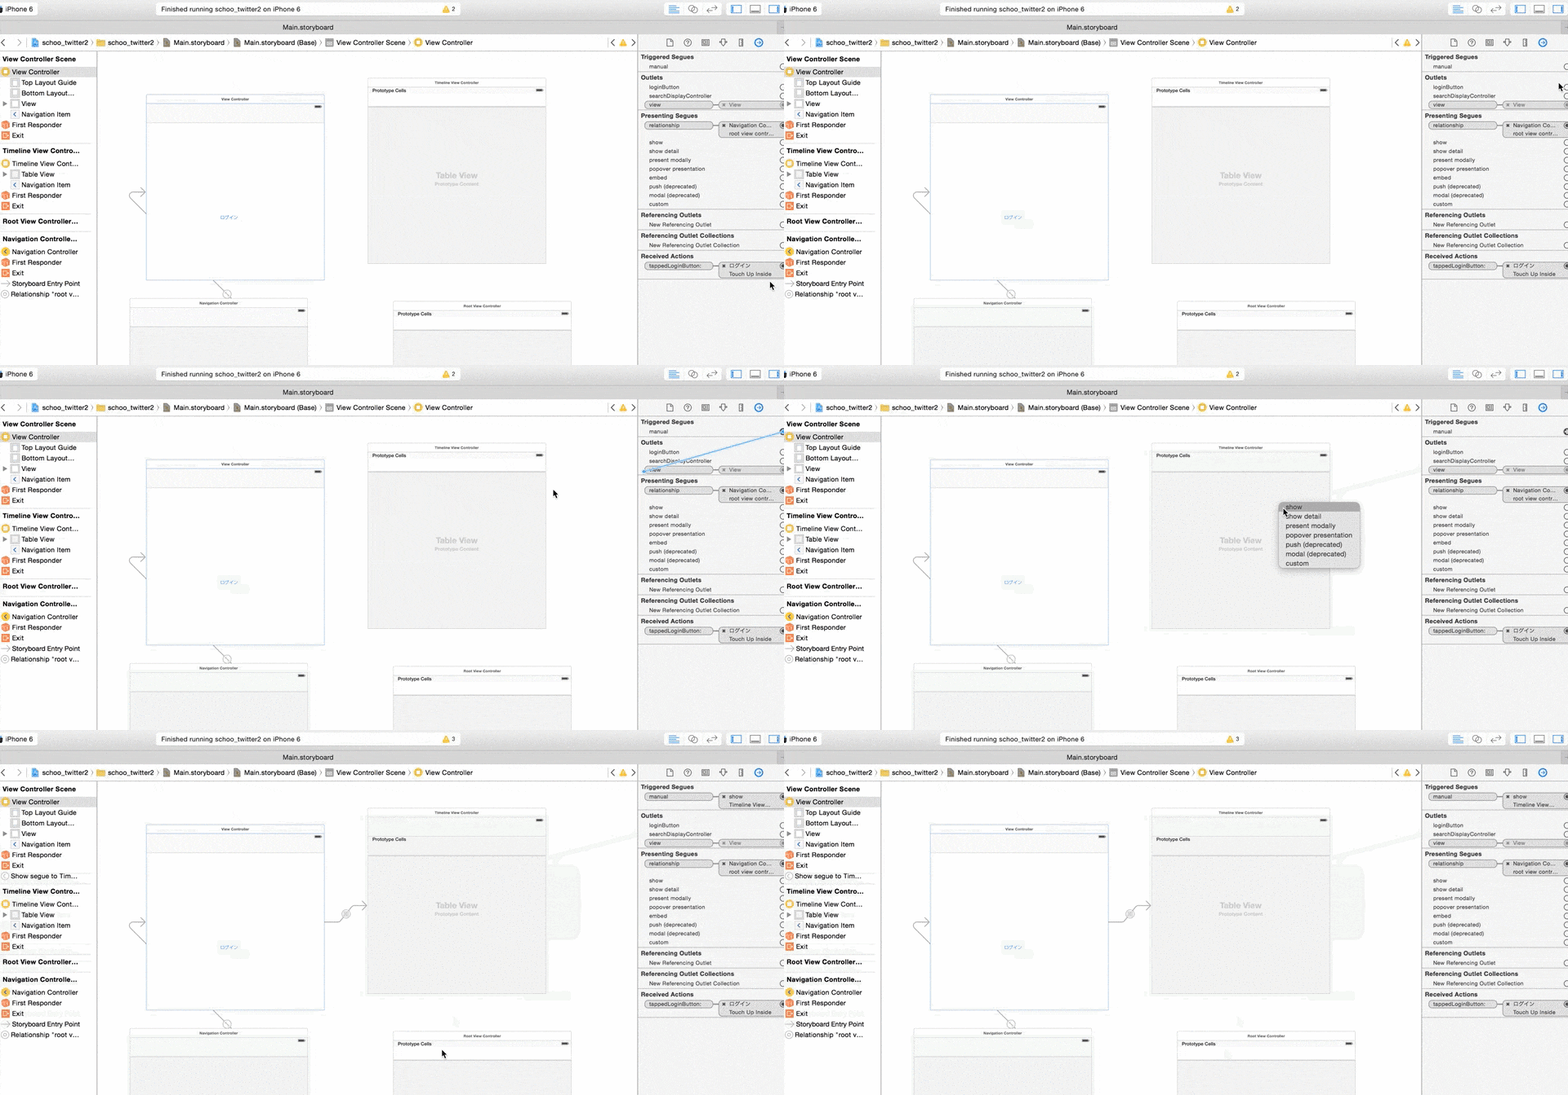
もともあったViewControllerをクリックし、インスペクタエリアのmanualからTimelineViewControllerにドラッグアンドドロップ -> showを選択しましょう。
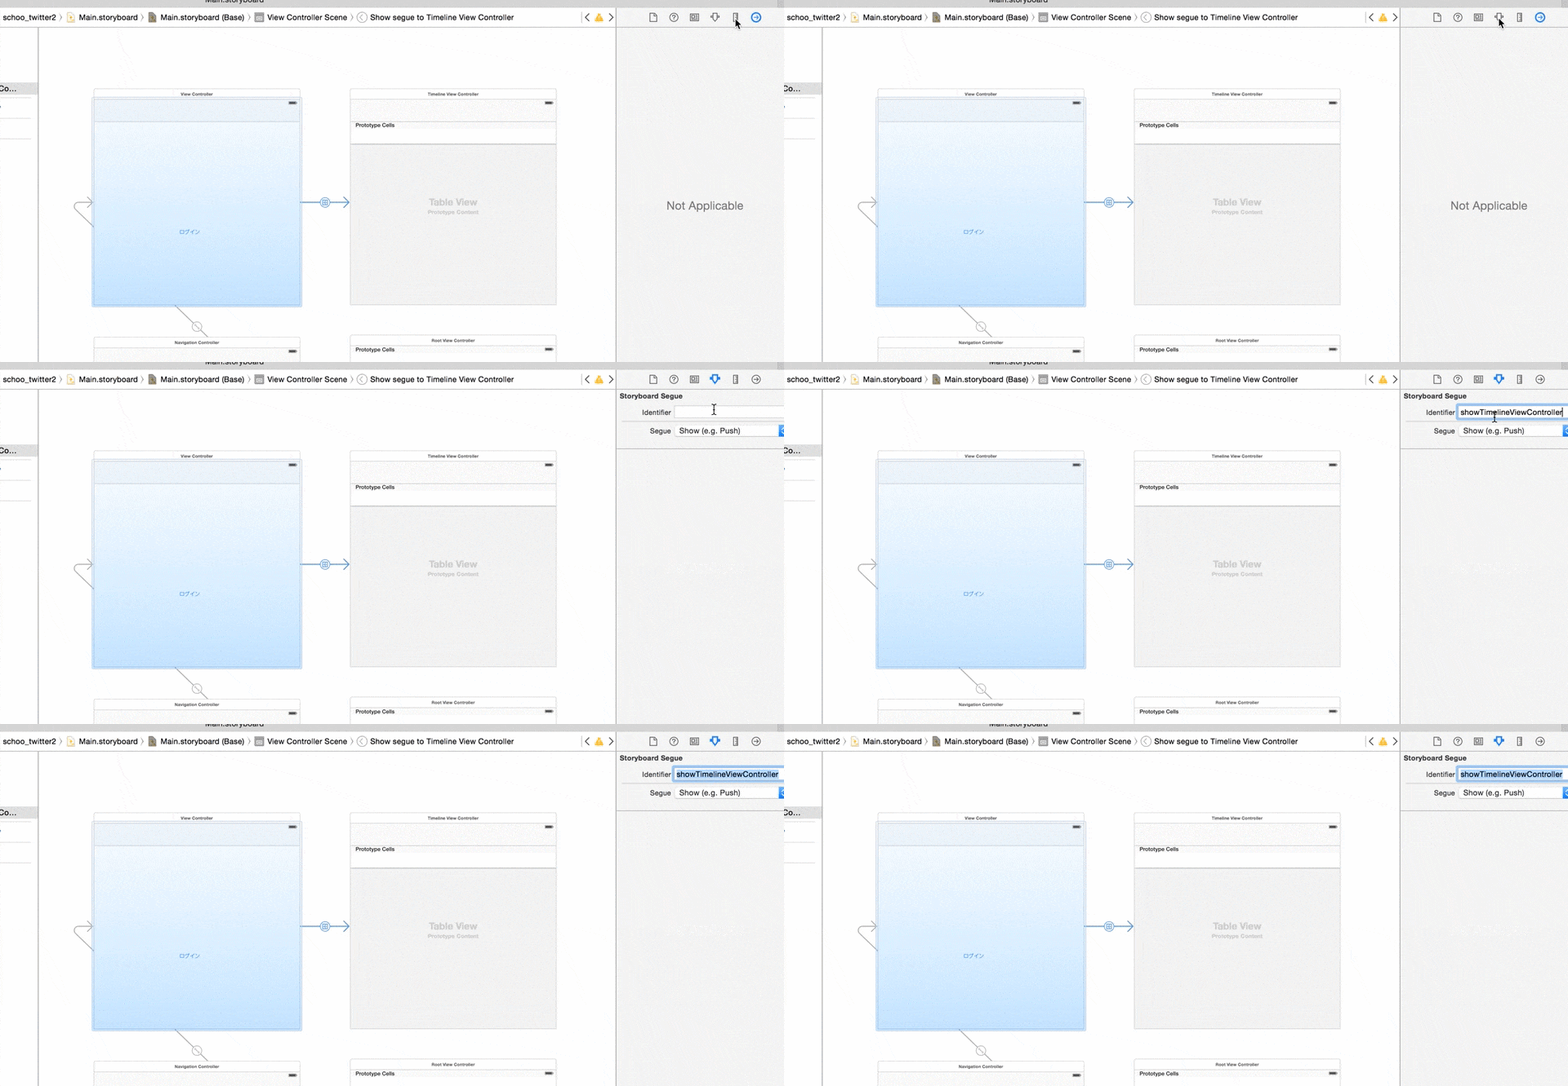
Storyboard Segueの項目のIdentifierをshowTimelineViewControllerに設定、Segueはshow (e.g. Push)になっていることを確認しましょう。
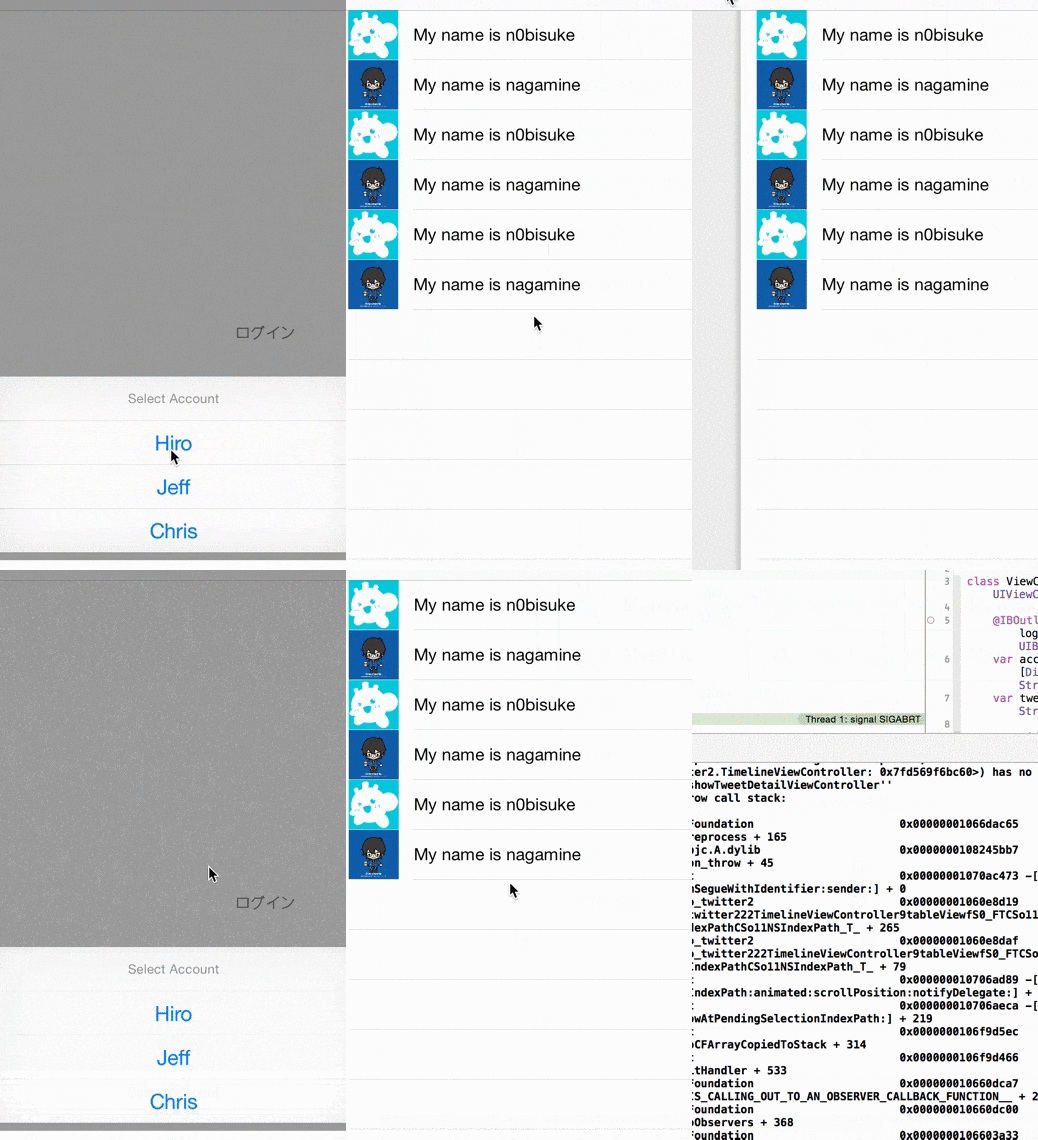
実行してみましょう
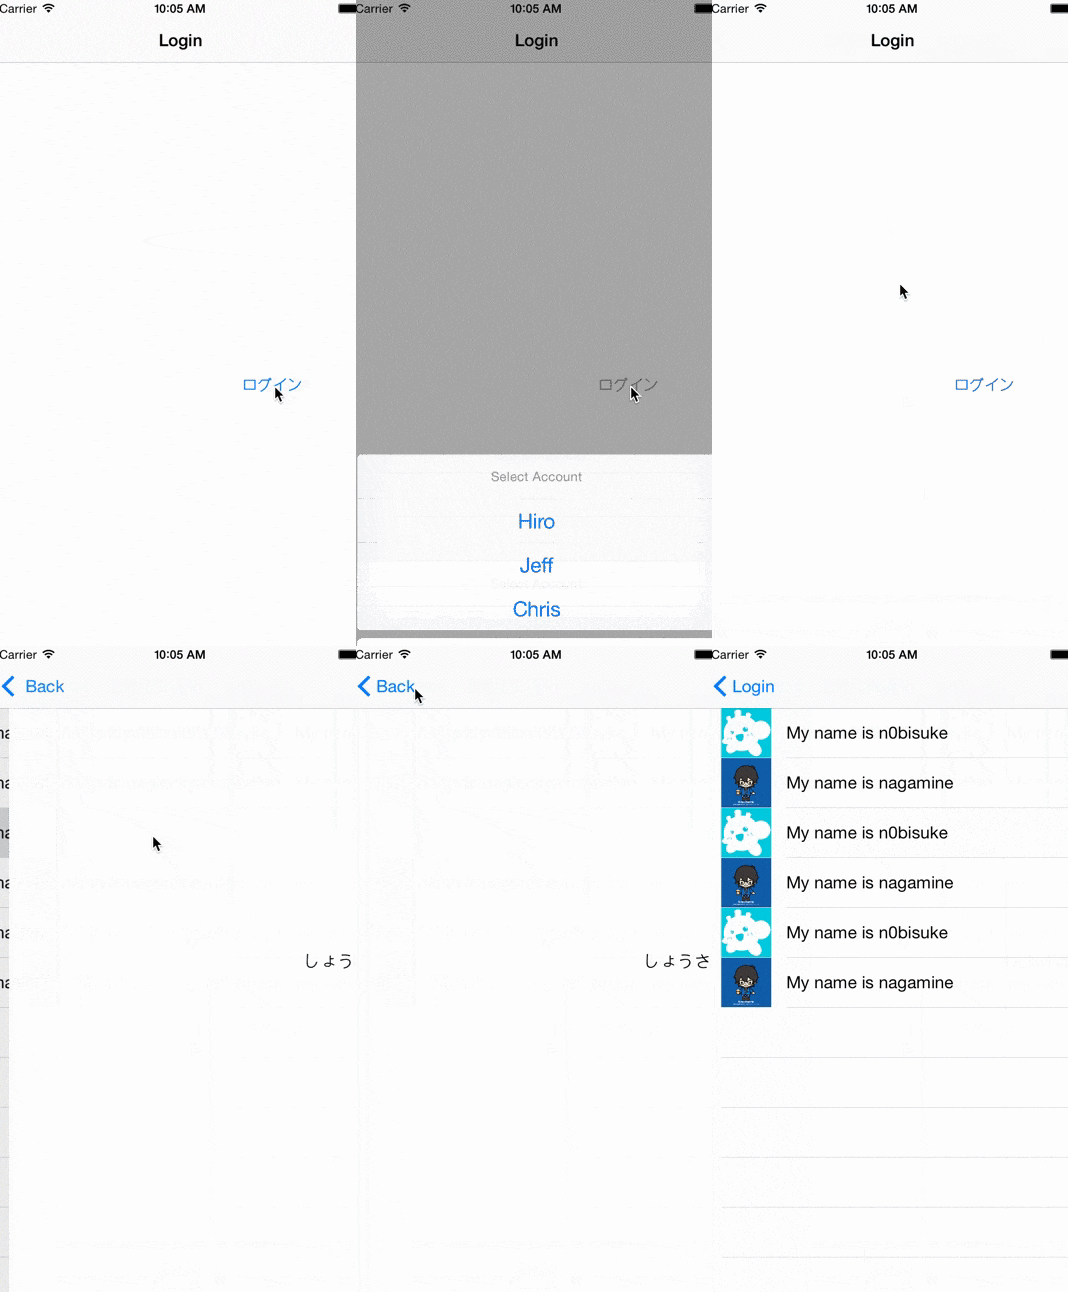
ログインボタン -> ユーザー選択 -> Timeline表示 ができると思います。
5. Tweet詳細画面への遷移を作る
Timelineのリストを押したときに詳細画面に飛ぶようします。
新しくviewを追加
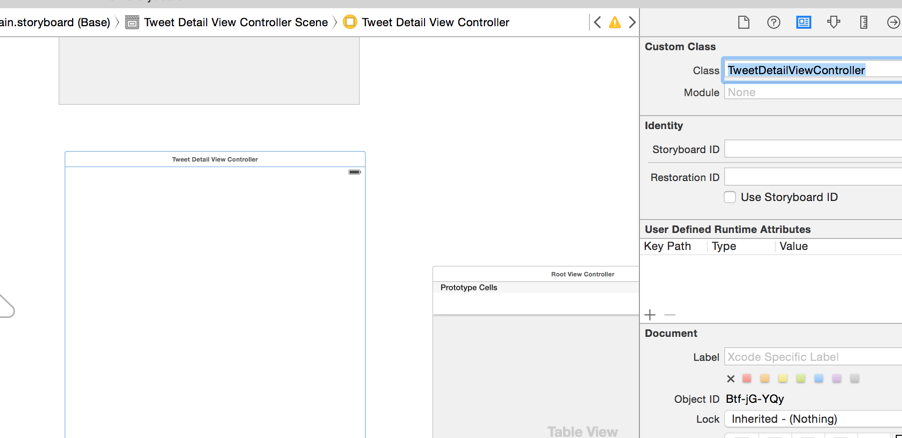
TweetDetailViewController.swiftを追加します。
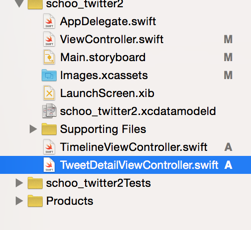
StoryboardでもViewを追加します。
追加したviewの名前は TweetDetailViewControllerにしましょう。
TimelineからTweet詳細をつなげる
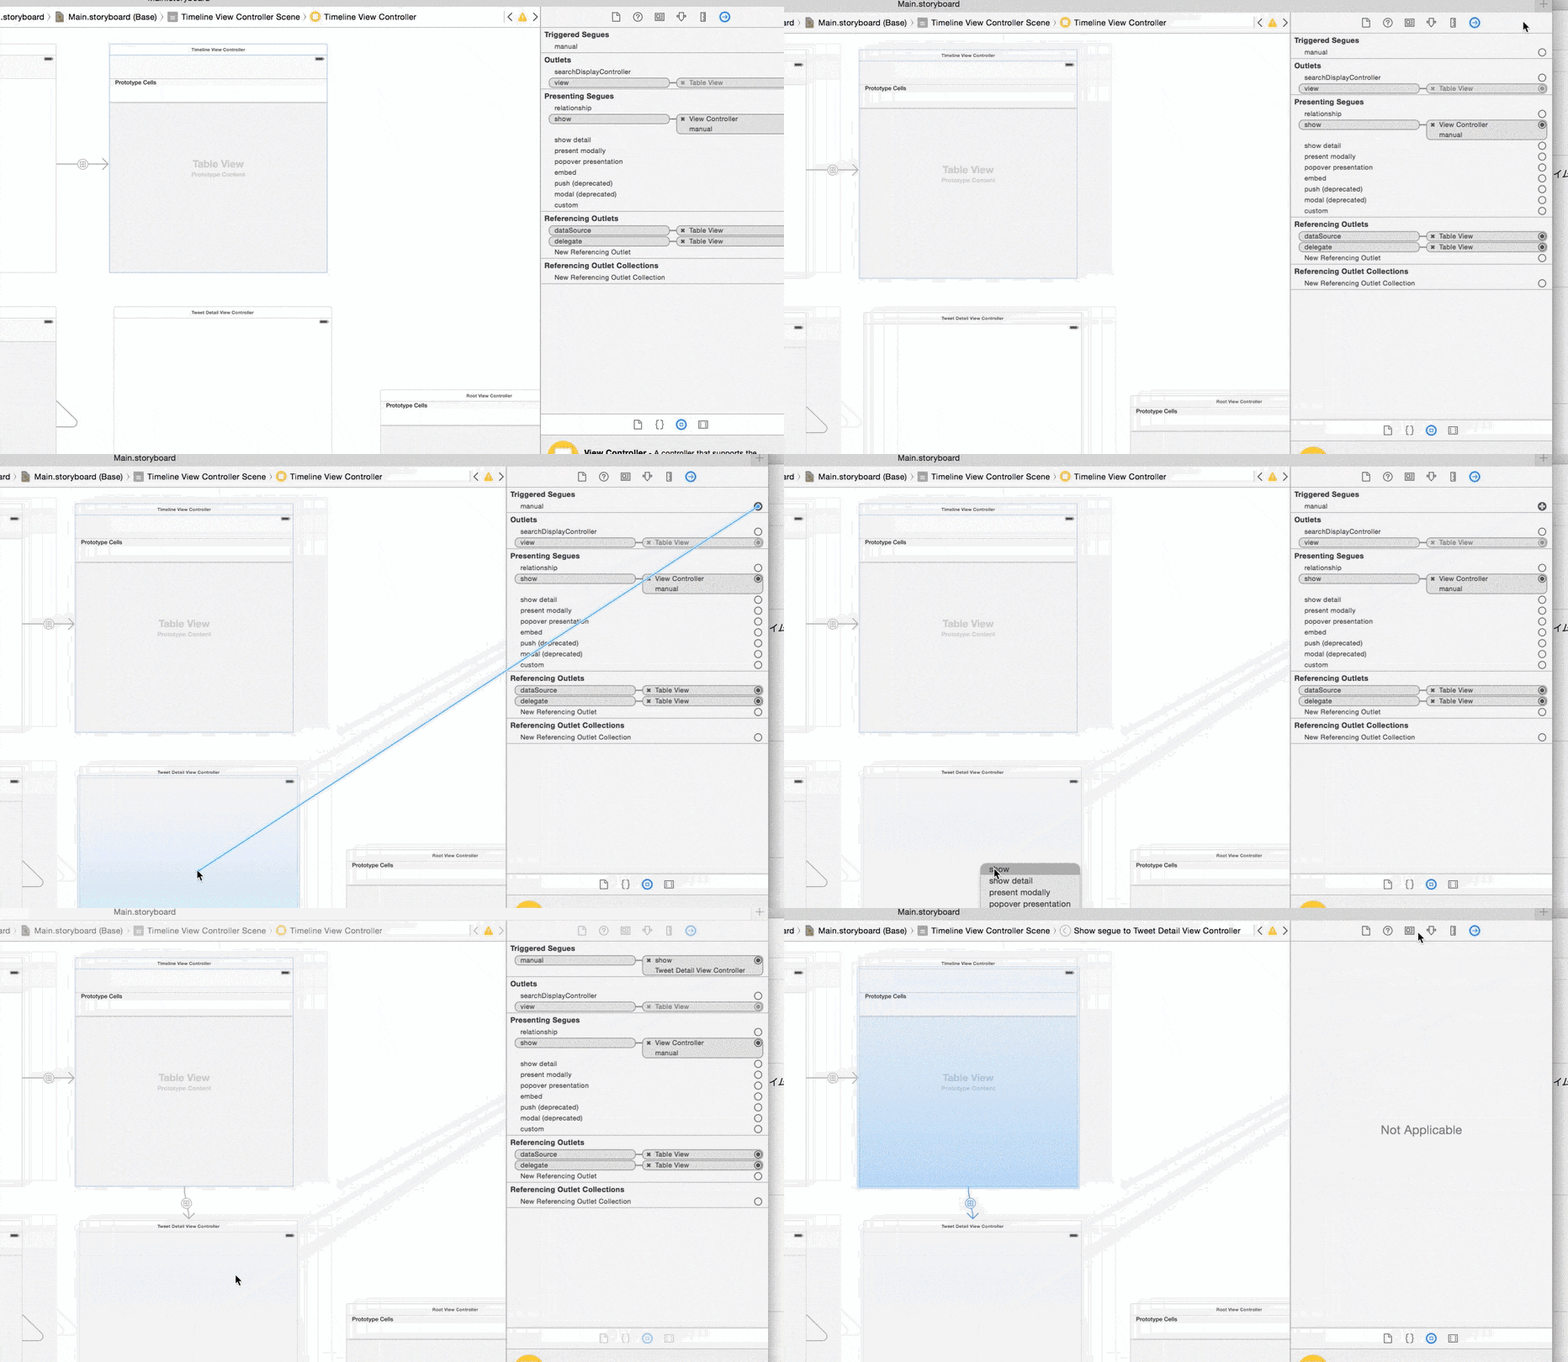
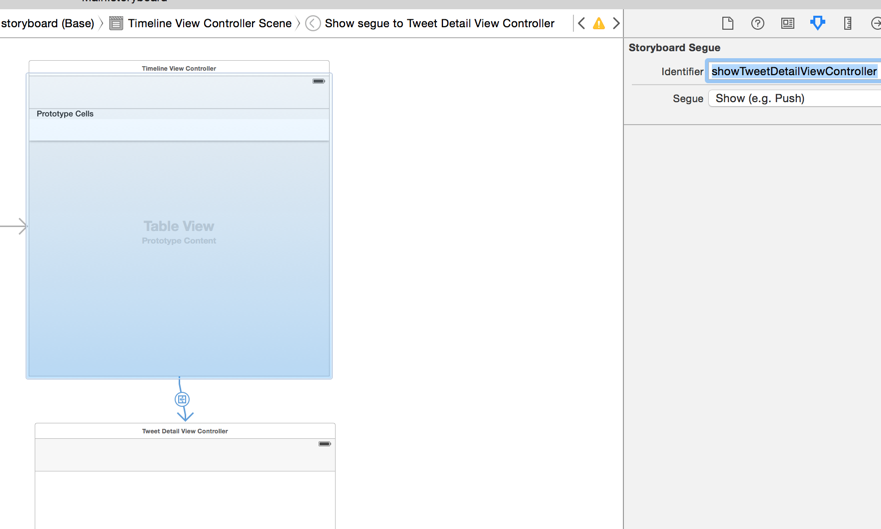
先ほどと同じようにTimelineViewControllerをくりっくし、インスペクタエリアのmanualから、今作ったばかりのTweetDetailViewControllerにドラッグアンドドロップ -> showを選択しましょう。
IdentifierにはshowTweetDetailViewControllerを入れます。
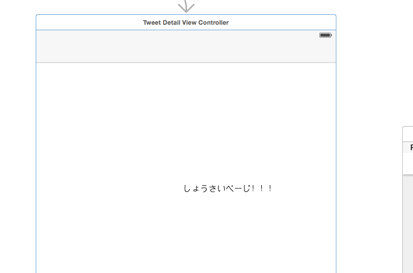
詳細ページにそれっぽいテキストを設置
6. 試してみる
まとめ
お疲れ様でした。
- Navigation Controllerを使っての画面遷移
- ボタンを押した際の処理を行うユーザーアクションについて触れました。
