はじめに
かなり苦労したけど、ようやく動作するようになったので一気通貫のインストール手順をまとめます。
ちなみに、コンパイルやインストール時のコマンド入力スタイルに統一感がないのはお許し下さい。
インストール
Jupyter notebook
以下のページを参照して、Jupyter notebookをインストール。
http://qiita.com/mix_dvd/items/d915752215db67919c06
autoconf
以下の手順でインストール。
※ rbczmqをインストールするための準備です。
$ curl -OL http://ftpmirror.gnu.org/autoconf/autoconf-latest.tar.gz
$ tar xzf autoconf-latest.tar.gz
$ cd autoconf-*
$ ./configure --prefix=/usr/local
$ make
$ sudo make install
automake
以下の手順でインストール。
※ rbczmqをインストールするための準備です。
$ curl -fL http://ftpmirror.gnu.org/automake/automake-1.15.tar.gz | tar xzf -
$ cd automake-*
$ ./configure --prefix=/usr/local
$ make
$ sudo make install
libtool
以下の手順でインストール。
※ rbczmqをインストールするための準備です。
$ curl -fL http://ftpmirror.gnu.org/libtool/libtool-2.4.6.tar.gz | tar xzf -
$ cd libtool-*
$ ./configure --prefix=/usr/local
$ make && sudo make install
rbenv
macOS Sierra(Beta)にはRuby 2.0が入っているのですが、iRubyにはRuby 2.1以上が必要なので、別バージョンのRubyを入れるための準備です。
[Webサイト] https://github.com/rbenv/rbenv
本体
以下の手順でインストール。
$ git clone https://github.com/rbenv/rbenv.git ~/.rbenv
$ echo 'export PATH="$HOME/.rbenv/bin:$PATH"' >> ~/.bash_profile
$ echo 'eval "$(rbenv init -)"' >> ~/.bash_profile
やらなくてもいいみたいですが「動作が速くなるよ」って説明があったので、以下のコマンドを補足しておきます。
$ cd ~/.rbenv && src/configure && make -C src
ruby-build
以下の手順でインストール。
$ git clone https://github.com/rbenv/ruby-build.git ~/.rbenv/plugins/ruby-build
Ruby 2.3系
rbenvを使ってインストール。
※2016/7/28現在、最新版は2.3.1でした。
$ rbenv install -l | grep 2.3
  1.9.1-p243
  2.2.3
  2.3.0-dev
  2.3.0-preview1
  2.3.0-preview2
  2.3.0
  2.3.1
  rbx-2.2.3
  rbx-2.3.0
$ rbenv install 2.3.1
$ rbenv local 2.3.1
$ rbenv rehash
Rubyのバージョン確認。
$ rbenv versions
  system
* 2.3.1 (set by /Users/[ユーザー名]/.ruby-version)
$ ruby -v
ruby 2.3.1p112 (2016-04-26 revision 54768) [x86_64-darwin16]
iRuby
以下の手順でインストール。
$ gem install rbczmq
$ gem install iruby
起動
以下のコマンドで起動。
$ iruby notebook
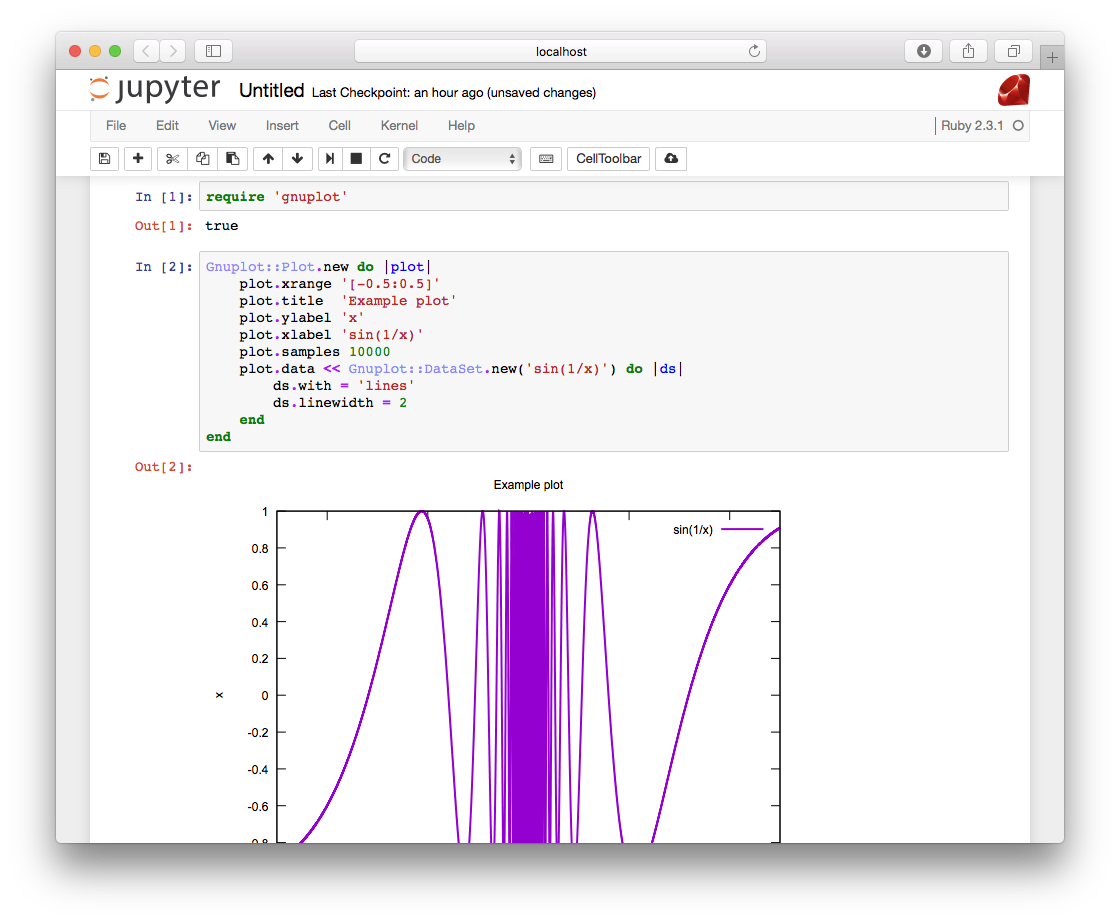
新しいノートを追加し、簡単な動作確認。
puts "test"
と入力して「test」と表示されることを確認。
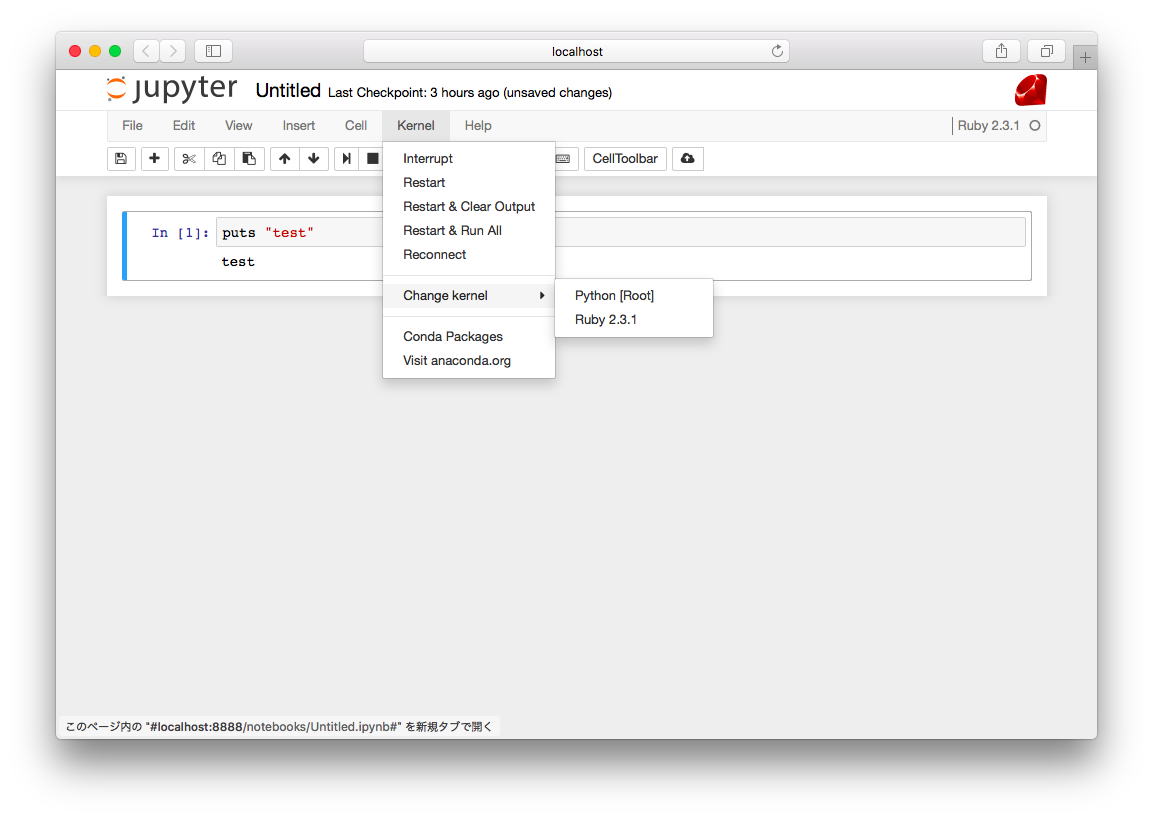
完璧!
機能の確認
以下のURLで機能を確認してみて下さい。
ちなみに、全てのサンプルを動作させるには、いくつかgemを追加インストールする必要があります。
また、別途gnuplotもインストールします。
gnuplotは以下のURLを参照
http://www.kashiyuki.com/entry/2016/07/04/143056
追加のgemは以下のとおり。
$ gem install pry
$ gem install gnuplot
$ gem install rubyvis
$ gem install nyaplot
こんなのできちゃった!!