前準備
[【Swift】【超入門】初心者向けはじめてのHelloWorld!]
[【Swift】【超入門】初心者向けはじめてのHelloWorld!]:http://qiita.com/maximum80/items/4116985b7276fdb45576
XCode6のダウンロードからプロジェクトの作成は前回の記事を参照。
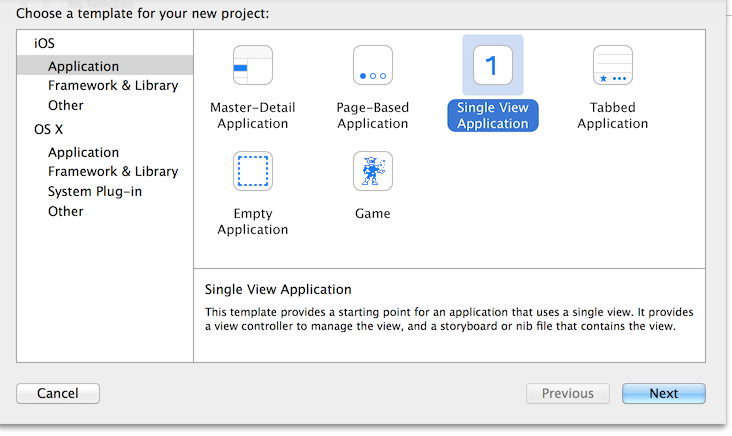
Single View Applicationを選択。
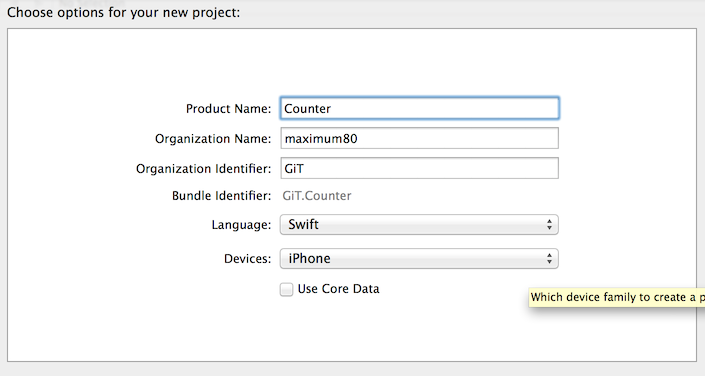
今回はCounterという名前のプロジェクトを作ります。
StoryBoardを活用する
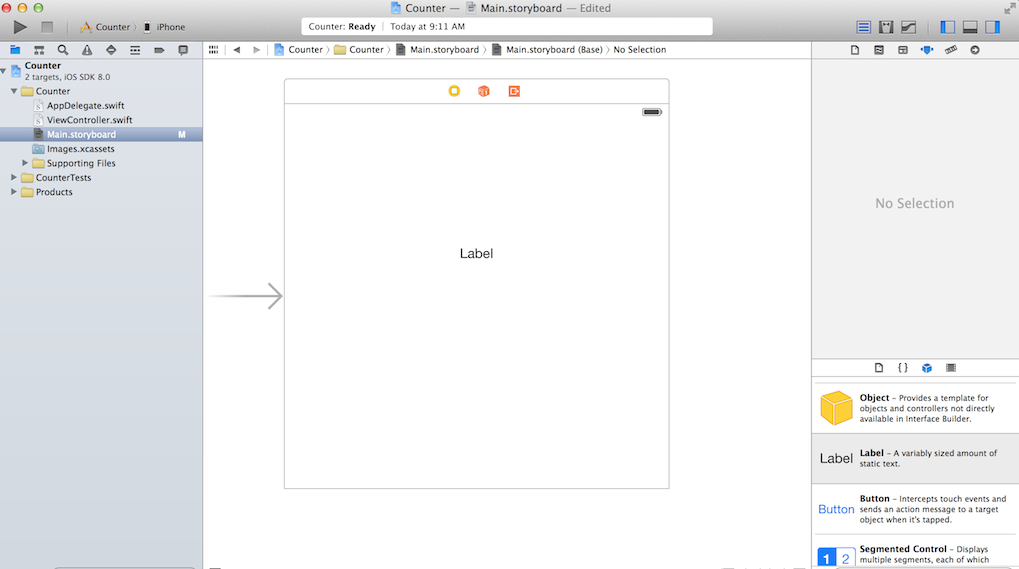
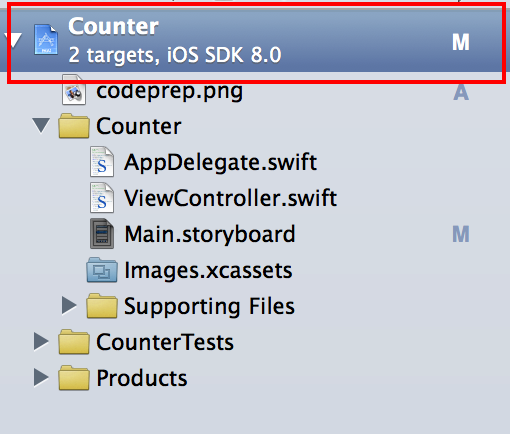
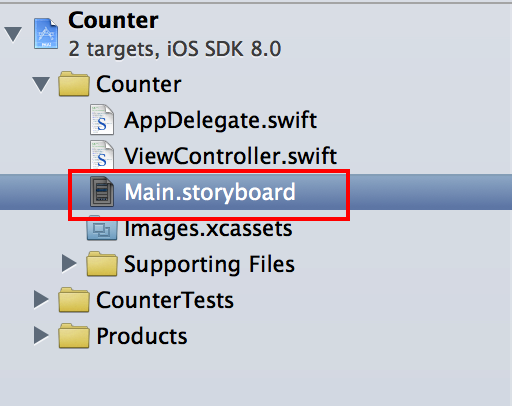
左側に表示されているプロジェクトデータから
Main.storyboard
というファイルを選択。
LabelとButton等のオブジェクトの設置
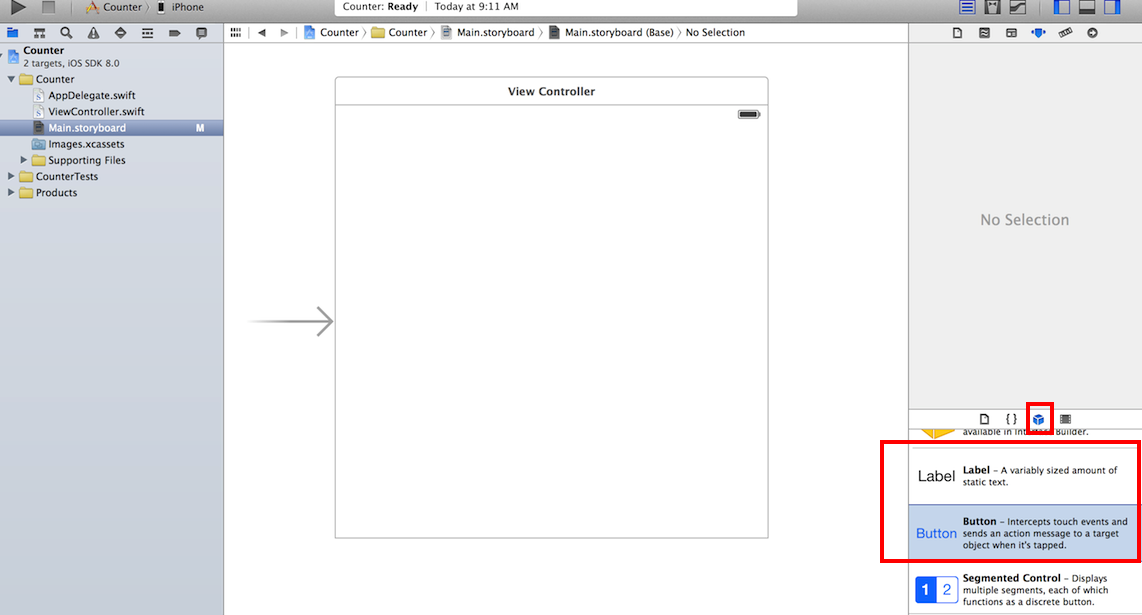
まずXCode右下の Object Library (右下の立方体のマーク)をクリック。
すると、様々な種類のオブジェクト(アセットのようなもの)があり、ストーリーボードに挿入する事が出来ます。
- Label、Button等のオブジェクトの設置
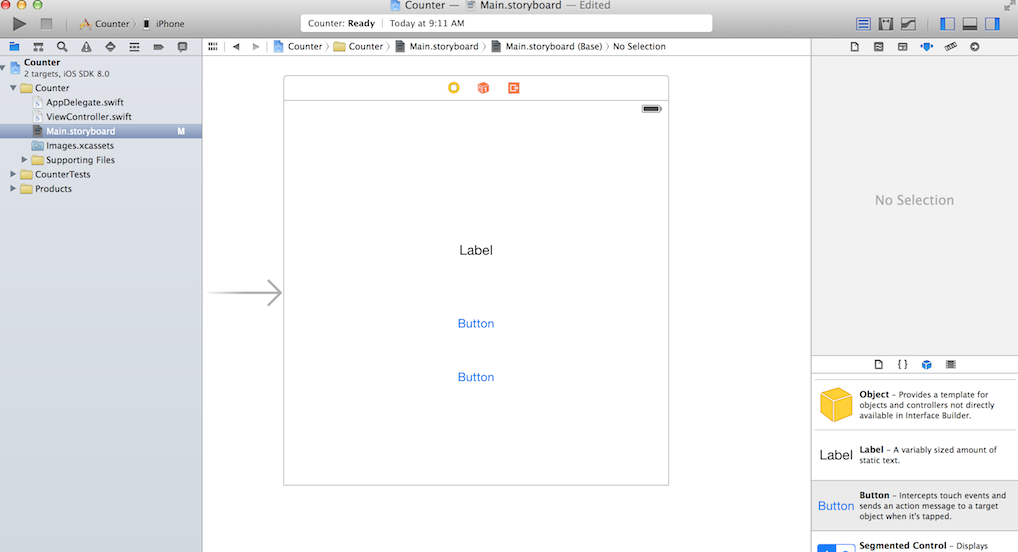
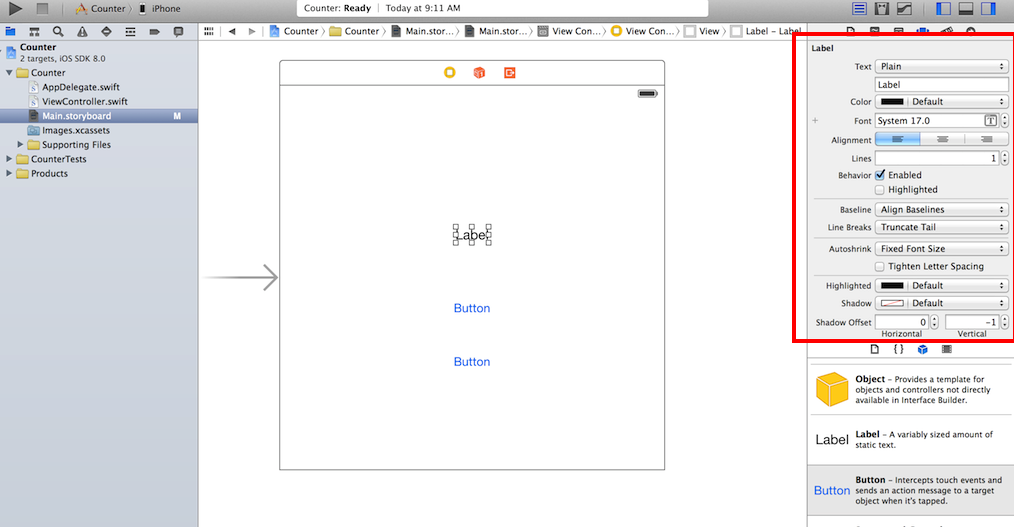
- Labelマークをストーリーボードにドラック&ドロップします。
- Buttonも選択し、同様に設置していきます。
今回はカウントされる数字のラベル、追加ボタン、リセットボタンの3つを設置します。
2. 色や種類、配置の指定
ラベルやボタンの色、内容、種類等をAttributes insepterから編集する事が出来ます。
容量はPPT等とほとんど変わらないため、誰でも簡単に編集できると思います。
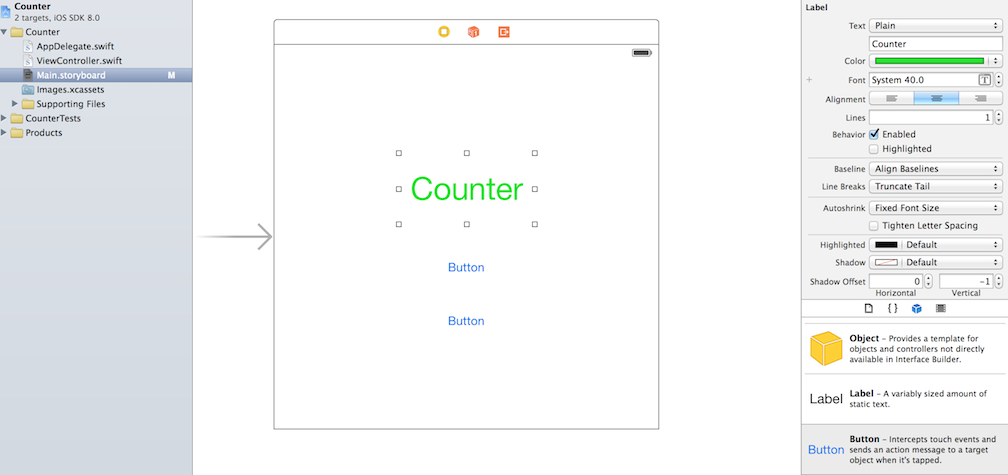
- 色、種類の編集します。
こんな感じで編集していきます。色々試してみるといいかもしれません。
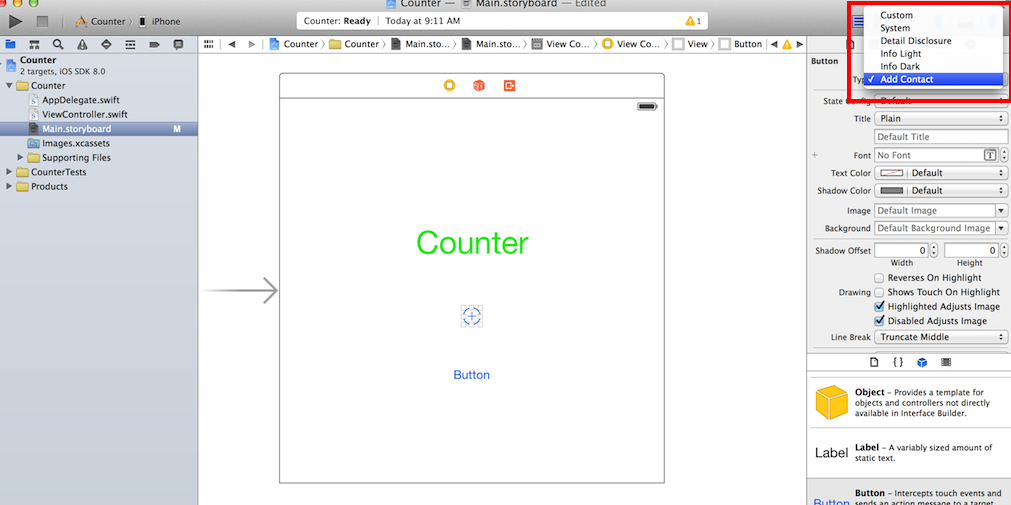
ボタンも今回はAdd Contact(通常は連絡先の追加でつかうデフォルトのボタン)を利用します。
- 配置の指定します。
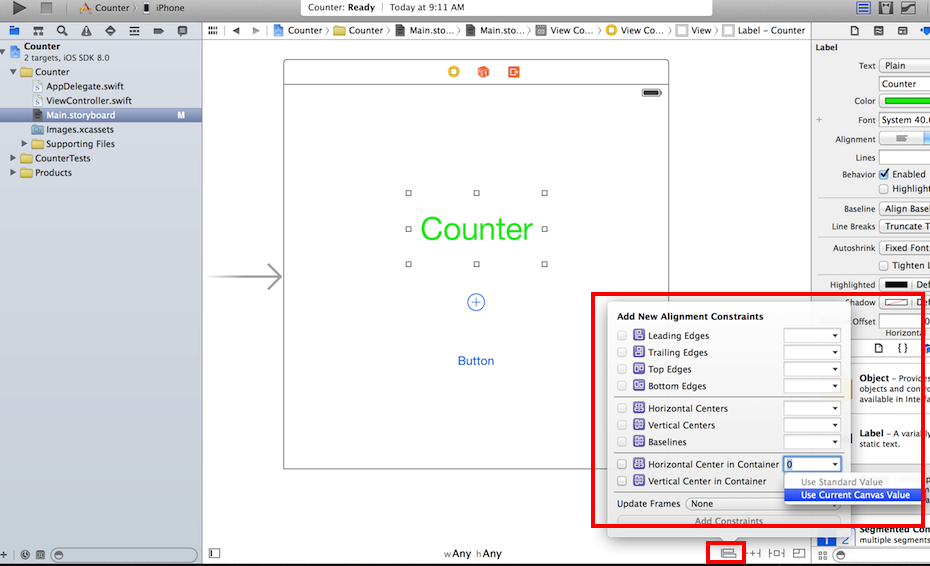
ドラッグ&ドロップで設置するだけでは、位置は確定したわけではありません。
確定させるためには、右下のAlignの部分から位置を指定して制約を加えてください。
3. 画像の挿入
- 画像をドラッグ&ドロップします。
画像を以下の位置にドラッグ&ドロップしてください。
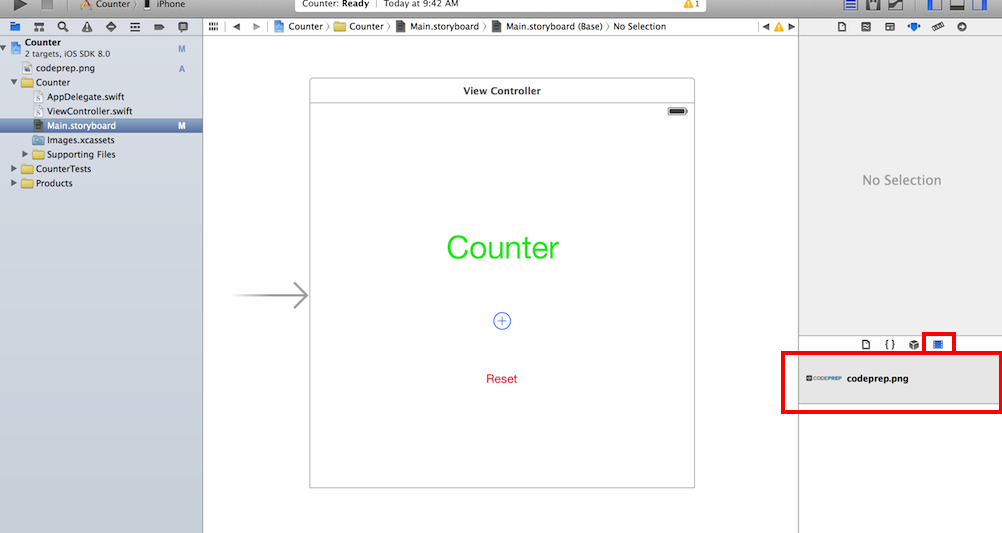
- Media Libraryから挿入します。
すると、右下のmedia Libraryに画像が加わっているのが分かります。
LabelやButton同様、ドラッグ&ドロップでストーリーボードに挿入しましょう。
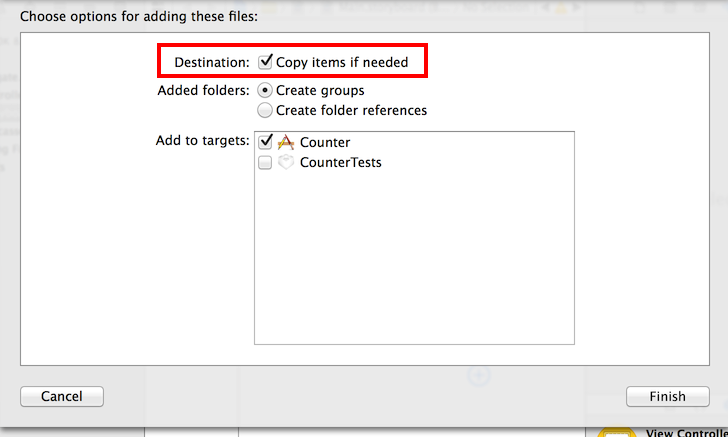
- また、この際に表示される以下のcopy itemsにチェックが入ってることを確認してください。
注意しないと参照だけコピーになりうまくいきません。(追記)
宣言と関連づけ
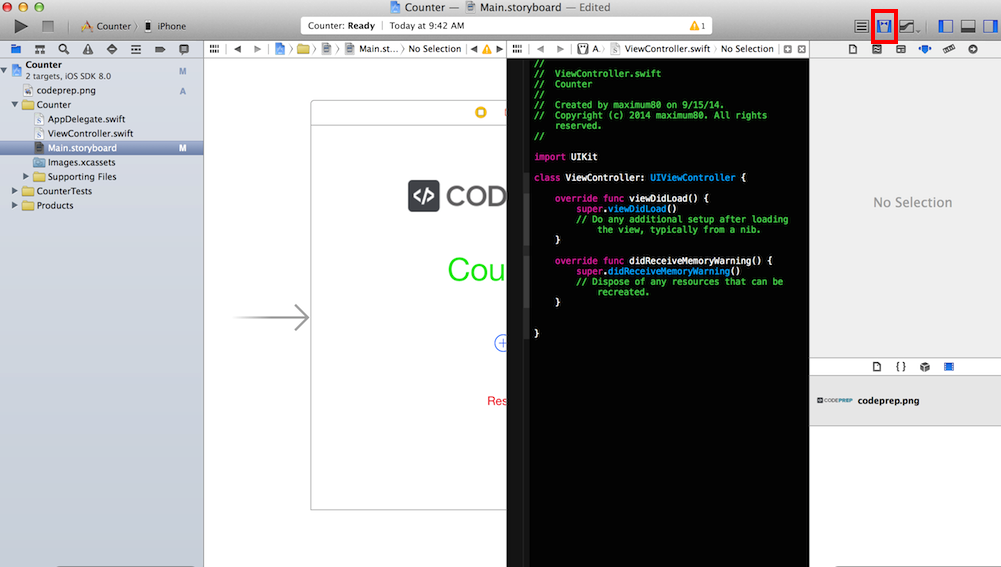
- Assistant Editorを開く
以下のボタンをクリックして ViweController.swiftを編集できる状態にしましょう。
2. ストーリーボードとの関連付けをします。
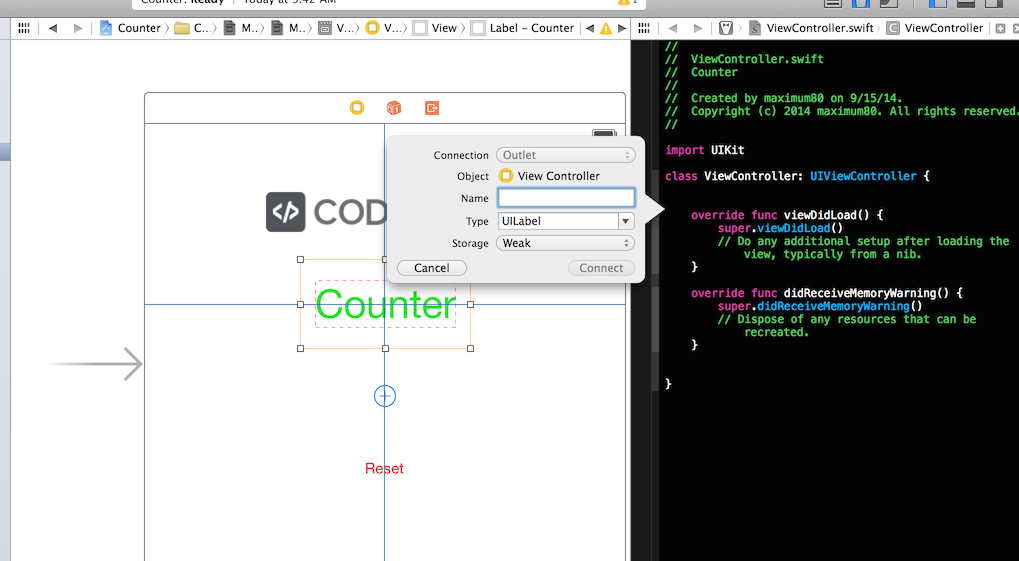
オブジェクトをCtrl+ドラッグ&ドロップして、エディタに移動しましょう。
counter と名前をつけて connect をクリック。
すると、以下のようなコードが自動生成されます。
@IBOutlet var counter : UILabel
3. ボタンのクリックアクションの関連づけをします。
Buttonも同様に関連づけが出来ますが、以下のように Connection を Action に選択する事で、クリック等の動作時に発生する関数として関連づけられます。
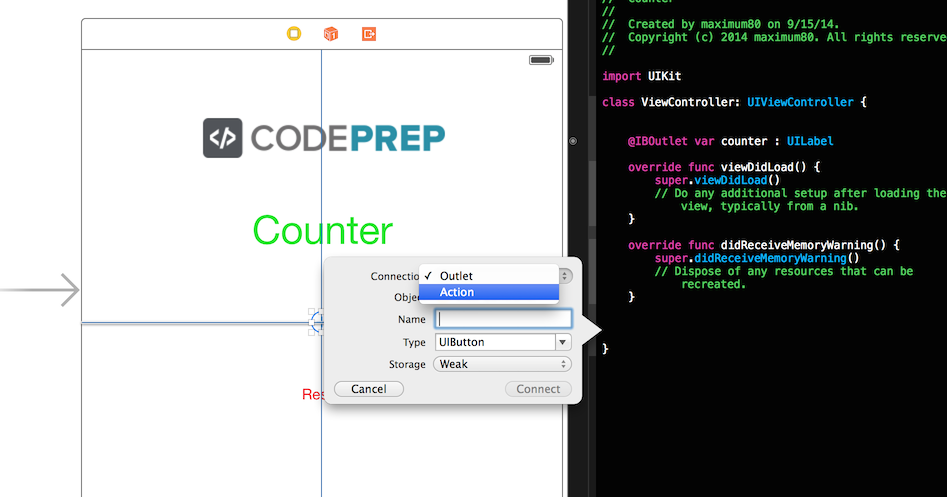
以下のようなソースコードが生成されます。
/*func以下は設定した関数名前*/
 @IBAction func PushCountButton(sender : UIButton) {
    }
メインの処理を実装
メインの処理はとてもシンプルです。
- counter用のcountNumという変数を定義
- Countボタンクリック時はラベルにcountNumを追加、インクリメント
- Resetボタンのクリック時はラベルに0を追加、countNumをリセット
ソースは以下です。
//
//  ViewController.swift
//  Counter
//
//  Created by maximum80 on 9/15/14.
//  Copyright (c) 2014 maximum80. All rights reserved.
//

import UIKit

class ViewController: UIViewController {


    @IBOutlet var counter : UILabel
    var countNum = 0

    override func viewDidLoad() {
        super.viewDidLoad()
        // Do any additional setup after loading the view, typically from a nib.
    }

    override func didReceiveMemoryWarning() {
        super.didReceiveMemoryWarning()
        // Dispose of any resources that can be recreated.
    }


    @IBAction func PushCountButton(sender : UIButton) {
        counter.text = String(countNum)
        countNum++
    }


    @IBAction func PushResetButton(sender : AnyObject) {
        countNum = 0
        counter.text = String(countNum)
        countNum++
    }

}
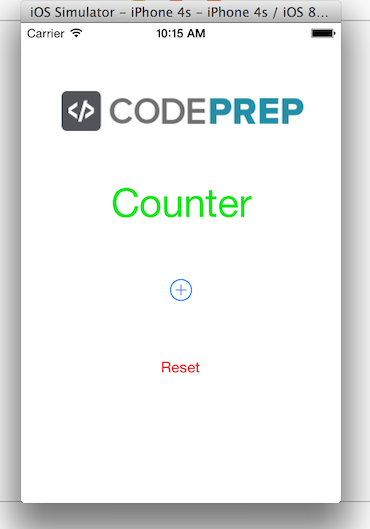
実行してみると、上手くカウンターが動作すれば成功です!!
