ui::ListViewはui::ScrollViewを継承して作られています。
ui::Widget単位でリストにいい感じで並べてくれるので、かなり使いやすいです。
Cocos2d-x2.x時代に使っていたTableViewに比べるとやることがほとんどなくて、とても楽でした。
CocosStudio側の作業
ListViewを配置したベースのLayoutとListViewに表示するパーツを用意します。
UIEditorを使います。
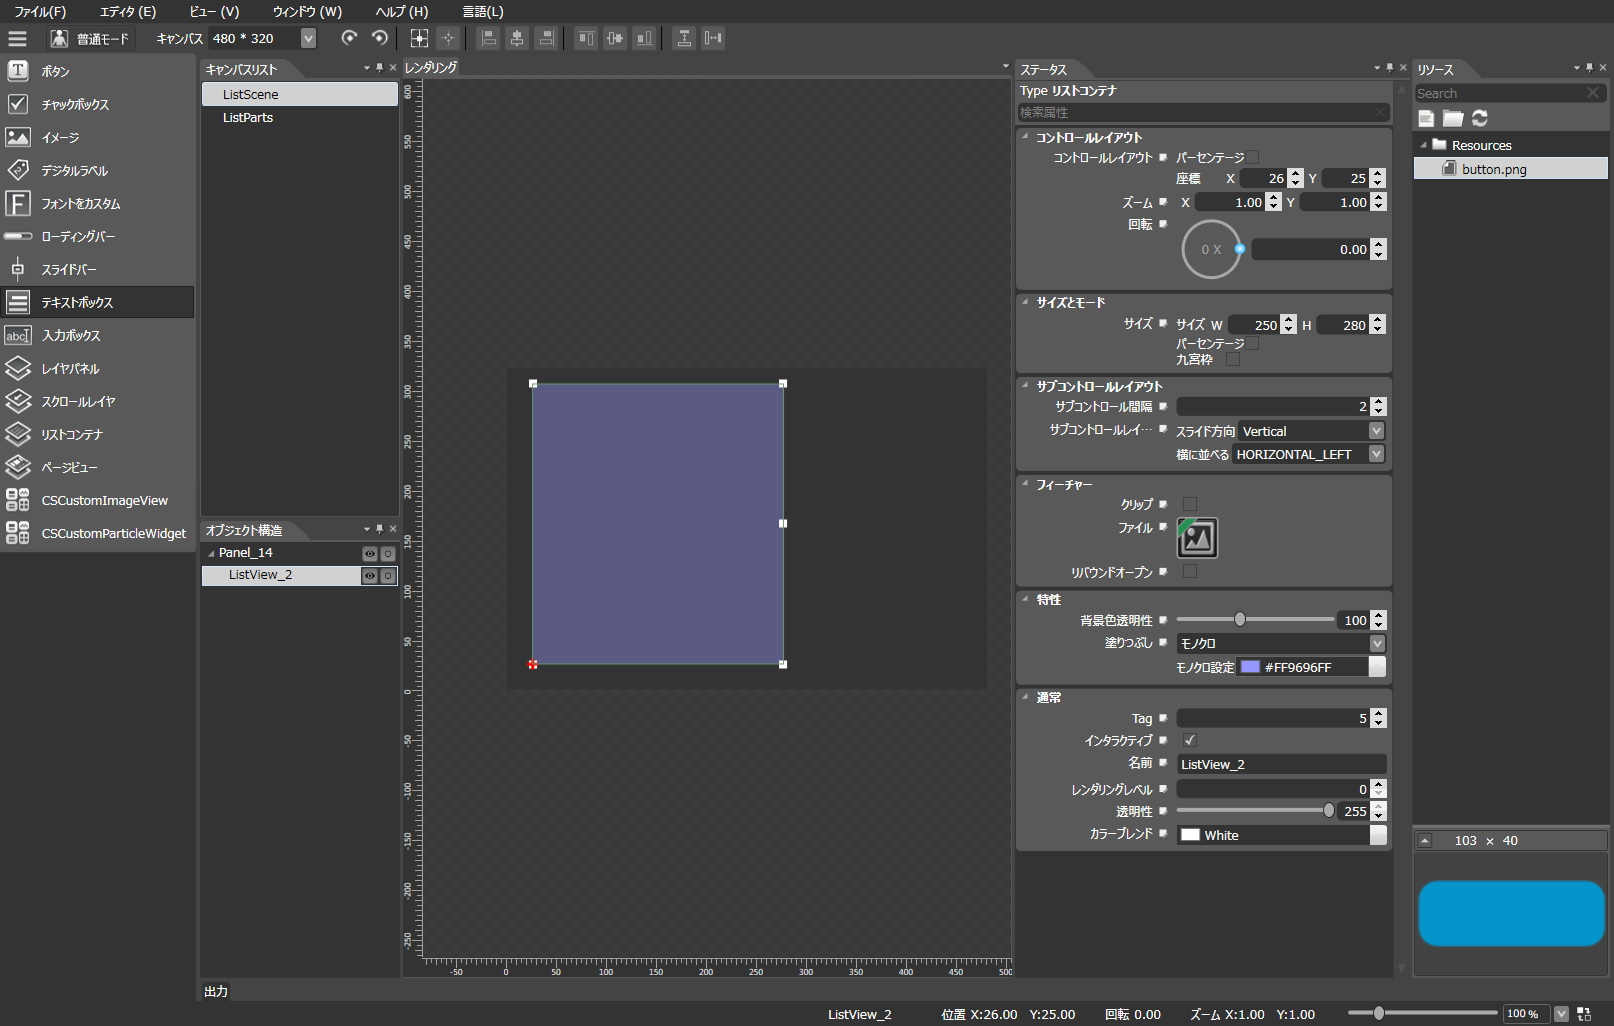
ListViewを配置したベースとなるLayoutを作成
変数名とか雑になってますが、単純にリストコンテナを配置するだけです。
細かい設定でよく使いそうなのは以下で行えます。
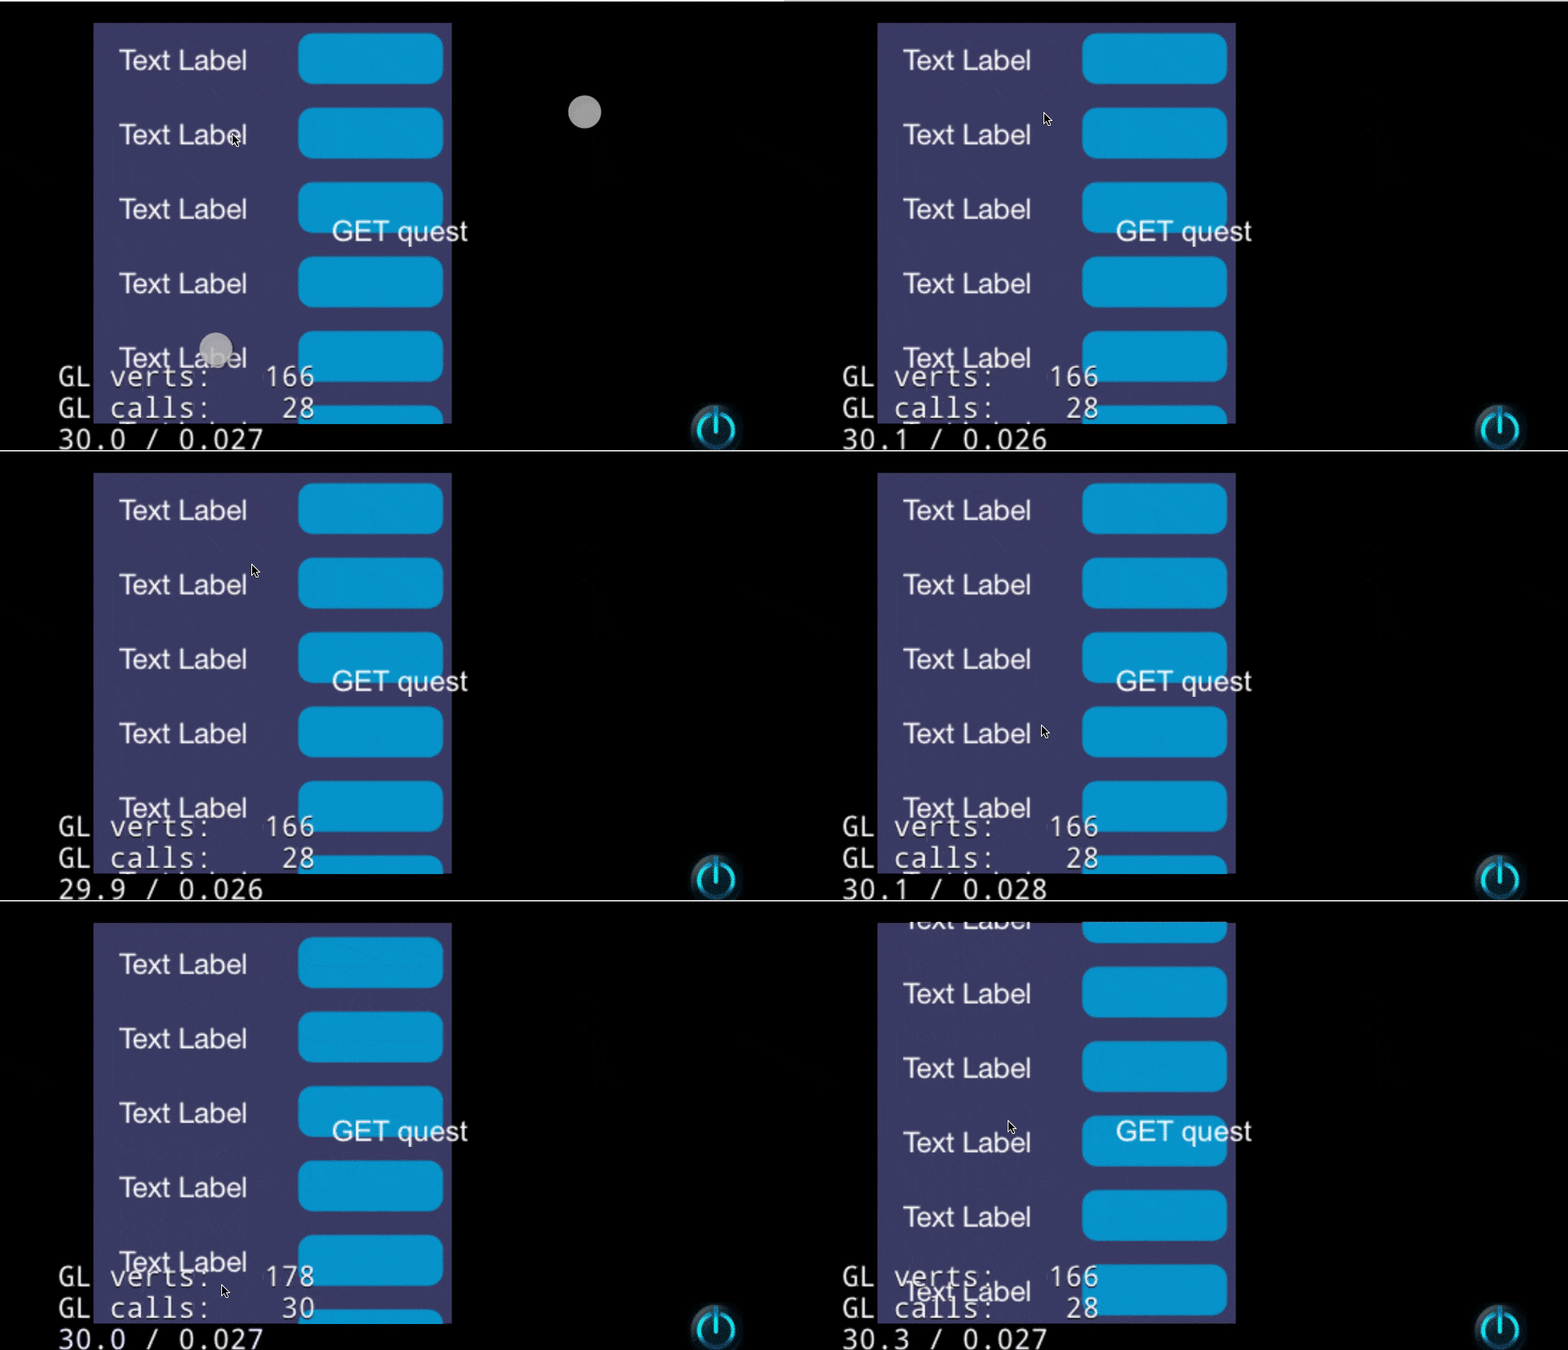
- 縦リストにする場合:
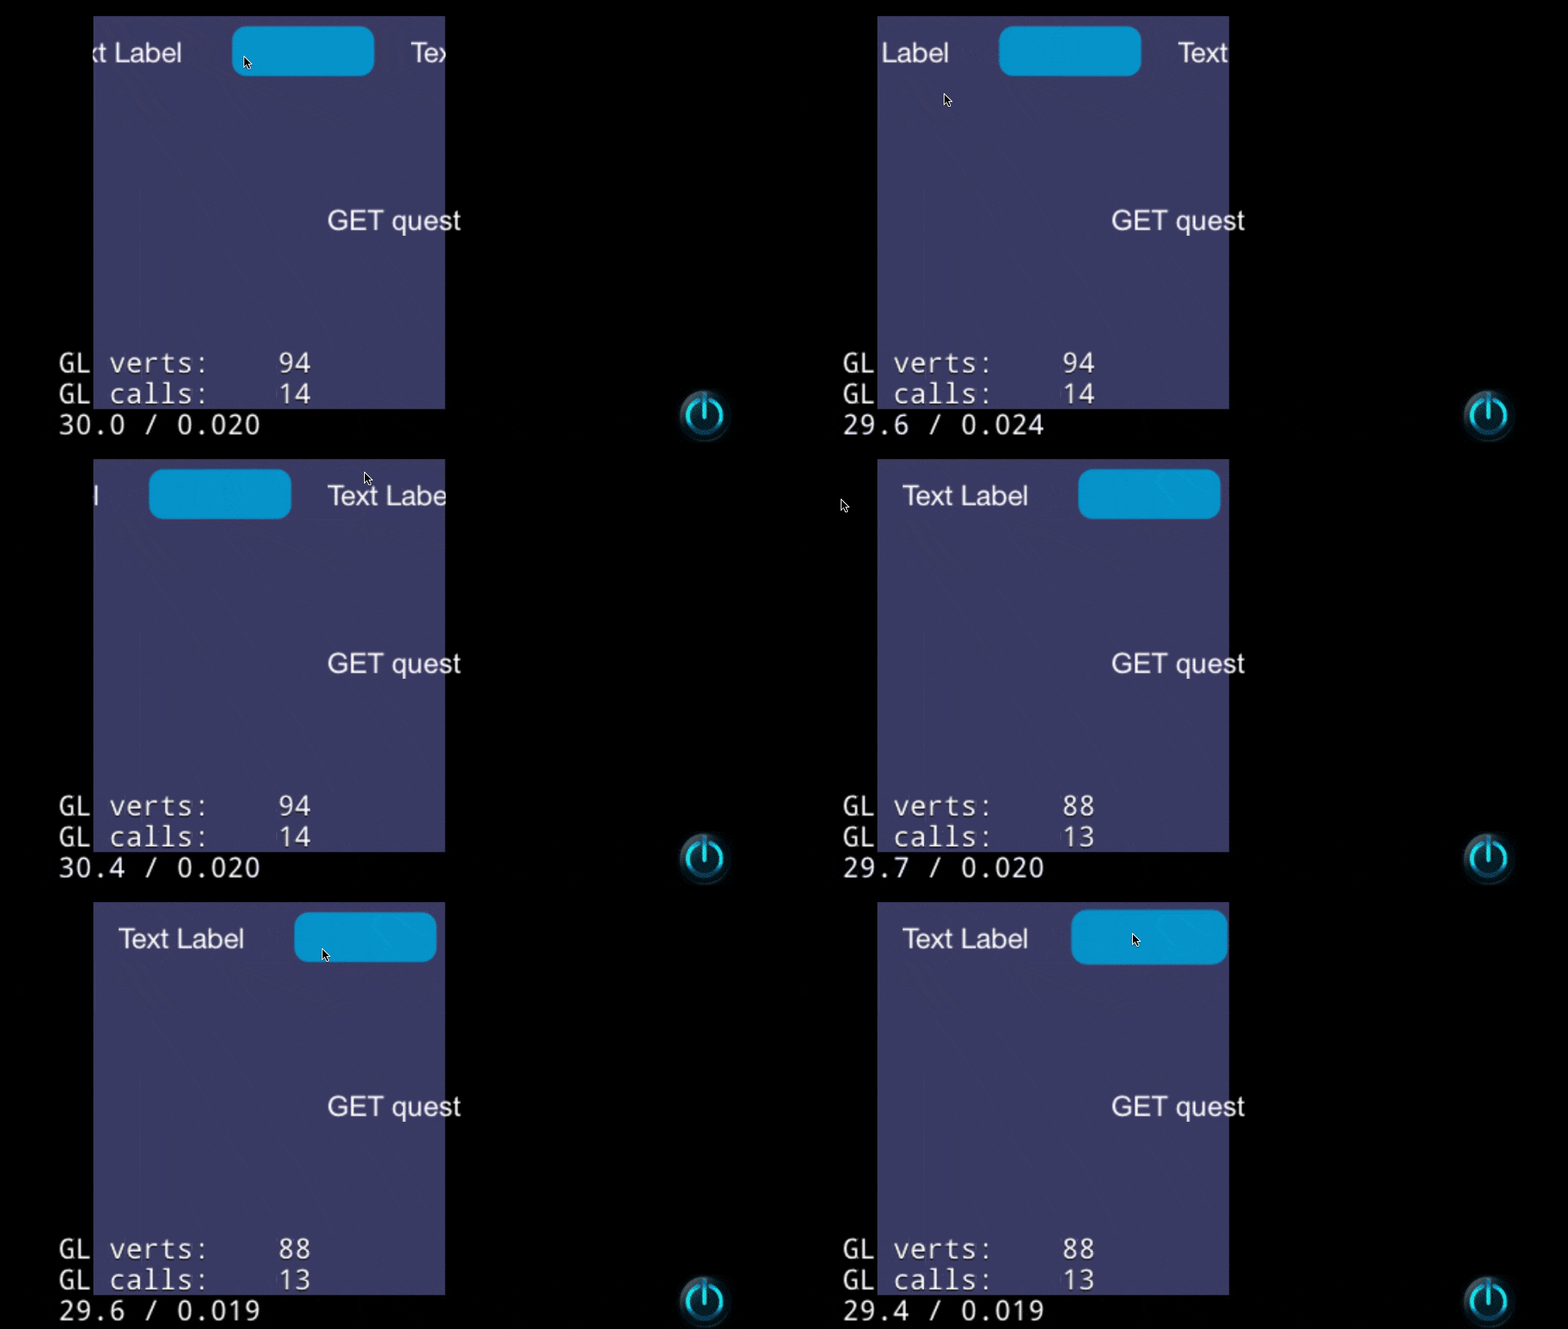
スライド方向にVerticalを指定する - 横リストにする場合:
スライド方向にHorizontalを指定する - スクロールの最後でバウンドさせる場合:
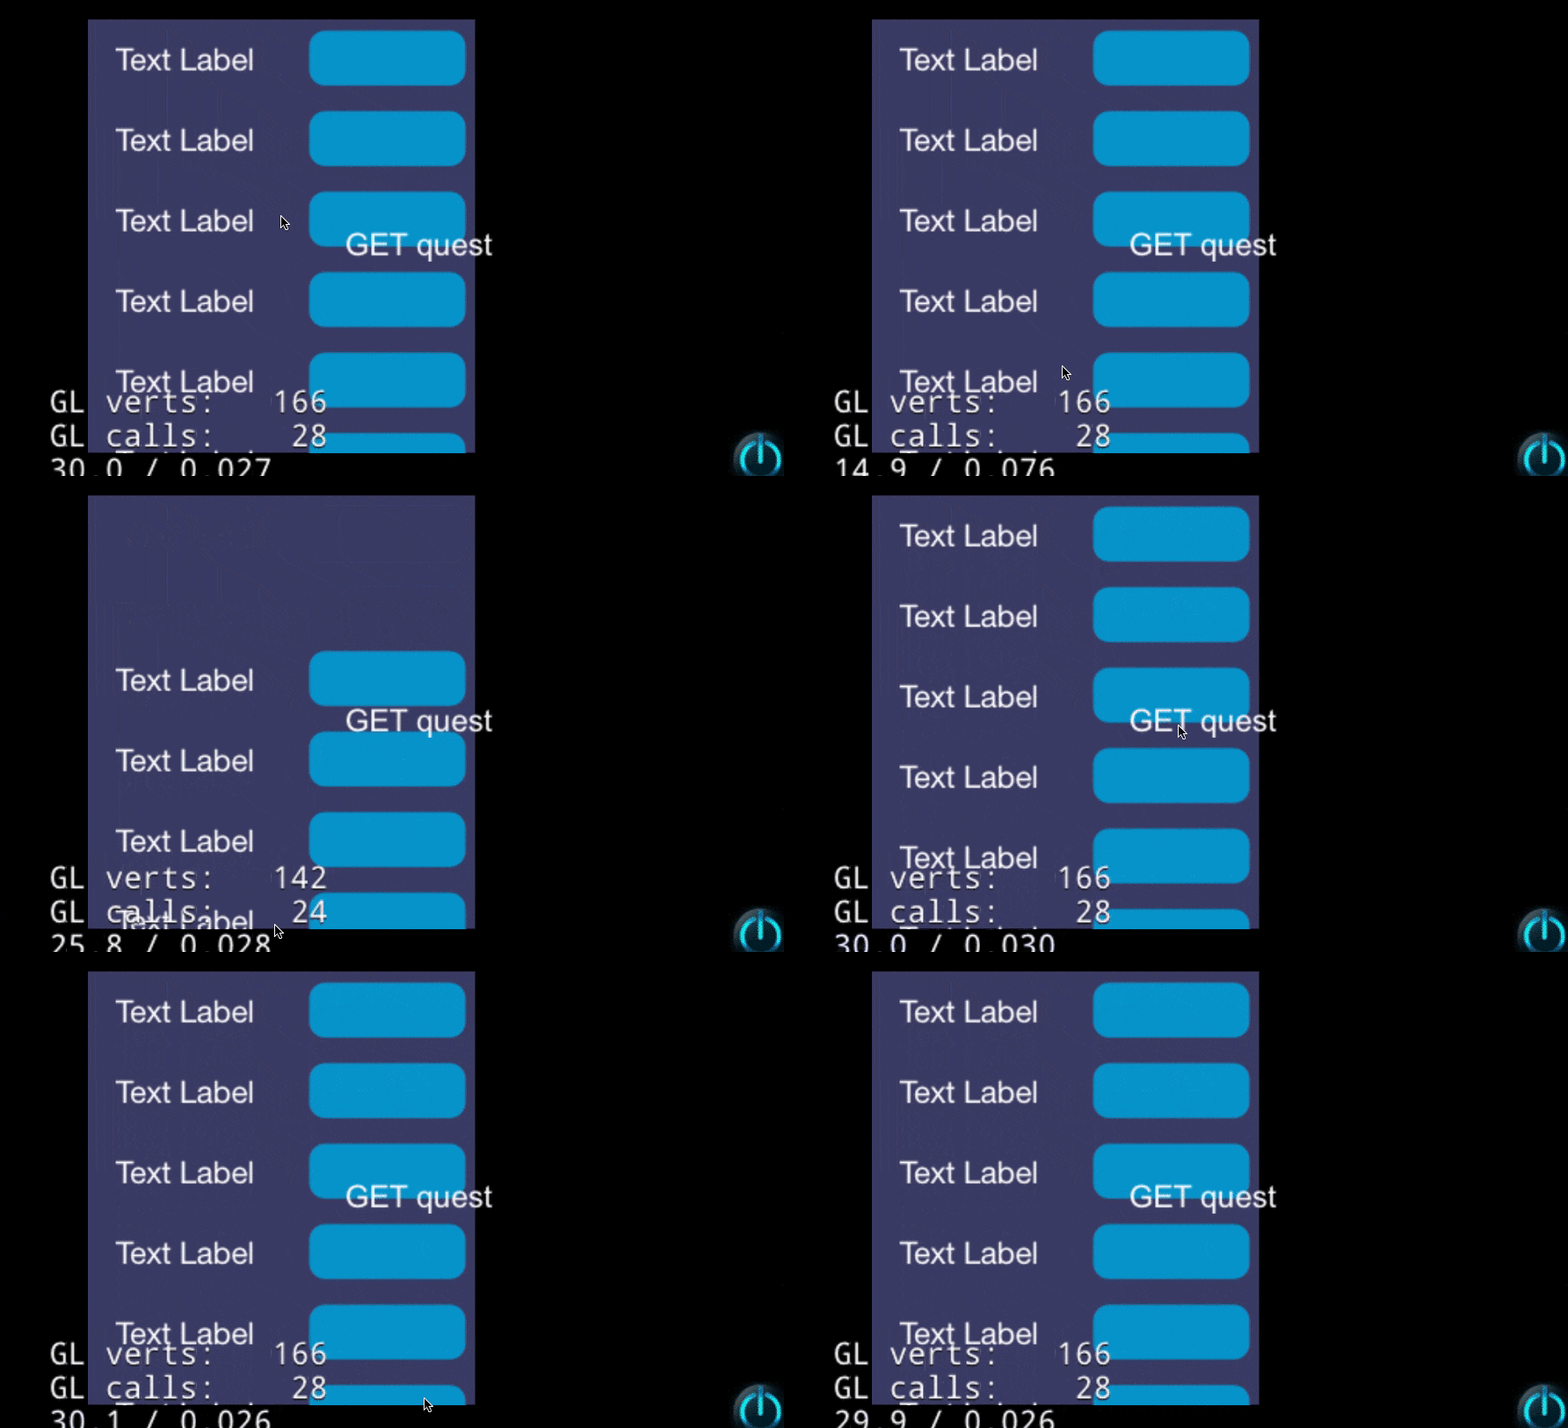
リバウンドオープンのチェックボスをONにする
横リスト
縦リスト
縦リストのリバウンドON
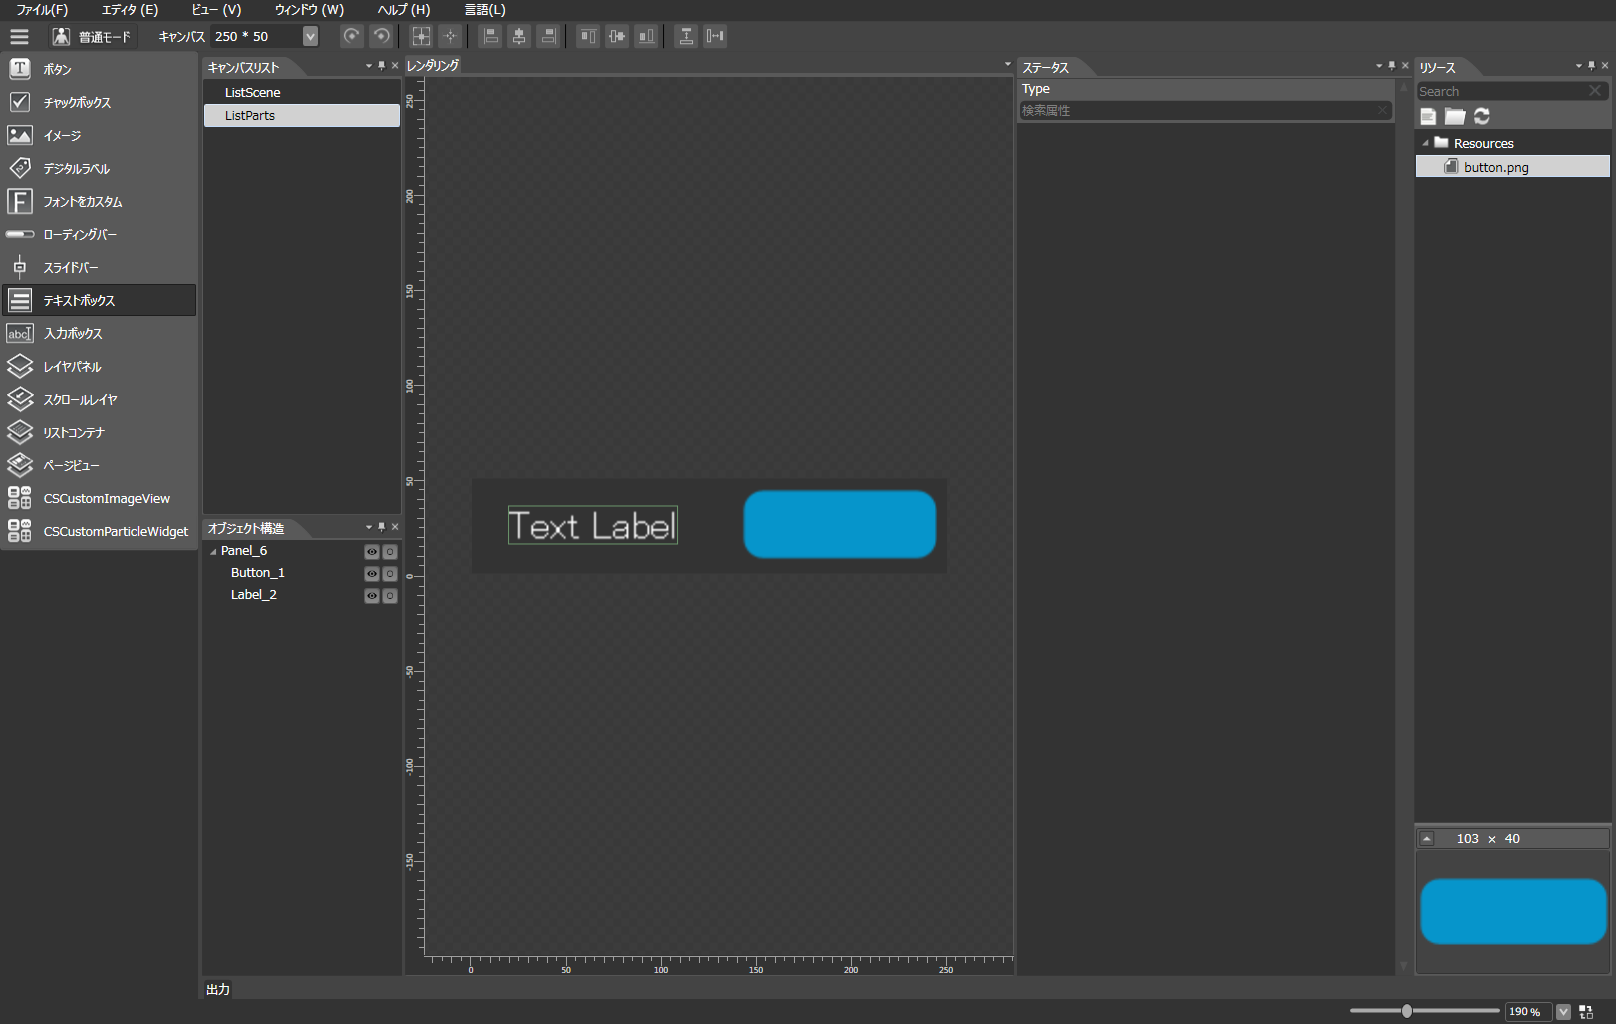
ListViewに表示するパーツの作成
キャンバスサイズを250x50に調整して、LabelとButtonを配置しました。
特別な設定は特に無いです。
Cocos2d-x側の作業
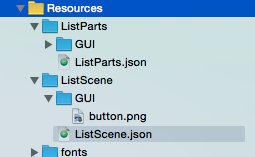
CocosStudioでExportしたファイルの取り込みと、ソースコード上でListViewへWidgetを配置します。
ファイルの取り込み
詳しくは、以前書いた記事「CocoStudioのAnimationEditorを使って簡単なアニメーションを実装する」に書いているのでそちらを御覧ください。
ListViewにパーツを配置する
bool HelloWorld::init()
{
    // 〜省略〜

    // CocosStudioのLayout読み込み
    auto layout = GUIReader::getInstance()->widgetFromJsonFile("ListScene/ListScene.json");
    // Listを取得
    auto listView = layout->getChildByName<ui::ListView*>("ListView_2");
    // Listの中身をセット
    for (int i = 0; i < 10; i++) {
        auto listParts = GUIReader::getInstance()->widgetFromJsonFile("ListParts/ListParts.json");
        auto text = StringUtils::format("Label Text %d", i);
        listParts->getChildByName<ui::Text*>("Label_2")->setString(text);
        listView->pushBackCustomItem(listParts);
    }
    this->addChild(layout);

    return true;
}
ソースコードはこちらに公開していますので、興味があればご覧ください。
追記:
上記の配置したリストの選択行を取得する方法については、「ui::ListViewのリスト内で選択した行を取得する」をご覧ください。
