以前書いた Rundeck のメモです。死蔵しておいてももったいないので Qiita で公開します。
内容は多少古くなっているので注意しください。
プロジェクト
Rundeckではプロジェクトという単位で、実行対象のノードとジョブを管理します。
プロジェクトの作成
テストで使うプロジェクトをtest-driveという名前で作成します。
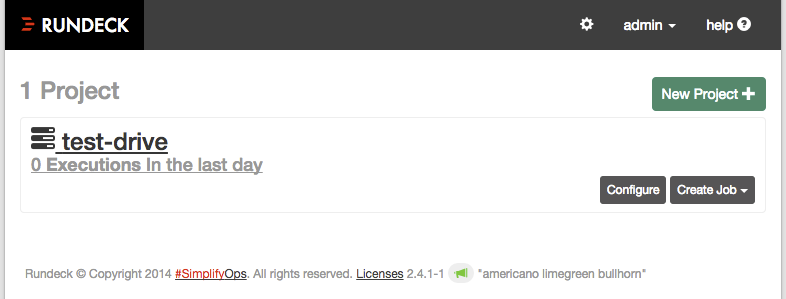
「New Project+」をクリックします。
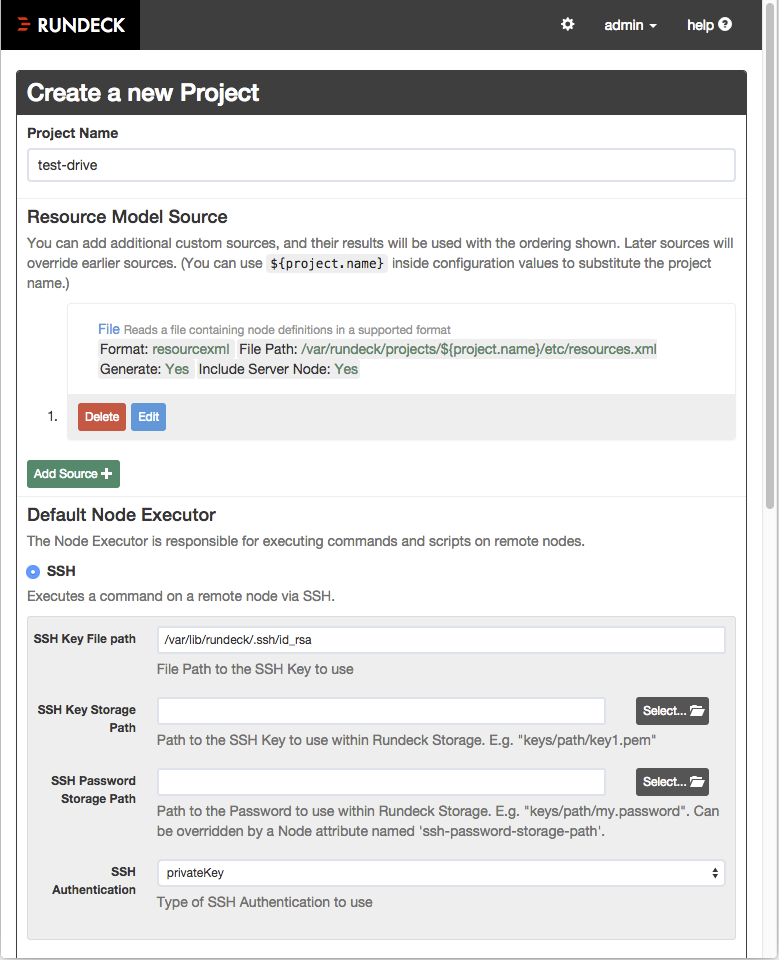
プロジェクトの作成画面になります。
Project Name に、プロジェクト名 test-drive を指定します。
先ほど、SSHの鍵を作成しているのでほかの部分はデフォルトのままでかまいません。
「Create」ボタンを押せばプロジェクトが作成されます。
プロジェクト固有の鍵を使用する場合
鍵の登録
鍵を作成します。
% ssh-keygen -t dsa -f rundeck -N ''
Generating public/private dsa key pair.
Your identification has been saved in rundeck.
Your public key has been saved in rundeck.pub.
The key fingerprint is:
39:97:87:08:20:3c:4b:e7:d4:e9:04:c0:32:df:c3:06 komeda@ubuntu
The key's randomart image is:
+--[ DSA 1024]----+
| oo.oo .         |
|o E.o.+          |
| = X o.          |
|  o * .. o o     |
|   . .  S + .    |
|         o .     |
|                 |
|                 |
|                 |
+-----------------+
画面最上部の、
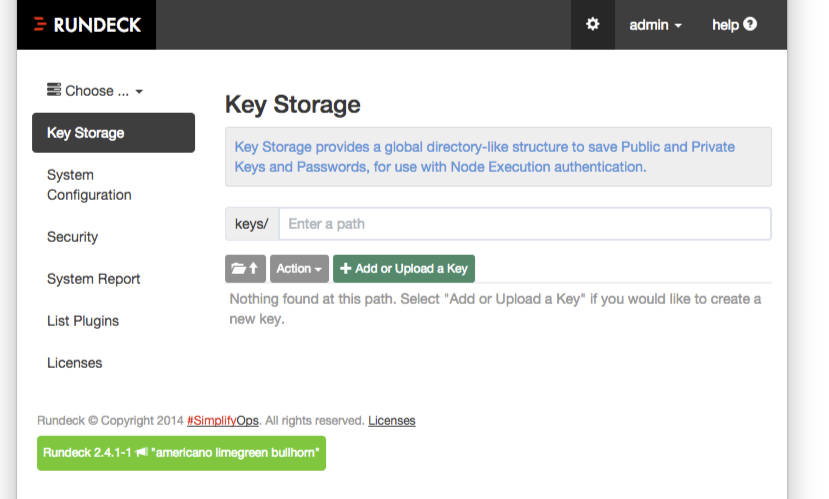
グローバルナビゲーションにあるギアマークをクリックして構成管理画面を開き、「Key Storage」を選択します。
「+Add or Upload a Key」から秘密鍵と公開鍵を登録します。
ここでは設定を簡単にするために鍵を作るときにパスフレーズは設定していません。もし設定するときは、パスフレーズも併せて登録するか、ジョブを定義するときにSecure Remote Authentication Optionを設定する必要があります。
プロジェクトで使用する鍵を指定する
プロジェクトの構成から「edit configration」で編集画面を開いて、「SSH Key
Storage Path」で先ほど登録した秘密鍵を指定します。
設定するところは SSH と SCP の2カ所あります。同じ値を指定してください。
註) SSH Key Storage Path でプロジェクトの鍵を指定して、project.propertiesではproject.ssh-key-storage-pathが設定されているのに、GUIからは値が保存されないように見えることがありました。このようなときは、/var/rundeck/projects/test-drive/etc/project.propertiesの内容も確認するようにしてください。
SSH Key File pathとSSH Key Storage Pathの両方が指定されている場合には、SSH Key Storage Pathで指定した鍵が使用されます。
ノードの設定
プロジェクトのノードはプロジェクトのresources.xmlで指定します。GUIから直接登録することはできないので、ファイルを編集してください。
ファイルは/var/rundeck/projects/test-drive/etc/resources.xmlにあります。プロジェクトを作った後の初期状態ではRundeckサーバのみが登録されているはずです。
<?xml version="1.0" encoding="UTF-8"?>

<project>
  <node description="Rundeck server node" hostname="localhost" name="localhost" osarch="amd64" osfamily="unix" osname="Linux" osversion="3.13.0-24-generic" tags="" username="rundeck">
</node>
</project>
ここでは、ubuntu-hostというノードを追加しています。
<?xml version="1.0" encoding="UTF-8"?>

<project>
  <node description="Rundeck server node" hostname="localhost" name="localhost" osarch="amd64" osfamily="unix" osname="Linux" osversion="3.13.0-24-generic" tags="" username="rundeck">
</node>
  <node name="ubuntu-host" description="Rundeck server node" tags="" hostname="ubuntu-host" osArch="amd64" osFamily="unix" osName="Linux" osVersion="3.13.0-24-generic" username="rundeck"/>
</project>
追加したノードにはrundeckユーザを作成し、公開鍵でログインできるようにしておきます。
% cd ~rundeck/.ssh
% cat id_rsa.pub >>authorized_keys
% chown rundeck:rundeck authorized_keys
% chmod go-rwx authorized_keys
ノードの登録時に属性として
username="user1"
というように、ログインユーザを指定することもできます。
詳細はマニュアルを参照してください。該当ページを引用しておきます。
Specifying SSH Username
The username used to connect via SSH is taken from the
usernameNode attribute:
username="user1"
This value can also include a property reference if you want to dynamically change it, for example to the name of the current Rundeck user, or the username submitted as a Job Option value:
${job.username}
- uses the username of the user executing the Rundeck execution.
${option.someUsername}
- uses the value of a job option named "someUsername".
If the
usernamenode attribute is not set, then the static value provided via project or framework configuration is used. The username for a node is determined by looking for a value in this order:
- Node level:
username
node attribute. Can contain property references to dynamically set
it from Option or Execution values.- Project level:
project.ssh.user
property in
project.properties
file for the project.- Rundeck level:
framework.ssh.user
property in
framework.properties
file for the Rundeck installation.
つぎはジョブの作成と実行です。


