1. はじめに
あいさつ
ひょんなことからArduinoを使って遊ぶことになったので
その備忘録としてまとめていこうかと。
の第二回です。
第一回はこちら
今回の内容
今回は、GPSモジュール(GMS7-CR6)を使って位置情報を取得して
シリアルモニタに出力するところまでやります。
参考ページ
下記のページを参考にしてます。型番が完全一致はしていませんがだいたい同じっぽかったです。
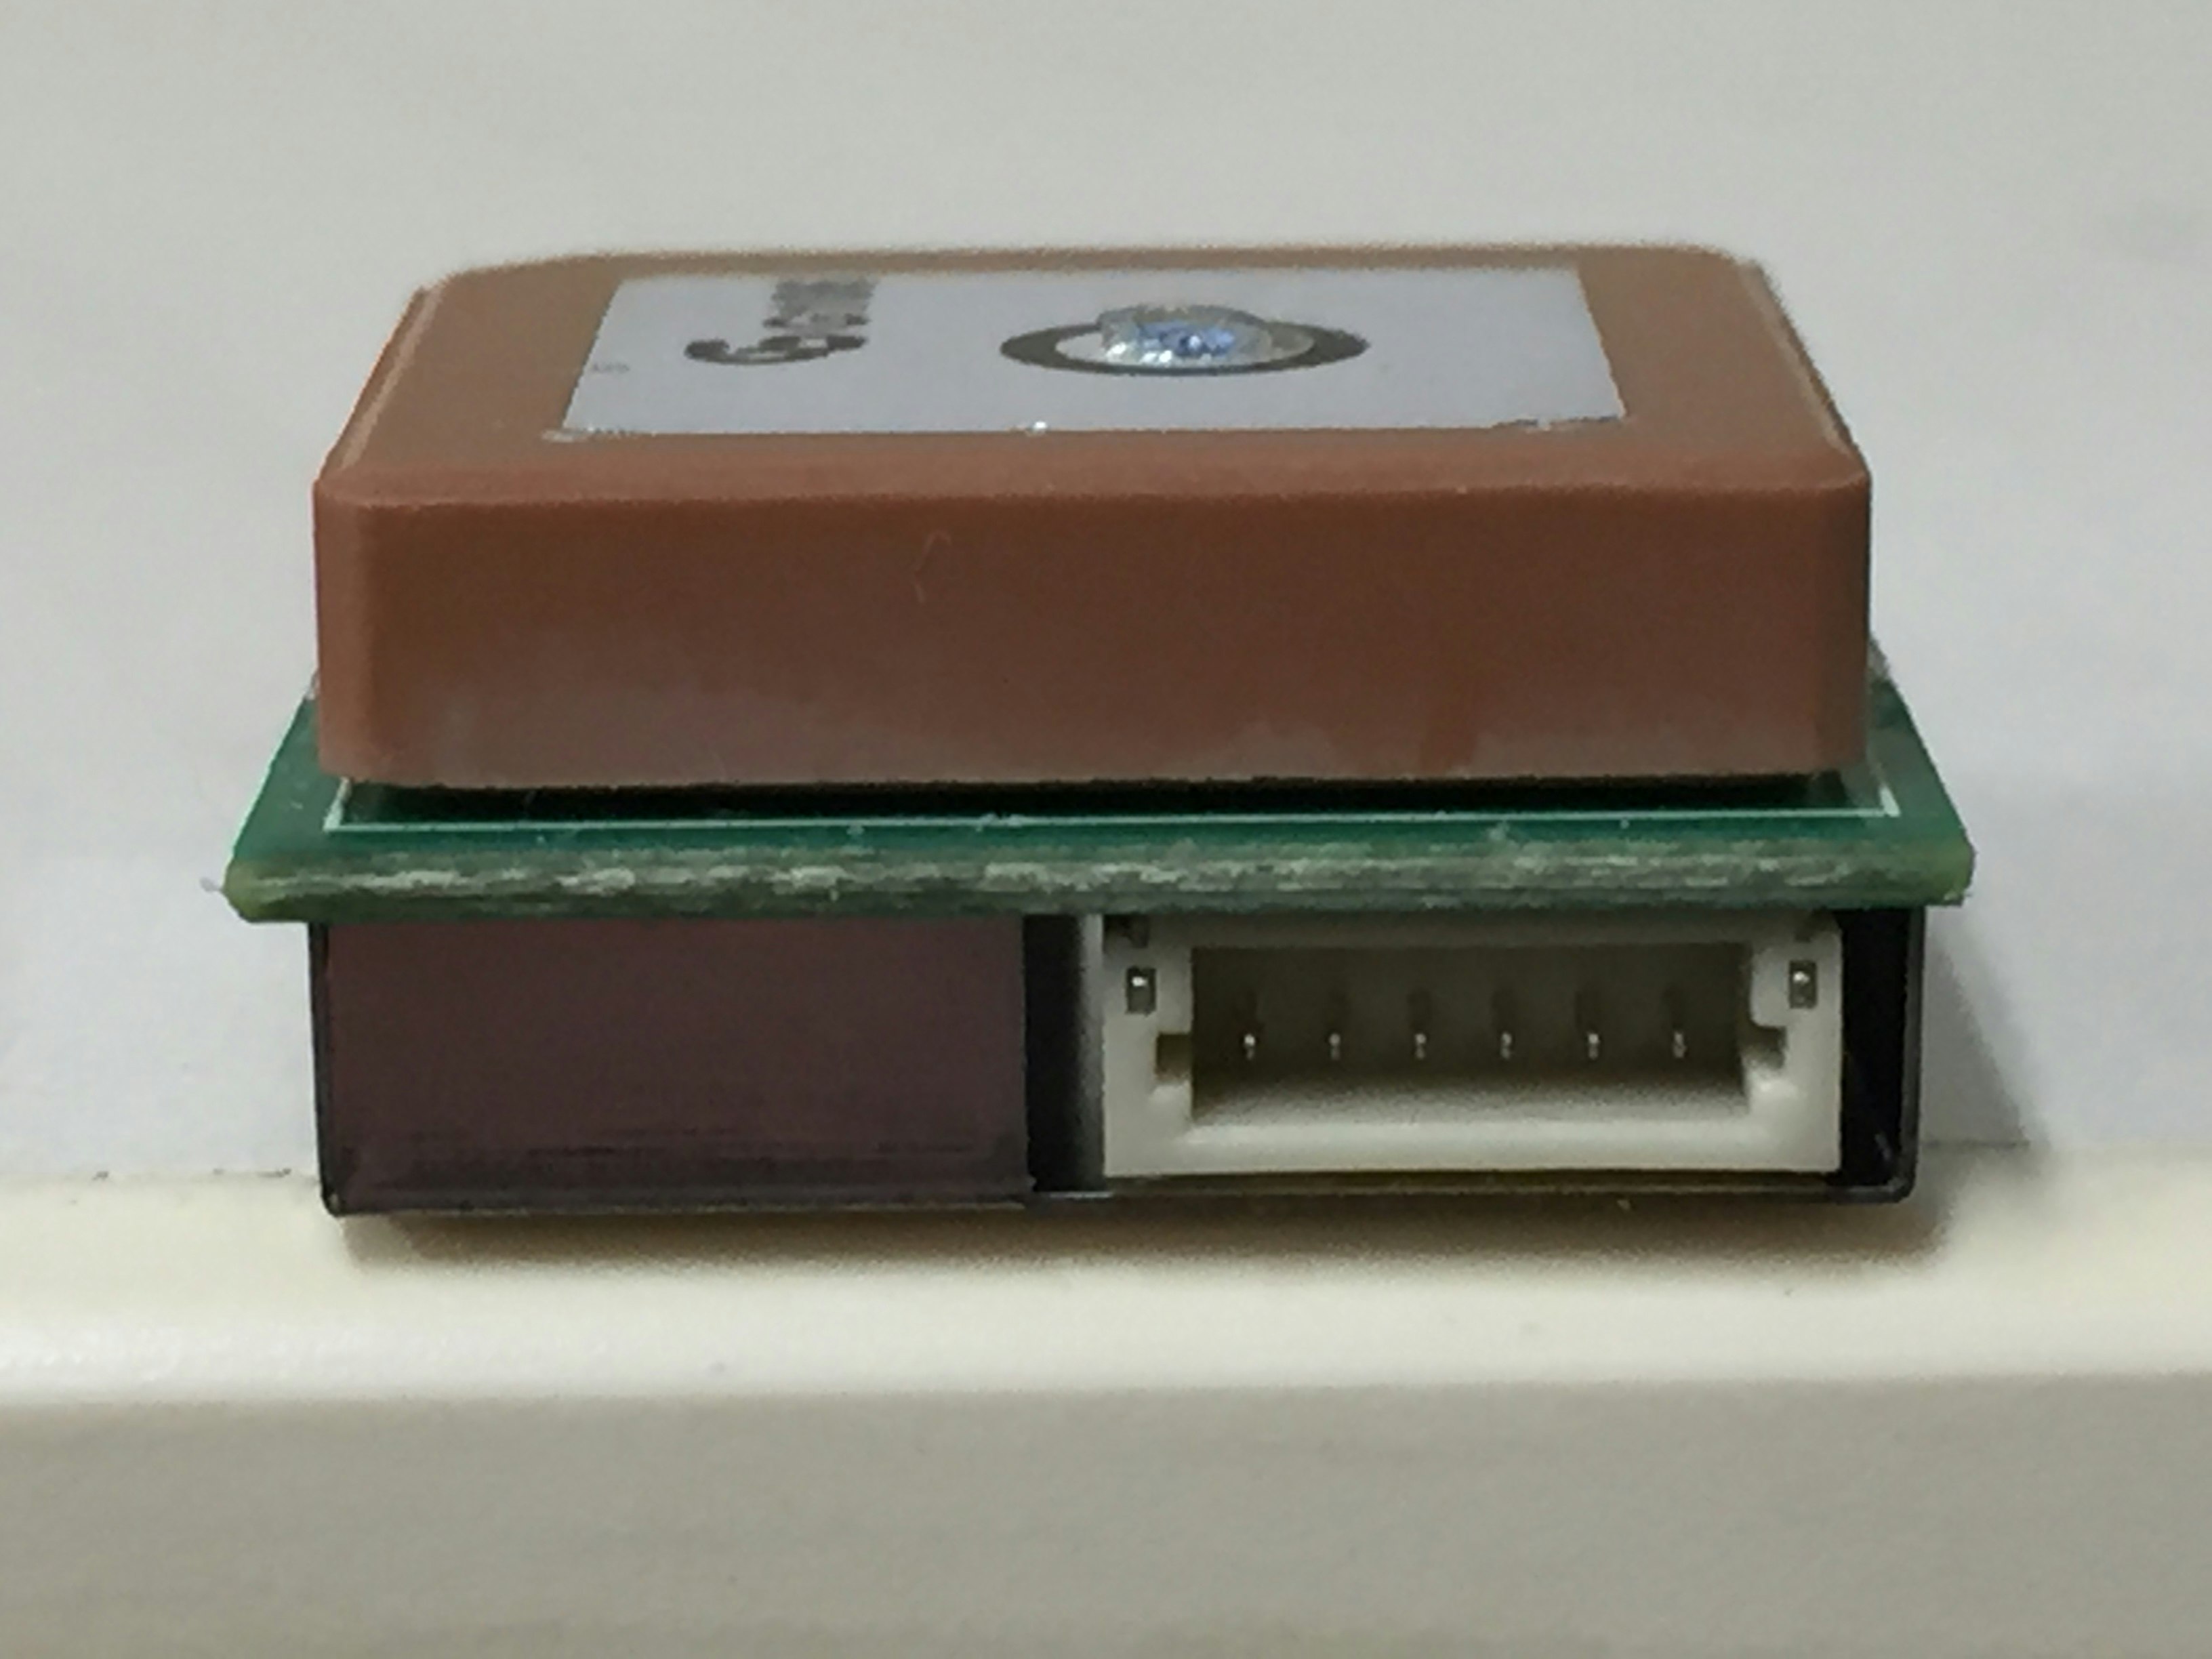
2. 配線
写真に左から順にpin1 ~ pin6とすると、表のとおりになる。
1, 2をそれぞれArduinoのGNDとVccに配線し、
5をArduinoのD11, 6をArduinoのD10に配線する。
| Pin Number | Signal Name | Description |
|---|---|---|
| 1 | Ground | Power and signal ground |
| 2 | Power | 3.3V ~ 6.0V DC input |
| 3 | Serial Data In 2 | Asynchronous serial input at RS-232 level, to input command message |
| 4 | Serial Data Out 2 | Asynchronous serial output at RS-232 level, to output NMEA message |
| 5 | Serial Data In 1 | Asynchronous serial input at TTL level, to input command message |
| 6 | Serial Data Out 1 | Asynchronous serial output at TTL level, to output NMEA message |
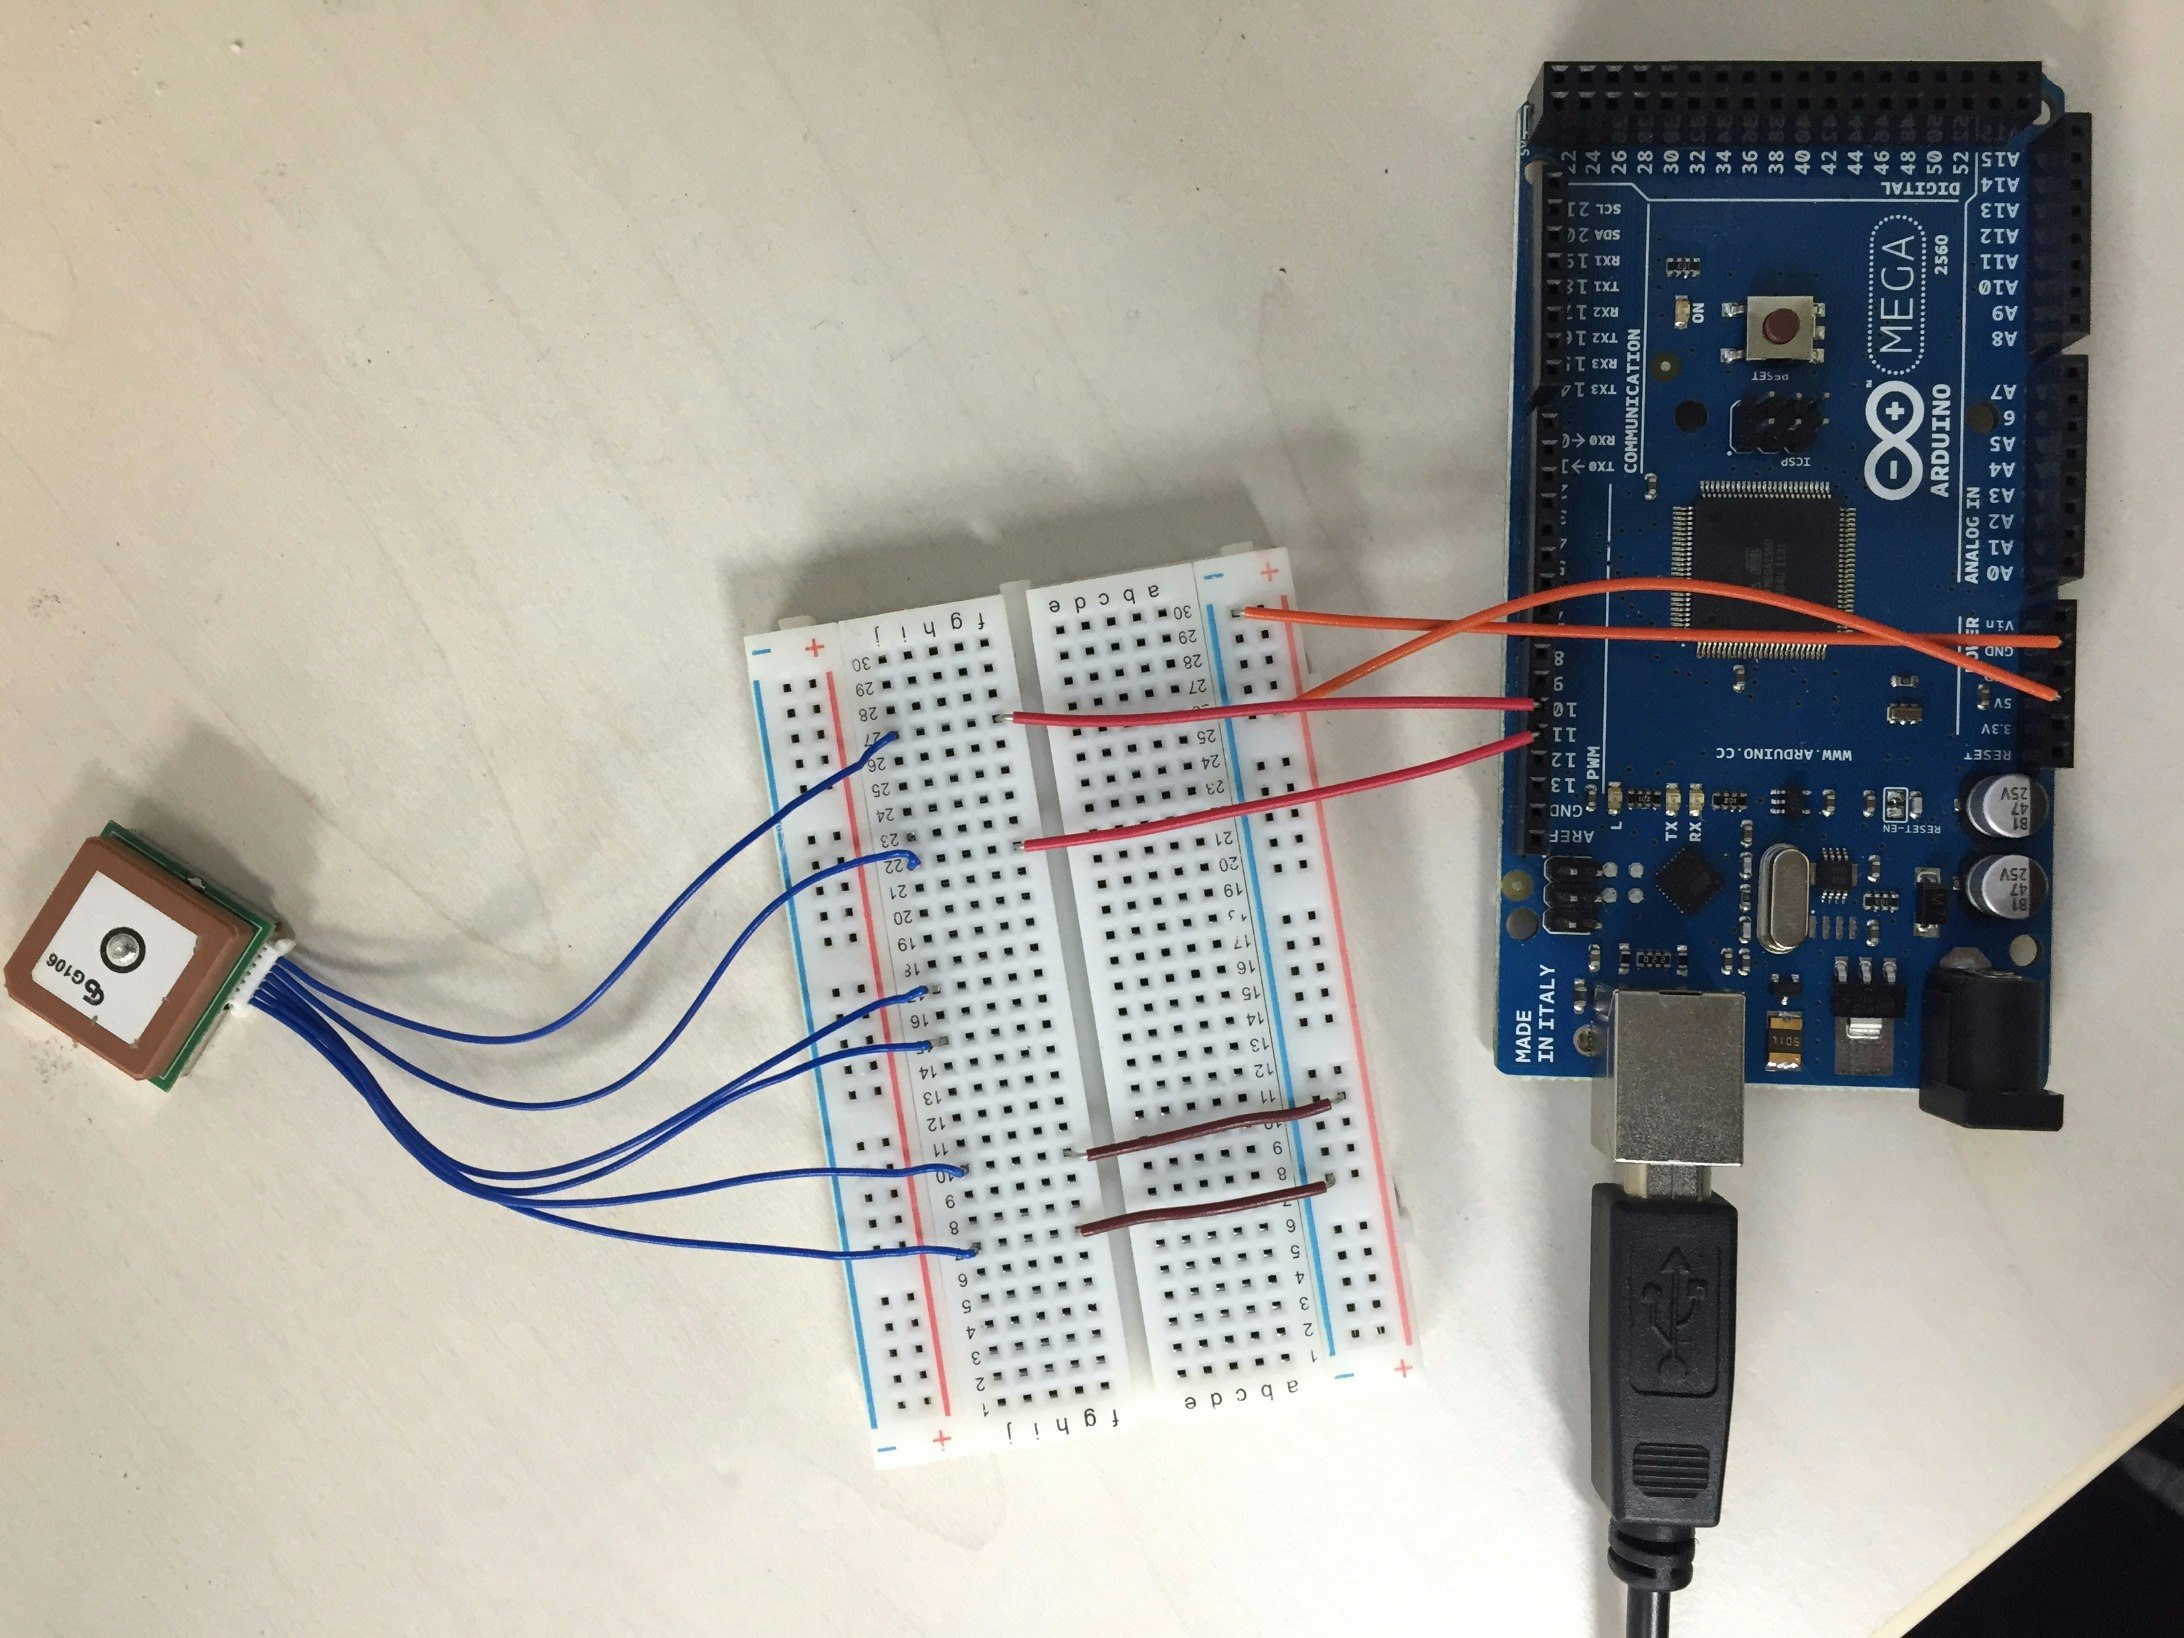
配線例。適当にやったので汚い。。。
3. スケッチ(プログラム)
参考ページをまねすればいいだけです。
例
gps_test.ino
# include <SoftwareSerial.h>

# define PIN_GPS_Rx 10
# define PIN_GPS_Tx 11

# define SERIAL_BAUDRATE 9600
# define GPSBAUDRATE 9600

SoftwareSerial sGps(PIN_GPS_Rx, PIN_GPS_Tx);

void setup() {
  // put your setup code here, to run once:
  Serial.begin(SERIAL_BAUDRATE);
  Serial.println("Software Serial Test Start!");

  sGps.begin(GPSBAUDRATE);
}

void loop() {
  // put your main code here, to run repeatedly:
  if (sGps.available()) {
    Serial.write(sGps.read());
  }
}
説明
- SoftwareSerial.h
- Arduinoボードの0~1番以外のピンを使ってシリアル通信を行うための標準ライブラリ
- http://www.musashinodenpa.com/arduino/ref/
- SoftwareSerial sGps(PIN_GPS_Rx, PIN_GPS_Tx);
- SoftwareSerialのコンストラクタでオブジェクトを生成している。
- rx→データを受信するピン
- tx→データを送信するピン
- http://www.musashinodenpa.com/arduino/ref/index.php?f=1&pos=121
- sGps.begin(GPSBAUDRATE);
- シリアル通信のスピード(ボーレート)を設定する。
- 300、1200、2400、4800、9600、14400、19200、28800、31250、38400、57600、115200 が対応
- http://www.musashinodenpa.com/arduino/ref/index.php?f=1&pos=137
- Serial
- ArduinoボードはSerialという名前で参照される1組のシリアルポート(RXとTX)を持っていて、コンピューターなどと通信できる。
- Serial.begin(SERIAL_BAUDRATE);
- シリアル通信のデータ転送レートをbps(baud)で指定する。
- http://www.musashinodenpa.com/arduino/ref/index.php?f=0&pos=3157
- Serial.write(sGps.read());
- シリアルポートにバイナリデータを出力する。
- http://www.musashinodenpa.com/arduino/ref/index.php?f=0&pos=3405
4. 動作
下記みたいな出力がされます。
ただ、起動後しばらくは下記のように有効なデータがとれないです。(あえてそのようなデータを表示してます)
$GPGSA,M,1,,,,,,,,,,,,,,,*12
$GPRMC,,V,,,,,,,,,,N*53
$GPGGA,,,,,,0,00,,,M,0.0,M,,0000*48
$GPGSA,M,1,,,,,,,,,,,,,,,*12
$GPRMC,,V,,,,,,,,,,N*53
$GPGGA,,,,,,0,00,,,M,0.0,M,,0000*48
$GPGSA,M,1,,,,,,,,,,,,,,,*12