はじめに
なんか簡単に使えるWikiないかな?とMOONGIFTさんをのぞいていたら、TiddlyWikiの新しいのが出ていることを知りました。
TiddlyWiki5 - デザイン刷新。次の25年を目指すTiddlyWiki
新しいゆーても2013年の記事なので2年ほど経過していますが(^^;
TiddlyWiki5だと、Node.jsでサーバーを立てることができるみたいなので、試しにWikiサーバーを立ててみました。
前提条件
- Node.jsがインストールされていること(こちらにインストール方法を記載しています)
- ipconfigコマンドでPCのIPアドレスを控えておきます。
- 他PCからアクセスする場合は、ファイアウォールの設定を変更しアクセスできるようにしてください。
セットアップ手順
基本は公式サイトの「GettingStarted」の手順に従いますが、ネットワーク上から見れるよう、一部ごにょごにょします。
TiddlyWiki5のインストール
npmでグローバルインストールします。
>npm install -g tiddlywiki

C:\Users\ko2a\AppData\Roaming\npm\tiddlywiki -> C:\Users\ko2a\AppData\Roaming\np
m\node_modules\tiddlywiki\tiddlywiki.js
C:\Users\ko2a\AppData\Roaming\npm
└── tiddlywiki@5.1.9

>
Wikiの作成
initコマンドでWikiを作成します。
>tiddlywiki mywiki --init server

Copied edition 'server' to mywiki

>
- "mywiki" はWikiの名前です。適宜変更してください。
- --init の後の "server" はedition名となります。editionについては、TiddlyWikiインストール先(npm/node_modules/tiddlywiki)の "editions" にいくつかあります。
サーバーの起動
serverコマンドでサーバーを起動します。
基本は「GettingStarted」のコマンドのみで十分ですが、他端末からアクセスする場合はホスト名を指定する必要があるため、引数オプションを指定します。
>tiddlywiki mywiki --server 8080 $:/core/save/all text/plain text/html "" "" 192.168.xxx.xxx
Serving on 192.168.xxx.xxx:8080
(press ctrl-C to exit)
syncer-server: Dispatching 'save' task: $:/StoryList
FileSystem: Saved file C:\Users\ko2a\mywiki\tiddlers\$__StoryList.tid
- "8080" はポート番号を指定します。引数オプション指定なしの場合、ポート番号は 8080 となりますので、他のサービスで 8080 を使用している場合は、ここで未使用のポート番号を指定する必要があります。
- "192.168.xxx.xxx" はホストを指定します。引数オプション指定なしの場合、"127.0.0.1" となります。ローカルからのアクセスのみの場合は指定しなくてもOKです。
serverコマンドのオプションについて
その他の引数オプションについては、 --help server で確認できます。
>tiddlywiki --help server

The server built in to TiddlyWiki5 is very simple. Although compatible with Tidd
lyWeb it doesn't support many of the features needed for robust Internet-facing
usage.

At the root, it serves a rendering of a specified tiddler. Away from the root, i
t serves individual tiddlers encoded in JSON, and supports the basic HTTP operat
ions for GET, PUT and DELETE.

--server <port> <roottiddler> <rendertype> <servetype> <username> <password> <ho
st> <pathprefix>

The parameters are:

* port - port number to serve from (defaults to "8080")

* roottiddler - the tiddler to serve at the root (defaults to "$:/core/save/all"
)

* rendertype - the content type to which the root tiddler should be rendered (de
faults to "text/plain")

* servetype - the content type with which the root tiddler should be served (def
aults to "text/html")

* username - the default username for signing edits

* password - optional password for basic authentication

* host - optional hostname to serve from (defaults to "127.0.0.1" aka "localhost
")

* pathprefix - optional prefix for paths


If the password parameter is specified then the browser will prompt the user for
 the username and password. Note that the password is transmitted in plain text
so this implementation isn't suitable for general use.

For example:

--server 8080 $:/core/save/all text/plain text/html MyUserName passw0rd

The username and password can be specified as empty strings if you need to set t
he hostname or pathprefix and don't want to require a password:

--server 8080 $:/core/save/all text/plain text/html "" "" 192.168.0.245

To run multiple TiddlyWiki servers at the same time you'll need to put each one
on a different port.
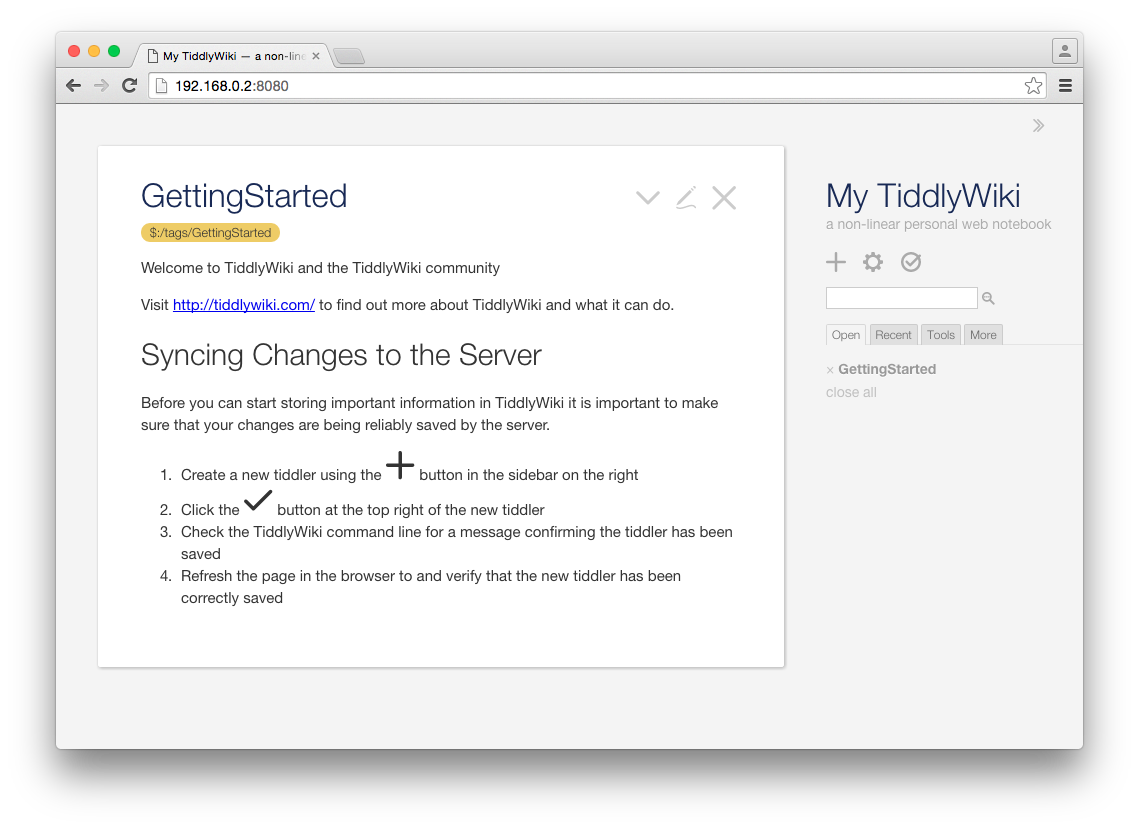
表示してみる
ローカルアクセス
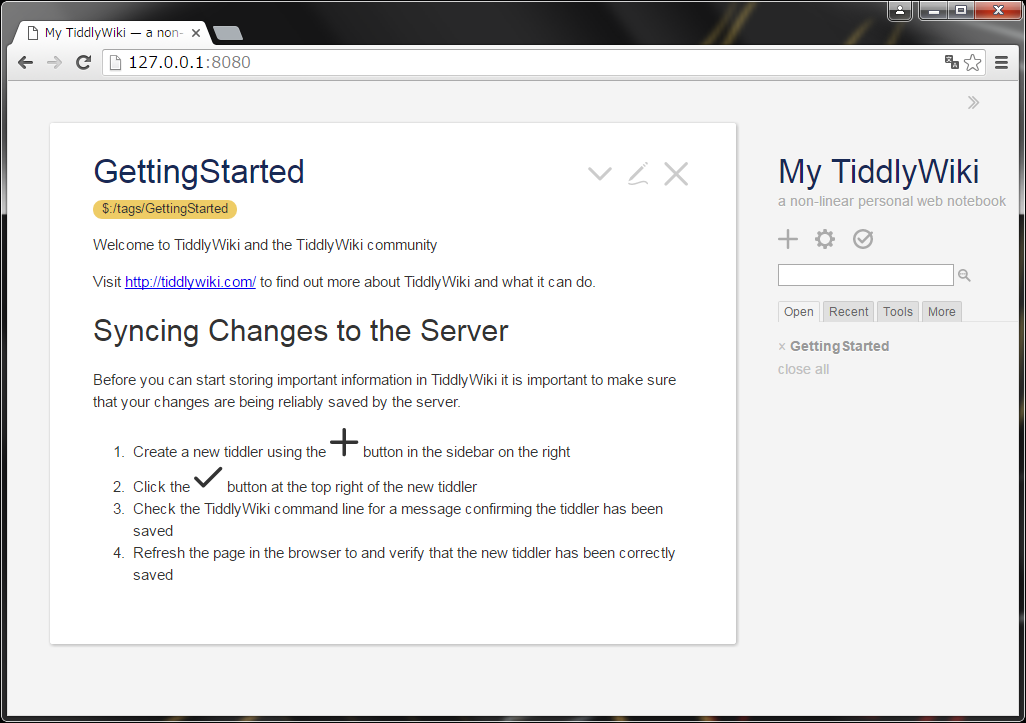
ローカルアクセス(幅を狭くしてみた)

リモートアクセス
おわりに
Webサーバーをわざわざ立てなくても、簡単にWikiを公開することができてびっくりです。
便利な時代になったもんだなぁ・・・
複数人利用時の保存処理はどう動くのか?ということまでは確認できていませんが、少人数で使う分にはこれで十分なのかもしれません。
大人数で使うならきちんとWebサーバー立てた方が安心かもしれません。