はじめに
社内でJavaScriptでの開発をするにあたって、コードの静的チェックをしたかったのでLintツールである ESLint を導入してみました。
社内プロキシ環境下で試行錯誤しながらセットアップしたので備忘録として残します。
本記事での前提条件
- Node.jsは Stable版 を利用します。(LTS版でも同じようにできるはず)
- ESLintはグローバルインストールして使用します。
- プロキシサーバーは以下の通りと仮定します。(自身の環境に応じて適宜変更してください)
// 認証なし
http://proxy.example.com:8080
// 認証あり
http://username:password@proxy.example.com:8080
// 認証なし
http://proxy.example.com:8080
// 認証あり
http://username:password@proxy.example.com:8080
Node.jsのインストール
-
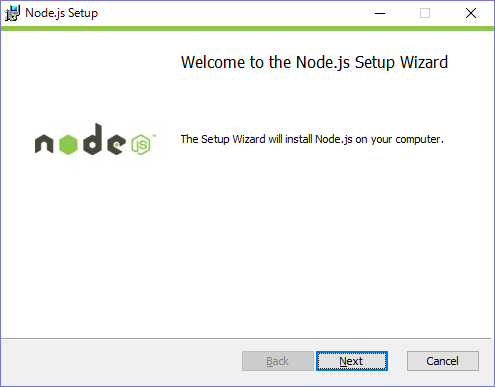
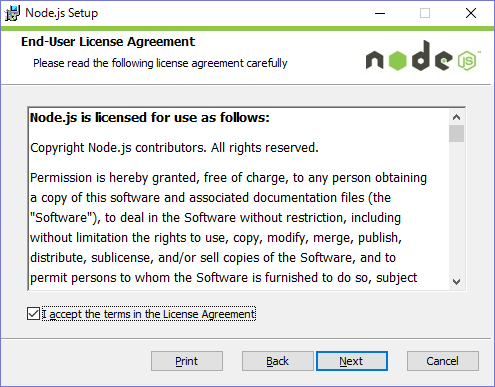
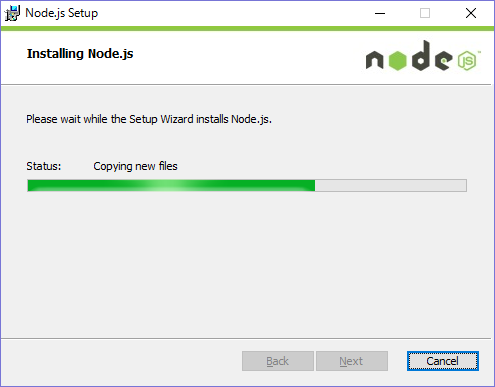
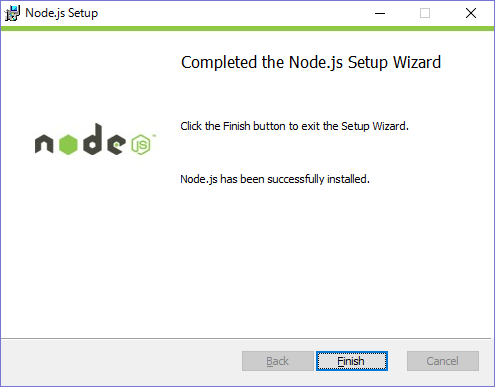
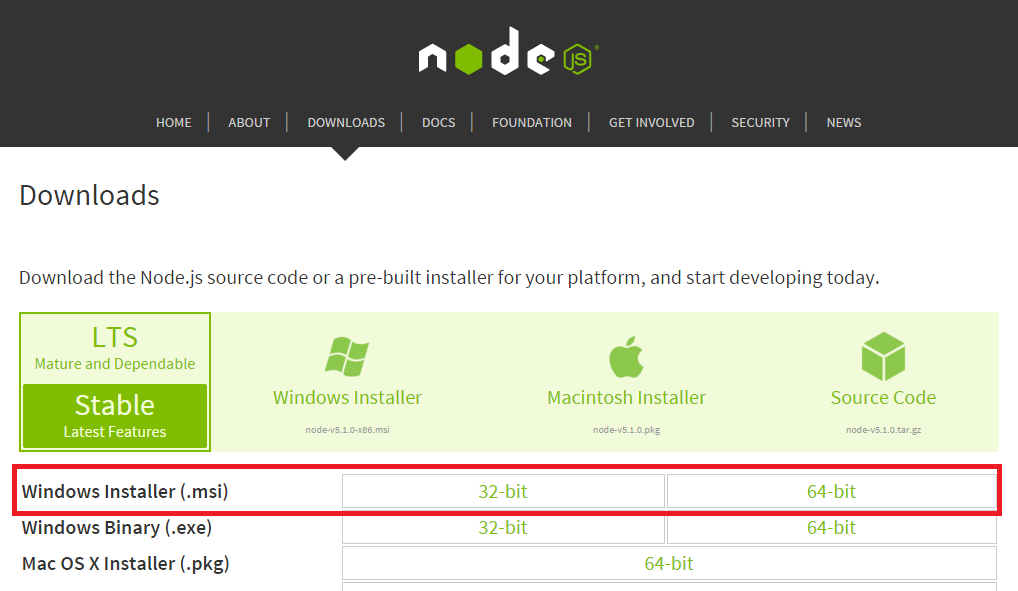
Node.jsの公式サイトからインストーラーをダウンロードし、実行します。
(使用しているOSの環境に応じ、32bit版/64bit版を選択)
-
セキュリティ警告が表示される場合は[実行]を選択します。
-
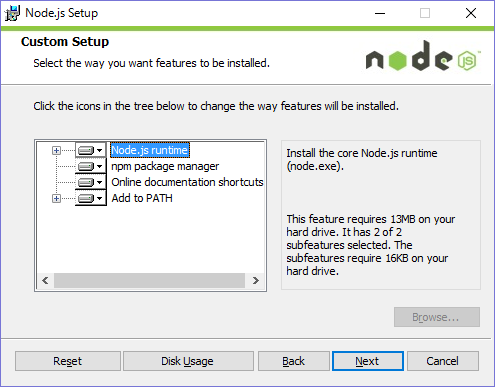
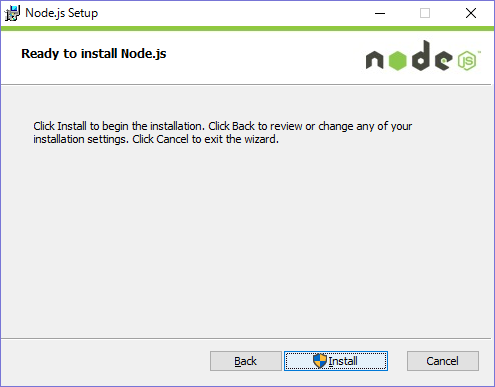
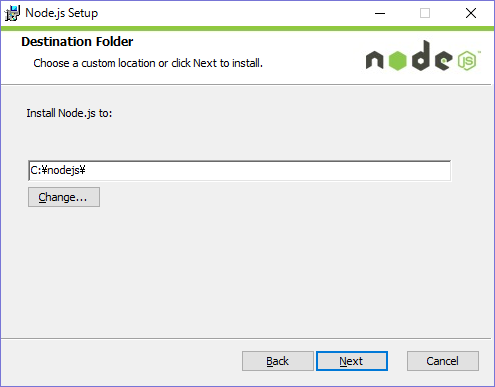
インストール先を[C:\Program Files\nodejs\]から[C:\nodejs]へ変更し、[Next]を選択します。
(インストールパスにスペースが入るとトラブルの元になることがあるので変更しておきます)
-
コマンドプロンプトを管理者権限で起動し、[node -v]を実行してインストールできているか確認します。
C:\>node -v
v5.1.0
プロキシ利用時の場合
- コマンドプロンプトから[npm config set]で proxy と https-proxy をセットします。
// proxy
C:\>npm config set proxy http://proxy.example.com:8080
// https-proxy
C:\>npm config set https-proxy http://proxy.example.com:8080
- [npm config get]にて設定を確認します。
C:\>npm config get
; cli configs
user-agent = "npm/3.3.12 node/v5.1.1 win32 x64"

; userconfig C:\Users\ko2a\.npmrc
https-proxy = "http://proxy.example.com:8080"
proxy = "http://proxy.example.com:8080"

; builtin config undefined
prefix = "C:\\Users\\ko2a\\AppData\\Roaming\\npm"

; node bin location = C:\nodejs\node.exe
; cwd = C:\windows\system32
; HOME = C:\Users\ko2a
; "npm config ls -l" to show all defaults.
ESLintのインストール・動作確認
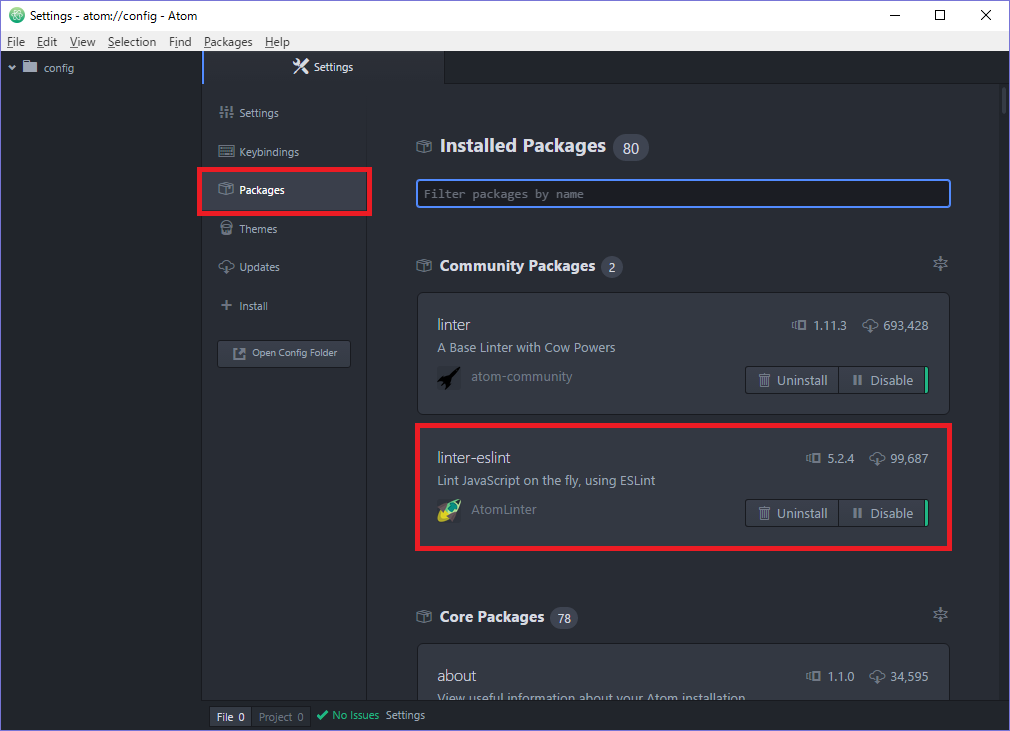
@mysticateaさんの記事「ESLint 最初の一歩」の「使い方」を読んでください。
インストール・動作確認ができます。
個人的にWindowsでつまづいたところを補足します。
ファイル名がないファイルを作成する(.eslintrc)
エクスプローラーから .config や .eslintrc などのファイル名がないファイルを作ろうとすると、エラーとなって作成することができません。
こういうときはコマンドプロンプトからtypeコマンドやrenコマンドを使うとファイル名がないファイルを作ることができます。
typeコマンドで作成
C:\>type nul > .eslintrc
renコマンドで作成
-
空のテキストファイルを作成します。
例)dummy.txt -
コマンドプロンプトからrenコマンドを使用し、空のテキストファイルの名前を[.eslintrc]へ変更します。
>ren dummy.txt ".eslintrc"
Atomのインストール・セットアップ
-
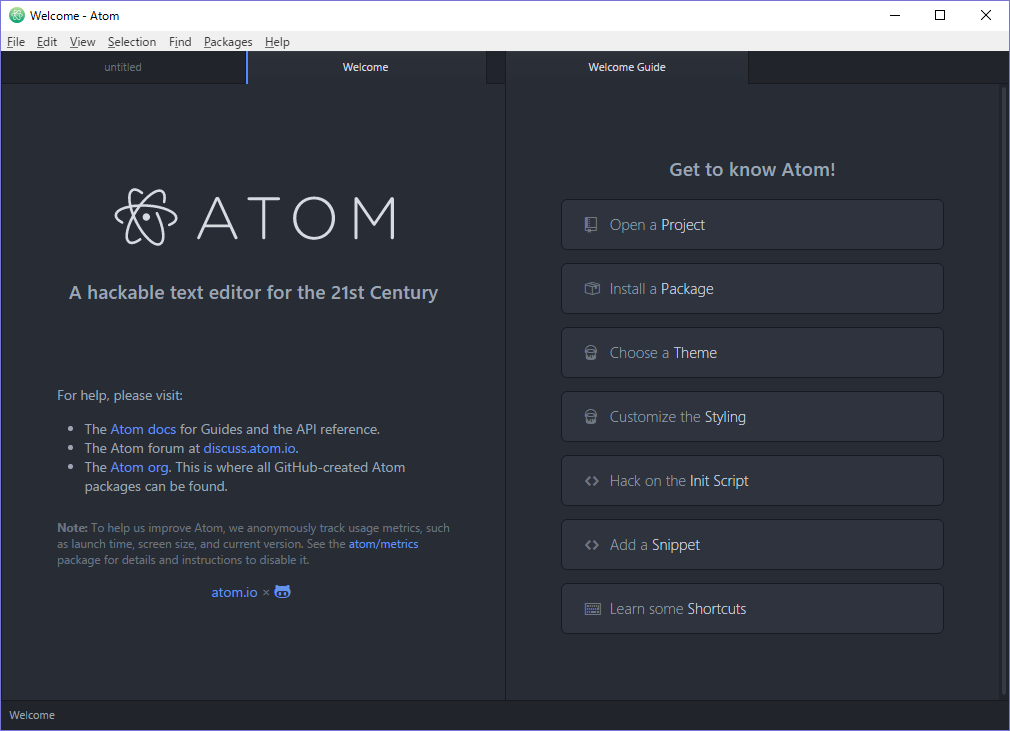
Atom公式サイトからインストーラーをダウンロードし、インストールします。
-
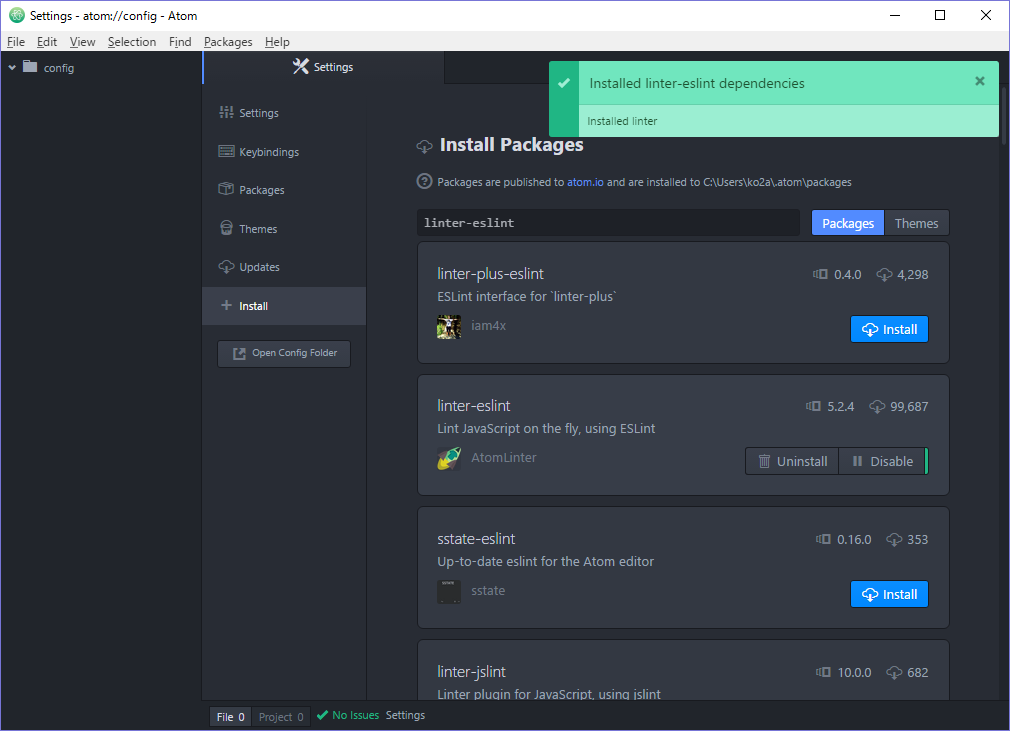
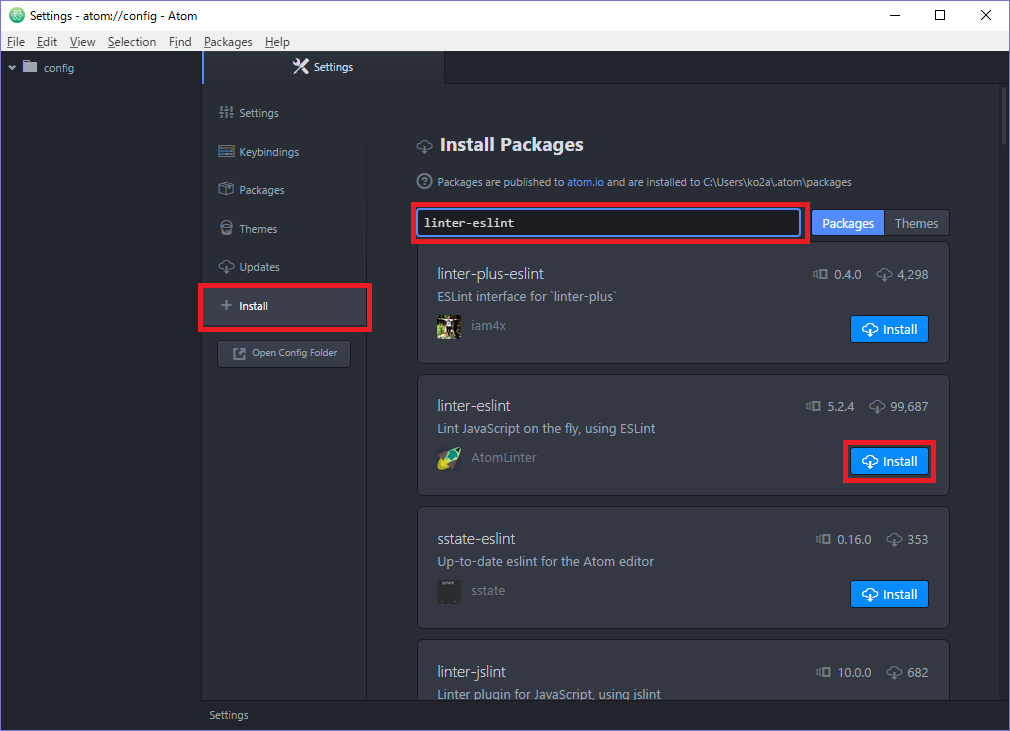
メニュー[File]→[Settings]を選択します。
-
左側の[Install]を選択して[linter-eslint]と入力してEnterキーを押し、[linter-eslint]の[Install]を選択します。
-
コマンドプロンプトを起動し、[npm get prefix]の実行結果を控えます。
C:\>npm get prefix
C:\Users\ko2a\AppData\Roaming\npm
-
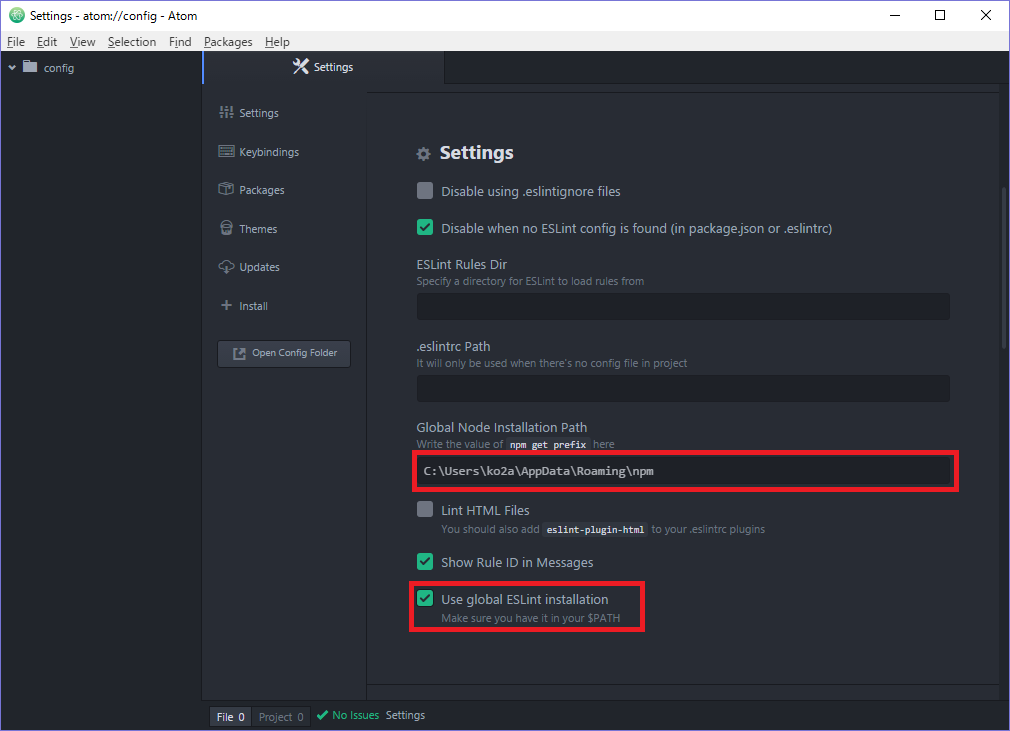
[Global Node Installation Path]に控えたパスをセットし、[Use global ESLint installation]にチェックを付けます。
-
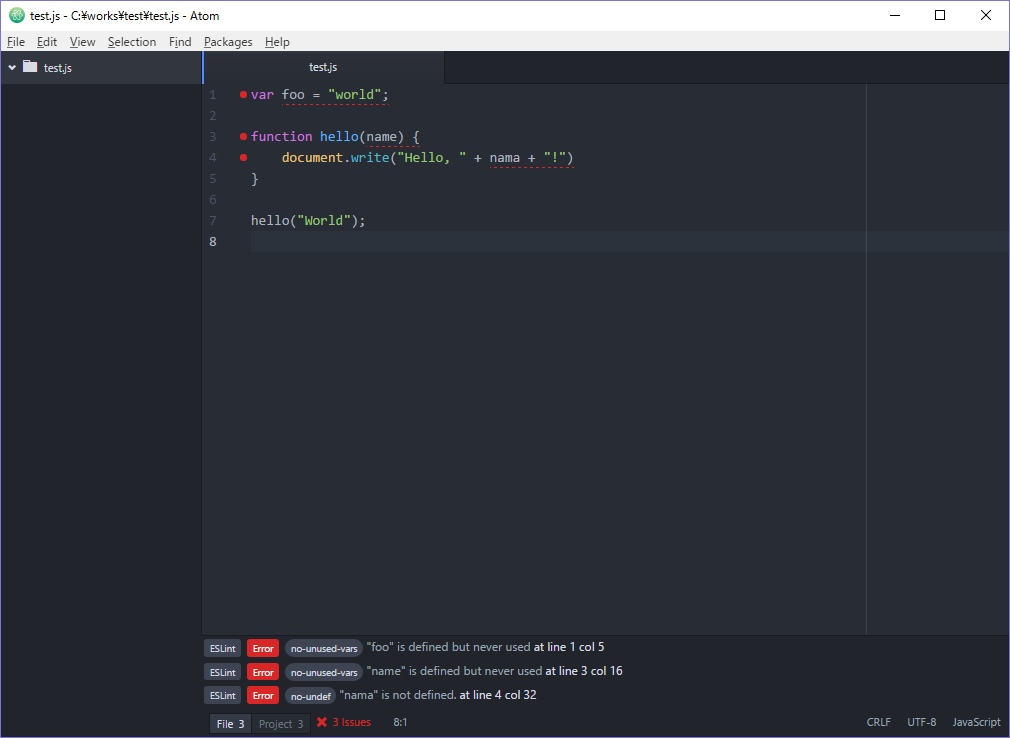
[.eslintrc]を配置したフォルダーのJavaScriptファイルを開くと、Lint結果がAtom上で確認できます。
プロキシ利用時の場合
- Atomインストール後、コマンドプロンプトを管理者権限で起動し[apm config set https-proxy]を実行します。
C:\>apm config set https-proxy http://proxy.example.com:8080
- [apm config get]にて設定を確認します。
C:\>apm config get https-proxy
http://proxy.example.com:8080
おわりに
JavaScriptを触り始めたばかりで、Node.jsについてもまだまだ知識不足のため、今回はグローバールインストールで動かしてみるところまでまとめてみました。
てか、社内プロキシあるとめんどっちぃですね・・・
社内で仕事してるとプロキシ対策に時間かかりすぎる・・・
本当はVisual Studio Codeでも試したかったのですが、プロキシまわりの不具合で社内からうまくいかなかったため、対応されたらVisual Studio Codeでも試してみようかと思います。
(この情報も@mysticateaさんに教えていただきました。ありがとうございました。)
Proxy support for extension gallery
https://github.com/Microsoft/vscode/issues/69
