Swift3.0を使って簡単なiPhoneアプリを作ってみます
初心者向け)Swift3.0で簡単なiPhoneアプリを作ってみるで作ったシンプルなSwift3.0アプリでセンサー値を表示してみます
1. 新しいアプリを用意します
- Xcodeを開き、新しい「Single View Application」を用意します
- Main.storyboardに ラベルを2つ用意し、「緯度(lat)」と「経度(lng)」とします。緯度はlatitude、経度はlongitudeの略です。
- ラベルの下に2つのTextFieldをそれぞれ用意します。

2. ViewContoller.swiftを編集します
- Xcodeで画面右上の二重の丸(Assistant Editor)からViewContoller.swiftを開きます

- 一番上のimportの部分にある「UIKit」に加えて、下記の2行を追加します
importを追加
import UIKit
import CoreLocation
import CoreMotion
- 画面に追加した 2つのTextFieldをそれぞれ「latTextField」と「lngTextField」という名前でViewControllerに接続します。それに加えて「viewDidLoad」より上に以下を追加します。
TextFieldの接続など
class ViewController: UIViewController, CLLocationManagerDelegate {

    var lat:Double = 0
    var lng:Double = 0

    var locationManager: CLLocationManager!
    let motionManager = CMMotionManager()

    @IBOutlet weak var latTextField: UITextField!
    @IBOutlet weak var lngTextField: UITextField!

    override func viewDidLoad() {
        super.viewDidLoad()
        // Do any additional setup after loading the view, typically
- 同様に、「viewDidLoad」の中に下記を追加します。
viewDidLoadへの追加
    override func viewDidLoad() {
        super.viewDidLoad()
        // Do any additional setup after loading the view, typically from a nib.

        if CLLocationManager.locationServicesEnabled() {
            locationManager = CLLocationManager()
            locationManager.delegate = self as! CLLocationManagerDelegate
            locationManager.startUpdatingLocation()
        }
    }
- 最後に、「didReceiveMemoryWarning」の下に以下を追加します。最後の閉じカッコを消してしまわないように、「didReceiveMemoryWarning」の外側で、全体として「viewContoller」の中に収まるように、注意して追加します
locationManagerの追加
    override func didReceiveMemoryWarning() {
        super.didReceiveMemoryWarning()
        // Dispose of any resources that can be recreated.
    }


    func locationManager(_ manager: CLLocationManager, didChangeAuthorization status: CLAuthorizationStatus) {
        switch status {
        case .notDetermined:
            locationManager.requestWhenInUseAuthorization()
        case .restricted, .denied:
            break
        case .authorizedAlways, .authorizedWhenInUse:
            break
        }
    }

    func locationManager(_ manager: CLLocationManager, didUpdateLocations locations: [CLLocation]) {
        guard let newLocation = locations.last,
            CLLocationCoordinate2DIsValid(newLocation.coordinate) else {
                self.latTextField.text = "Error"
                self.lngTextField.text = "Error"
                return
        }

        self.latTextField.text = "".appendingFormat("%.4f", newLocation.coordinate.latitude)
        lat = newLocation.coordinate.latitude
        self.lngTextField.text = "".appendingFormat("%.4f", newLocation.coordinate.longitude)
        lng = newLocation.coordinate.longitude
    }

}
- 全体として、「viewController」は以下のようになります。
viewContoller
import UIKit
import CoreLocation
import CoreMotion


class ViewController: UIViewController, CLLocationManagerDelegate {

    var lat:Double = 0
    var lng:Double = 0

    var locationManager: CLLocationManager!
    let motionManager = CMMotionManager()

    @IBOutlet weak var latTextField: UITextField!
    @IBOutlet weak var lngTextField: UITextField!

    override func viewDidLoad() {
        super.viewDidLoad()
        // Do any additional setup after loading the view, typically from a nib.

        if CLLocationManager.locationServicesEnabled() {
            locationManager = CLLocationManager()
            locationManager.delegate = self as! CLLocationManagerDelegate
            locationManager.startUpdatingLocation()
        }
    }

    override func didReceiveMemoryWarning() {
        super.didReceiveMemoryWarning()
        // Dispose of any resources that can be recreated.
    }


    func locationManager(_ manager: CLLocationManager, didChangeAuthorization status: CLAuthorizationStatus) {
        switch status {
        case .notDetermined:
            locationManager.requestWhenInUseAuthorization()
        case .restricted, .denied:
            break
        case .authorizedAlways, .authorizedWhenInUse:
            break
        }
    }

    func locationManager(_ manager: CLLocationManager, didUpdateLocations locations: [CLLocation]) {
        guard let newLocation = locations.last,
            CLLocationCoordinate2DIsValid(newLocation.coordinate) else {
                self.latTextField.text = "Error"
                self.lngTextField.text = "Error"
                return
        }

        self.latTextField.text = "".appendingFormat("%.4f", newLocation.coordinate.latitude)
        lat = newLocation.coordinate.latitude
        self.lngTextField.text = "".appendingFormat("%.4f", newLocation.coordinate.longitude)
        lng = newLocation.coordinate.longitude
    }

}
3. info.plistに追加します
- Xcodeの左端のナビゲーター(Main.storyboardなどが表示されている部分)から、「info.plist」を選択します

- 表示されたinfo.plistの画面左側の上の部分の「Information Property List」のあたりにカーソルを移動すると「+」記号が現れるので選択すると項目が追加されます。

- 新たに追加する項目として「Priv』などと打つと候補が表示されるので、その中から「Privary - Location When In Use」を選択します。
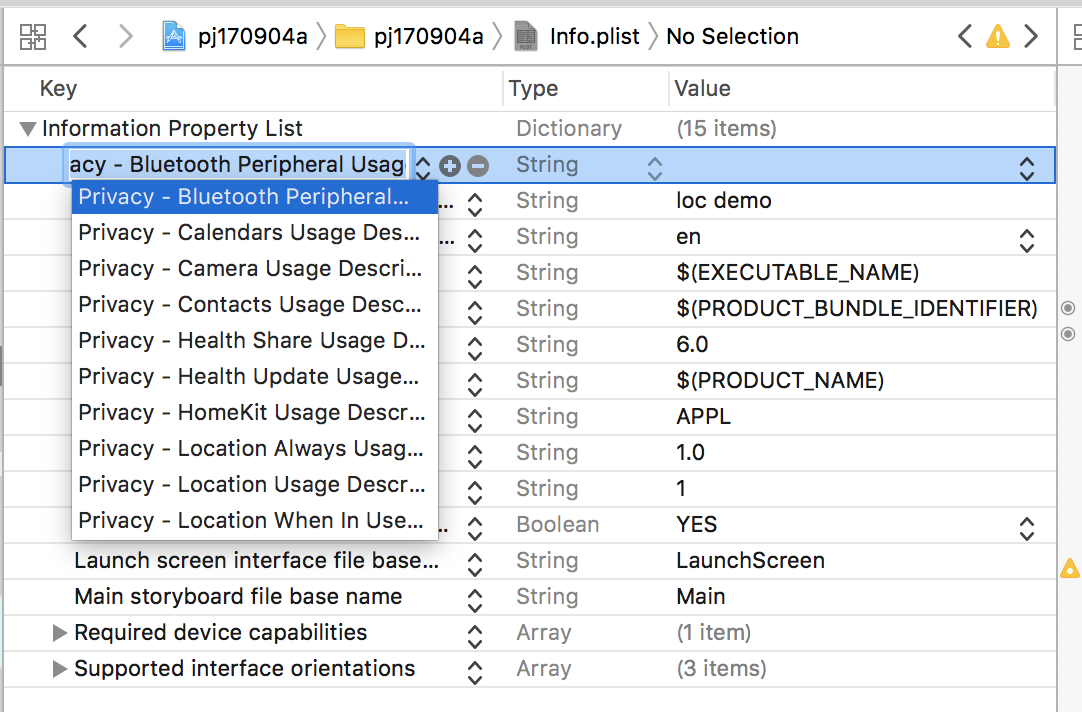
- 画面右側の「Value」部分はなんでも良いので何か(例えば :「location demo」など)入力します。

- 位置情報の使用についての情報が付加されました。
4. Simulator/iPhoneで稼働させてみます
- 最初に起動した時には「位置情報を使用して構わないか?」の確認が表示されるので承認します
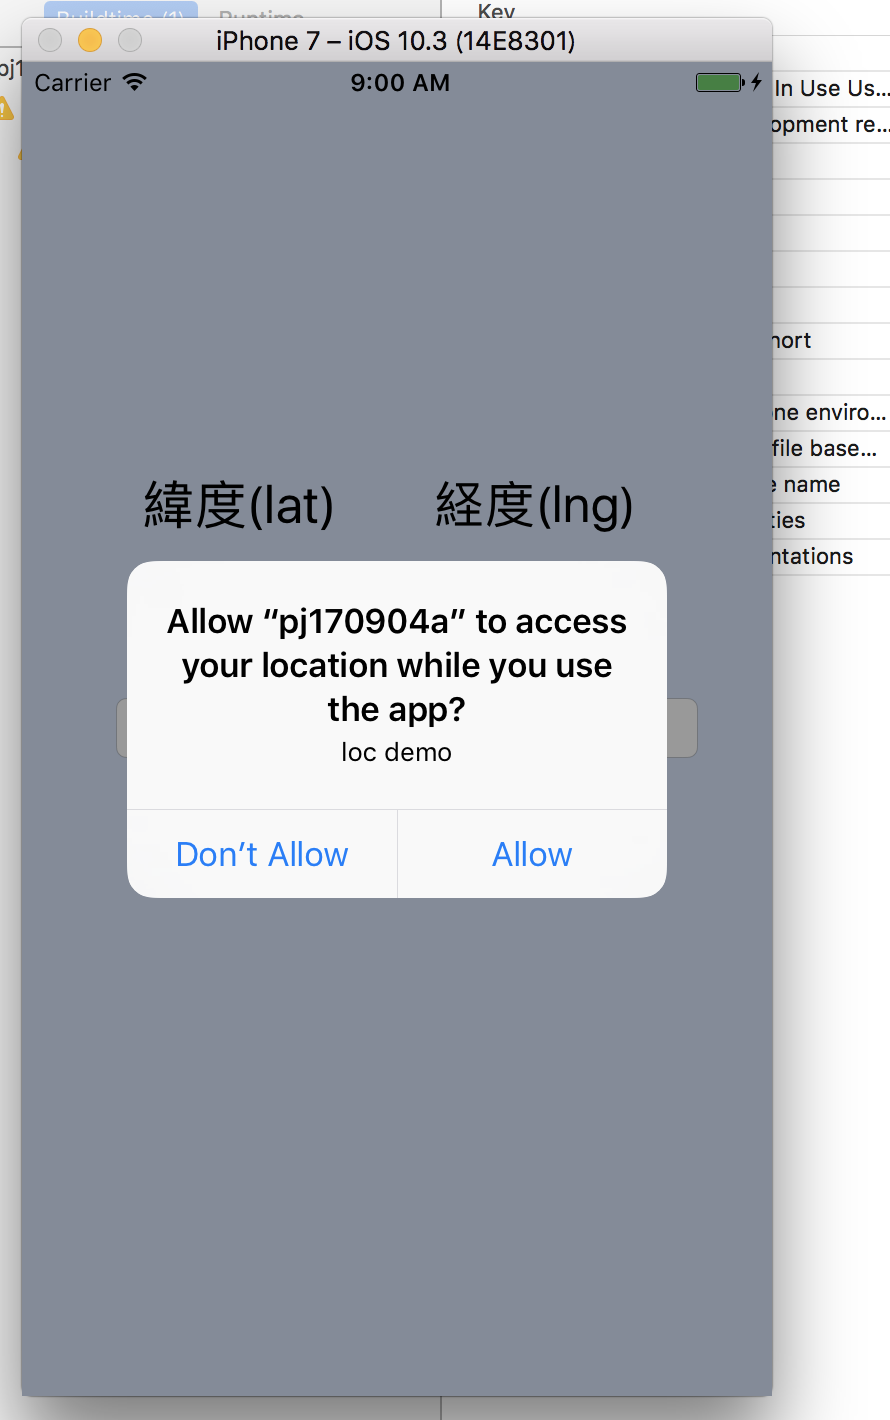
- 表示された緯度・経度が正しいかをGoogle Mapなどで確認します(例:緯度経度をGoogleMapで確認)