TensorflowOnSparkを起ち上げてみた
Yahoo!がTensorflowOnSparkを公開しました。
Sparkクラスターで動くTensorflowのようです。
GitHub:
https://github.com/yahoo/TensorFlowOnSpark
記事:
http://yahoohadoop.tumblr.com/
https://techcrunch.com/2017/02/13/yahoo-supercharges-tensorflow-with-apache-spark/
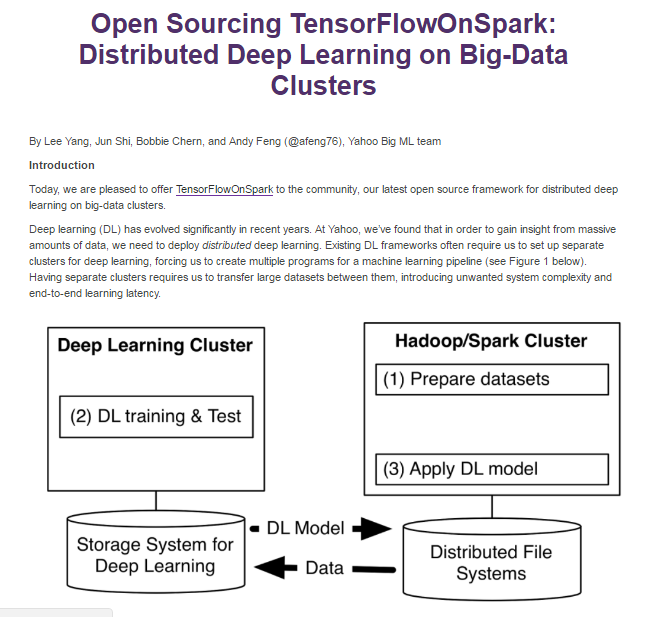
Distributed Tensorflowはすでにありますし、Sparkクラスターでの起動を試している人も見かけましたが、天下のYahoo!がTensorflowをカバーするというので面白い試みです。
Distributed Tensorflow
https://www.tensorflow.org/how_tos/distributed/
Tensorflow x Spark
https://databricks.com/blog/2016/01/25/deep-learning-with-apache-spark-and-tensorflow.html
Yahoo!はCaffeOnSparkを出してましたし、その延長でしょうかね?
CaffeOnSpark
https://github.com/yahoo/CaffeOnSpark
ドキュメントはまだ英語ばかりですが、クラスキャットさんがさっそくREADMEを日本語化しています。感謝感謝。
http://tensorflow.classcat.com/2017/02/14/tensorflowonspark-readme/
さて、せっかくなので動してみたいと思います!
環境
AWS EC2のRHEL7.3を使います。
インスタンスサイズはt2.large。このサイズを選んだ根拠はありません。
AMIもありますが、今回はStandalone版で一から構築していきます。
手順は以下のとおりです。
https://github.com/yahoo/TensorFlowOnSpark/wiki/GetStarted_standalone
EC2を1台使います。
1台にmasterとslave両方を起動します。
事前準備
まずはrootになってyum updateし、必要なパッケージをインストールします。
あとついでにAnaconda2をインストールします。
sudo su -
yum -y update
yum -y install bzip2 git wget unzip zip java-1.7.0-openjdk java-1.7.0-openjdk-devel
echo 'export JAVA_HOME=/usr/lib/jvm/java-1.7.0' >> /etc/profile
source /etc/profile
cd ~
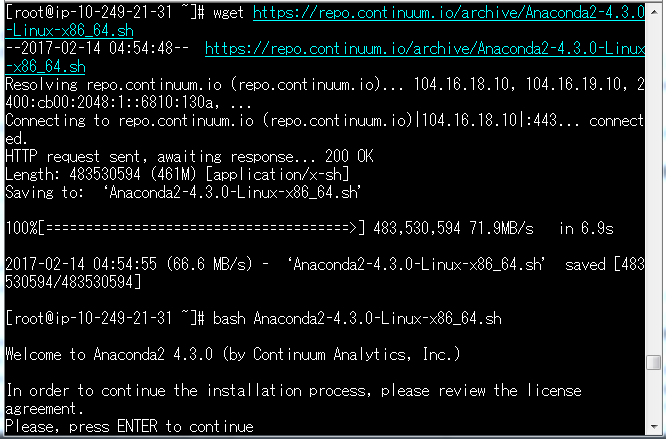
wget https://repo.continuum.io/archive/Anaconda2-4.3.0-Linux-x86_64.sh
bash Anaconda2-4.3.0-Linux-x86_64.sh
Anacondaのホームディレクトリは/opt/anaconda2にしています。
これは個人の好みです。
echo 'export PATH="/opt/anaconda2/bin:$PATH"' >> /etc/profile
source /etc/profile
これで事前準備完了なので、手順に沿ってTensorflowOnSparkの構築を始めていきます。
TensorflowOnSparkのインストール
Gitからクローンしてきます。
この辺はコードをそのまま実行しています。
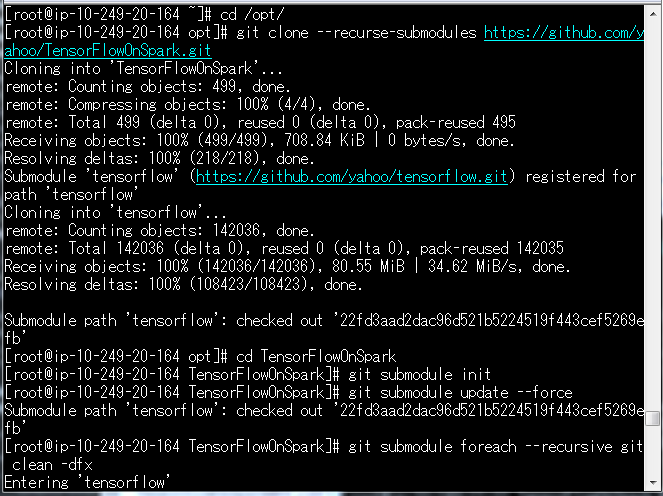
cd /opt/
git clone --recurse-submodules https://github.com/yahoo/TensorFlowOnSpark.git
cd TensorFlowOnSpark
git submodule init
git submodule update --force
git submodule foreach --recursive git clean -dfx

cd TensorFlowOnSpark
echo "export TFoS_HOME=$(pwd)" >> /etc/profile
source /etc/profile
pushd src
zip -r ../tfspark.zip *
popd
TensorflowOnSparkというディレクトリができあがります。
HadoopとSparkのインストール
HadoopとSparkをインストールします。
特にClouderaやHortonworksとかは使いません。
インストール用のシェルがTensorFlowOnSparkの中に含まれているので、それを実行するだけです。
(2017/02/21修正、公式の方でHadoopのインストール手順がなくなりました。)
TFoS_HOME/scripts/local-setup-hadoop.sh
echo "export HADOOP_HOME=pwd/hadoop-2.6.4" >> /etc/profile
echo 'export PATH=HADOOP_HOME/bin:PATH' >> /etc/profile
source /etc/profile
${TFoS_HOME}/scripts/local-setup-spark.sh
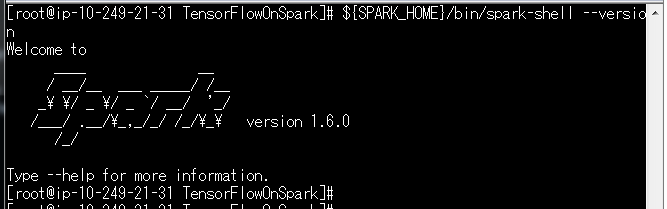
echo "export SPARK_HOME=$(pwd)/spark-1.6.0-bin-hadoop2.6" >> /etc/profile
echo 'export PATH=${SPARK_HOME}/bin:${PATH}' >> /etc/profile
source /etc/profile
Hadoop、Sparkともにインストールできました。
Tensorflowのインストール
おなじみpipでインストールします。
pip install tensorflow
楽ですね。
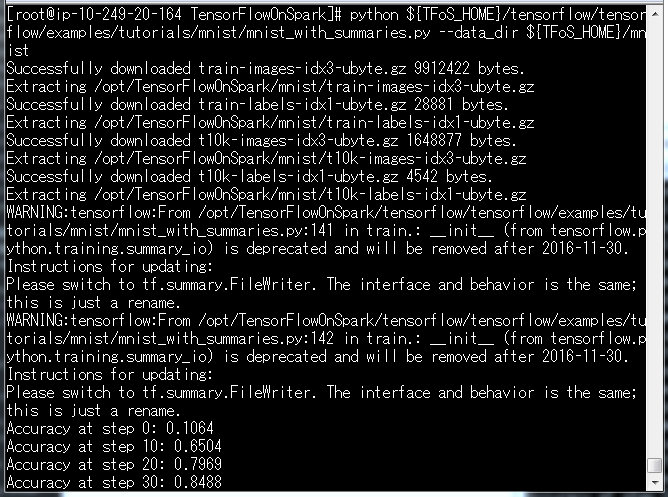
Tensorflowの動作確認です。
python ${TFoS_HOME}/tensorflow/tensorflow/examples/tutorials/mnist/mnist_with_summaries.py --data_dir ${TFoS_HOME}/mnist
MNISTのトレーニングをしていますが、時間がかかるのでctrl+cで停止しましょう。
Sparkマスターとスレーブの起動
それでは、Sparkのマスターとスレーブを起動します。
マスターはスレーブ兼用です。
${SPARK_HOME}/sbin/start-master.sh

マスターが起動しました。
スレーブからマスターへの接続はspark://ip-10-249-20-164.ec2.internal:7077です。
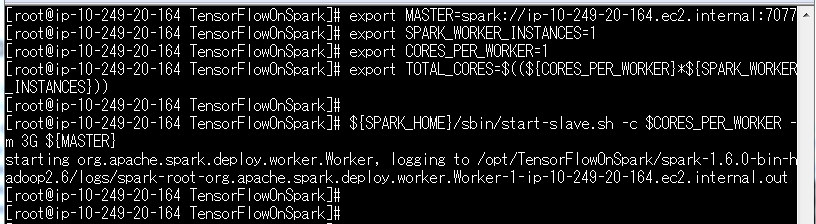
スレーブを起動します。
export MASTER=spark://ip-10-249-20-164.ec2.internal:7077
export SPARK_WORKER_INSTANCES=2
export CORES_PER_WORKER=1
export TOTAL_CORES=$((${CORES_PER_WORKER}*${SPARK_WORKER_INSTANCES}))

${SPARK_HOME}/sbin/start-slave.sh -c $CORES_PER_WORKER -m 3G ${MASTER}
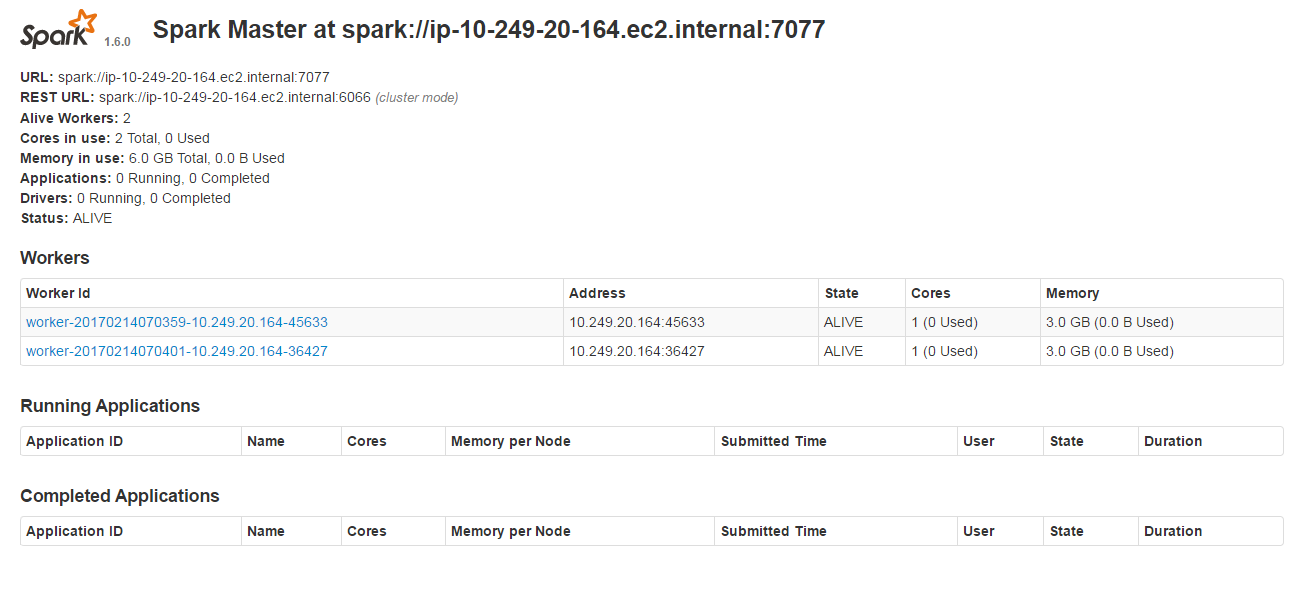
http://10.249.20.164:8080/ にアクセスすると、登録されているWorkerが確認できます。
コマンドはstart-slave.shなのに、表記はworkerです。
労働者なのか奴隷なのか・・・(。ŏ﹏ŏ)
これで構築完了です。
Spark上でTensorflowのコードを実行できるようになりました。
それでは早速試してみましょう。
動かしてみよう
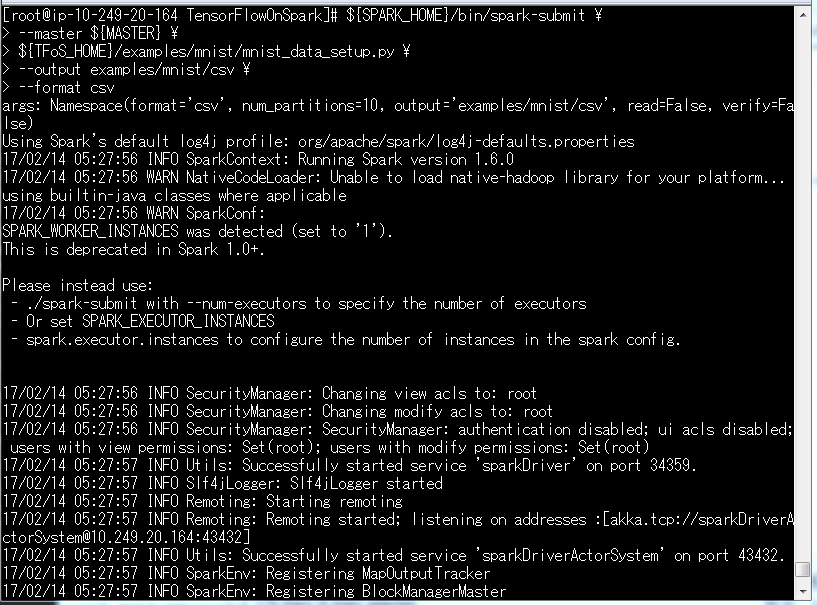
まずはMNISTのトレーニングデータとテストデータを用意してみます。
${SPARK_HOME}/bin/spark-submit \
--master ${MASTER} \
${TFoS_HOME}/examples/mnist/mnist_data_setup.py \
--output examples/mnist/csv \
--format csv
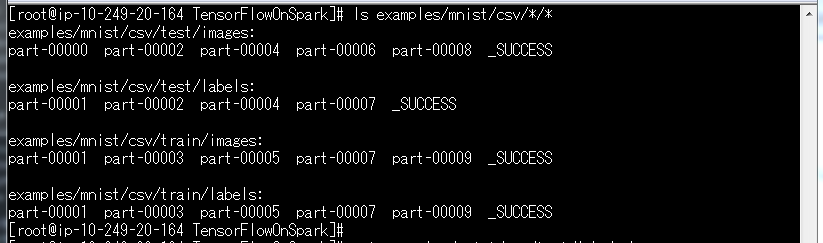
${TFoS_HOME}/examples/mnist/csv/*/*にデータができあがります。
ls examples/mnist/csv/*/*
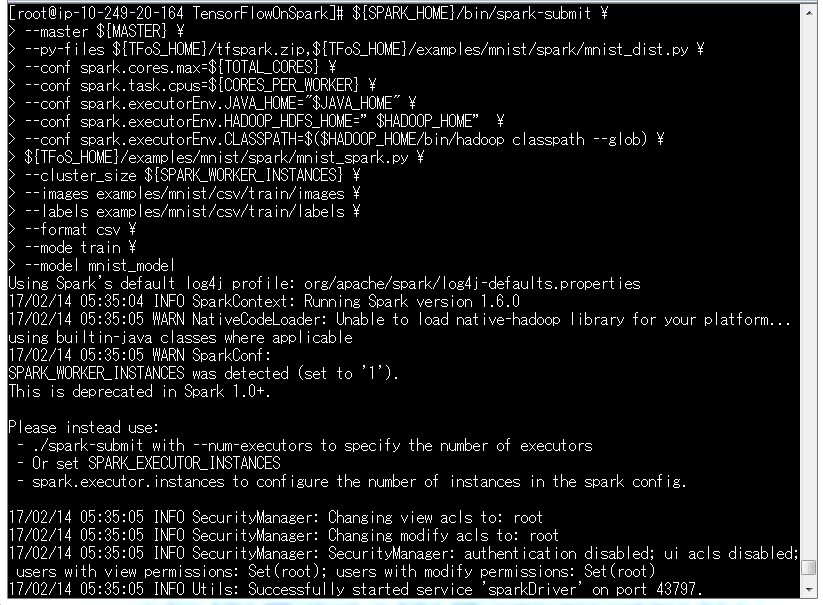
このトレーニングデータをつかってモデルを作ります。
モデルはmnist_modelという新しいディレクトリ配下にできあがります。
${SPARK_HOME}/bin/spark-submit \
--master ${MASTER} \
--py-files ${TFoS_HOME}/tfspark.zip,${TFoS_HOME}/examples/mnist/spark/mnist_dist.py \
--conf spark.cores.max=${TOTAL_CORES} \
--conf spark.task.cpus=${CORES_PER_WORKER} \
--conf spark.executorEnv.JAVA_HOME="$JAVA_HOME" \
--conf spark.executorEnv.HADOOP_HDFS_HOME="$HADOOP_HOME" \
--conf spark.executorEnv.CLASSPATH=$($HADOOP_HOME/bin/hadoop classpath --glob) \
${TFoS_HOME}/examples/mnist/spark/mnist_spark.py \
--cluster_size ${SPARK_WORKER_INSTANCES} \
--images examples/mnist/csv/train/images \
--labels examples/mnist/csv/train/labels \
--format csv \
--mode train \
--model mnist_model
なんかWarnが出ていますね。
でもそのまま進んでいきます。
・・・
・・・・・・
できました。
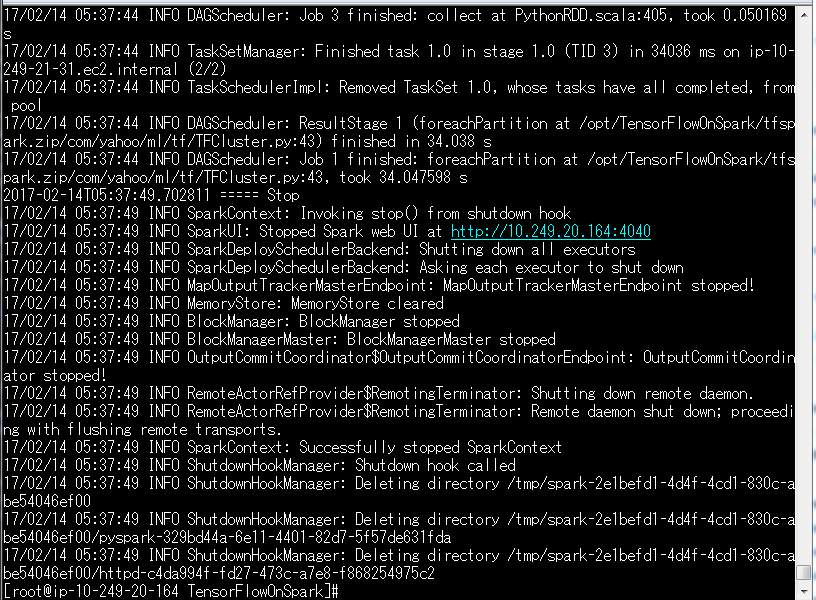
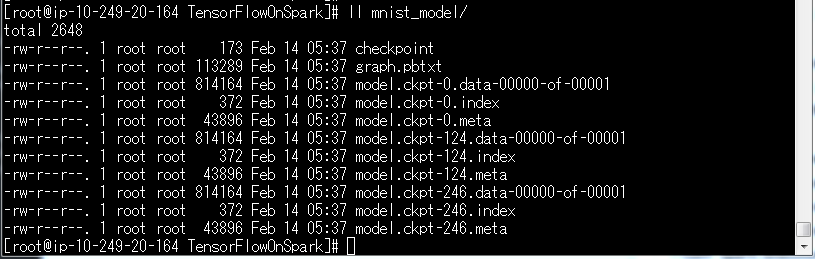
${TFoS_HOME}/mnist_model/というディレクトリができていれば、ひとまずOKです。
ls -l mnist_model
mnist_model/の中身はこんな感じになります。
次はこのモデルでテストデータを分類してみます。
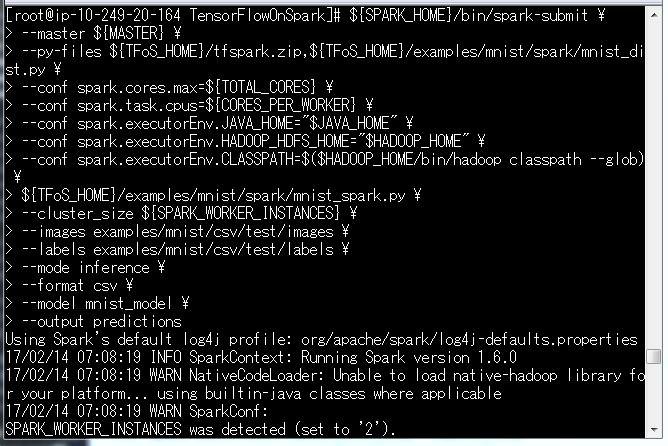
${SPARK_HOME}/bin/spark-submit \
--master ${MASTER} \
--py-files ${TFoS_HOME}/tfspark.zip,${TFoS_HOME}/examples/mnist/spark/mnist_dist.py \
--conf spark.cores.max=${TOTAL_CORES} \
--conf spark.task.cpus=${CORES_PER_WORKER} \
--conf spark.executorEnv.JAVA_HOME="$JAVA_HOME" \
--conf spark.executorEnv.HADOOP_HDFS_HOME="$HADOOP_HOME" \
--conf spark.executorEnv.CLASSPATH=$($HADOOP_HOME/bin/hadoop classpath --glob) \
${TFoS_HOME}/examples/mnist/spark/mnist_spark.py \
--cluster_size ${SPARK_WORKER_INSTANCES} \
--images examples/mnist/csv/test/images \
--labels examples/mnist/csv/test/labels \
--mode inference \
--format csv \
--model mnist_model \
--output predictions
待ちましょう。
・・・・・・
・・・5分後・・・
・・・・・・
できたっぽいですね。
${TFoS_HOME}/predictions/というディレクトリができます。
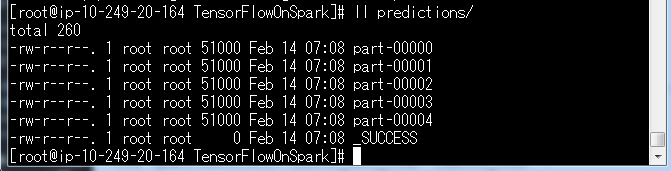
ひとつファイルを開いてみましょう。
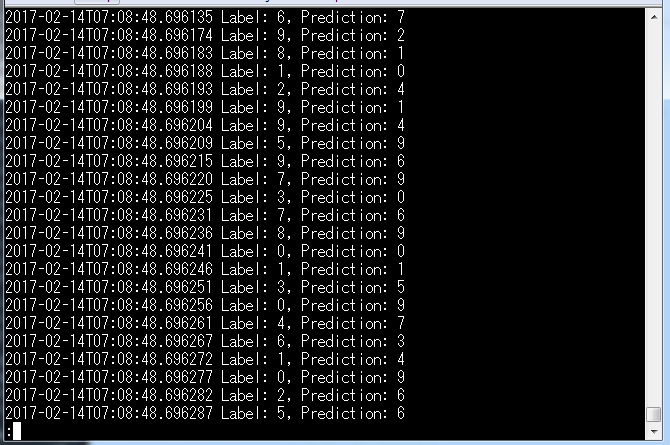
less predictions/part-00000
中身はこんな感じで、推定結果が記録されています。
ひとまず動きました
というわけで、ひとまずwikiに従ってTensorFlowOnSparkを動かしてみました。
手順が割りと案外しっかりしていて、ほとんどのコマンドはそのままで構築、実行までいけます。
ちなみに既存のTensorflowのコードをTensorFlowOnSparkで実行するためのコンバージョン・ガイドもあります。
https://github.com/yahoo/TensorFlowOnSpark/wiki/Conversion
とても親切です。
後日談
今回デプロイしたTensorFlowOnSparkをDockerで動かしてみました。
http://qiita.com/cvusk/items/aa631ff5e1a3b7d93ac1