概要
誤差拡散で画像を2値化すると、画像が明るく見える。
これはガンマが考慮されていないために発生する現象である。
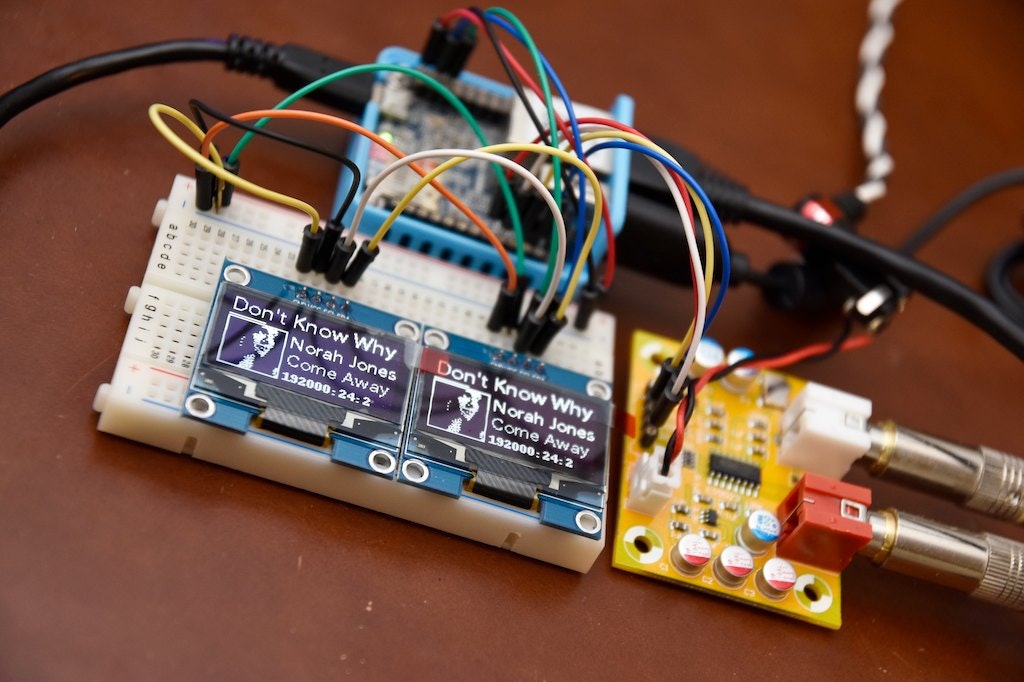
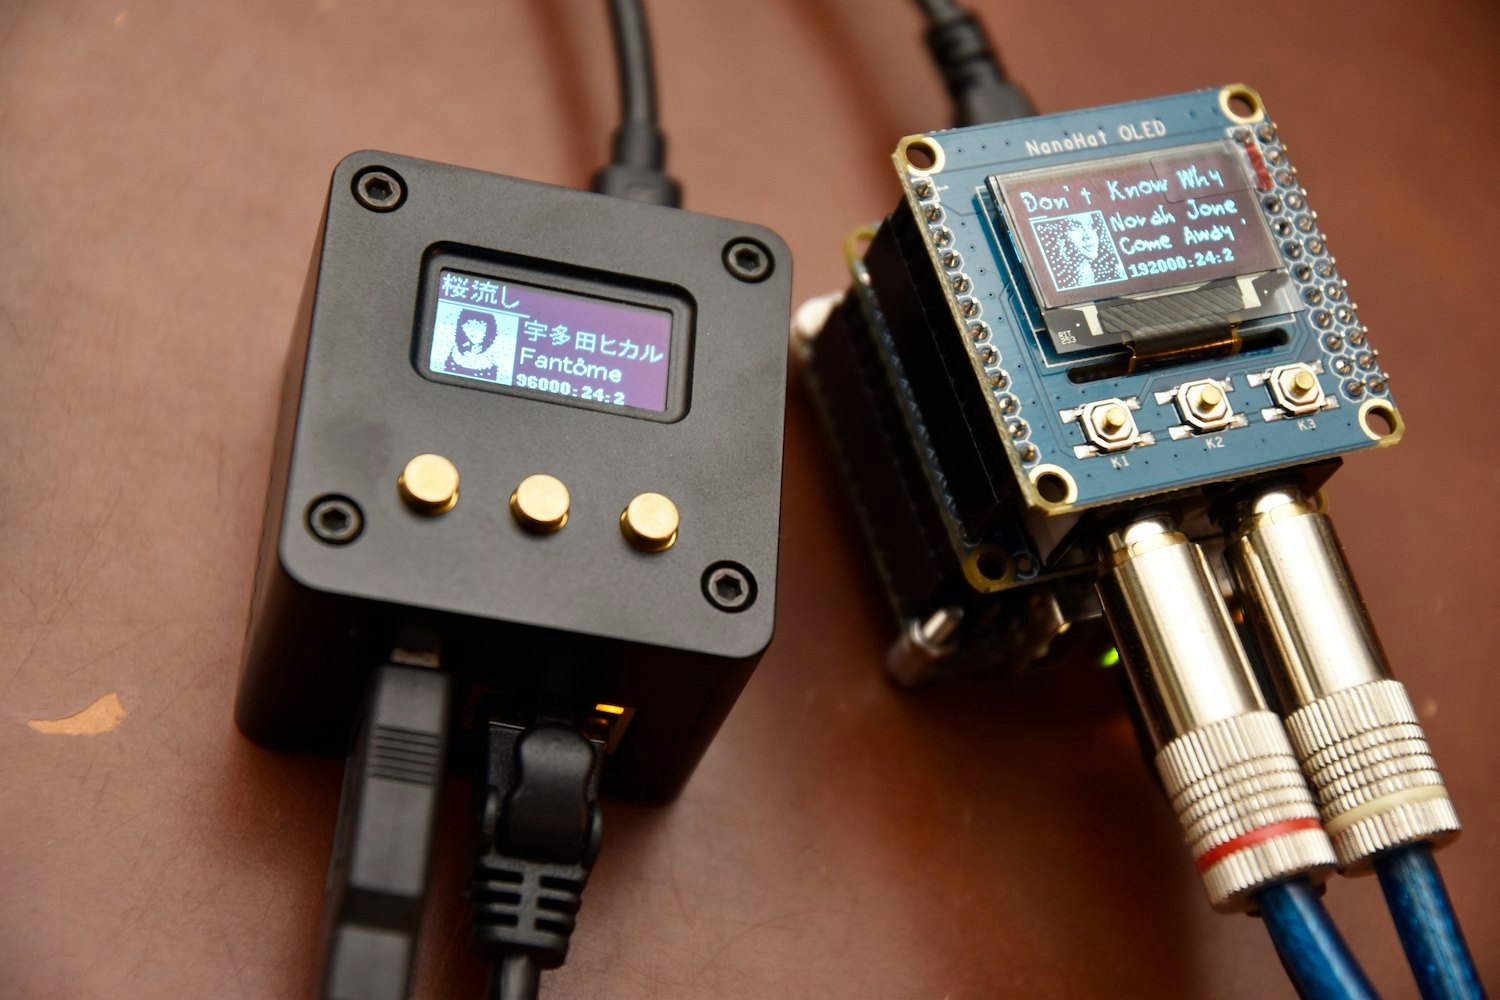
近年、2値表示タイプのOLEDの普及(笑)により、画像を綺麗に表示したい場面がしばしば発生している。そのため、綺麗に見れるようにする。
(主な普及先は、RaspberryPiやら、BeagleBoneやら、Arduinoやら、NanoPiである)
主に↓のように、画像表示するときに必要となる。
既存の問題点
PythonではPILライブラリを使用することで、簡単に誤差拡散法での2値画像を生成することができる。
例:image = Image.open(cover_path).convert('1')
しかし、これには2つほど問題点がある。
- RGB→Grayscale化が、Bt.601系で行われる
- 誤差拡散による2値化が、ガンマ値考慮されない
最近のディスプレイはsRGB(Bt.709)系であるため、Bt.601の係数でグレースケール化すると微妙な違和感が生じる。
誤差拡散は、ガンマ値考慮されないため、明るく出てしまう。
対策内容
floatは基本遅いので、すべて固定小数点の整数演算で実施する。
(1) RGB → Grayscale変換に、Bt.709の係数を使用
Bt.709での変換は下記の通り。
$ Luminance = R * 0.2126 + G * 0.7152 + B * 0.0722 $
これに65536掛けて固定小数点で扱う。
つまり、こうなる。
$ Luminance = (R * 13933 + G * 46871 + B * 4732) / 65536 $
ちなみに、Bt.601系は下記の通り。
OpenCVやPILのGrayscale化はこっちの式。おそらくJPEGのYUV―RGB変換がそうだから、こうなのであろう。
$ Luminance = R * 0.299 + G * 0.587 + B * 0.114 $
(2) 誤差拡散は、リニア空間で実施
リニア空間に戻してから誤差拡散の計算してあげる。
リニア空間に戻す際に使用するガンマ値はsRGBへの近似値2.2を使用し、リニア空間値は固定少数点20bit表現。
つまり、ガンマ値変換入れて、255が1048575になり、1が5にマップされます。
そして、1を1にマップすることが最低条件になるため、Gamma=2.2の場合 18bitは必要となるわけです。
※sRGBのガンマカーブは、機器実装の簡略化のため、暗部部が直線表現で下記のように規格化されています。
If R, G, B are less than or equal to 0.04045
  RL = R/12.92
  GL = G/12.92
  BL = B/12.02

If R, G, B are greater than 0.04045
  RL = ((R + 0.055)/1.055)2.4
  GL = ((R + 0.055)/1.055)2.4
  BL = ((R + 0.055)/1.055)2.4
なので、$ (1 / 255) / 12.92 * 4096 = 1.2432 $ となるので、ひとまず12bitあれば足りるわけである。
ディスプレイとかの 12bitLUT!! などを謳っているものは、実は最低条件なわけです。
※そして上記規格書の式、間違いが3つある。
(3) 誤差拡散は、FloydSteinbergを使用
FloydSteinberg
| - | - | * | 7/16 | - |
|---|---|---|---|---|
| - | 3/16 | 5/16 | 1/16 | - |
Python版コード
PILのimageを入れれば、PILのimageを返す。
import math
from PIL import Image

def ImageHalftoning_FloydSteinberg(image):

	shift	= 20;

	cx, cy = image.size;

	temp	= Image.new('I', (cx, cy));
	result	= Image.new('L', (cx, cy));

	tmp		= temp.load();
	dst		= result.load();

	# Setup Gamma tablw
	gamma	= [0]*256;
	for i in range(256):
		gamma[i]	= int( math.pow( i / 255.0, 2.2 ) * ((1 << shift) - 1) );

	# Convert to initial value
	if image.mode == 'L':
		src		= image.load();
		for y in range(cy):
			for x in range(cx):
				tmp[(x,y)]	=  gamma[ src[(x,y)] ];

	elif image.mode == 'RGB':
		src		= image.load();
		for y in range(cy):
			for x in range(cx):
				R,G,B	= src[(x,y)];
				Y		= (R * 13933 + G * 46871 + B * 4732) >> 16;	# Bt.709
				tmp[(x,y)]	=  gamma[ Y ];

	elif image.mode == 'RGBA':
		src		= image.load();
		for y in range(cy):
			for x in range(cx):
				R,G,B,A	= src[(x,y)];
				Y		= (R * 13933 + G * 46871 + B * 4732) >> 16;	# Bt.709
				tmp[(x,y)]	=  gamma[ Y ];

	else:
		raise ValueError('Image.mode is not supported.')

	# Error diffuse
	for y in range(cy):
		for x in range(cx):
			c	= tmp[(x,y)];
			e	= c if c < (1 << shift) else (c - ((1 << shift) - 1));

			dst[(x,y)]	= 0 if c < (1 << shift) else 255;

			# FloydSteinberg
			#	-		*		7/16
			#	3/16	5/16	1/16
			if  (x+1) < cx :
				tmp[(x+1,y)]	+= e * 7 / 16;

			if (y+1) < cy :
				if 0 <= (x-1) :
					tmp[(x-1,y+1)]	+= e * 3 / 16;

				tmp[(x,y+1)]		+= e * 5 / 16;

				if (x+1) < cx :
					tmp[(x+1,y+1)]	+= e * 1 / 16;

	return	result;
C++版のコード(RGB→L変換なし)は、下記参照。
NanoPi-NEOでOpenCV CapしてOLED表示 - Qiita
最後に
本Pythonコードは、下記への適用のために作成したものでした。
コードはgitにも登録済みです。

