ブラウザからLEDを点灯させるまでの手順メモ
目標
別PCのブラウザからhttp://192.168.11.75/~pi/cgi-bin/led_high.py にアクセスすることで、
Raspberry Pi2に接続したLEDを点灯させることが目標。
(アドレスやファイル名などは個人の設定に依る)
Apacheのインストール
sudo apt-get install apache2
動作確認
テスト用のhtmlを以下のように作成する
<html>
<head>
<title>test</title>
</head>
<body>This page is test page.</body>
</html>
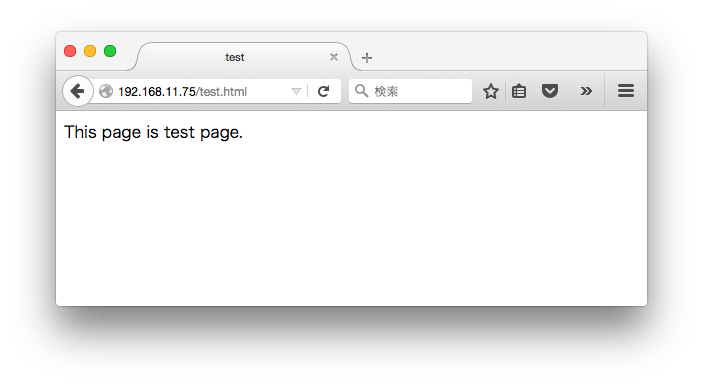
別PCのブラウザからhttp://192.168.11.75/test.html と入力し、以下の画面が出れば成功
(192.168.11.75の部分は各自の環境に応じて変更)
UserDir を有効化する
デフォルトでは、コンテンツの読み込みディレクトリが/var/www/となっている。
/var/wwwだと、sudoしないとファイルの編集が行えないので、
コンテンツの読み取りディレクトリを~/public_html/に対して出来るようにしておく。
$ sudo a2enmod userdir
$ mkdir ~/public_html
$ sudo cp /var/www/html/test.html ~/public_html
再起動
$ sudo service apache2 restart
これで、別PCのブラウザからhttp://192.168.11.75/~pi/test.html でアクセスできるようになる。
(192.168.11.75の部分は各自の環境に応じて変更)
CGIの設定
Pythonスクリプトを実行するためにCGIの設定を行う
まずは、CGIを有効にする
$ sudo ln -s /etc/apache2/mods-available/cgi.load /etc/apache2/mods-enabled/cgi.load
設定ファイルの変更
// 以下のコメントを外す
Include conf-available/serve-cgi-bin.conf
拡張子.pyのCGIが動作出来るように設定する。
(変更前)
# AddHandler cgi-script .cgi
(変更後)
AddHandler cgi-script .cgi .py
CGIを動かすディレクトリの設定
(変更前)
                ScriptAlias /cgi-bin/ /usr/lib/cgi-bin/
                <Directory "/usr/lib/cgi-bin">
(変更後)
                ScriptAlias /cgi-bin/ /home/pi/public_html/cgi-bin
                <Directory "/home/pi/public_html/cgi-bin">
再起動
$ sudo service apache2 restart
Pythonスクリプトの準備
# !/usr/bin/python

print "Content-type: text/html"
print
print "<html>"
print "<head>"
print "<title>test</title>"
print "</head>"
print "<body>This page is test page.</body>"
print "</html>"
以上の設定を行い、
別PCのブラウザから、http://192.168.11.75/~pi/cgi-bin/test.py にアクセスすると、"This page is test page. "が表示される。
LED点灯
回路はRaspberry PiでLEDの点灯で記載したのもを使用する
pythonコードは以下の通り。
# !/usr/bin/python

import RPi.GPIO as GPIO
import time

GPIO.setmode(GPIO.BCM)
GPIO.setup(25, GPIO.OUT)

GPIO.output(25, 1)
time.sleep(2)

GPIO.cleanup()

print "Content-type: text/html"
print
print "<html>"
print "<head>"
print "<title>LEDtest</title>"
print "</head>"
print "<body>LED test success.</body>"
print "</html>"
別PCのブラウザからhttp://192.168.11.75/~pi/cgi-bin/led_high.py にアクセスすると、サーバーエラー(500)となる。
どうも、apacheではGPIOを制御できないのが原因っぽい。
そこで、apacheの実行ユーザーであるwww-dataのグループにgpioを追加してみる。
(apacheの実行ユーザーは、/etc/apache2/envvarsで確認した)
$ sudo gpasswd -a www-data gpio
ユーザ www-data をグループ gpio に追加
$ sudo service apache2 restart # 再起動が必要
再び、別PCのブラウザからhttp://192.168.11.75/~pi/cgi-bin/led_high.py にアクセスすると、LEDが点灯した!!