ViewPager
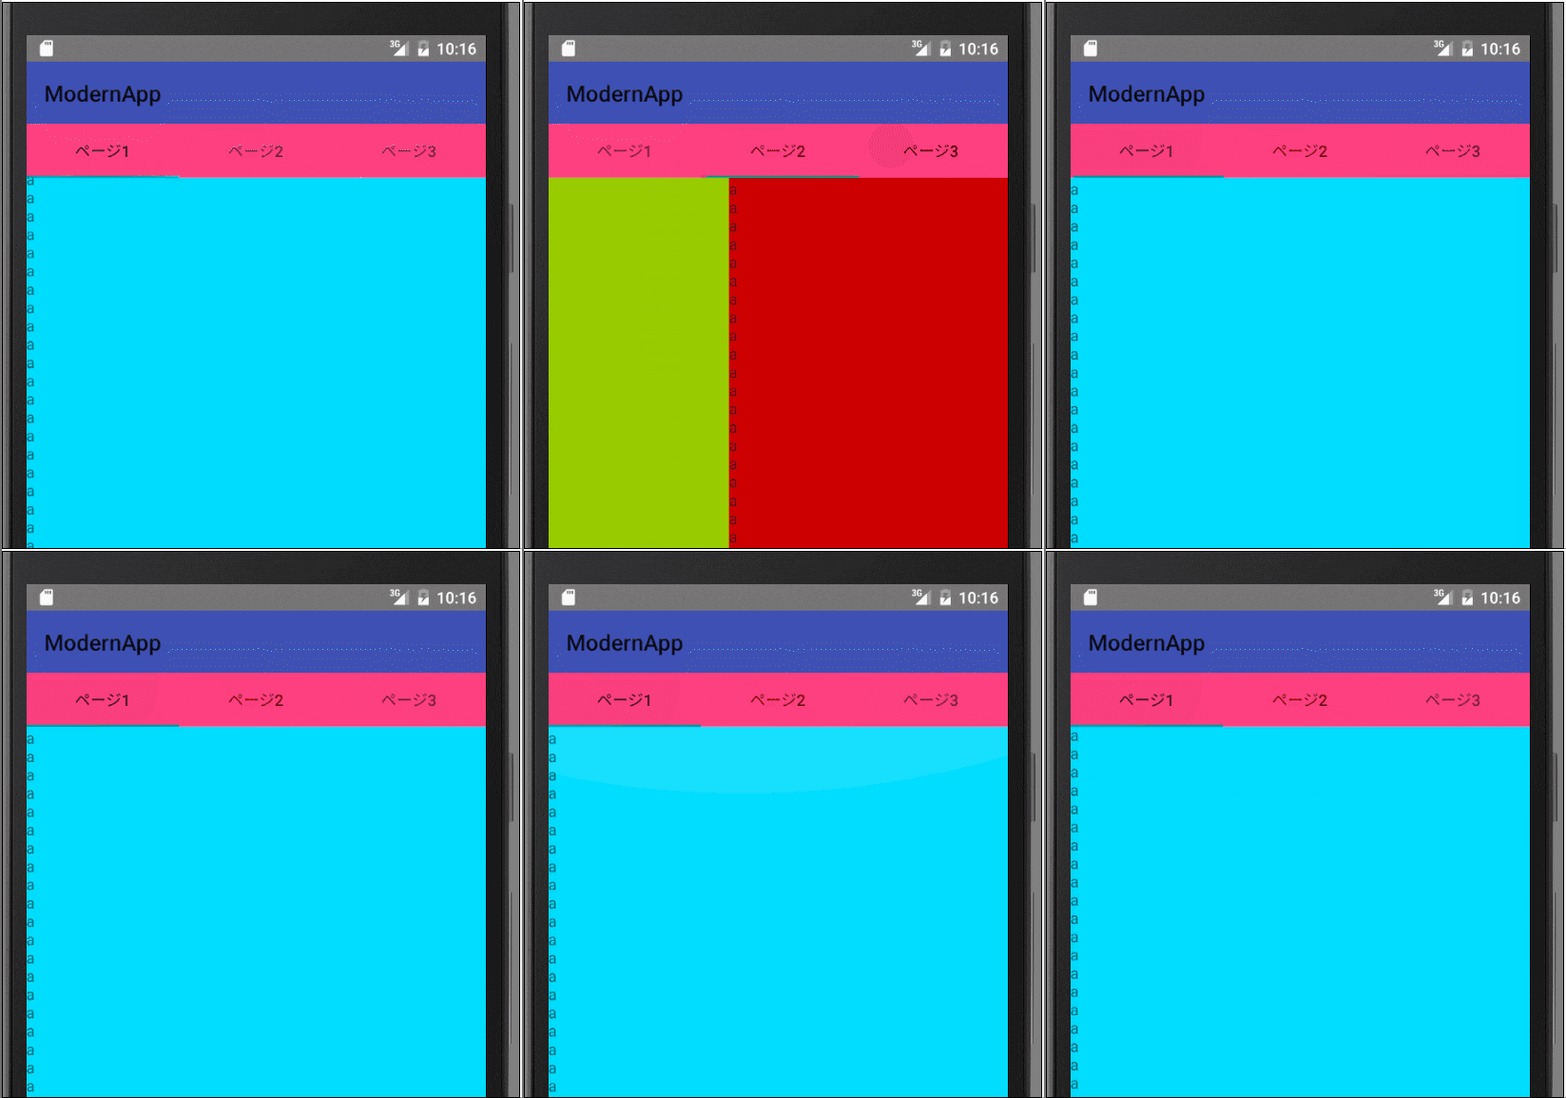
ViewPagerはListViewが縦スクロールなのに対して横スクロールしてViewを切り替えるためのViewです。
長らく古い情報のままだったので修正しました。
GitHubはこちら
- tablayout
- NavigationView
が追加されたためアプリを起動して最初の画面は
viewPager + tablayout + drawerLayout ...等の実装が一般的になってきている木がします。もしそのような物を考えているのであればこちらを見ていただければと思います。単純なViewPagerを知らない場合はこちらの記事から見ていただければと思います。
さて、基本的にViewPagerはfragmentを複数持つことでViewの切り替えを行います。
android-support-v4でサポートされているためほぼすべてのandroidで動くと思っていいでしょう。
ViewPagerは「adapter」に中身のView管理をしています。
これらの機能はPagerAdapterを継承することで実装していきます。
サンプルコードを記載しつつ説明していきます。
Viewpagerを使うための流れは以下です。
- 使用するlayout.xmlにViewPagerをセット(.xmlに記述)
- Fragmentの用意(Viewpagerの中の要素です)
- (Fragment)PagerAdapterの用意
- ViewPagerにAdapterをセット
使用するlayout.xmlにViewpagerをセット
<LinearLayout xmlns:android="http://schemas.android.com/apk/res/android"
    xmlns:tools="http://schemas.android.com/tools"
    android:layout_width="match_parent"
    android:layout_height="match_parent"
    android:orientation="vertical">
    <android.support.v4.view.ViewPager
        android:layout_width="match_parent"
        android:layout_height="match_parent"
        android:id="@+id/viewPager"/>
</LinearLayout>
ViewPagerはSupport Packageで提供されているため、android.support.v4.view.ViewPageと記述します。
また、このほかにもよく使われるものとして「PagerTitleStrip」というものが存在します。せっかくなので今回実装してみましょう。
前述したとおりSupportLibraryが用意されてから使われていません。
代替として「Tablayout」が存在するのでそちらを使います。
ちょっと今回の趣旨とは外れるので説明は省きます。
一応記すと、
<?xml version="1.0" encoding="utf-8"?>
<LinearLayout xmlns:android="http://schemas.android.com/apk/res/android"
    android:layout_width="match_parent"
    android:layout_height="match_parent"
    android:orientation="vertical">

    <android.support.v7.widget.Toolbar
        android:id="@+id/toolBar"
        android:layout_width="match_parent"
        android:layout_height="?actionBarSize"
        android:background="@color/colorPrimary"/>

    <android.support.design.widget.TabLayout
        android:id="@+id/tabLayout"
        android:layout_width="match_parent"
        android:layout_height="wrap_content"/>

    <android.support.v4.view.ViewPager
        android:id="@+id/viewPager"
        android:layout_width="match_parent"
        android:layout_height="match_parent"/>
</LinearLayout>
このような記述にしてあげます。
また、Toolbarをこちらで用意したので、androidManifestのテーマを変えてあげる必要があります。
    <application
        android:allowBackup="true"
        android:icon="@mipmap/ic_launcher"
        android:label="@string/app_name"
        android:supportsRtl="true"
        android:theme="@style/Theme.AppCompat.Light.NoActionBar">
        <activity android:name=".MainActivity">
            <intent-filter>
                <action android:name="android.intent.action.MAIN" />

                <category android:name="android.intent.category.LAUNCHER" />
            </intent-filter>
        </activity>
    </application>
この「android:theme="@style/Theme.AppCompat.Light.NoActionBar"」のように変更してあげます。
Fragmentを用意
Fragmentについての詳しいお話は省きますが、簡単に伝えるとすればActivityの中に取り込めるUIを持ったコンポーネントです。ちなみにActivityとは全く別にライフサイクルをもっているためそちらの管理は別に必要となります。これがなかなかに大変なのでしっかりと管理してあげなければなりません。
さて、fragmentはActivityと同じようにlayoutをつくれば問題ありません。
何もないプレーンなlayoutファイルを用意してください。
ただ、backgroundを変更するのでidだけ任意のものを振っておいてください。
<?xml version="1.0" encoding="utf-8"?>
<LinearLayout xmlns:android="http://schemas.android.com/apk/res/android"
    android:id="@+id/fragment_main_linearlayout"
    android:layout_width="match_parent"
    android:layout_height="match_parent"
    android:orientation="vertical">

</LinearLayout>
そして.javaのほうなんですが 継承するものは「Fragment」です。
Fragmentでよく使用される3つのcallBackの紹介をします。
- onCreate()
- onCreateView()
- onPause()
onCreate()はActivityと一緒です。生成された際に呼び出され、値の初期化はこの中で行うことがベストでしょう。
onCreateView()はFragmentのUIが描写される際に呼び出されます。AcitivtyにおけるsetContentViewはここで行います。
onPause()はActivityと同じく停止するときに呼び出されます。データの保持等はここで行うことで確実になるでしょう。
newInstanceというstaticなメソッドが存在します。コンストラクタで実装すればいいかと思うかもしれませんが。fragmentはコンストラクタに引数を渡してはいけないルールが存在しますのでこのような実装になっています。また、bundleにbackgroundのカラーのresidを渡すような実装になっています。
public class ExampleFragment extends Fragment {
    private final static String BACKGROUND_COLOR = "background_color";

    public static ExampleFragment newInstance(@ColorRes int IdRes) {
        ExampleFragment frag = new ExampleFragment();
        Bundle b = new Bundle();
        b.putInt(BACKGROUND_COLOR, IdRes);
        frag.setArguments(b);
        return frag;
    }

    @Override
    public void onCreate(Bundle savedInstanceState) {
        super.onCreate(savedInstanceState);
    }

    @Override
    public View onCreateView(LayoutInflater inflater, ViewGroup container,
                             Bundle savedInstanceState) {
        View view = inflater.inflate(R.layout.fragment_main, null);
        LinearLayout linearLayout = (LinearLayout) view.findViewById(R.id.fragment_main_linearlayout);
        linearLayout.setBackgroundResource(getArguments().getInt(BACKGROUND_COLOR));

        return view;
    }
}
このような形で実装します。
FragmentPagerAdapter
public class ExampleFragmentPagerAdapter extends FragmentPagerAdapter {
    public ExampleFragmentPagerAdapter(FragmentManager fm) {
        super(fm);
    }

    @Override
    public Fragment getItem(int position) {
        switch (position) {
            case 0:
                return ExampleFragment.newInstance(android.R.color.holo_blue_bright);
            case 1:
                return ExampleFragment.newInstance(android.R.color.holo_green_light);
            case 2:
                return ExampleFragment.newInstance(android.R.color.holo_red_dark);
        }
        return null;
    }

    @Override
    public int getCount() {
        return 3;
    }

    @Override
    public CharSequence getPageTitle(int position) {
        return "ページ" + (position + 1);
    }
}
javaClassでFragmentPagerAdapterを継承します。
getItemでは得たpositionによりfragmentの切り替えを行います。
getCountは最大値をsetし、getPageTitleはtabLayoutにtitleの情報を渡します。
次にmainActivity.javaにFragmentManagerを取得してAdapterを生成します。
以下に記します。
public class MainActivity extends AppCompatActivity {
    private Toolbar toolbar;

    @Override
    protected void onCreate(Bundle savedInstanceState) {
        super.onCreate(savedInstanceState);
        setContentView(R.layout.activity_main);
        setViews();
    }

    private void setViews() {
        toolbar = (Toolbar) findViewById(R.id.toolBar);
        setSupportActionBar(toolbar);
        FragmentManager manager = getSupportFragmentManager();
        ViewPager viewPager = (ViewPager) findViewById(R.id.viewPager);
        ExampleFragmentPagerAdapter adapter = new ExampleFragmentPagerAdapter(manager);
        viewPager.setAdapter(adapter);
        TabLayout tabLayout = (TabLayout) findViewById(R.id.tabLayout);
        tabLayout.setupWithViewPager(viewPager);
    }

}
以上です。
