前回記事
Ubuntu にAndroid Studio をインストールする
http://qiita.com/TsutomuNakamura/items/ef4aeec32cdaaf9105cc
KVM のインストール
Linux 上でAndroid エミュレータを起動するには、KVM をインストールします。
KVM のインストールに関する記事は以前に投稿したので、詳細はそちらを参照願います。
KVM をインストールする
http://qiita.com/TsutomuNakamura/items/bb5cd1bcbf1b998941ed
$ sudo apt-get install kvm virt-manager libvirt-bin bridge-utils
$ echo vhost_net | sudo tee -a /etc/modules
$ sudo service libvirt-bin start
$ sudo update-rc.d libvirt-bin defaults
Android エミュレータの起動
アイコンをクリックします。
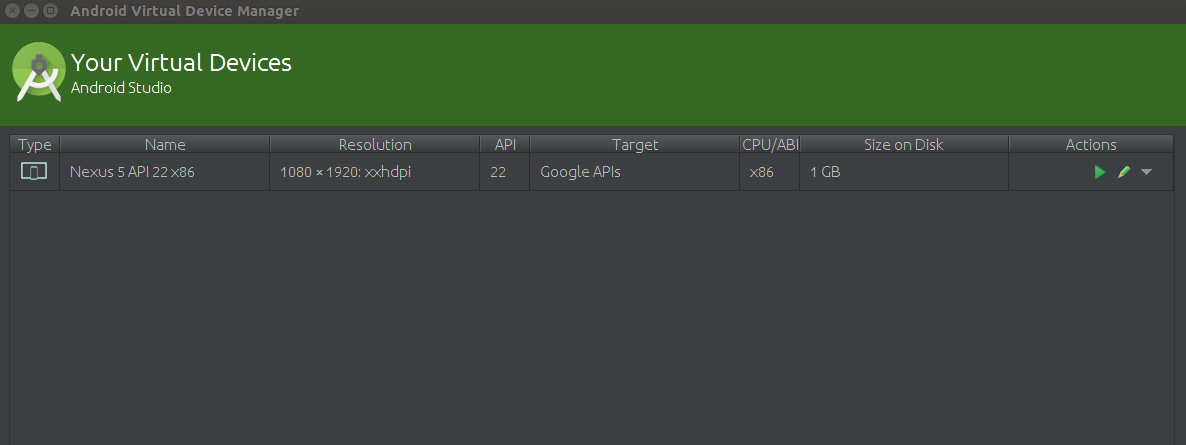
Android Virtual Device Manager が開いたら...
をクリックします。
Android Emulator を起動しようとすると"ERROR: x86 emulation currently requires hardware acceleration!" というエラーが出る
参考
http://askubuntu.com/questions/564910/kvm-is-not-installed-on-this-machine-dev-kvm-is-missing
Android エミュレータを起動しようとすると、"ERROR: x86 emulation currently requires hardware acceleration!" というエラーが出て、Android エミュレータが起動に失敗することがあります。
このようなエラーが出る場合、BIOS でCPU の仮想化機能が無効化されてる可能性があります。
kvm-ok コマンドを実行することで、仮想化機能が有効かどうか確認することができます。
$ sudo kvm-ok
INFO: /dev/kvm does not exist
HINT:   sudo modprobe kvm_intel
INFO: Your CPU supports KVM extensions
INFO: KVM (vmx) is disabled by your BIOS
HINT: Enter your BIOS setup and enable Virtualization Technology (VT),
      and then hard poweroff/poweron your system
KVM acceleration can NOT be used
今回、使用しているハード(Think Pad X1 Carbon 3rd gen) では、デフォルトでCPU 仮想化機能がOFF となっているようです。
自分の環境では、OS を再起動して、BIOS 画面から、CPU 仮想化機能を有効にすることでこの問題は解消しました。
Seculity
  -> Virtualization
    -> Intel(R) Virtualization Technology    # Enable
    -> Intel(R) VT-d Feathre                 # Enable
Android エミュレータの起動(続き)
BIOS を変更してOS が再起動したら、Android Virtual Device Manager を開き
アイコンをクリックします。
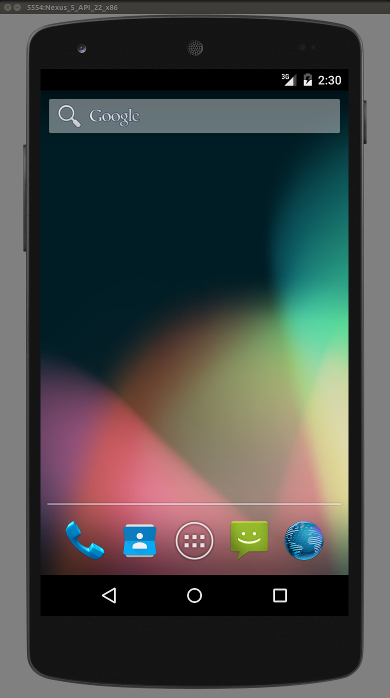
すると、Android エミュレータが起動します。

以上で、Android エミュレータの設定は完了です。
余談:Linux 上で実行するAndroid エミュレータについて
前回記事で、一部触れましたが、Linux でAndroid エミュレータを実行すると、高速化の恩恵を受けることができます。
どの程度高速化されるかというと、(個人的主観は入りますが)実機と遜色ないレベルです。。。
ぜひ、これからAndroid 開発を始めようとしている人がいれば、ぜひお試しあれ( ゚∀゚)ノ
Flappy Droiod だって、サクサク遊べちゃいます(オイ)。

参考
KVM is not installed on this machine (/dev/kvm is missing)
http://askubuntu.com/questions/564910/kvm-is-not-installed-on-this-machine-dev-kvm-is-missing


