// 当記事は, 以下親記事の Setup Flowの一部です.
// AWS IoT Device SDK for Ruby を使ってみた
以下, 参考とさせて頂きました. 有難うございます.
http://qiita.com/akito1986/items/9c1c14a36654646db456
環境
- ubuntu on AWS ec2
- InfluxDB and Chronograph
Influxdb
Install
console
sudo apt-get update
sudo apt-get upgrade
console
curl -sL https://repos.influxdata.com/influxdb.key | sudo apt-key add -
source /etc/lsb-release
echo "deb https://repos.influxdata.com/${DISTRIB_ID,,} ${DISTRIB_CODENAME} stable" | sudo tee /etc/apt/sources.list.d/influxdb.list
console
sudo apt-get update && sudo apt-get install influxdb
sudo service influxdb start
Create database
console
// DB nameは任意

$ influx
CREATE DATABASE sensorMeasure_sendai_test
CREATE DATABASE my_db
Create user
// user name, passwordは任意

$ influx
CREATE USER admin WITH PASSWORD 'admin' WITH ALL PRIVILEGES
Edit config
console
sudo vim /etc/influxdb/influxdb.conf
/etc/influxdb/influxdb.conf
[http]
-  auth-enabled = false
+  auth-enabled = true
console
sudo /etc/init.d/influxdb restart

// login comannd sample (以降は, user認証が必要となる)
influx -username admin -password admin
Test write and show Data
https://docs.influxdata.com/influxdb/v1.0/guides/writing_data/
https://docs.influxdata.com/influxdb/v1.0/tools/api/
-
post data
console$ curl -i -X POST http://52.197.142.78:8086/write?db=my_db -u admin:admin --data-binary 'cpu_load_short,host=server01,region=us-west value=0.75'
us-west value=0.75'
HTTP/1.1 204 No Content
Content-Type: application/json
Request-Id: 7015c2a7-900a-11e6-8009-000000000000
X-Influxdb-Version: 1.0.2
Date: Tue, 11 Oct 2016 23:28:38 GMT
```
-
show data
console$ curl -X GET 'http://52.197.142.78:8086/query?q=select+*+from+cpu_load_short%3B&db=my_db' -u admin:admin {"results":[{"series":[{"name":"cpu_load_short","columns":["time","host","region","value"],"values":[["2016-10-11T23:22:16.50324883Z","server01"]}]}]}
# Data取得状況を確認
既に, Raspberry pi | AWS IoT | AWS Lambda | Influx と流れ, DBへ値が保存されているはずです.
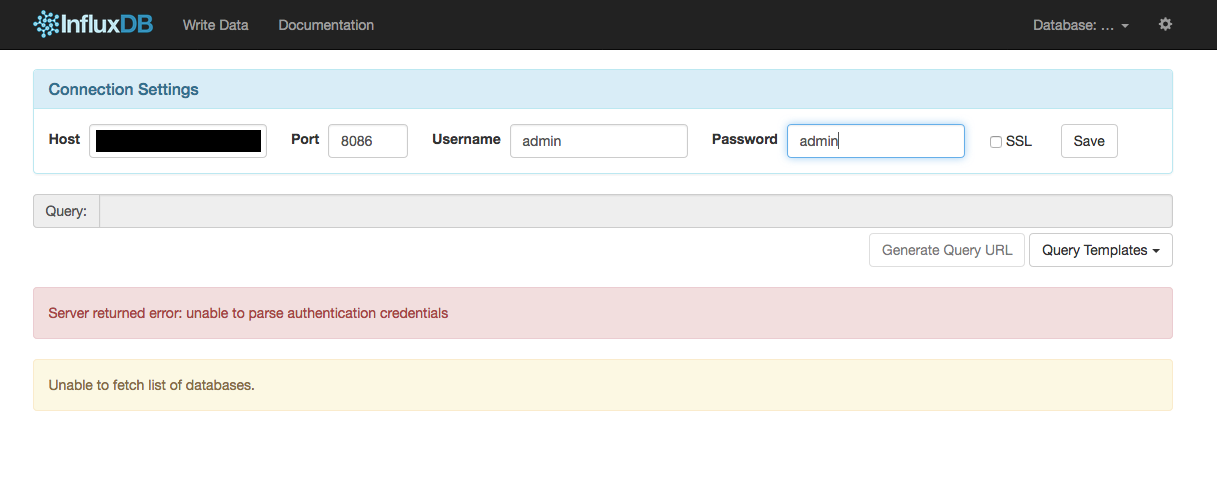
## 認証
- [x] http://[Host or IP]:8083 を開く
- [x] DB user name, pass を入力
- [x] [Save] を選択
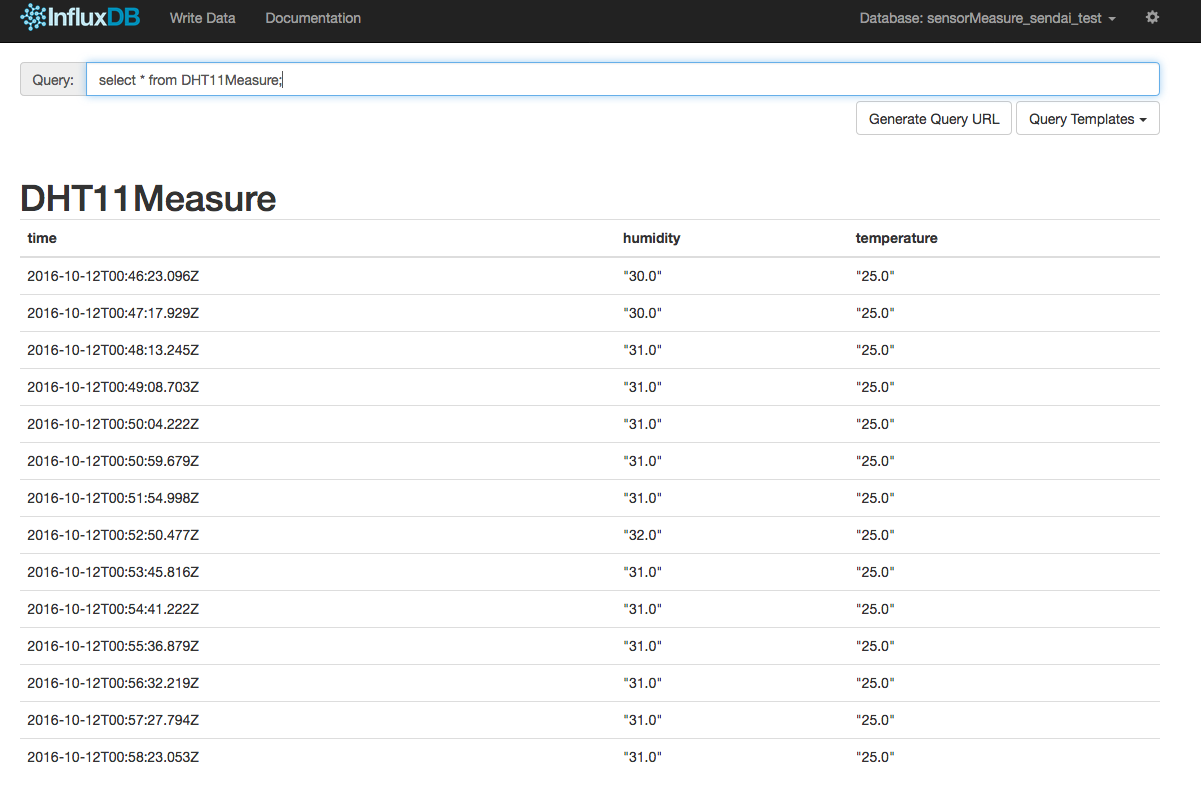
## 温度/湿度 取得
- [x] 右上の pull down から, 使用する DB名を選択 (ここでは, sensorMeasure_sendai_test)

<br><br>
- [x] [select * from DHT11Measure;] を入力.
- [x] 温度/湿度値が表示されます.
<br><br>
以上.
次に最終工程の, [#6 - Chronograph にて可視化](http://qiita.com/Satoshi_Numasawa/items/a4452cce3010af9570f3) へ.