はじめに
今回は、ラスト、手順7.についてです。
- 完成までの手順
- 好きなCADソフトを使ってSTLファイルを作る
- 好きなソフトを使ってCOLLADAファイルを作る
- URDFファイルを作る
- GazeboとROSの連携
- ros_controlについて
- 実際にlaunchしてみる ←今ココ
尚、本記事に出てくるロボットのソースコードは、GitHubにて公開しております。
また、本記事で対象にしているROSバージョンはIndigoです。
はじめに
とうとう最後です!オリジナルロボットをGazebo上に実際にlaunchするための手順などを紹介したいと思います。
本記事では、これまで例にしてきたロボットをlaunchして動かしてみるまでの手順です。
必要な要素
これまでの記事を読んでくださった方々ならお分かりと思いますが、Gazebo上でオリジナルロボットをlaunchするには以下の要素が必要です。
- ロボットのSTLもしくは、COLLADAファイル
-> 1. 好きなCADソフトを使ってSTLファイルを作る、2. 好きなソフトを使ってCOLLADAファイルを作る - ロボットのURDF(Xacro)モデル
-> 3. URDFファイルを作る - URDF上にHardwareInterfaceの記述
-> 3. URDFファイルを作る - URDF上にGazeboプラグインの記述
-> 4. GazeboとROSの連携 - 必要ならURDF上にセンサプラグインの記述
- ros_controllerの指定
-> 5. ros_controlについて - ros_controllerの設定ファイルとその読み込み
-> 6. 実際にlaunchしてみる
以上です。
launchの手順
手順は至って簡単です。
- Gazeboの起動
- ロボットモデルを
robot_descriptionにloadする -
robot_state_publisherの起動 - ロボットモデルをGazebo上にスポーンさせる(urdf_spawner)
- ロボットのコントローラを読み込む
この後にJoyコントローラを起動して、ロボットがSubscribeしているトピックに指令値を流せばGazebo上のロボットが動き回ります。
実際のlaunchファイル
実際のlaunchでは、
- Gazeboの起動
- ロボットモデルを
robot_descriptionにloadする -
robot_state_publisherの起動 - ロボットモデルをGazebo上にスポーンさせる(urdf_spawner)
までを一つのlaunchファイルに記述し、
- ロボットのコントローラを読み込む
については別launchファイルを作成し、それをincludeすることで起動します。
順にlaunchファイルを見てみます。
最初のlaunchファイル
<launch>

  <!-- these are the arguments you can pass this launch file, for example paused:=true -->
  <arg name="model" default="$(find fourth_robot_description)/robots/fourth_robot.urdf.xacro"/>
  <arg name="paused" default="false"/>
  <arg name="use_sim_time" default="true"/>
  <arg name="gui" default="true"/>
  <arg name="headless" default="false"/>
  <arg name="debug" default="false"/>

  <!-- We resume the logic in empty_world.launch, changing only the name of the world to be launched -->
  <include file="$(find gazebo_ros)/launch/empty_world.launch">
	<arg name="world_name" value="$(find fourth_robot_gazebo)/worlds/clearpath_playpen.world"/>
    <arg name="debug" value="$(arg debug)" />
    <arg name="gui" value="$(arg gui)" />
    <arg name="paused" value="$(arg paused)"/>
    <arg name="use_sim_time" value="$(arg use_sim_time)"/>
    <arg name="headless" value="$(arg headless)"/>
  </include>

  <!-- lrf merger -->
  <include file="$(find fourth_robot_bringup)/launch/sensors/lrf_merger.launch"/>

  <!-- Load the URDF into the ROS Parameter Server -->
  <param name="robot_description"
		 command="$(find xacro)/xacro.py '$(arg model)'" />

  <!-- Run a python script to the send a service call to gazebo_ros to spawn a URDF robot -->
  <node name="urdf_spawner" pkg="gazebo_ros" type="spawn_model" respawn="false" output="screen"
  		args="-urdf -model fourth_robot -param robot_description"/>

  <!-- ros_control motoman launch file -->
  <include file="$(find fourth_robot_control)/launch/fourth_robot_control.launch"/>
</launch>
順に見ていきます。
まず最初にロボットモデルをmodelという引数にロードします。デフォルト値もこの時ロードしています。このあたりの文法についてはroslaunchに則ったものなのでわからない方はWikiをご覧ください。
この他にも、後に使うパラメータを引数で取得しています。
  <!-- these are the arguments you can pass this launch file, for example paused:=true -->
  <arg name="model" default="$(find fourth_robot_description)/robots/fourth_robot.urdf.xacro"/>
  <arg name="paused" default="false"/>
  <arg name="use_sim_time" default="true"/>
  <arg name="gui" default="true"/>
  <arg name="headless" default="false"/>
  <arg name="debug" default="false"/>
続いてGazeboを起動します。
  <!-- We resume the logic in empty_world.launch, changing only the name of the world to be launched -->
  <include file="$(find gazebo_ros)/launch/empty_world.launch">
    <arg name="world_name" value="$(find fourth_robot_gazebo)/worlds/clearpath_playpen.world"/>
    <arg name="debug" value="$(arg debug)" />
    <arg name="gui" value="$(arg gui)" />
    <arg name="paused" value="$(arg paused)"/>
    <arg name="use_sim_time" value="$(arg use_sim_time)"/>
    <arg name="headless" value="$(arg headless)"/>
  </include>
ここでは、gazebo_rosパッケージのempty_world.launchというlaunchファイルを起動しています。引数として、
- world名:このコードではhuskyのパッケージに保持されているGazeboのworldファイル
- debug:デバッグメッセージを表示するかどうか
- gui:起動時に
gz_clientを起動するか - paused:起動時に停止するかどうか
- use_sim_time:sim_timeを使うかどうか
- headless:レンダリングを行うかどうか(gui=falseの時のみ有効)
を設定しています。
<!-- Load the URDF into the ROS Parameter Server -->
  <param name="robot_description"
         command="$(find xacro)/xacro.py '$(arg model)'" />

  <!-- Run a python script to the send a service call to gazebo_ros to spawn a URDF robot -->
  <node name="urdf_spawner" pkg="gazebo_ros" type="spawn_model" respawn="false" output="screen"
        args="-urdf -model fourth_robot -param robot_description"/>
ここでは、ロボットモデルをXacroファイルからrobot_descriptionに読み込み、urdf_spawnerを使ってGazebo上にモデルをスポーンさせます。ここまでで、動かないロボットモデルがGazebo上に登場します。
ros_controlのlaunchファイル
  <!-- ros_control motoman launch file -->
  <include file="$(find fourth_robot_control)/launch/fourth_robot_control.launch"/>
ここで読み込まれている、コントローラのlaunchファイルを見てみます。
<launch>

  <!-- Load joint controller configurations from YAML file to parameter server -->
  <rosparam file="$(find fourth_robot_control)/config/controller.yaml" command="load"/>

  <!-- load the controllers -->
  <node name="controller_spawner" pkg="controller_manager"
		type="spawner" output="screen"
		args="joint_state_controller
			  diff_drive_controller">
  </node>

  <!-- convert joint states to TF transforms for rviz, etc -->
  <node name="robot_state_publisher" pkg="robot_state_publisher"
		type="robot_state_publisher"
		respawn="false" output="screen">
  </node>

</launch>
順に見ていきます。
<!-- Load joint controller configurations from YAML file to parameter server -->
  <rosparam file="$(find fourth_robot_control)/config/controller.yaml" command="load"/>
まず、コントローラの設定ファイルをパラメータサーバーに読み込みます。読み込んでいるファイルは5. ros_controlについてで紹介したdiff_drive_controllerとjoint_state_controllerの設定です。
fourth_robot:
  joint_state_controller:
    type: joint_state_controller/JointStateController
    publish_rate: 50

  diff_drive_controller:
    type        : "diff_drive_controller/DiffDriveController"
    left_wheel  : 'left_wheel_joint'
    right_wheel : 'right_wheel_joint'
    publish_rate: 25.0               # default: 50
    pose_covariance_diagonal : [0.001, 0.001, 1000000.0, 1000000.0, 1000000.0, 1000.0]
    twist_covariance_diagonal: [0.001, 0.001, 1000000.0, 1000000.0, 1000000.0, 1000.0]

    # Wheel separation and diameter. These are both optional.
    # diff_drive_controller will attempt to read either one or both from the
    # URDF if not specified as a parameter
    wheel_separation : 0.43515
    wheel_radius : 0.032

    # Wheel separation and radius multipliers
    wheel_separation_multiplier: 1.0 # default: 1.0
続いて、
  <!-- load the controllers -->
  <node name="controller_spawner" pkg="controller_manager"
        type="spawner" output="screen"
        args="joint_state_controller
              diff_drive_controller">
  </node>
この部分でros_controllerを読み込みます。具体的には、controller_managerパッケージを起動してコントローラを読み込みます。この時の引数は、先ほどYAMLファイルに指定したコントローラの名前です。
<!-- convert joint states to TF transforms for rviz, etc -->
  <node name="robot_state_publisher" pkg="robot_state_publisher"
        type="robot_state_publisher"
        respawn="false" output="screen">
  </node>
そして最後にrobot_state_publisherを起動します。このノードはrobot_descriptionに記述されているロボットモデルを元にをGazeboから送られてくるJointの情報によりロボットの状態をPublishしてくれるノードです。詳しくはWikiをご覧ください。
以上でGazebo上でロボットを起動する要素と手順が揃いました。いよいよlaunchしてみましょう!!
launchする
これまでに作成してきたlaunchファイルを起動します。
$ cd <catkin_ws>
$ source <catkin_ws>/devel/setup.bash
$ roslaunch fourth_robot_gazebo husky_playworld.launch
ここまでで、以下のようにGazebo上にロボットが登場したと思います。
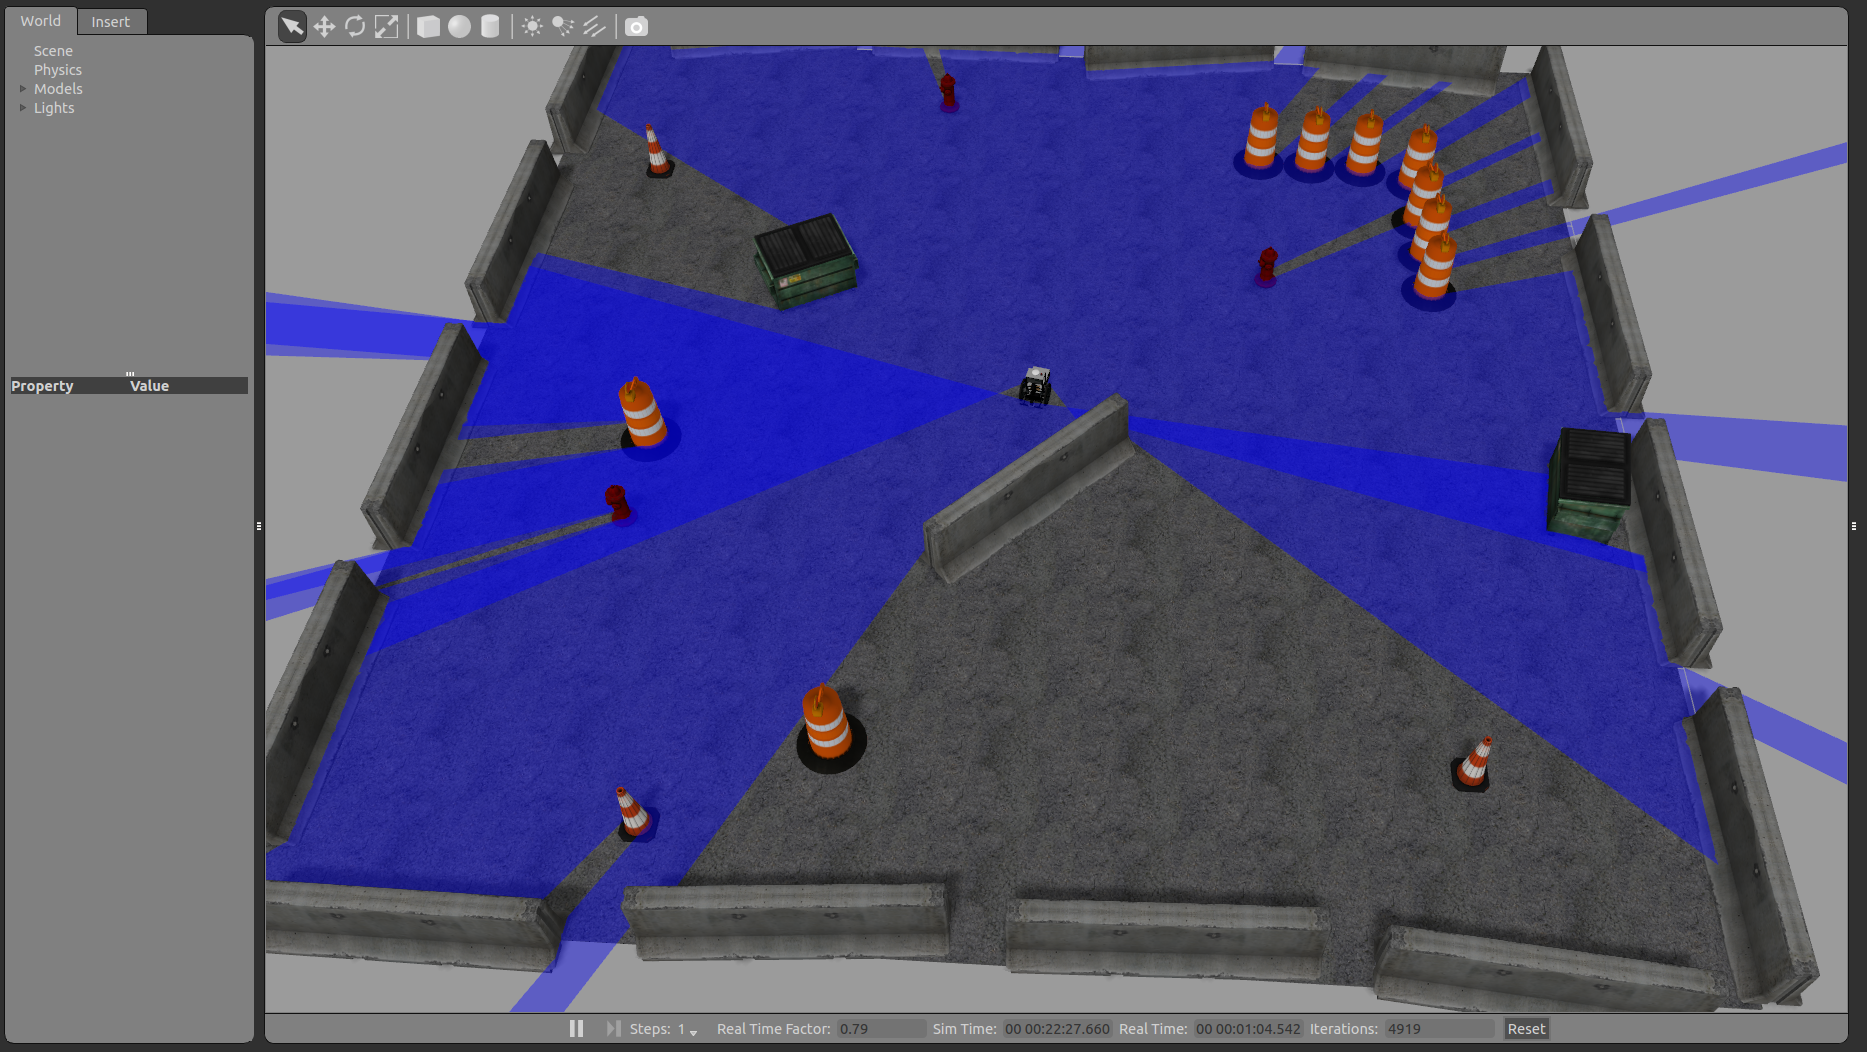
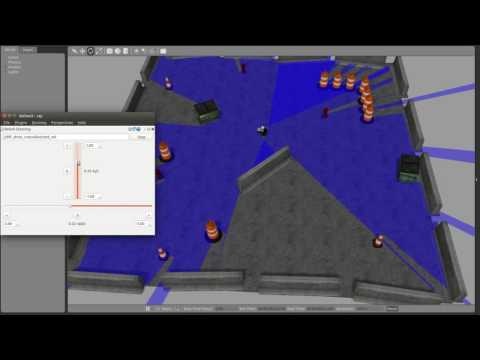
うまく行ったら、後は/diff_drive_controller/cmd_velにTwist型のメッセージを送れば動きます。というわけで、rqtを使ってロボットを動かしてみます。以下の動画みたいに動いたはずです。
まとめ
というわけで、自分のオリジナルロボットをGazebo上で動かすまでのひと通りの手順を記しました。
説明不足の点や、そもそもロボットモデルをアーム型にしたほうが良かったのでは。。。など反省点はいろいろありますが、また各々記事を書きたいと思います。
いずれにせよ、ROS + Gazeboでなにかやりたい!という方のお役に立てれば嬉しいです。
参考
- http://daikimaekawa.github.io/ros/2014/12/19/ros_control/
- http://cir-kit.github.io/blog/categories/gazebo/
- http://gazebosim.org/tutorials/?tut=ros_control
- http://gazebosim.org/tutorials
- https://github.com/ros-controls/ros_control/wiki
- http://wiki.ros.org//ros_control
動作環境
| PC | Lenovo ThinkPad X240 |
| Prosessor | Intel Core i7-4600U (2.10GHz, 4MB, 1600MHz) |
| RAM | PC3-12800 DDR3L (8GB) |
| OS | Ubuntu 14.04 LTS 64bit |
| Kernel | 3.13.0-44-generic |
| ROS | Indigo |
| PC | Desktop |
| Prosessor | Intel® Core™ i5-4460 CPU @ 3.20GHz × 4 |
| RAM | DDR3 (24GB) |
| OS | Ubuntu 14.04 LTS 64bit |
| Kernel | 3.13.0-83-generic |
| ROS | Indigo |