はじめに
3Dテレビで3D映像を使ったデモをすることになり,Unityで画像処理とも呼べなくもないことをしたのでそのときのことを備忘録として残します.
また,今回の方法ではお金がなかったためOpenCV for Unity等のアセットを使用せず,画像をRenderTextureからTexture2Dに変換した上で処理を行なっているので動作が重いです.
一定の実行速度が必要な方はアセットを購入された方が良さそうです.
環境
Unity5.6.1f1
LG製3Dテレビ (借り物で詳細な型番は不明です)
3Dテレビの表示方式
今回使用する3Dテレビではパッシブ方式が採用されています.
パッシブ方式とは簡単に言うと,左目用と右目用の映像が1行ずつ交互に並んでいる映像を偏光フィルタを通じて見ることで左目には左目用を,右目には右目用の映像を見えるようにすることで立体視する方法です.
視差映像作成の流れ
視差が生じるように適当に離した左目にあたるカメラと右目にあたるカメラを用意し,それぞれのカメラ映像を1行ずつ交互に並べるだけの非常にシンプルな流れになります.
まずはじめに,カメラを2つ用意し,それぞれの映像をRenderTextureを用いて取得します.
RenderTextureのままだとpixelの取得ができないのでTexture2Dに変換します.
あとはfor文をpixel単位でMain CameraのSize分回しながら偶数回のときにy行目に左目画像の画像幅分の列を入れ,y+1行目に右目画像の画像幅分の列を入れます.
最後に作成した表示用のTexture2DをGraphics.Blitを使用してディスプレイに直接描画します.
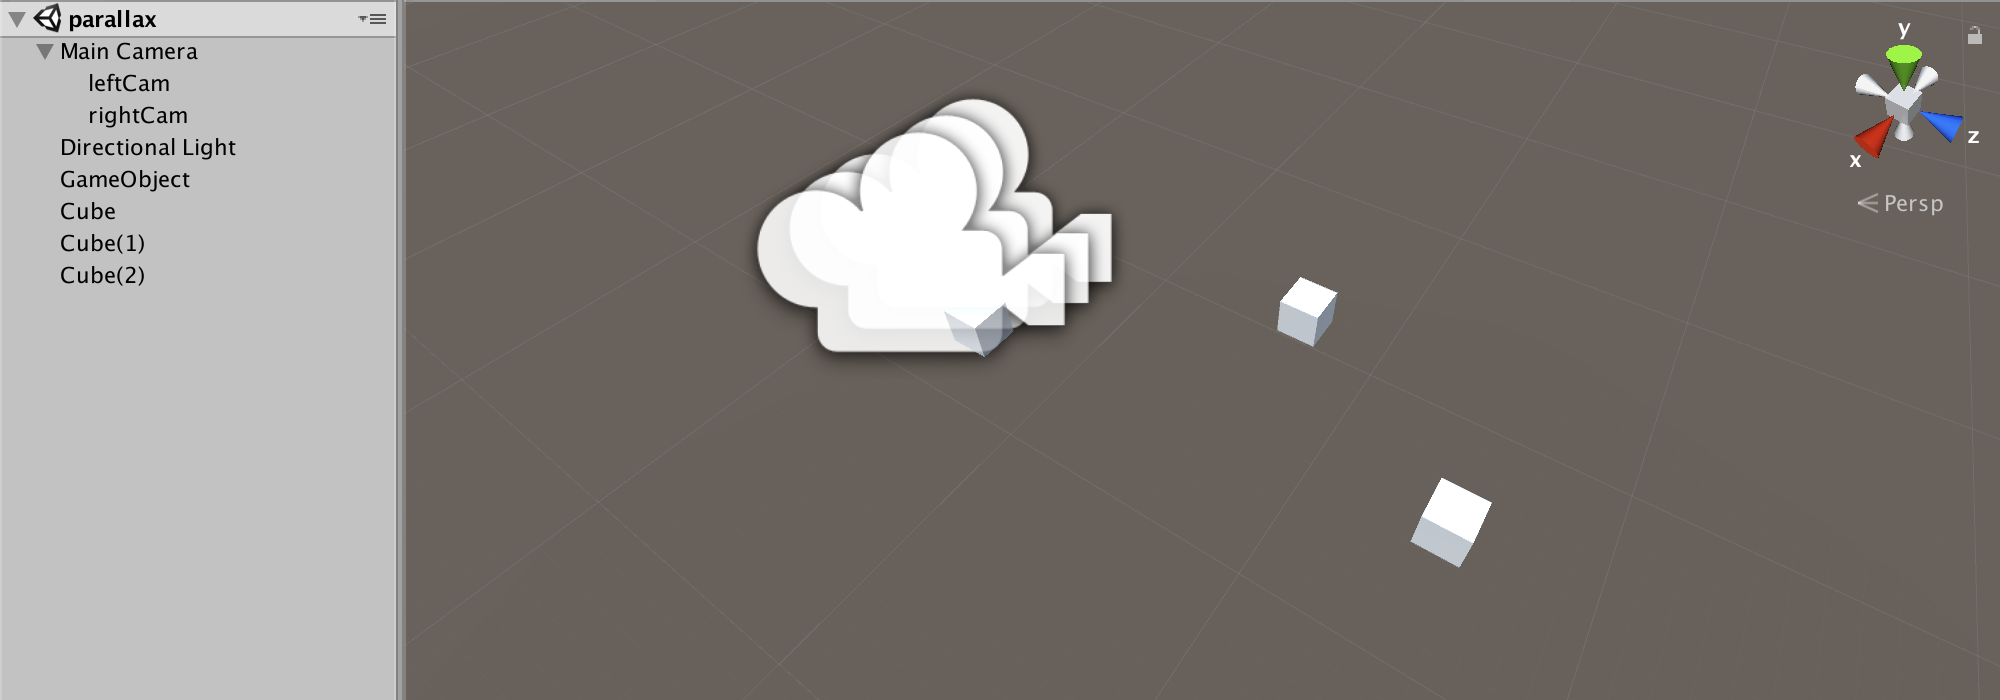
シーンの作成
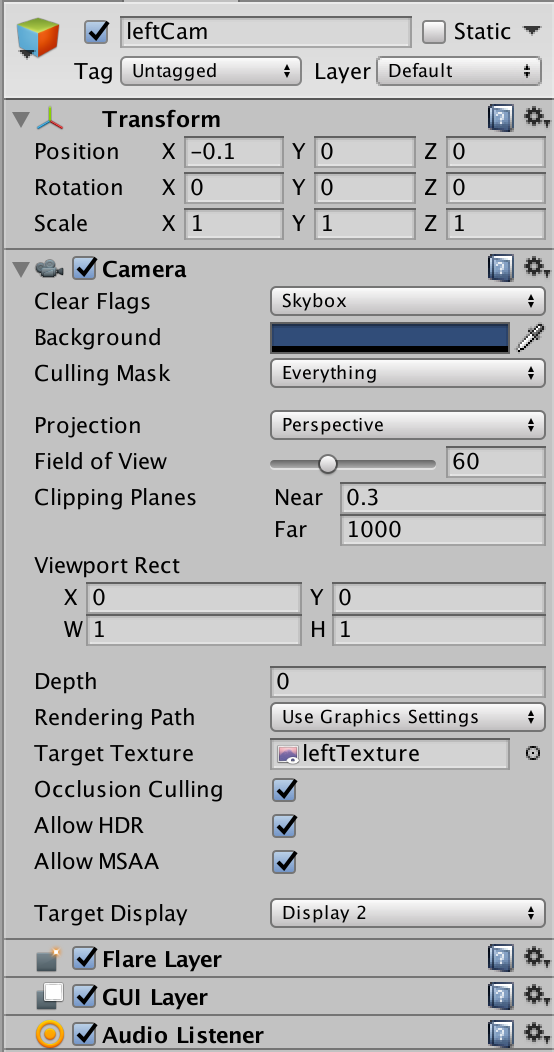
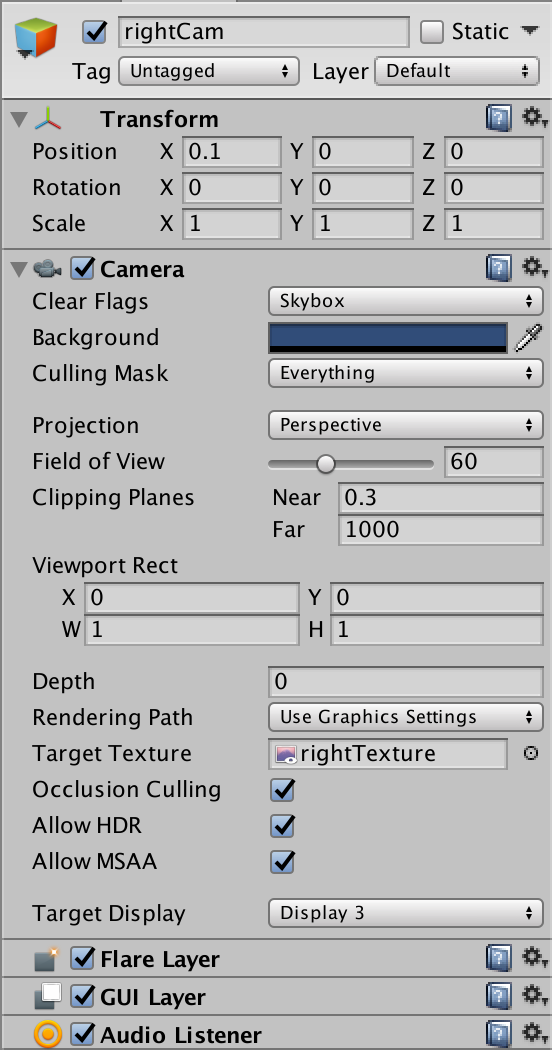
左目用のleftCamと右目用のrightCamを設置し,それぞれにRenderTextureを設定します.
RenderTextureのサイズはMain Cameraで表示するSizeの高さを半分にしたSizeで設定してください.
ディスプレイ表示用のMain Cameraもシーンに配置します.
あとは映像のテスト用に適当にCubeを配置しています.
cubeは映像の確認用に回転するようにしています.
少し見辛いですが今回作成したシーンがこちらです.
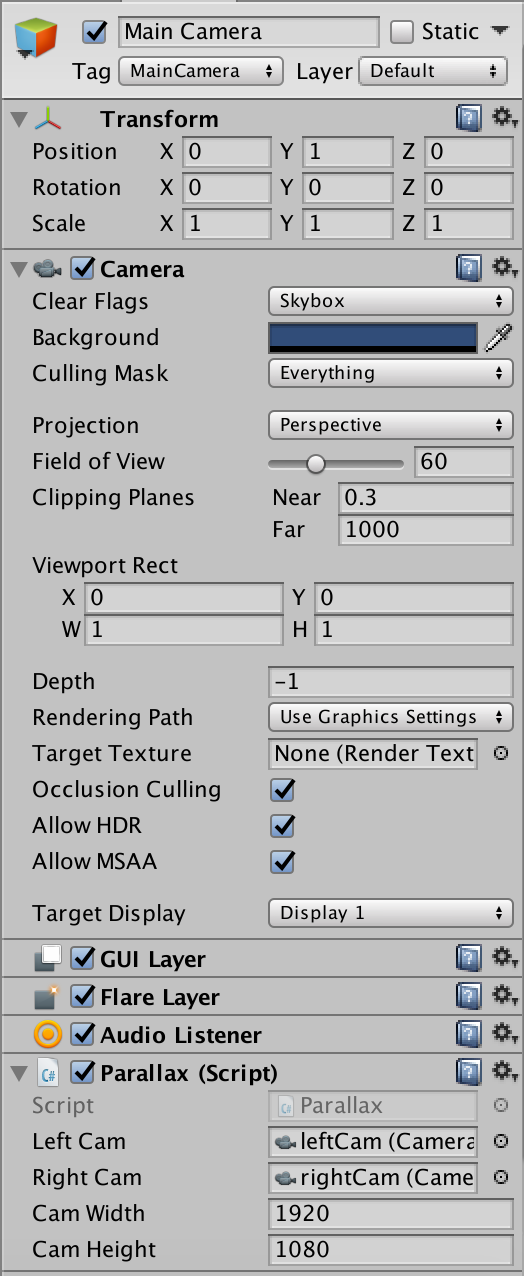
そして各CameraのInspectorがこちら.
プログラム
using System.Collections;
using System.Collections.Generic;
using UnityEngine;

public class Parallax : MonoBehaviour
{
	public Camera leftCam, rightCam;
	public int camWidth = 1920, camHeight = 1080;
	private Texture2D leftTexture, rightTexture, mainTexture;
	private int count = 0;

	void Start ()
	{
		mainTexture = new Texture2D (camWidth, camHeight, TextureFormat.ARGB32, false);

		var leftTex = leftCam.targetTexture;
		leftTexture = new Texture2D (leftTex.width, leftTex.height, TextureFormat.ARGB32, false);

		var rightTex = rightCam.targetTexture;
		rightTexture = new Texture2D (rightTex.width, rightTex.height, TextureFormat.ARGB32, false);
	}

	void Update ()
	{
		// RenderTextureからTexture2Dに変換します
		var leftTex = leftCam.targetTexture;
		RenderTexture.active = leftCam.targetTexture;
		leftTexture.ReadPixels (new Rect (0, 0, leftTex.width, leftTex.height), 0, 0);
		leftTexture.Apply ();

		var rightTex = rightCam.targetTexture;
		RenderTexture.active = rightCam.targetTexture;
		rightTexture.ReadPixels (new Rect (0, 0, rightTex.width, rightTex.height), 0, 0);
		rightTexture.Apply ();

		// 偶数回目にmainTextureのy行目に左目の画像を入れ,y+1行目に右目の画像を入れます
		for (int y = 0; y < mainTexture.height; y++) {
			if (y % 2 == 0) {
				for (int x = 0; x < mainTexture.width; x++) {
					if (count < rightTexture.height) {
						mainTexture.SetPixel (x, y, leftTexture.GetPixel (x, count));
						mainTexture.SetPixel (x, y + 1, rightTexture.GetPixel (x, count));
					}
				}
				//ここでfor文との行ずれを調整するために別に用意した変数の値を1ずつ加算します
				count = count + 1;
			}
		}
		mainTexture.Apply ();

		count = 0;
	}

	void OnRenderImage (RenderTexture src, RenderTexture dest)
	{
		Graphics.Blit (mainTexture, dest);
	}
}
実行結果
実行した結果がこちら.
これだけだといまいちわかりづらいのでScriptなしの実行結果がこちら.
視差画像になっているのがなんとなくわかるでしょうか.
やはりRenderTextureからTexture2Dに変換しているため,だいぶ動作が遅くなっています.
参考にした記事
[Unity] カメラ画像の輝度を取得する
http://ftvoid.com/blog/post/970
【Unity5】複数のカメラのレンダリング結果を1つのテクスチャに重ねて画面へ出力する方法メモ
http://qiita.com/r-ngtm/items/f8efedb6c81ae8b4c9ce