12
14

Delete article

Deleted articles cannot be recovered.

Draft of this article would be also deleted.

Are you sure you want to delete this article?

More than 5 years have passed since last update.

【Unity5】複数のカメラのレンダリング結果を1つのテクスチャに重ねて画面へ出力する方法メモ

Last updated at Posted at 2015-10-05

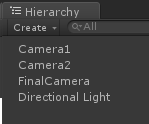
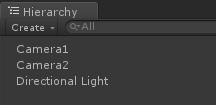
#Cameraを複数用意
image

#RenderTexture作成
Project -> Create -> Render Texture 
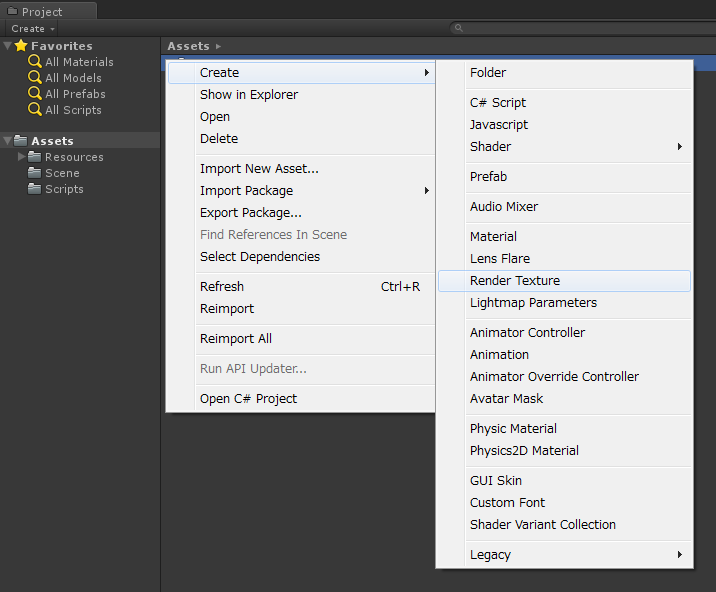
image

名前は「New Render Texture」とします。
image

#レンダリングターゲットにRenderTextureを指定
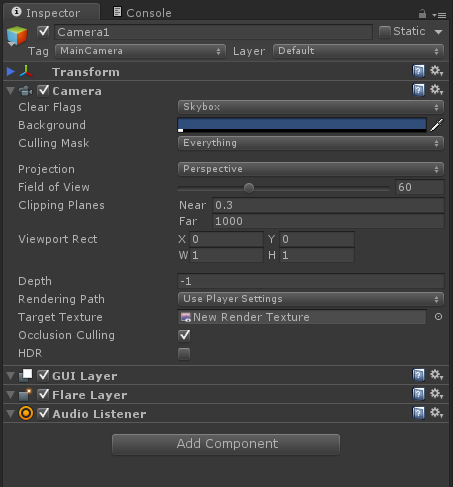
Camera1とCamera2両方のCameraコンポーネントのTargetTextureへ「New Render Texture」をアタッチします。
image
こうすることでCamera1とCamera2のレンダリング結果が「New Render Texture」へ描きこまれるようになります。

#RenderTextureを描画するカメラの作成
名前を「Final Camera」とします。
image

#RenderTextureを描画するスクリプト

以下のスクリプトを先ほど作ったカメラ「Final Camera」にアタッチします。

ChangeRenderSrc.cs
using UnityEngine;

public class ChangeRenderSrc : MonoBehaviour
{
    public RenderTexture source;

    void OnRenderImage(RenderTexture src, RenderTexture dest)
    {
        Graphics.Blit(source, dest);
    }
}

#RenderTextureをカメラにアタッチ
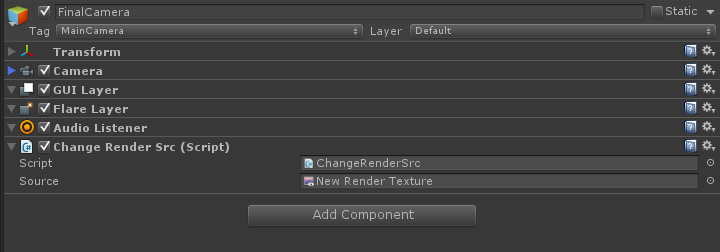
ChangeRenderSrc コンポーネントのsourceに「New Render Texture」をアタッチします。
image
これで「New Render Texture」が画面に出力されるようになりました。
12
14
0

Register as a new user and use Qiita more conveniently

  1. You get articles that match your needs
  2. You can efficiently read back useful information
  3. You can use dark theme
What you can do with signing up
12
14

Delete article

Deleted articles cannot be recovered.

Draft of this article would be also deleted.

Are you sure you want to delete this article?