[WPF][XAML]MahApps.Metroのタイルを使ったメニュー画面を作ってみる
開発環境
- Visual Studio 2017 (C#)
- Visual Studioの拡張機能の「Prism Template Pack」
- Prism.Core 6.3.0
- Prism.Unity 6.3.0
- Prism.Wpf 6.3.0
- CommonServiceLocator 1.3.0
- Unity 4.0.1
- MahApps.Metro 1.5.0
- MahApps.Metro.IconPacks 1.9.0
初めに
Windows8以降のタイルのようなメニューを作るのに、今までGrapeCity社「ComponentOne Studio」の「Tiles for WPF」を使っていました。
リンク:
有料コントール:ComponentOne Studio
でも、普段から使用している「MahAppsMetro」にタイルが用意されているので、今回はそちらを使ってメニュー画面を実装します。
以前投稿した「Prism Template Pack」を使って実装してみようと思います。
別にMahApps単体でも作れますが、せっかく知った拡張機能なのでそちらを使用します。
なので、動的にタイルメニューを追加できるようにViewModel側で追加処理を書きます。
リンク:
PrismとUnityを使うWPFプロジェクトテンプレートを使ってみる
↑前回、投稿したやつです。
Mahapps.Metroの説明
言わずと知れたWPFをモダンUIに簡単にしてくれるUIデザインツール
テーマなども簡単に指定することができ、入力コントロール関係もいちいちスタイル指定を省くことができます。
リンク
MahApps.Metro Documentation
MahApps.Metro Github
アプリ作成
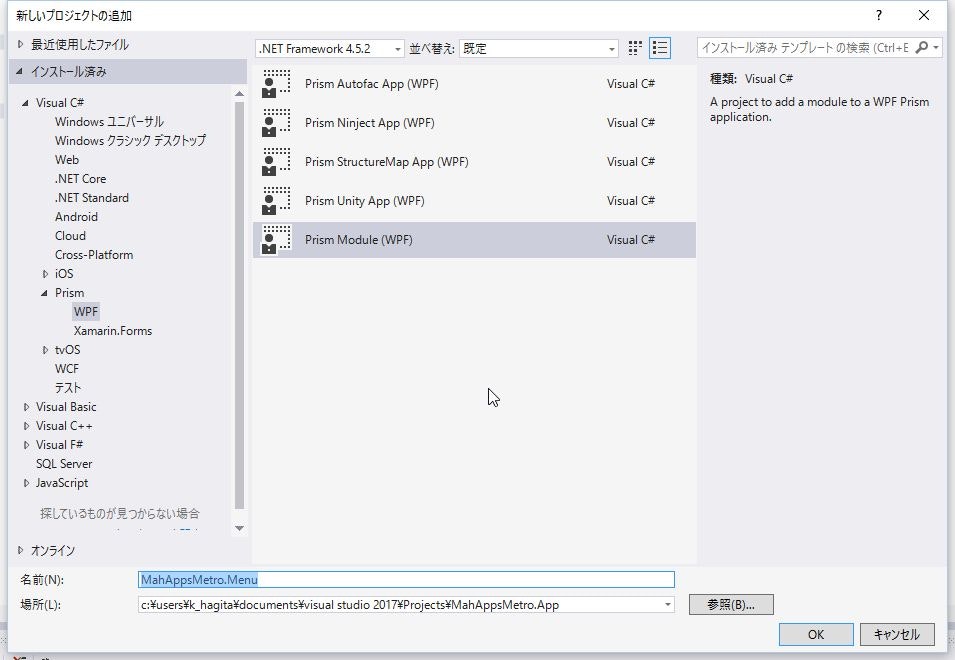
Visual Studioの拡張機能の「Prism Template Pack」を使ったプロジェクトの作成
- 新しいプロジェクトの作成 > Prism > WPF > Prism Unity App(WPF)を選択
- プロジェクト名は、「MahAppsMetro.App」

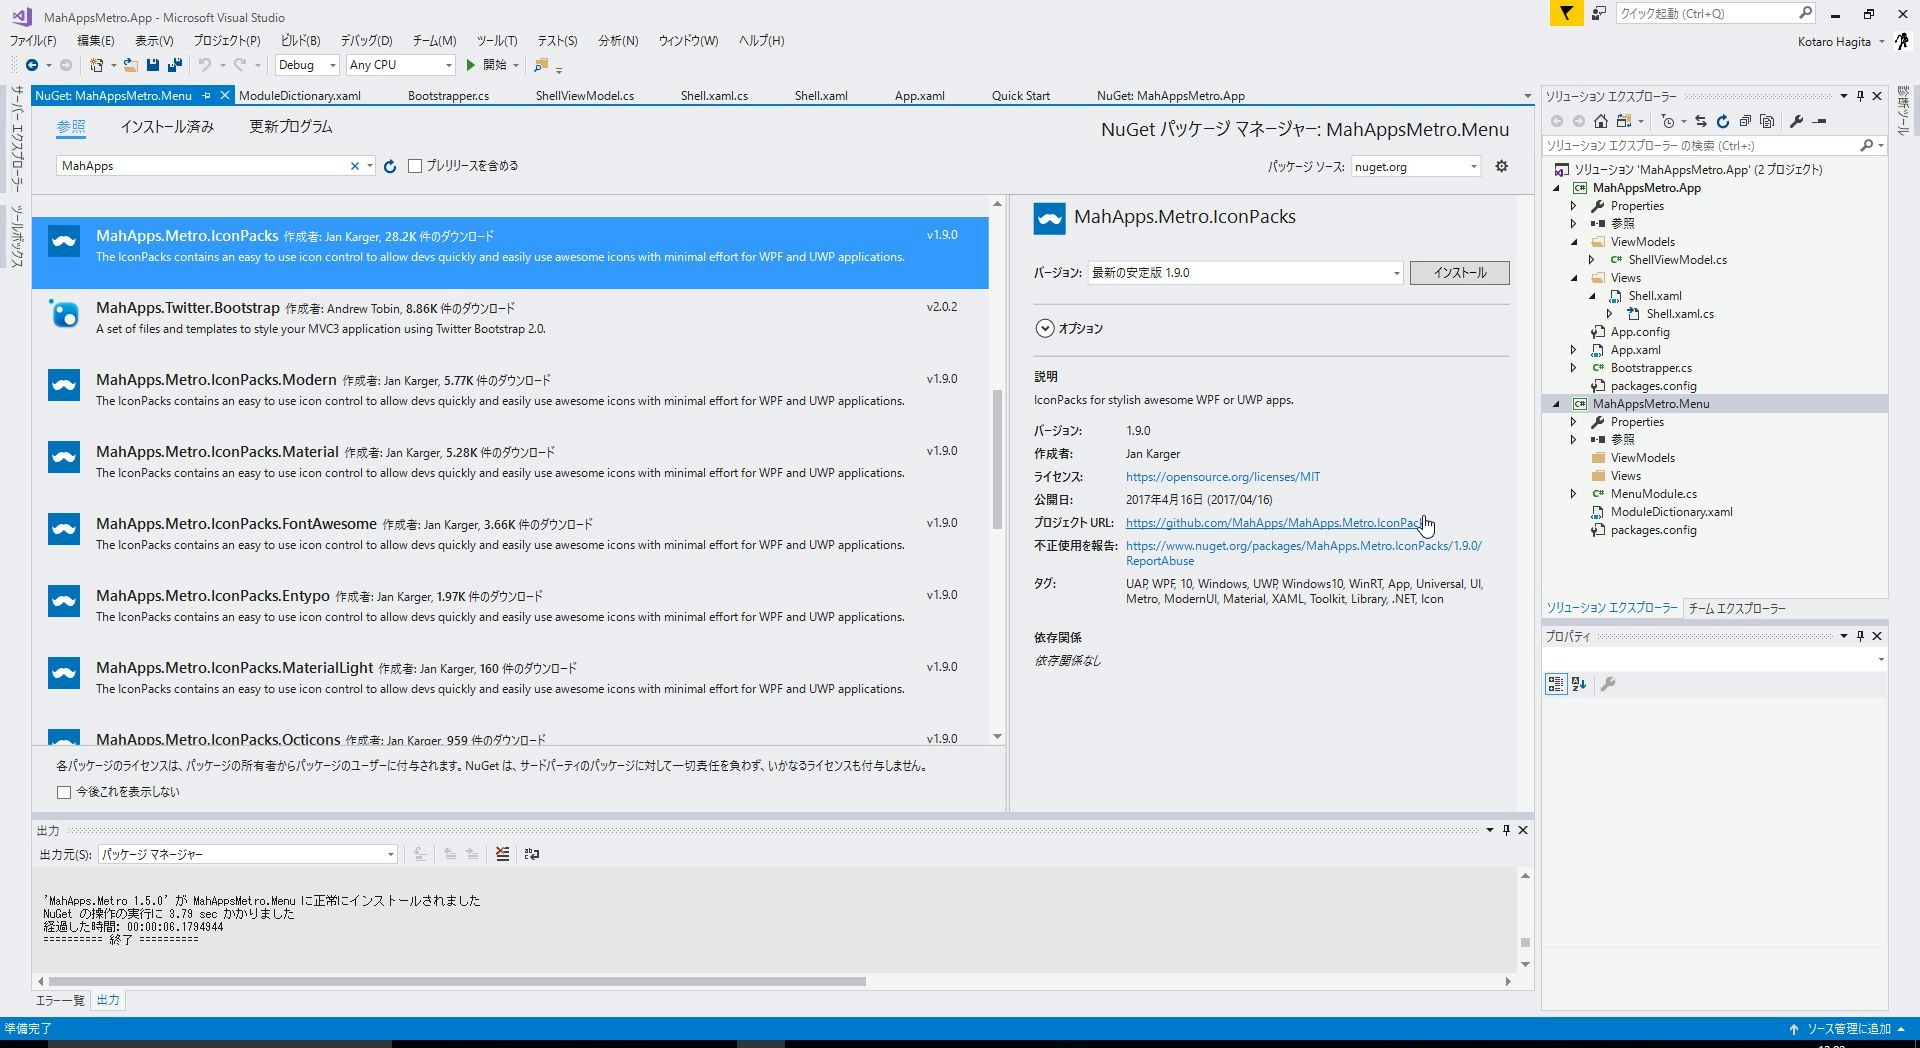
Nugetからインストール
- 「プロジェクトエクスプローラ」>「参照設定」を右クリック >「NuGetパッケージ管理」
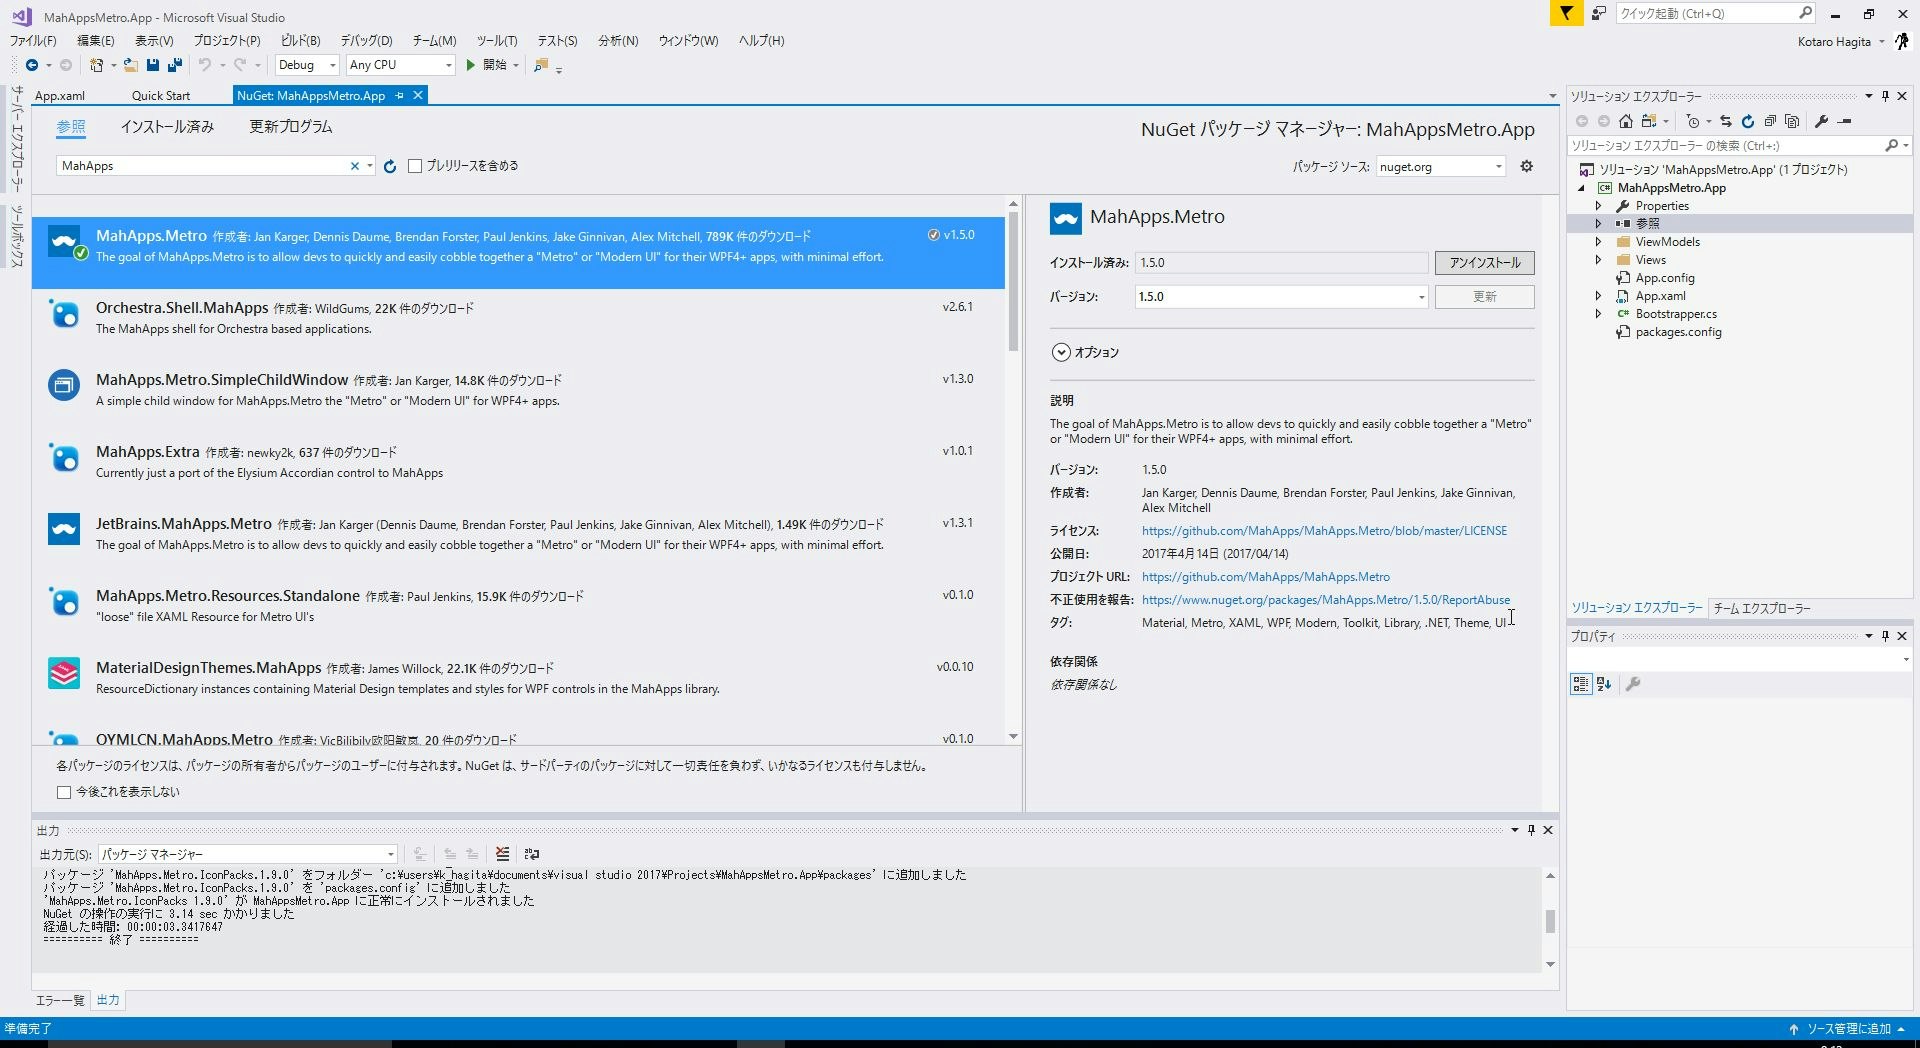
MahApps.Metro 1.5.0
- 「参照」タブを選択 > 検索欄に「MahApps.Metro」を入力します。
- 「MahApps.Metro」を選択します。
- 最新の安定版を選択して「インストール」ボタンを押下します。
MahApps.Metro.IconPacks 1.9.0
- 「参照」タブを選択 > 検索欄に「MahApps.Metro」を入力します。
- 「MahApps.Metro.IconPacks」を選択します。
- 最新の安定版を選択して「インストール」ボタンを押下します。
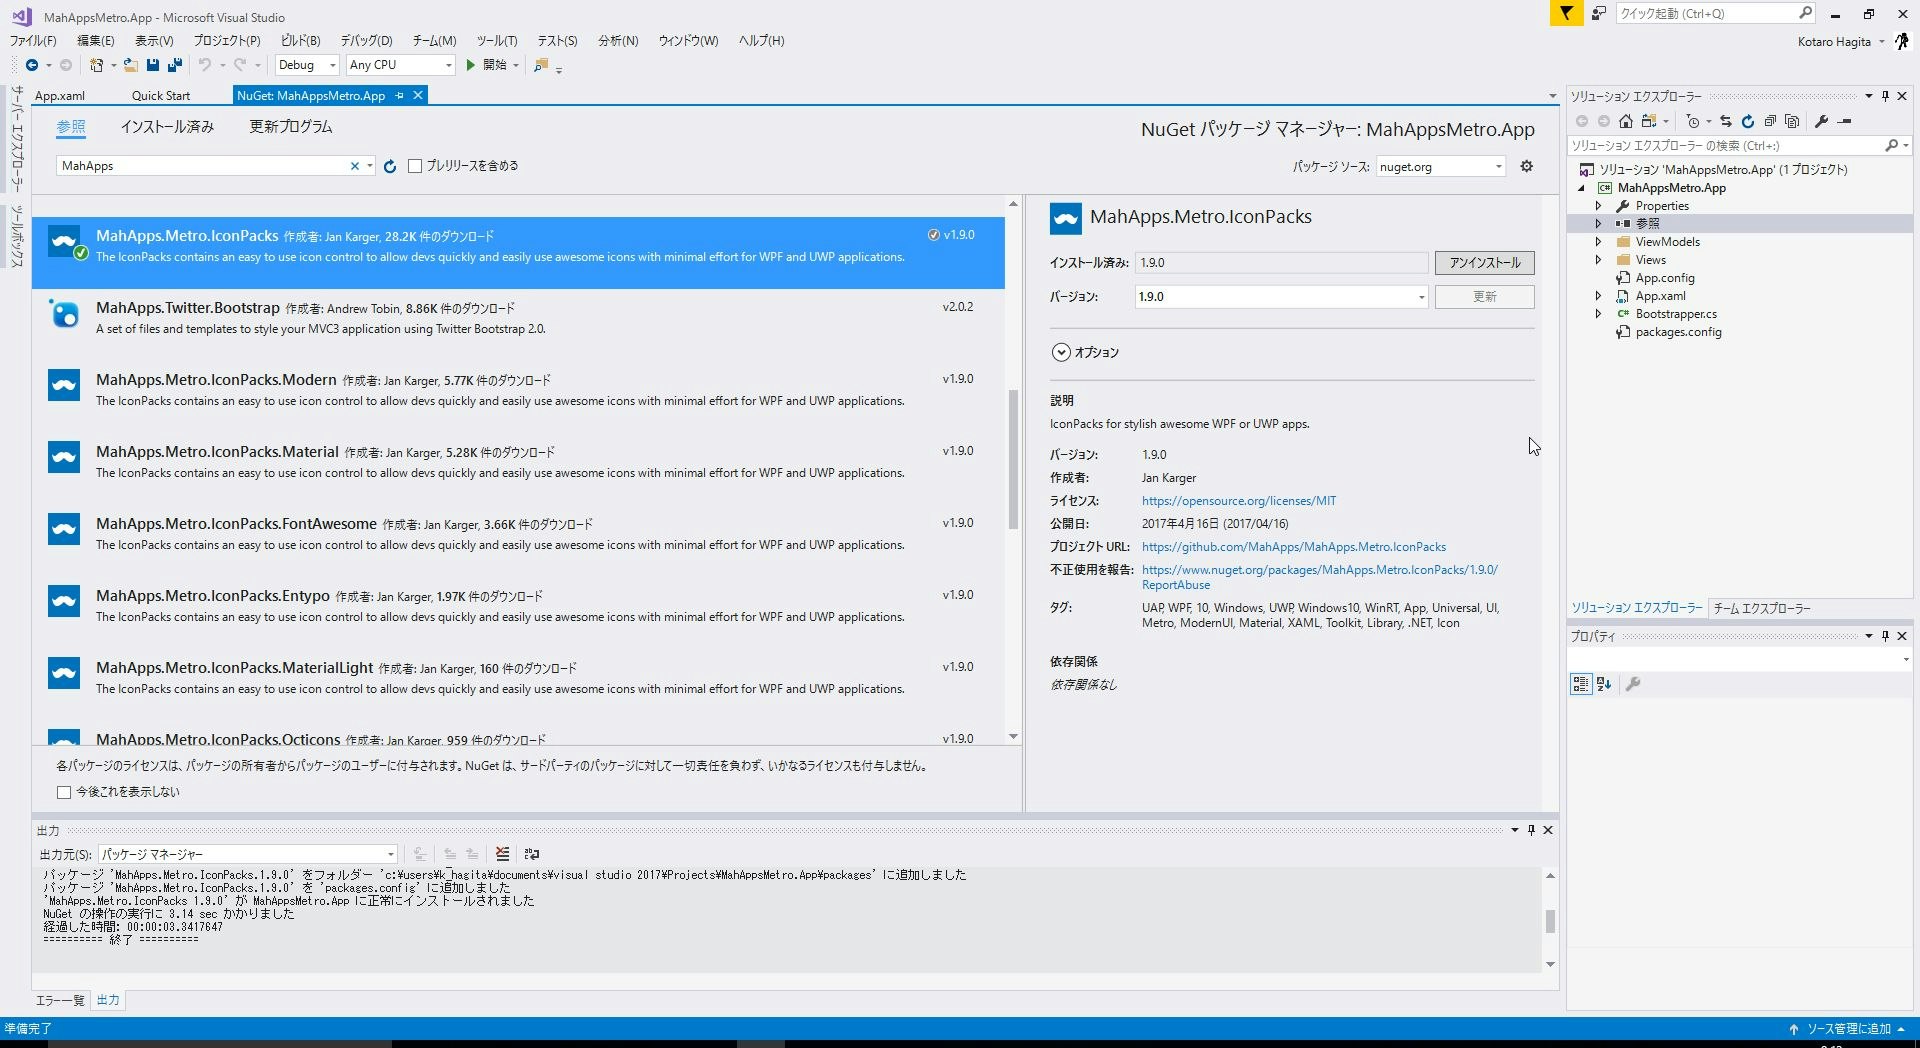
このIconPacksは、メニューのアイコンとして利用します。
使用できるアイコン数が豊富なので非常に便利です。
「ResourceDictionary」の追加
-
<Application.Resources>に<ResourceDictionary>を以下のように追加し、MahAppsを読み込めるようにします。
<Application x:Class="MahAppsMetro.App.App"
             xmlns="http://schemas.microsoft.com/winfx/2006/xaml/presentation"
             xmlns:x="http://schemas.microsoft.com/winfx/2006/xaml"
             xmlns:local="clr-namespace:MahAppsMetro.App">
    <Application.Resources>

    </Application.Resources>
</Application>
<Application x:Class="MahAppsMetro.App.App"
             xmlns="http://schemas.microsoft.com/winfx/2006/xaml/presentation"
             xmlns:x="http://schemas.microsoft.com/winfx/2006/xaml"
             xmlns:local="clr-namespace:MahAppsMetro.App">
    <Application.Resources>
        <ResourceDictionary>
            <ResourceDictionary.MergedDictionaries>
                <!-- MahApps.Metro resource dictionaries. Make sure that all file names are Case Sensitive! -->
                <ResourceDictionary Source="pack://application:,,,/MahApps.Metro;component/Styles/Controls.xaml" />
                <ResourceDictionary Source="pack://application:,,,/MahApps.Metro;component/Styles/Fonts.xaml" />
                <ResourceDictionary Source="pack://application:,,,/MahApps.Metro;component/Styles/Colors.xaml" />
                <!-- Accent and AppTheme setting -->
                <ResourceDictionary Source="pack://application:,,,/MahApps.Metro;component/Styles/Accents/Blue.xaml" />
                <ResourceDictionary Source="pack://application:,,,/MahApps.Metro;component/Styles/Accents/BaseLight.xaml" />
            </ResourceDictionary.MergedDictionaries>
        </ResourceDictionary>
    </Application.Resources>
</Application>
ウィンドウの作成
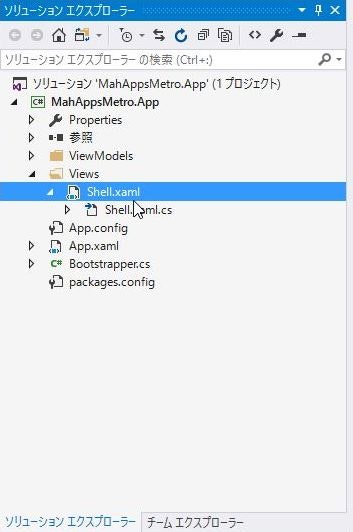
- 拡張テンプレートの「Prism Unity App(WPF)」で作成しているので、すでにMainWindows.xamlが作成されているので、そちらを修正
- 今回は、MainWindowは、Shellへ変更します。
- WindowをMahAppsMetroのMetroWindowへ変更
<Window x:Class="MahAppsMetro.App.Views.MainWindow"
        xmlns="http://schemas.microsoft.com/winfx/2006/xaml/presentation"
        xmlns:x="http://schemas.microsoft.com/winfx/2006/xaml"
        xmlns:prism="http://prismlibrary.com/"
        prism:ViewModelLocator.AutoWireViewModel="True"
        Title="{Binding Title}" Height="350" Width="525">
    <Grid>
        <ContentControl prism:RegionManager.RegionName="ContentRegion" />
    </Grid>
</Window>
<MahApps:MetroWindow x:Class="MahAppsMetro.App.Views.Shell"
        xmlns="http://schemas.microsoft.com/winfx/2006/xaml/presentation"
        xmlns:x="http://schemas.microsoft.com/winfx/2006/xaml"
        xmlns:prism="http://prismlibrary.com/"
        xmlns:MahApps="clr-namespace:MahApps.Metro.Controls;assembly=MahApps.Metro"
        prism:ViewModelLocator.AutoWireViewModel="True"
        Title="{Binding Title}" Height="600" Width="1200"
        TitleCaps="False"
        BorderBrush="{DynamicResource AccentColorBrush}">
    <Grid>
        <ContentControl prism:RegionManager.RegionName="ContentRegion" />
    </Grid>
</MahApps:MetroWindow>
※ TitleCapsは、Falseにすることによって、ウィンドウタイトルの英字が大文字に変換されてしまうのを防ぎます。
Shell.xaml.csの作成
- MainWindowからShellへ変更したため、Shellに変更
- WindowからMetroWindowへ変更したため、Xaml.csも同様に変更
using System.Windows;

namespace MahAppsMetro.App.Views
{
    /// <summary>
    /// Interaction logic for MainWindow.xaml
    /// </summary>
    public partial class MainWindow : Window
    {
        public MainWindow()
        {
            InitializeComponent();
        }
    }
}
using System.Windows;
using MahApps.Metro.Controls;

namespace MahAppsMetro.App.Views
{
    /// <summary>
    /// Interaction logic for MainWindow.xaml
    /// </summary>
    public partial class Shell : MetroWindow
    {
        public Shell()
        {
            InitializeComponent();
        }
    }
}
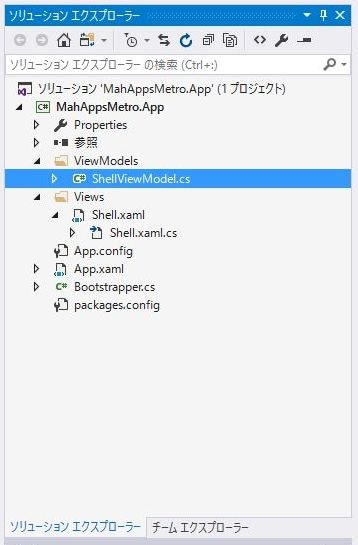
ShellViewModel.csの作成
- プロジェクトテンプレートから作成すると、「MainWindowViewModel.cs」となっているので、「ShellViewModel.cs」へ変更します。
- ウィンドウタイトルの設定
using Prism.Mvvm;
namespace MahAppsMetro.App.ViewModels
{
public class ShellViewModel : BindableBase
{
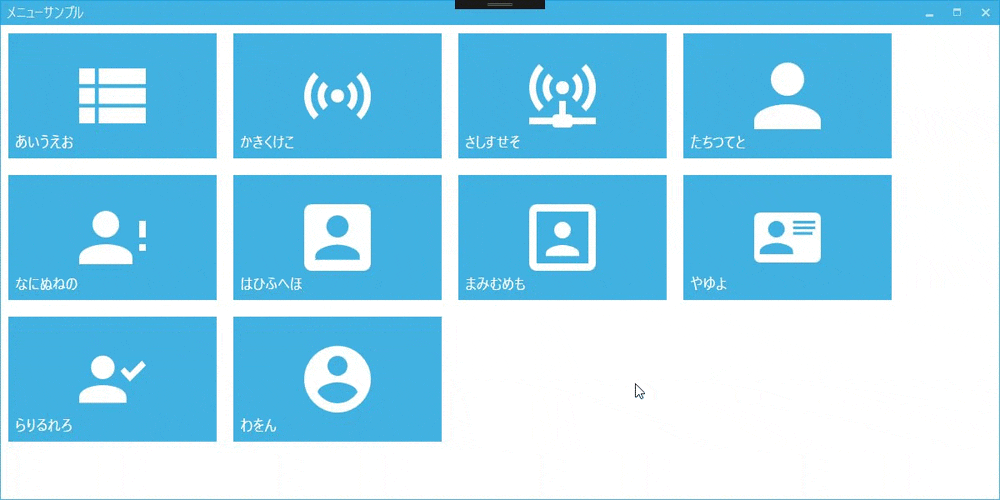
private string _title = "メニューサンプル";
public string Title
{
get { return _title; }
set { SetProperty(ref _title, value); }
}
public ShellViewModel()
{
}
}
}
Bootstrapperクラスの作成
- Moduleを組み込むコードをBootstrapperに追加します。
- BootstrapperのConfigureModuleCatalogメソッドで行いますが、モジュール作成後で作成します。
using Microsoft.Practices.Unity;
using Prism.Unity;
using MahAppsMetro.App.Views;
using System.Windows;

namespace MahAppsMetro.App
{
    class Bootstrapper : UnityBootstrapper
    {
        protected override DependencyObject CreateShell()
        {
            return Container.Resolve<MainWindow>();
        }

        protected override void InitializeShell()
        {
            Application.Current.MainWindow.Show();
        }
    }
}
- MainWindowとなっている部分をShellへ変更します。
- InitializeShellでメインウィンドウを差し込みます。
using Microsoft.Practices.Unity;
using Prism.Unity;
using MahAppsMetro.App.Views;
using System.Windows;

namespace MahAppsMetro.App
{
    class Bootstrapper : UnityBootstrapper
    {
        protected override DependencyObject CreateShell()
        {
            return Container.Resolve<Shell>();
        }

        protected override void InitializeShell()
        {
            base.InitializeShell();

            Application.Current.MainWindow = (Shell)this.Shell;
            Application.Current.MainWindow.Show();
        }
    }
}
デバッグ実行
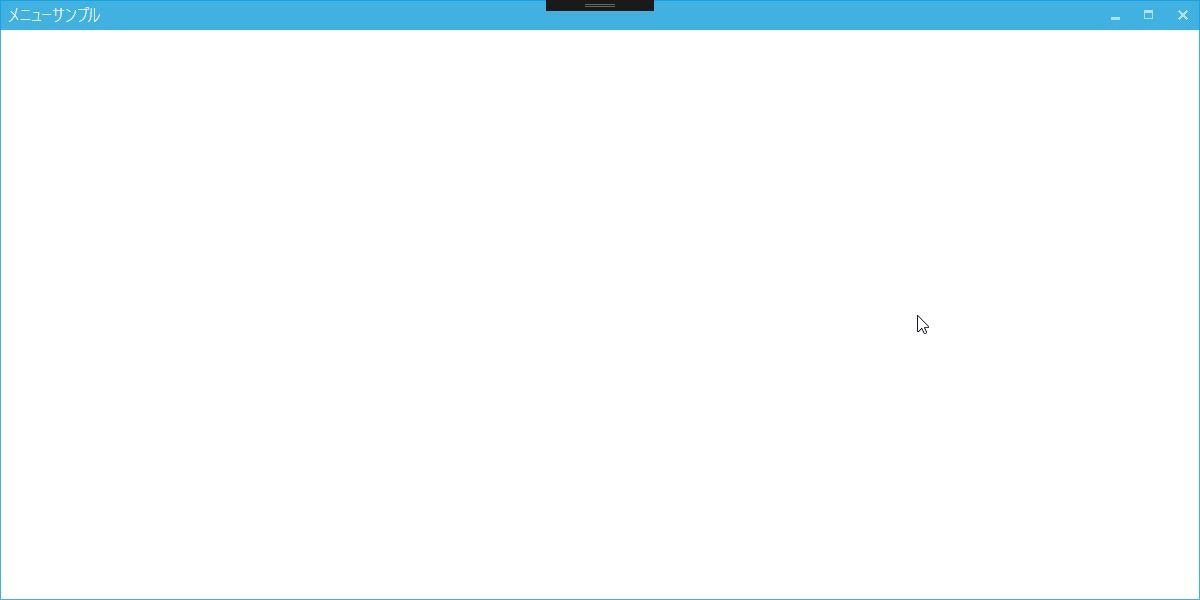
- MetroWindowのスタイルになっているか確認します。
「MahAppsMetro.Menu」のプロジェクトを作成
- ソリューションを右クリック > 追加 > 新しいプロジェクトの作成を選択
- Prism > WPF > Prism Unity Module(WPF)を選択
- プロジェクト名は、「MahAppsMetro.Menu」
Nugetからインストール
- 「プロジェクトエクスプローラ」>「参照設定」を右クリック >「NuGetパッケージ管理」
MahApps.Metro 1.5.0
- 「参照」タブを選択 > 検索欄に「MahApps.Metro」を入力します。
- 「MahApps.Metro」を選択します。
- 最新の安定版を選択して「インストール」ボタンを押下します。

MahApps.Metro.IconPacks 1.9.0
「ModuleDictionary.xaml」の作成
- MahAppsMetro.Menuプロジェクトに「Resources」フォルダを作成
- 「Resources」フォルダを右クリック > 追加 > 新しい項目
- WPF > リソースディクショナリ(WPF)を選択
- 名称は、「ModuleDictionary.xaml」

- スタイルやアイコンの設定情報を登録します。
<ResourceDictionary xmlns="http://schemas.microsoft.com/winfx/2006/xaml/presentation"
                    xmlns:x="http://schemas.microsoft.com/winfx/2006/xaml"
                    xmlns:local="clr-namespace:MahAppsMetro.Menu">
    <ResourceDictionary.MergedDictionaries>
        <!-- MahApps.Metro resource dictionaries. Make sure that all file names are Case Sensitive! -->
        <ResourceDictionary Source="pack://application:,,,/MahApps.Metro;component/Styles/Controls.xaml" />
        <ResourceDictionary Source="pack://application:,,,/MahApps.Metro;component/Styles/Fonts.xaml" />
        <ResourceDictionary Source="pack://application:,,,/MahApps.Metro;component/Styles/Colors.xaml" />
        <!-- Accent and AppTheme setting -->
        <ResourceDictionary Source="pack://application:,,,/MahApps.Metro;component/Styles/Accents/Blue.xaml" />
        <ResourceDictionary Source="pack://application:,,,/MahApps.Metro;component/Styles/Accents/BaseLight.xaml" />
        <!-- reference all necessary original resource dictionaries -->
        <ResourceDictionary Source="pack://application:,,,/MahApps.Metro.IconPacks;component/Themes/PackIconMaterial.xaml" />
        <ResourceDictionary Source="pack://application:,,,/MahApps.Metro.IconPacks;component/Themes/PackIconMaterialLight.xaml" />
        <ResourceDictionary Source="pack://application:,,,/MahApps.Metro.IconPacks;component/Themes/PackIconFontAwesome.xaml" />
        <ResourceDictionary Source="pack://application:,,,/MahApps.Metro.IconPacks;component/Themes/PackIconOcticons.xaml" />
        <ResourceDictionary Source="pack://application:,,,/MahApps.Metro.IconPacks;component/Themes/PackIconModern.xaml" />
        <ResourceDictionary Source="pack://application:,,,/MahApps.Metro.IconPacks;component/Themes/PackIconEntypo.xaml" />
        <ResourceDictionary Source="pack://application:,,,/MahApps.Metro.IconPacks;component/Themes/PackIconSimpleIcons.xaml" />
    </ResourceDictionary.MergedDictionaries>
</ResourceDictionary>
「MainUc」の作成
- Viewsフォルダを右クリック > 追加 > 新しい項目
- Prism > WPF > Prism UserControl(WPF)を選択
- コントロール名は、「MainUc」
- UserControl.Resourcesで作成したResourceDictionaryと読み込みます。
- タイルのスタイルを作成します。この際に、マウスオーバー時のフォーカス時のスタイルもStyle.Triggersを使用して作成します。
- Grid内にItemsControlを作成してItemsControl.ItemTemplateのDataTemplateにタイルを指定します。
- タイルの中にアイコンが表示されるようにContentControlを中に入れます。
- タイルが画面内で折り返しされるように、ItemsControl.ItemsPanelのItemsPanelTemplateにWrapPanelを指定します。
<UserControl x:Class="MahAppsMetro.Menu.Views.MainUc"
             xmlns="http://schemas.microsoft.com/winfx/2006/xaml/presentation"
             xmlns:x="http://schemas.microsoft.com/winfx/2006/xaml"
             xmlns:prism="http://prismlibrary.com/"
             xmlns:MahApps="clr-namespace:MahApps.Metro.Controls;assembly=MahApps.Metro"
             xmlns:iconPacks="http://metro.mahapps.com/winfx/xaml/iconpacks"
             prism:ViewModelLocator.AutoWireViewModel="True">
    <UserControl.Resources>
                <ResourceDictionary>
            <ResourceDictionary.MergedDictionaries>
                <ResourceDictionary Source="pack://application:,,,/MahAppsMetro.Menu;component/Resources/ModuleDictionary.xaml"/>
            </ResourceDictionary.MergedDictionaries>
            <Style x:Key="BaseTileStyle" TargetType="MahApps:Tile">
                <Setter Property="BorderBrush" Value="{StaticResource AccentColorBrush}" />
                <Setter Property="Margin" Value="10"/>
                <Setter Property="CountFontSize" Value="18" />
                <Setter Property="TitleFontSize" Value="18" />
                <Setter Property="VerticalTitleAlignment" Value="Bottom"/>
                <Setter Property="VerticalAlignment" Value="Top"/>
                <Style.Triggers>
                    <Trigger Property="IsMouseOver" Value="True">
                        <Setter Property="Margin" Value="5"/>
                        <Setter Property="Background" Value="{StaticResource AccentColorBrush2}" />
                    </Trigger>
                    <Trigger Property="IsFocused" Value="True">
                        <Setter Property="Margin" Value="5"/>
                        <Setter Property="Background" Value="{StaticResource AccentColorBrush2}" />
                    </Trigger>
                </Style.Triggers>
            </Style>

            <Style x:Key="LargeTileStyle" TargetType="MahApps:Tile" BasedOn="{StaticResource BaseTileStyle}">
                <Setter Property="Width" Value="250" />
                <Setter Property="Height" Value="150" />
                <Style.Triggers>
                    <Trigger Property="IsMouseOver" Value="True">
                        <Setter Property="Width" Value="265" />
                        <Setter Property="Height" Value="165" />
                    </Trigger>
                    <Trigger Property="IsFocused" Value="True">
                        <Setter Property="Width" Value="265" />
                        <Setter Property="Height" Value="165" />
                    </Trigger>
                </Style.Triggers>
            </Style>

        </ResourceDictionary>
    </UserControl.Resources>
    <Grid>

        <ItemsControl ItemsSource="{Binding TileMenuItems, Mode=TwoWay, UpdateSourceTrigger=PropertyChanged}" >
            <ItemsControl.ItemTemplate>
                <DataTemplate>
                    <MahApps:Tile Style="{StaticResource LargeTileStyle}" Title="{Binding MenuLabel}" TiltFactor="2" Command="{Binding MenuCommand}" >
                        <ContentControl HorizontalAlignment="Center" VerticalAlignment="Center" Foreground="White" Focusable="False" Content="{Binding Icon}" />
                    </MahApps:Tile>
                </DataTemplate>
            </ItemsControl.ItemTemplate>

            <ItemsControl.ItemsPanel>
                <ItemsPanelTemplate>
                    <WrapPanel HorizontalAlignment="Left"/>
                </ItemsPanelTemplate>
            </ItemsControl.ItemsPanel>
        </ItemsControl>
    </Grid>

</UserControl>
タイルのアイテムソースの作成
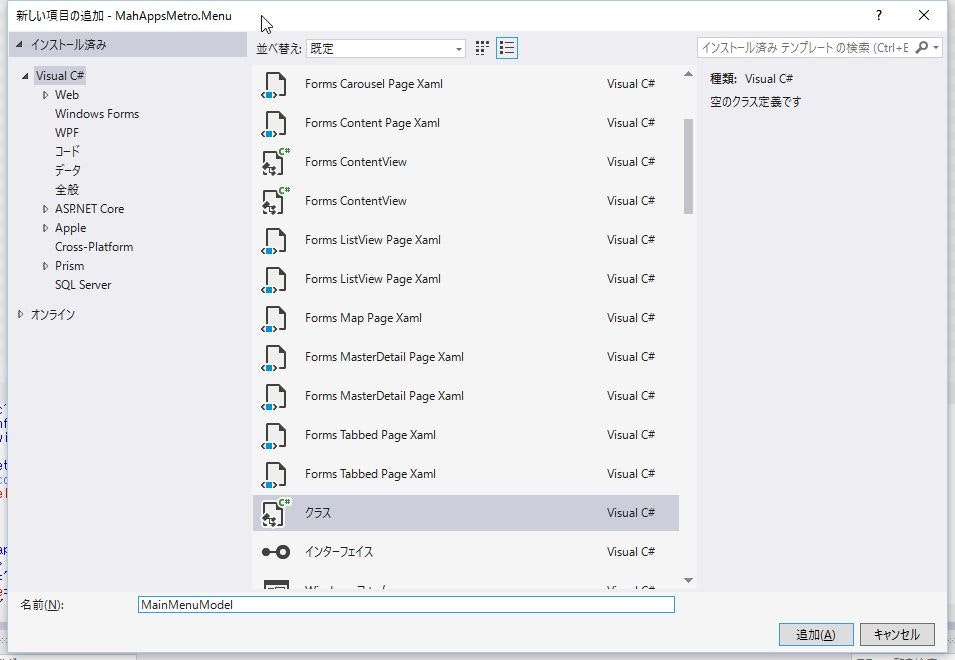
- MahAppsMetro.Menuプロジェクトに「Models」フォルダを作成
- 「Models」フォルダを右クリック > 追加 > クラス
- クラス名は、「MainMenuModel」
using System;
using System.Collections.Generic;
using System.Linq;
using System.Text;
using System.Threading.Tasks;

namespace MahAppsMetro.Menu.Models
{
    public class MainMenuModel
    {

    }
}
using Prism.Commands;
using Prism.Mvvm;
using System;
using System.Collections.Generic;
using System.Linq;
using System.Text;
using System.Threading.Tasks;


namespace MahAppsMetro.Menu.Models
{
    /// <summary>
    /// MainMenuのタイルモデル定義
    /// </summary>
    public class MainMenuModel : BindableBase
    {
        private string menuLabel;
        /// <summary>
        /// メニューラベル
        /// </summary>
        public string MenuLabel
        {
            get { return menuLabel; }
            set { SetProperty(ref menuLabel, value); }
        }

        private object icon;
        /// <summary>
        /// メニューアイコン
        /// </summary>
        public object Icon
        {
            get { return icon; }
            set { SetProperty(ref icon, value); }
        }

        private DelegateCommand menuCommand;
        /// <summary>
        /// メニューコマンド
        /// </summary>
        public DelegateCommand MenuCommand
        {
            get { return menuCommand; }
            set { SetProperty(ref menuCommand, value); }
        }
    }
}
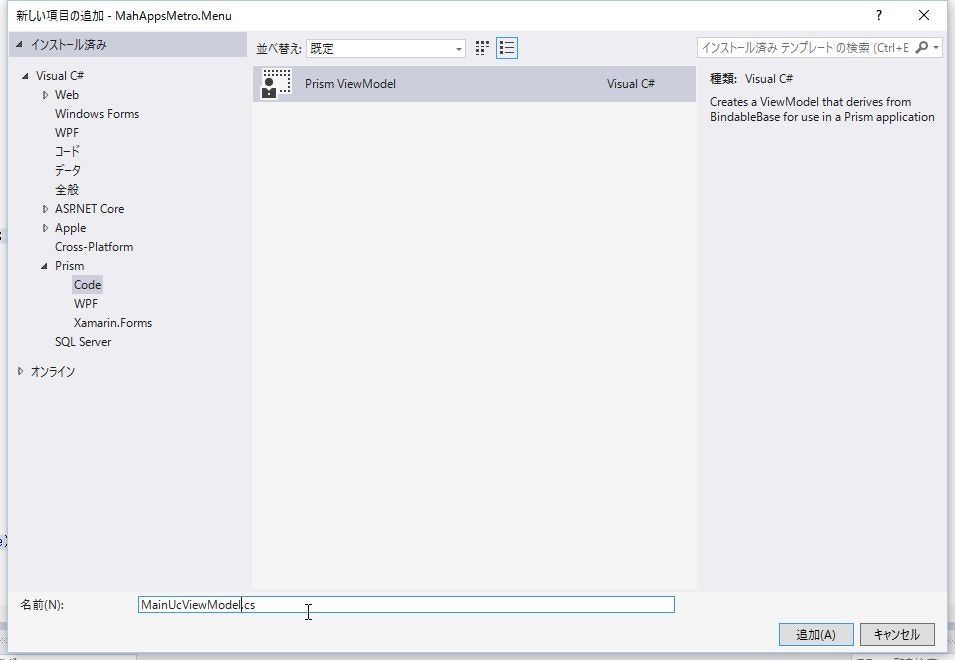
MainUcViewModelの作成
- Viewsフォルダを右クリック > 追加 > 新しい項目
- Prism > Code > Prism ViewModelを選択
- コントロール名は、「MainUcViewModel」
using Prism.Commands;
using Prism.Mvvm;
using System;
using System.Collections.Generic;
using System.Linq;

namespace MahAppsMetro.Menu.ViewModels
{
    public class MainUcViewModel : BindableBase
    {
        public MainUcViewModel()
        {

        }
    }
}
- usingの追加
using Prism.Commands;
using Prism.Mvvm;
using System.Threading.Tasks;
using MahApps.Metro.IconPacks;
- メニュー格納用のコレクションの追加
private ObservableCollection<MainMenuModel> tileMenuItems;
public ObservableCollection<MainMenuModel> TileMenuItems
{
    get
    {
        return tileMenuItems;
    }
    set
    {
        SetProperty(ref tileMenuItems, value);
    }
}
- Commandの追加
- せっかくなのでスニペット
- cmdと入力してTabキーを二回打つ
cmd
- Tabキーを二回打つと下のようになる
private DelegateCommand fieldNameCommand;
public DelegateCommand CommandNameCommand =>
    fieldNameCommand ?? (fieldNameCommand = new DelegateCommand(CommandName, CanCommandName));
- リネームする
private DelegateCommand sampleCommand;
public DelegateCommand SampleCommand =>
    sampleCommand ?? (sampleCommand = new DelegateCommand(SampleExecute, CanSampleExecute));
- 作成したCommandの処理を作成
- サンプルなので空処理にしています。必要に応じて記述
private bool CanSampleExecute()
{
    return true;
}

/// <summary>
/// 検索処理
/// </summary>
private async void SampleExecute()
{

    await Task.Run(() =>
    {

    });
}
- タイル作成の処理の作成
- MenuCommandは、DelegateCommand を作成して、分けますが、今回は全部同じCommandを指定しています。
- Icon = new PackIconMaterial() { Kind = PackIconMaterialKind.XXXX
- XXXの部分に使用したいアイコンを指定します。
- アイコンは、以下から名前を探してください。今回は、Material Designを使用しています。
- 引用 : GitHub MahApps.Metro.IconPacks
Material Design (v1.8.36 with 1843 icons)
Material Design Icons Light (v0.2.63 with 257 icons)
Font Awesome (v4.7 with 675 icons)
GitHub Octicons (v5.0.1 with 176 icons)
Modern (1224 icons)
Entypo+ (411 icons)
Simple Icons (300 icons)
/// <summary>
/// コンストラクタ
/// </summary>
public MainUcViewModel()
{
    this.CreateMenuButton();
}

/// <summary>
/// タイルの作成
/// </summary>
private void CreateMenuButton()
{
    this.TileMenuItems = new ObservableCollection<MainMenuModel>();

    TileMenuItems.Add(new MainMenuModel()
    {
        MenuLabel = "あいうえお",
        Icon = new PackIconMaterial() { Kind = PackIconMaterialKind.ViewList, Width = 80, Height = 80 },
        MenuCommand = this.SampleCommand,
    });
    TileMenuItems.Add(new MainMenuModel()
    {
        MenuLabel = "かきくけこ",
        Icon = new PackIconMaterial() { Kind = PackIconMaterialKind.AccessPoint, Width = 80, Height = 80 },
        MenuCommand = this.SampleCommand,
    });
    TileMenuItems.Add(new MainMenuModel()
    {
        MenuLabel = "さしすせそ",
        Icon = new PackIconMaterial() { Kind = PackIconMaterialKind.AccessPointNetwork, Width = 80, Height = 80 },
        MenuCommand = this.SampleCommand,
    });
    TileMenuItems.Add(new MainMenuModel()
    {
        MenuLabel = "たちつてと",
        Icon = new PackIconMaterial() { Kind = PackIconMaterialKind.Account, Width = 80, Height = 80 },
        MenuCommand = this.SampleCommand,
    });
    TileMenuItems.Add(new MainMenuModel()
    {
        MenuLabel = "なにぬねの",
        Icon = new PackIconMaterial() { Kind = PackIconMaterialKind.AccountAlert, Width = 80, Height = 80 },
        MenuCommand = this.SampleCommand,
    });
    TileMenuItems.Add(new MainMenuModel()
    {
        MenuLabel = "はひふへほ",
        Icon = new PackIconMaterial() { Kind = PackIconMaterialKind.AccountBox, Width = 80, Height = 80 },
        MenuCommand = this.SampleCommand,
    });
    TileMenuItems.Add(new MainMenuModel()
    {
        MenuLabel = "まみむめも",
        Icon = new PackIconMaterial() { Kind = PackIconMaterialKind.AccountBoxOutline, Width = 80, Height = 80 },
        MenuCommand = this.SampleCommand,
    });
    TileMenuItems.Add(new MainMenuModel()
    {
        MenuLabel = "やゆよ",
        Icon = new PackIconMaterial() { Kind = PackIconMaterialKind.AccountCardDetails, Width = 80, Height = 80 },
        MenuCommand = this.SampleCommand,
    });
    TileMenuItems.Add(new MainMenuModel()
    {
        MenuLabel = "らりるれろ",
        Icon = new PackIconMaterial() { Kind = PackIconMaterialKind.AccountCheck, Width = 80, Height = 80 },
        MenuCommand = this.SampleCommand,
    });
    TileMenuItems.Add(new MainMenuModel()
    {
        MenuLabel = "わをん",
        Icon = new PackIconMaterial() { Kind = PackIconMaterialKind.AccountCircle, Width = 80, Height = 80 },
        MenuCommand = this.SampleCommand,
    });
}
IModuleインターフェースの作成
- ここでもプロジェクトテンプレートから作成された「MenuModule.cs」を修正します。
using Prism.Modularity;
using Prism.Regions;
using System;

namespace MahAppsMetro.Menu
{
    public class MenuModule : IModule
    {
        IRegionManager _regionManager;

        public MenuModule(IRegionManager regionManager)
        {
            _regionManager = regionManager;
        }

        public void Initialize()
        {
            throw new NotImplementedException();
        }
    }
}
- MainUcを差し込む
using Prism.Modularity;
using Prism.Regions;
using System;

namespace MahAppsMetro.Menu
{
    public class MenuModule : IModule
    {
        IRegionManager _regionManager;

        public MenuModule(IRegionManager regionManager)
        {
            _regionManager = regionManager;
        }

        public void Initialize()
        {
            _regionManager.RegisterViewWithRegion("ContentRegion", typeof(Views.MainUc));
            //throw new NotImplementedException();
        }
    }
}
「MahAppsMetro.App」のプロジェクト
BootstraperクラスにModuleを組み込む
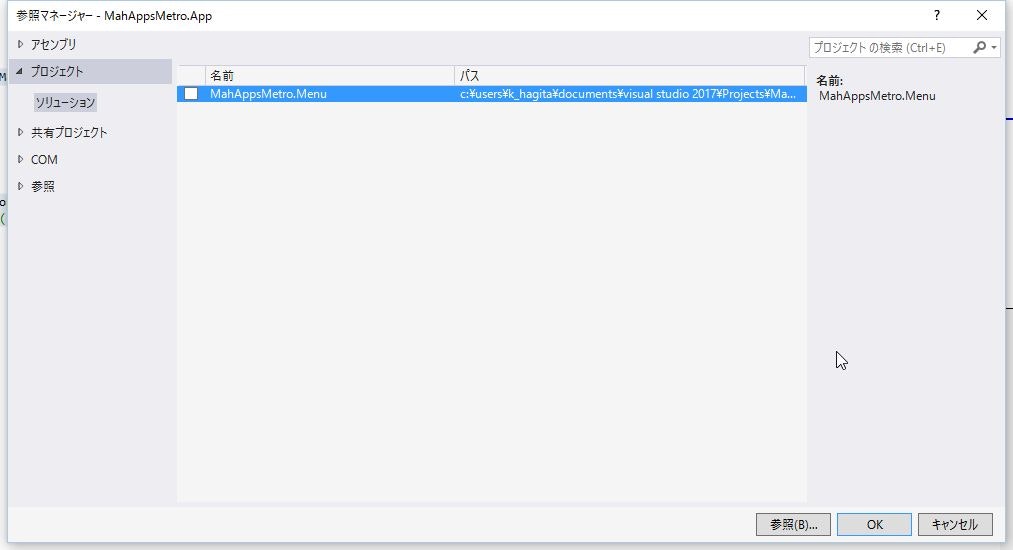
- 参照を右クリックして > 参照の追加 > プロジェクトタブを選択 > 追加したMahAppsMetro。Menuのプロジェクトにチェックを入れる > OKを押下します。
- ConfigureModuleCatalogメソッドで作成したModuleをAddModuleで追加します。
- その際に、usingで
using Prism.Modularity;も追加します。
   protected override void ConfigureModuleCatalog()
        {
            base.ConfigureModuleCatalog();


            ModuleCatalog moduleCatalog = (ModuleCatalog)this.ModuleCatalog;
            moduleCatalog.AddModule(typeof(MahAppsMetro.Menu.MenuModule));
        }
デバッグ実行
- タイルが動的に作成されているか確認します。
- フォーカスを合わせたときに背景色とタイルの大きさが変わっているか確認します。
まとめ
WPFは、DataTemplateによるコントロールの動的追加が楽ですね。
ただ、作成中にどのようなデザインになっているかわからないのがちょっと不満です。
それでも、Xaml側で都度追加するよりは、一度決めてしまった後にViewModel側で追加する方法が最終的には楽なのではないかと思います。
今回のキーワードとしては、
- ItemsControl.ItemTemplateのDataTemplateに動的に配置したいコントールを配置できる。
- 「MahApps.Metro.IconPacks」は、使用できるアイコンが豊富で、Bindingによる使用方法も楽である。