今回はChromeのHeadlessモードを使うのではなく、CLI環境でも通常のChromeが動作するようにpyvirtualdisplayの仮想ディスプレイを使った方法でスクレイピングを行う。
使ったもの
- Python3
- Google Chrome
- ChromeDriver
- xvfb
- Selenium
- pyvirtualdisplay
使わないもの
- ChromeのHeadlessモード
前提
ubuntu 16.04 LTS上の環境を想定しています。
環境構築
Seleniumをインストールする。
プリインストールされてるPython3を使うので、pip3をインストールする。
sudo apt install python3-pip python3-dev
pip3でSeleniumをインストールする。
$ pip3 install selenium
libgconf2-4をインストールする。(Seleniumの起動に必要)
$ sudo apt install libgconf2-4
Google Cromeをインストールする。
depファイルをダウンロードして、インストールする。
$ wget https://dl.google.com/linux/direct/google-chrome-stable_current_amd64.deb
$ sudo dpkg -i google-chrome-stable_current_amd64.deb
必要な依存ファイルをaptでインストールする。
$ sudo apt update
$ sudo apt -f install -y
インストールと配置場所を確認する。
$ which google-chrome
/usr/bin/google-chrome
ChromeDriverをインストールする。
zipファイルで提供されているので、unzipをインストールする。
$ sudo apt install unzip
zipファイルをダウンロードして、展開する。
$ wget https://chromedriver.storage.googleapis.com/2.37/chromedriver_linux64.zip
$ unzip chromedriver_linux64.zip -d ~/bin/
実行ファイルの配置場所にPATHを通す。
$ export PATH=$PATH:$HOME/bin
インストールされていることを確認する。
$ which chromedriver
/home/hoge/bin/chromedriver
xvfbをインストールする。
pyvirtualdisplayの実行に必要なのでxvfbをインストールする。
$ sudo apt-get install -y xvfb
pyvirtualdisplayをインストールする
pyvirtualdisplayをpip3でインストールする。
pip3 install pyvirtualdisplay
日本語ページが文字化けしないように日本語フォントをインストールする。
日本語フォントをインストールする
$ wget --content-disposition IPAfont00303.zip http://ipafont.ipa.go.jp/old/ipafont/IPAfont00303.php
$ sudo unzip IPAfont00303.zip -d /usr/share/fonts/
$ fc-cache -fv
検証
ソースコード
google.py
from selenium import webdriver
from pyvirtualdisplay import Display

display = Display(visible=0, size=(1024, 768))
display.start()

driver = webdriver.Chrome()
driver.set_window_size(1024, 768)

driver.get('https://www.google.com')

driver.save_screenshot("screenshot.png")

driver.quit()
display.stop()
上記をpython3で実行する。
$ python3 google.py
実行結果
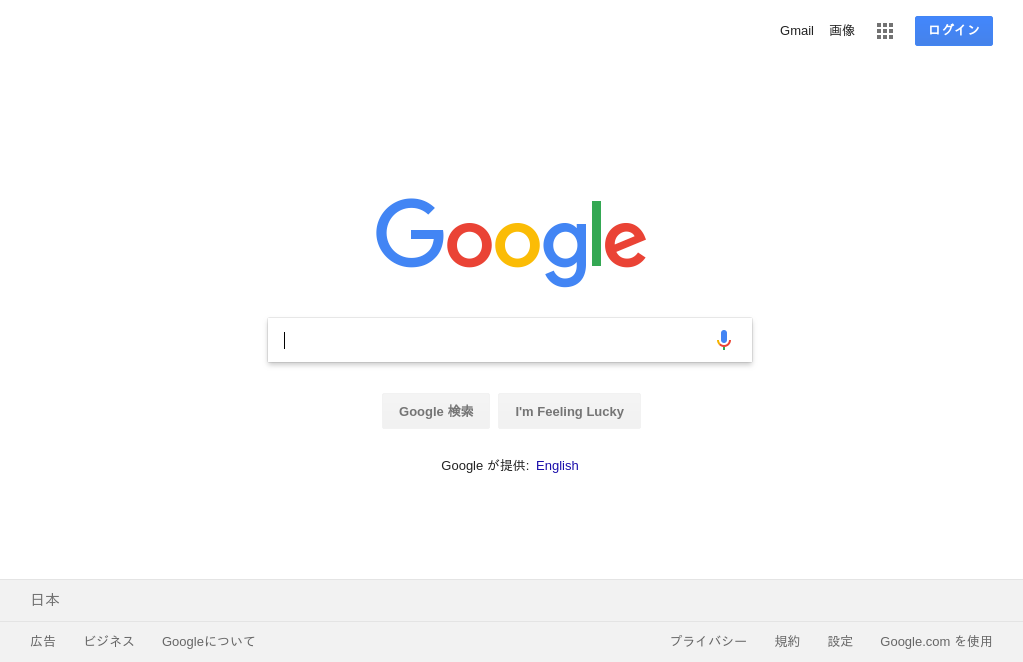
無事Googleの検索ページのスクリーンショットが撮れました。
参考記事
https://qiita.com/shinsaka/items/37436e256c813d277d6d
https://stackoverflow.com/questions/45370018/selenium-working-with-chrome-but-not-headless-chrome
http://b.ytyng.com/blog/python-selenium-chromedriver-error-127-install-libgconf2/
