6/15追記
あとがきの提案について書きました 写真表現としての桑原フィルターの提案
#はじめに
Kuwahara filter(桑原フィルター)とは
桑原フィルターは桑原道義さんという大学教授(Wikipedia曰く)が考案した平滑化フィルターの一種で、内容のシンプルさに反して上手いことかけるとまるで油絵のようになる、なんだかすごいフィルターであーる(先に結果が見たい方は記事の一番下を覗いてみよう)
Kuwahara filter -Wikipedia
SPECT用データ処理 (元論文?)
#桑原フィルターの内容

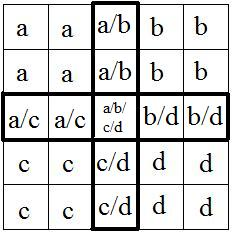
https://upload.wikimedia.org/wikipedia/commons/4/49/Kuwahara.jpg
桑原フィルターを簡単に説明すると、
各画素の色をその周囲の任意の幅の左上、右上、左下、右下の正方形領域の中で、最も分散の和が小さい領域の平均色とするフィルターです。
上の画像でいうと、中心の画素の色を決めるには、
- aの領域の分散、bの領域の分散、cの領域の分散、dの領域の分散をRGB各色で計算し、領域ごとにRGBすべて足し合わせます。
- 1で得た分散を比較し、最も小さい領域の色の平均をRGBそれぞれ計算します。
- 2で求めた平均色を中心画素の色として設定します。
上記の手順または同等の結果を得られるプロセスを経ます。
また、画像では正方形領域の一辺は3ピクセルですが、任意の幅でおkです。
#実装
定義
6/11修正 for文を廃し10倍程度高速化しました
import numpy as np
import cv2
def kuwahara(pic,r=5,resize=False,rate=0.5): #元画像、正方形領域の一辺、リサイズするか、リサイズする場合の比率
    h,w,_=pic.shape
    if resize:pic=cv2.resize(pic,(int(w*rate),int(h*rate)));h,w,_=pic.shape
    pic=np.pad(pic,((r,r),(r,r),(0,0)),"edge")
    ave,var=cv2.integral2(pic)
    ave=(ave[:-r-1,:-r-1]+ave[r+1:,r+1:]-ave[r+1:,:-r-1]-ave[:-r-1,r+1:])/(r+1)**2 #平均値の一括計算
    var=((var[:-r-1,:-r-1]+var[r+1:,r+1:]-var[r+1:,:-r-1]-var[:-r-1,r+1:])/(r+1)**2-ave**2).sum(axis=2) #分散の一括計算

#--以下修正部分--
    def filt(i,j):
        return np.array([ave[i,j],ave[i+r,j],ave[i,j+r],ave[i+r,j+r]])[(np.array([var[i,j],var[i+r,j],var[i,j+r],var[i+r,j+r]]).argmin(axis=0).flatten(),j.flatten(),i.flatten())].reshape(w,h,_).transpose(1,0,2)
    filtered_pic = filt(*np.meshgrid(np.arange(h),np.arange(w))).astype(pic.dtype) #色の決定
    return filtered_pic
令和最新版
import torch
import torch.nn as nn

def kuwahara(frame, fs):
    size = frame.shape[:2][::-1]
    frame = frame / 255
    mean = cv2.filter2D(frame, -1, np.ones((fs, fs)) / fs**2)
    mean = np.clip(mean, 0., 1.)
    var = ((frame - mean)**2).sum(2)

    stride = fs - 1
    var_ = np.c_[[
        var[i:-stride + i:stride, j:-stride + j:stride] for j in range(stride)
        for i in range(stride)
    ]]
    mean_ = np.c_[[
        mean[i:-stride + i:stride, j:-stride + j:stride].transpose(2, 0, 1)
        for j in range(stride) for i in range(stride)
    ]]

    var_ = torch.from_numpy(var_)
    mp = nn.MaxPool2d(2, 1, return_indices=True)(-var_)[1]

    ido = np.repeat((np.arange(var_.shape[0]) *
                     np.array(var_.shape[1:]).prod())[:np.newaxis],
                    np.array(var_.shape[1:]).prod(),
                    0).reshape(-1, *var_.shape[1:])[:, :-1, :-1]
    idx = mp.numpy() + ido
    kframe = mean_.transpose(0, 2, 3, 1).reshape(-1, 3)[idx].reshape(
        stride, stride, *mp.shape[1:3], 3).transpose(1, 2, 3, 0, 4).reshape(
            stride, mp.shape[1], stride * mp.shape[2],
            3).transpose(1, 0, 2, 3).reshape(stride * mp.shape[1],
                                             stride * mp.shape[2], 3)
    filtered = (kframe * 255).astype(np.uint8)
    filtered = cv2.resize(filtered, size)
    return filtered
シンプル版
import cv2
import numpy as np

def kuwahara(im, n):
    filt = np.zeros((2*n-1, 2*n-1))
    filt[:n, :n] = 1 / n**2
    filts = [np.roll(filt, (i*(n-1), j*(n-1)), axis=(0, 1)) for i, j in [(0, 0), (0, 1), (1, 0), (1, 1)]]
    u = np.array([cv2.filter2D(im, -1, f) for f in filts])
    u2 = [cv2.filter2D(im**2, -1, f) for f in filts]
    idx = np.argmin([(i-j**2).sum(2) for i, j in zip(u2, u)], 0)
    ix, iy = np.indices(im.shape[:2])
    return u[idx, ix, iy]
実行
import matplotlib.pyplot as plt

pic=np.array(plt.imread("input_picture.png")) #input_picture.pngをフィルターを掛けたい画像のパスに変更してください
filtered_pic=kuwahara(pic,7,True,0.2)
plt.imshow(filtered_pic)
plt.show()
##結果
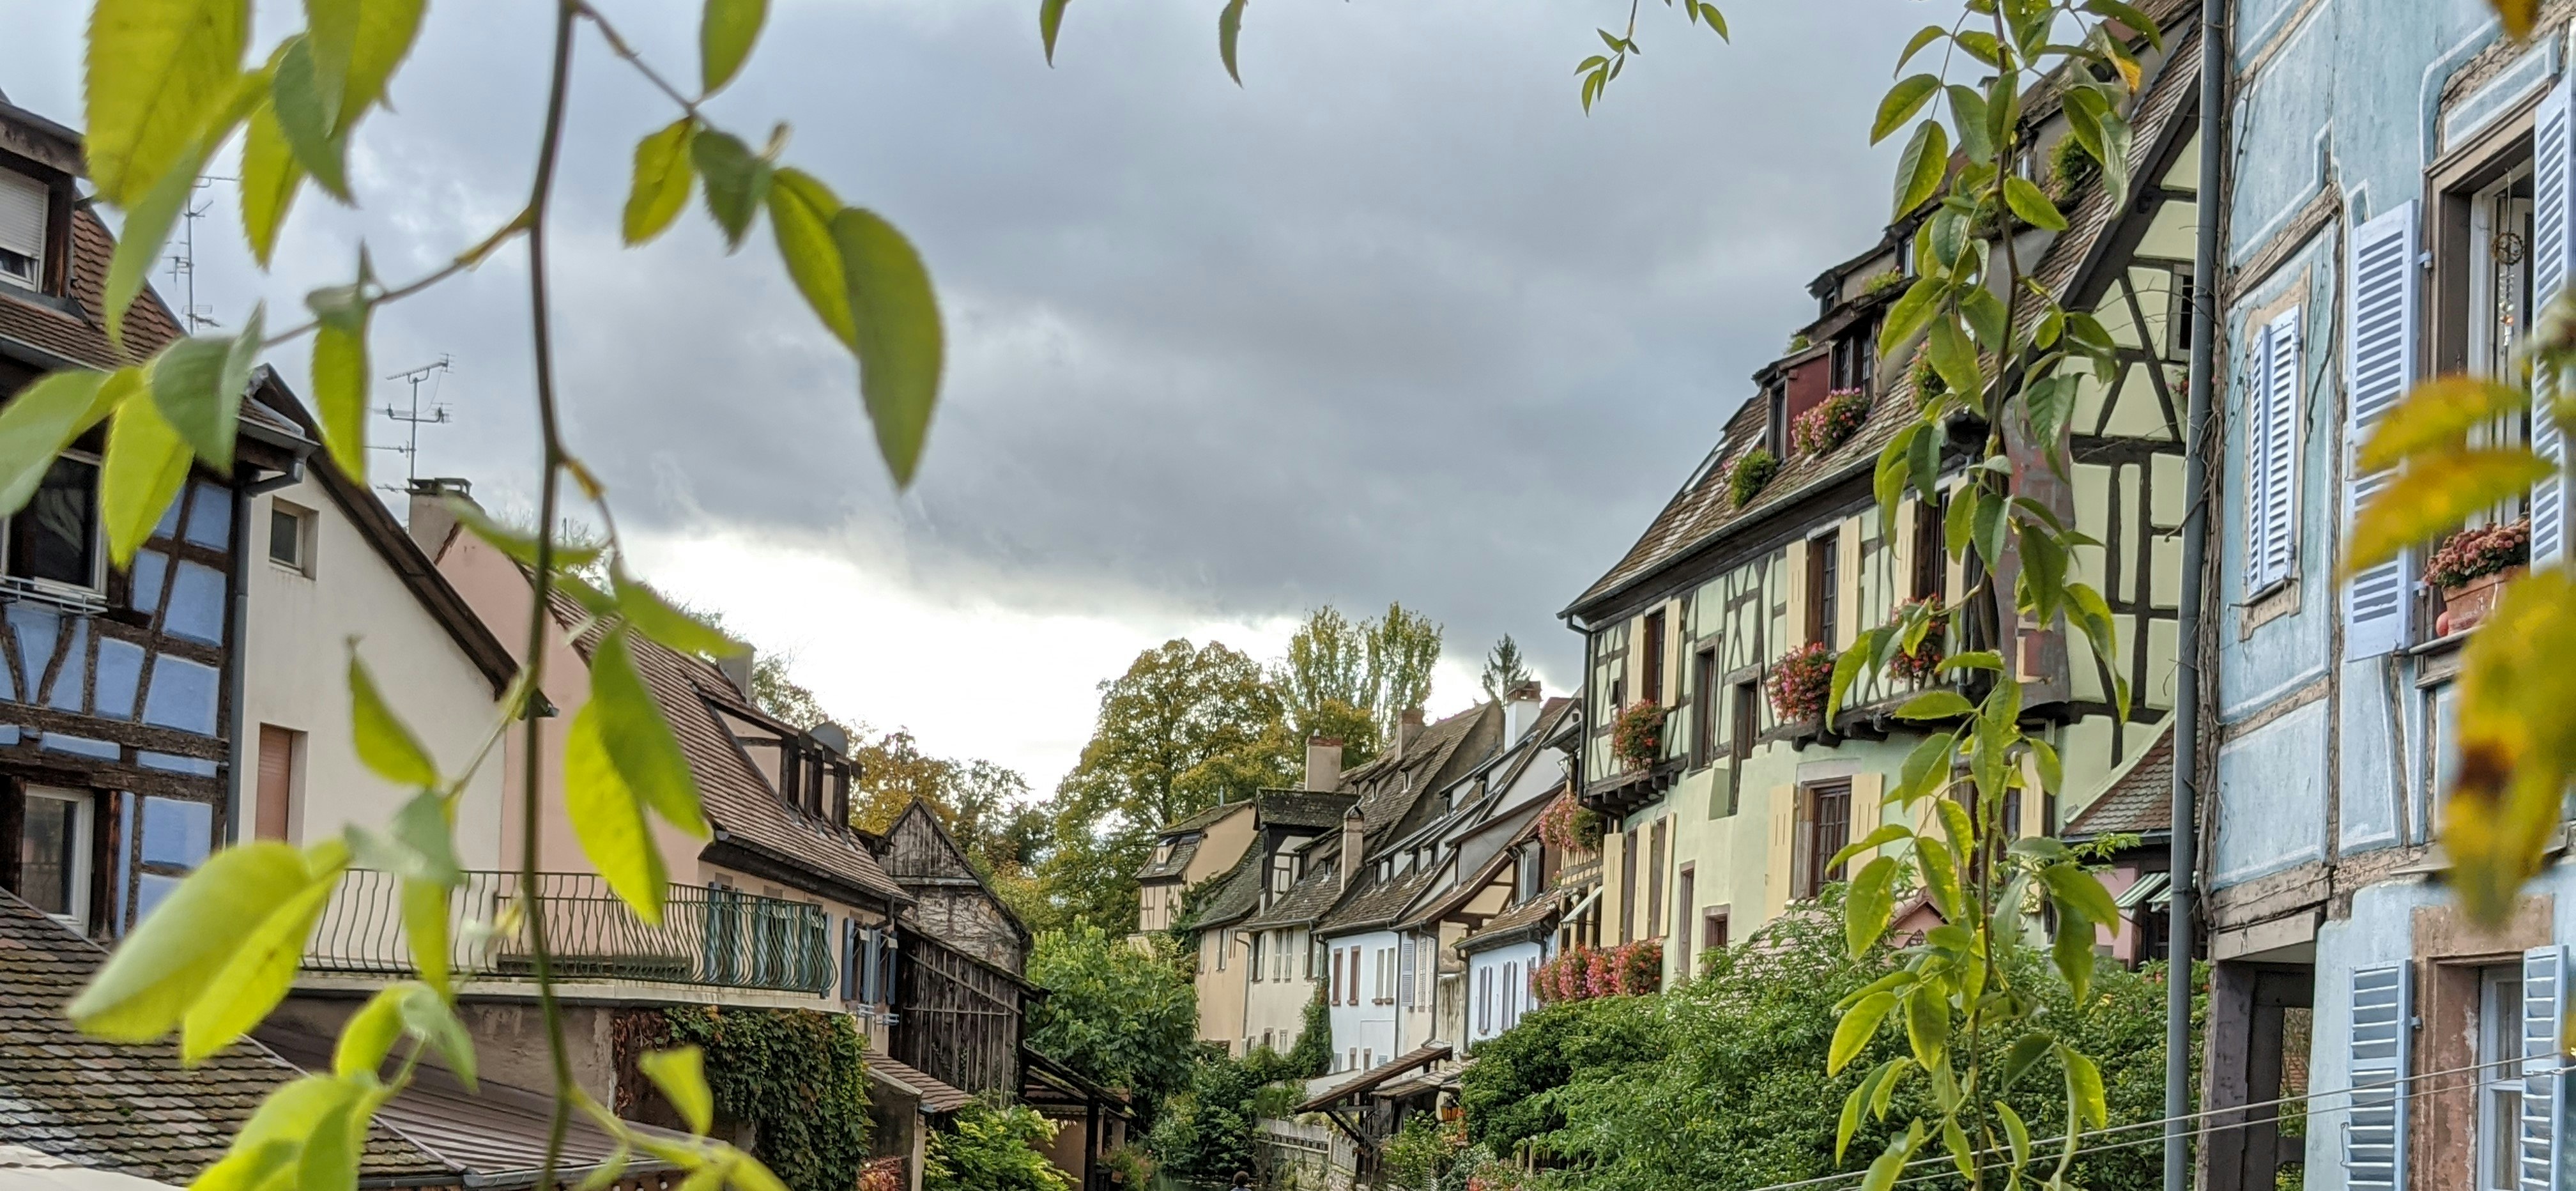
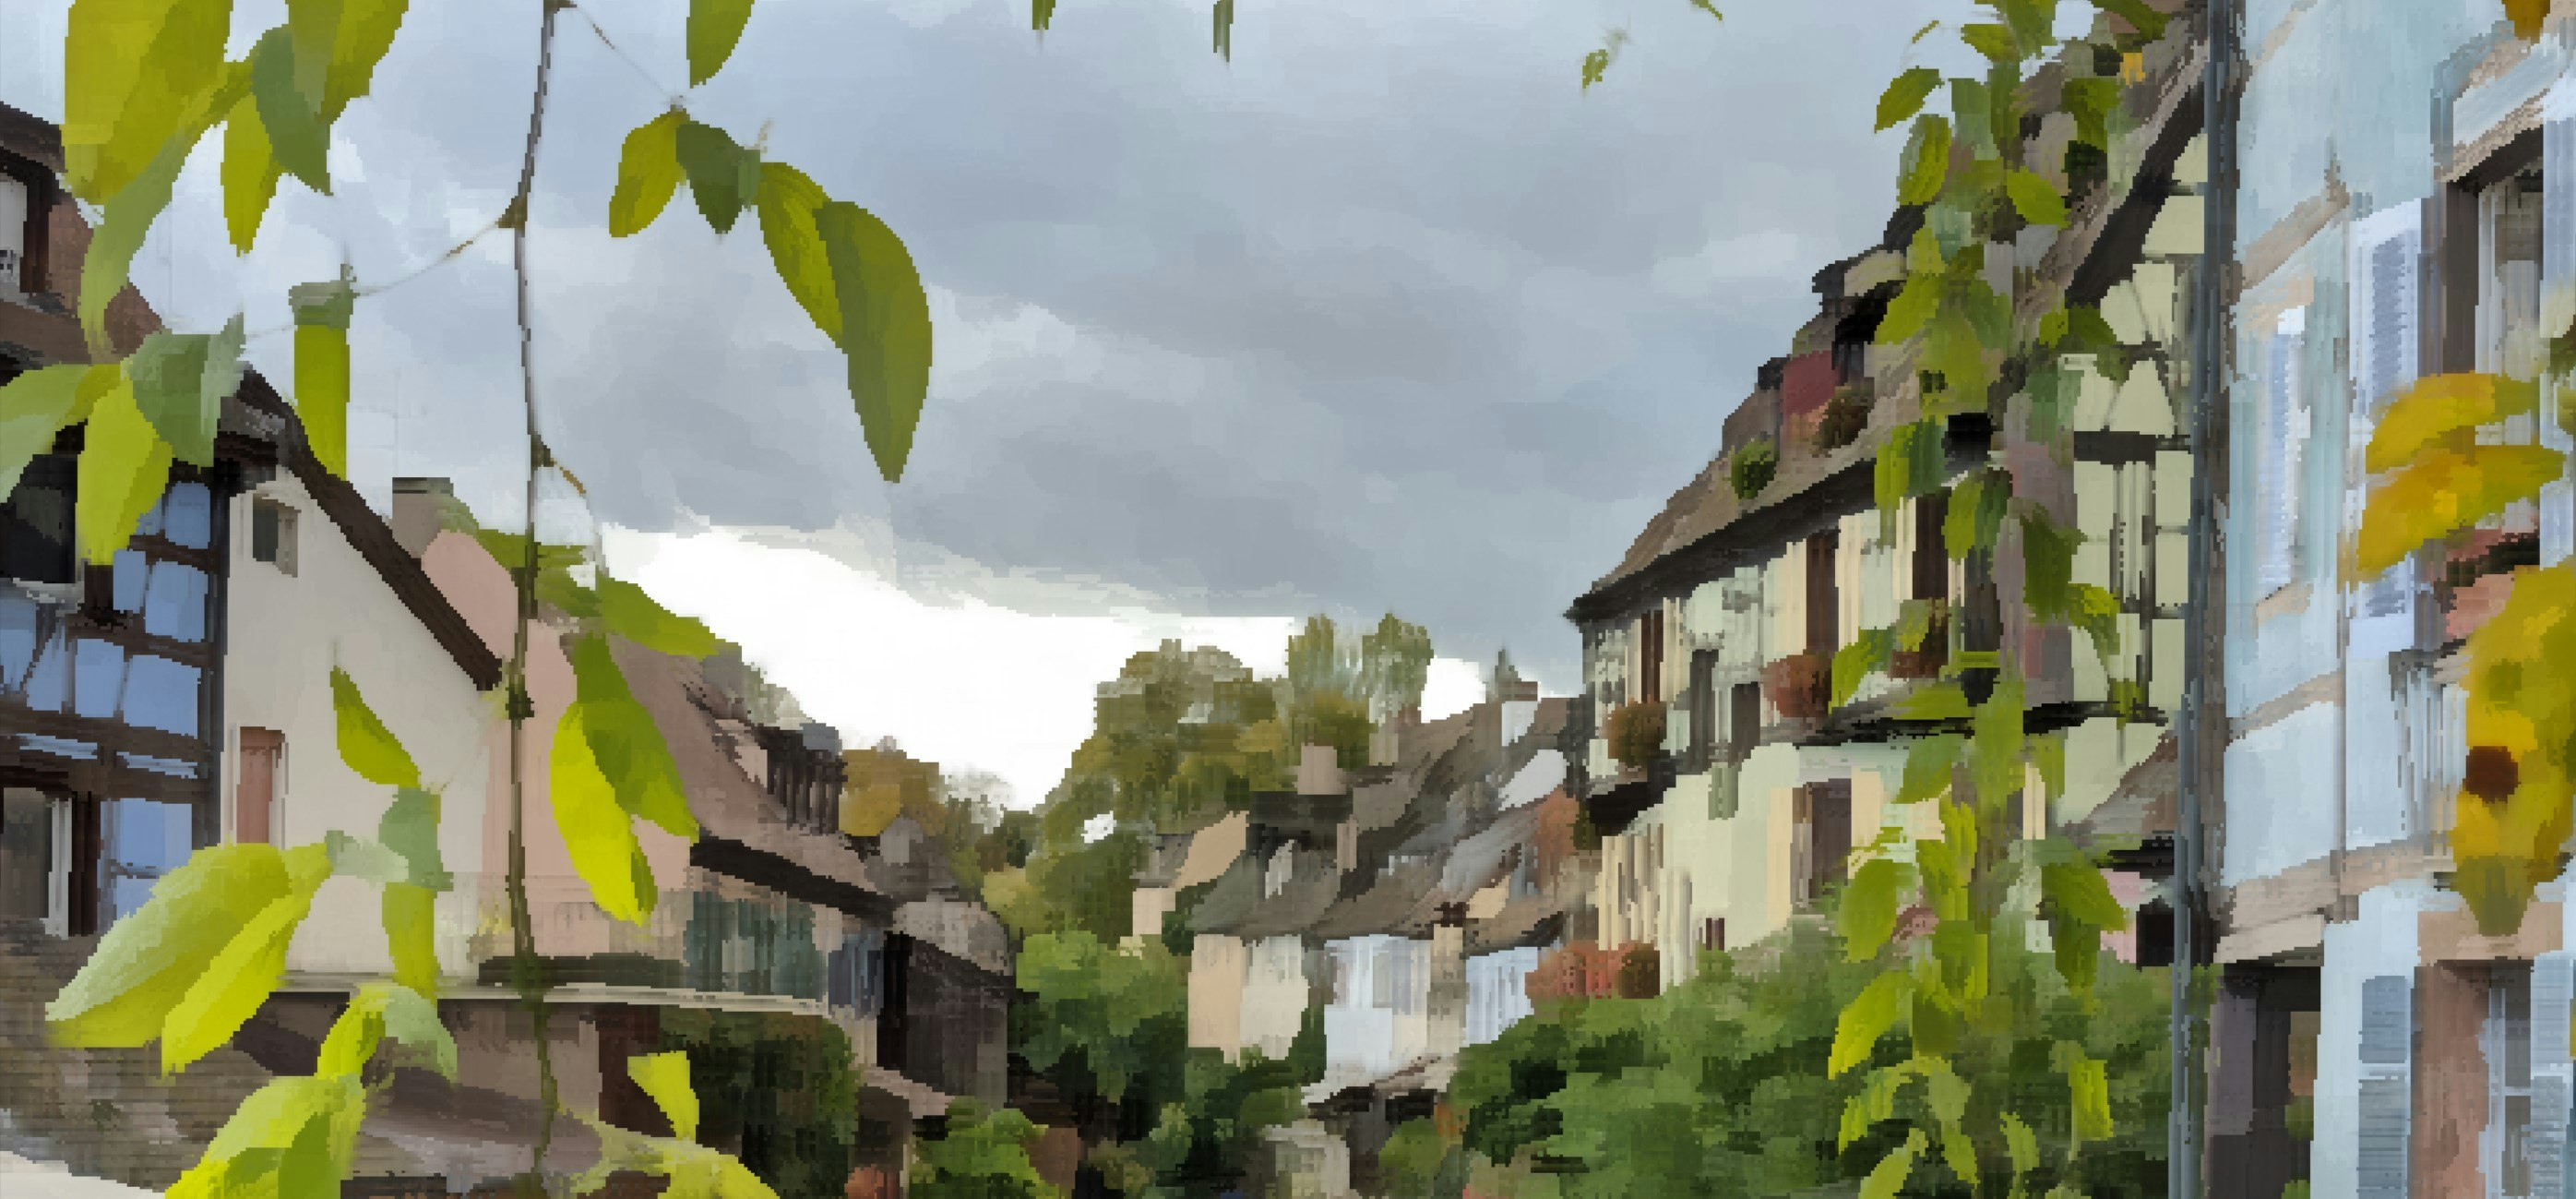
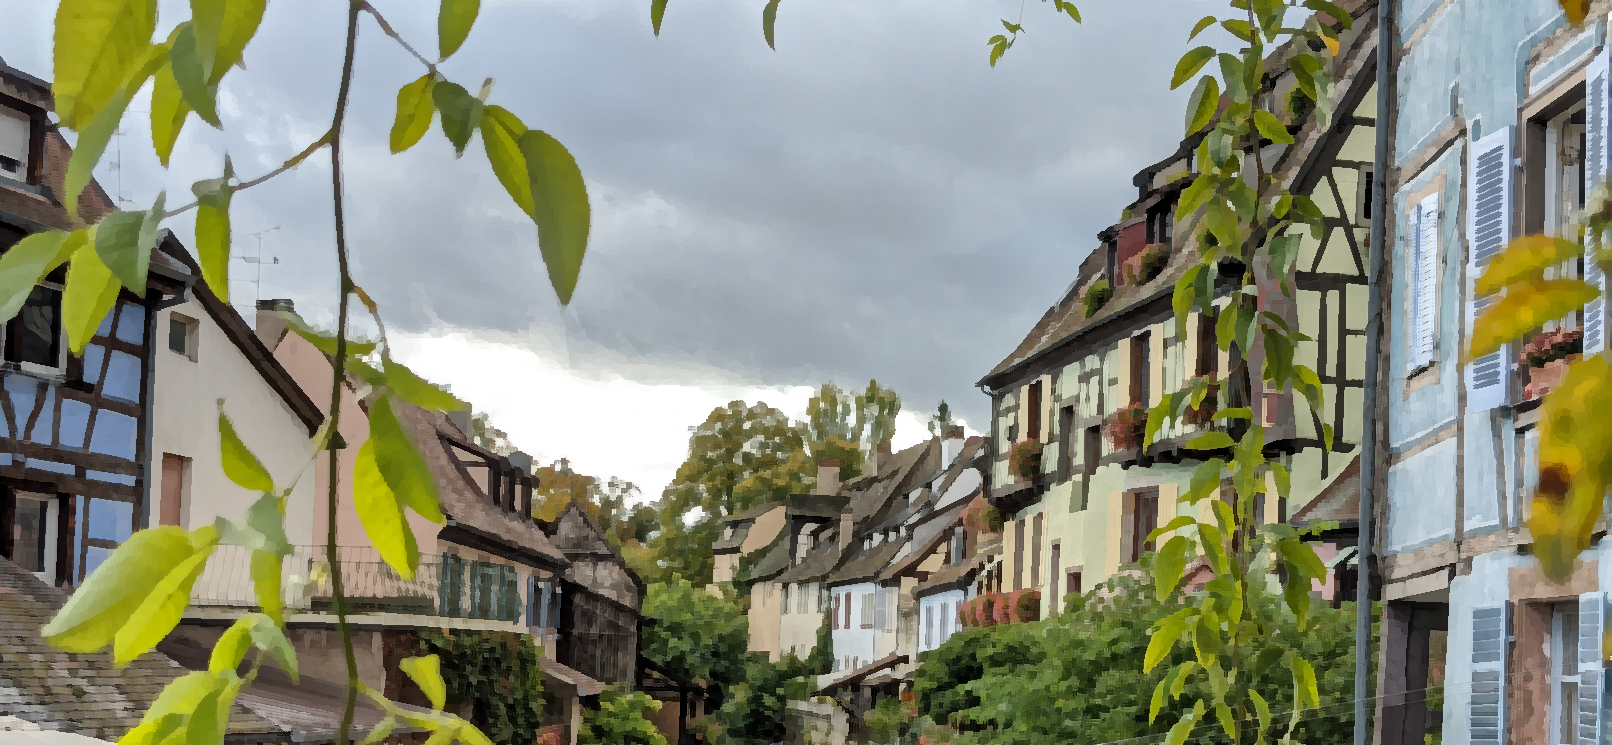
昨年、フランス旅行に行った際に撮った写真の一部です。
_人人人人人人_
> マジ絵画 <
 ̄Y^Y^Y^Y^Y^Y^ ̄
#手軽に試してみたい方へ
colabで見れるようにしてみました。Kuwahara_Demo.ipynb
お好きな画像のURLを入力して試してみてください。
#まとめ
キャンバスに描いたような質感がすごくて感動したのでご紹介しました。簡単なので試してみてね。
深度マップを用意してそれによって正方形領域のサイズを調整したら面白いかも…
大きい画像だと時間がかかる可能性があります。第3引数をTrueにするのをお忘れなく。


