はじめに
GoogleMap用途などで、住所を属性に持つモデルに対して緯度・経度を登録する場合はgeocoderでスムーズに情報取得ができます。
ですが、上記のように動的にGoogleMapを描画する場合、APIキーの取得が必要です。
下記手順に沿ってAPIキーを取得しましょう。
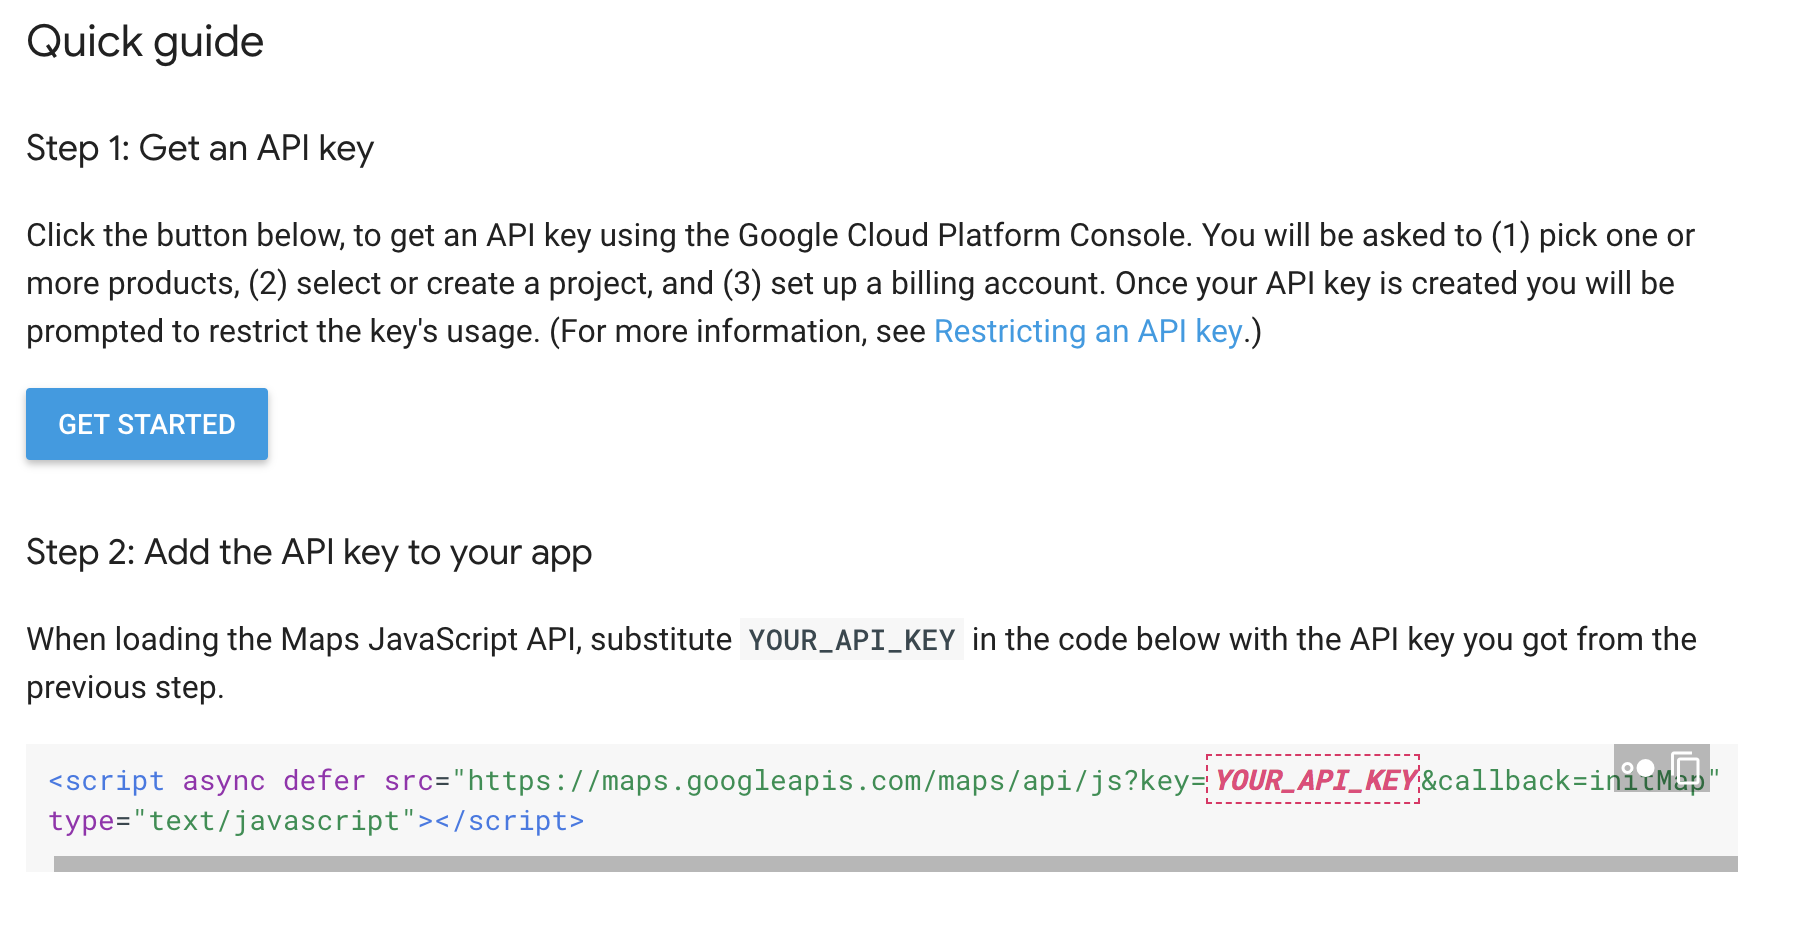
GET STARTEDのボタンを押し、APIキーの取得を行います。
クレジットカードの登録を済ませる必要があるため、事前にカード情報を用意しておきましょう。
gem 'geocoder' のインストール
Gemfile
gem 'geocoder'
Gemfileに追記したら、 bundle install でGemをインストールします。
テーブルに変更を加える
カラムを追加
Storeモデルに住所(address), 緯度(latitude), 経度(longitude)を追加
$ rails g migration AddColumnToStore address:string latitude:float longitude:float
モデルに緯度と経度を算出する処理を記述
store.rb に以下のコードを記述する。
store.rb
class Store < ApplicationRecord
 geocoded_by :address
 after_validation :geocode
 # これで、モデル登録時と住所(address)変更時にgeocoderにより、緯度・経度のデータが登録・更新される。
end
登録フォーム用にコントローラーを用意
stores_controller.rb
class StoresController < ApplicationController
  def new
    @store = Store.new
  end

  def create
    @store = Store.new(store_params)
    if @store.save
      redirect_to root_path, notice: '作成しました'
    else
      render :new
    end
  end

  private

  def store_params
    params.require(:store).permit(:address, :latitude, :longitude)
  end
end
フォームを追加する
views/stores/new.html.slim
= form_with model: @store, local: true do |f|
  = f.label :address
  = f.text_field :address
  = f.submit '投稿する', data: { disable_with: '投稿中..' }
表示用のビューを記述
views/stores/show.html.slim
#  中略
div id='map' style='height: 300px; width: 90%;'

= javascript_include_tag src="https://maps.googleapis.com/maps/api/js?v=3.exp&key=取得したAPI_KEY&callback=initMap", async: true, defer: true

javascript:
  function initMap() {
    var test ={ lat: #{@store.latitude}, lng: #{@store.longitude} };
    var map = new google.maps.Map(document.getElementById('map'), {
      zoom: 15,
      center: test
    });
    var transitLayer = new google.maps.TransitLayer();
    transitLayer.setMap(map);

    var contentString = "住所:#{@store.address} ";
    var infowindow = new google.maps.InfoWindow({
      content: contentString
    });

    var marker = new google.maps.Marker({
      position:test,
      map: map,
      title: contentString
    });

    marker.addListener('click', function() {
      infowindow.open(map, marker);
    });
  }
実際の表示
インフォウィンドウやマーカーは改良の余地がありそうなので、調査結果をさらに追記しようと思います。
