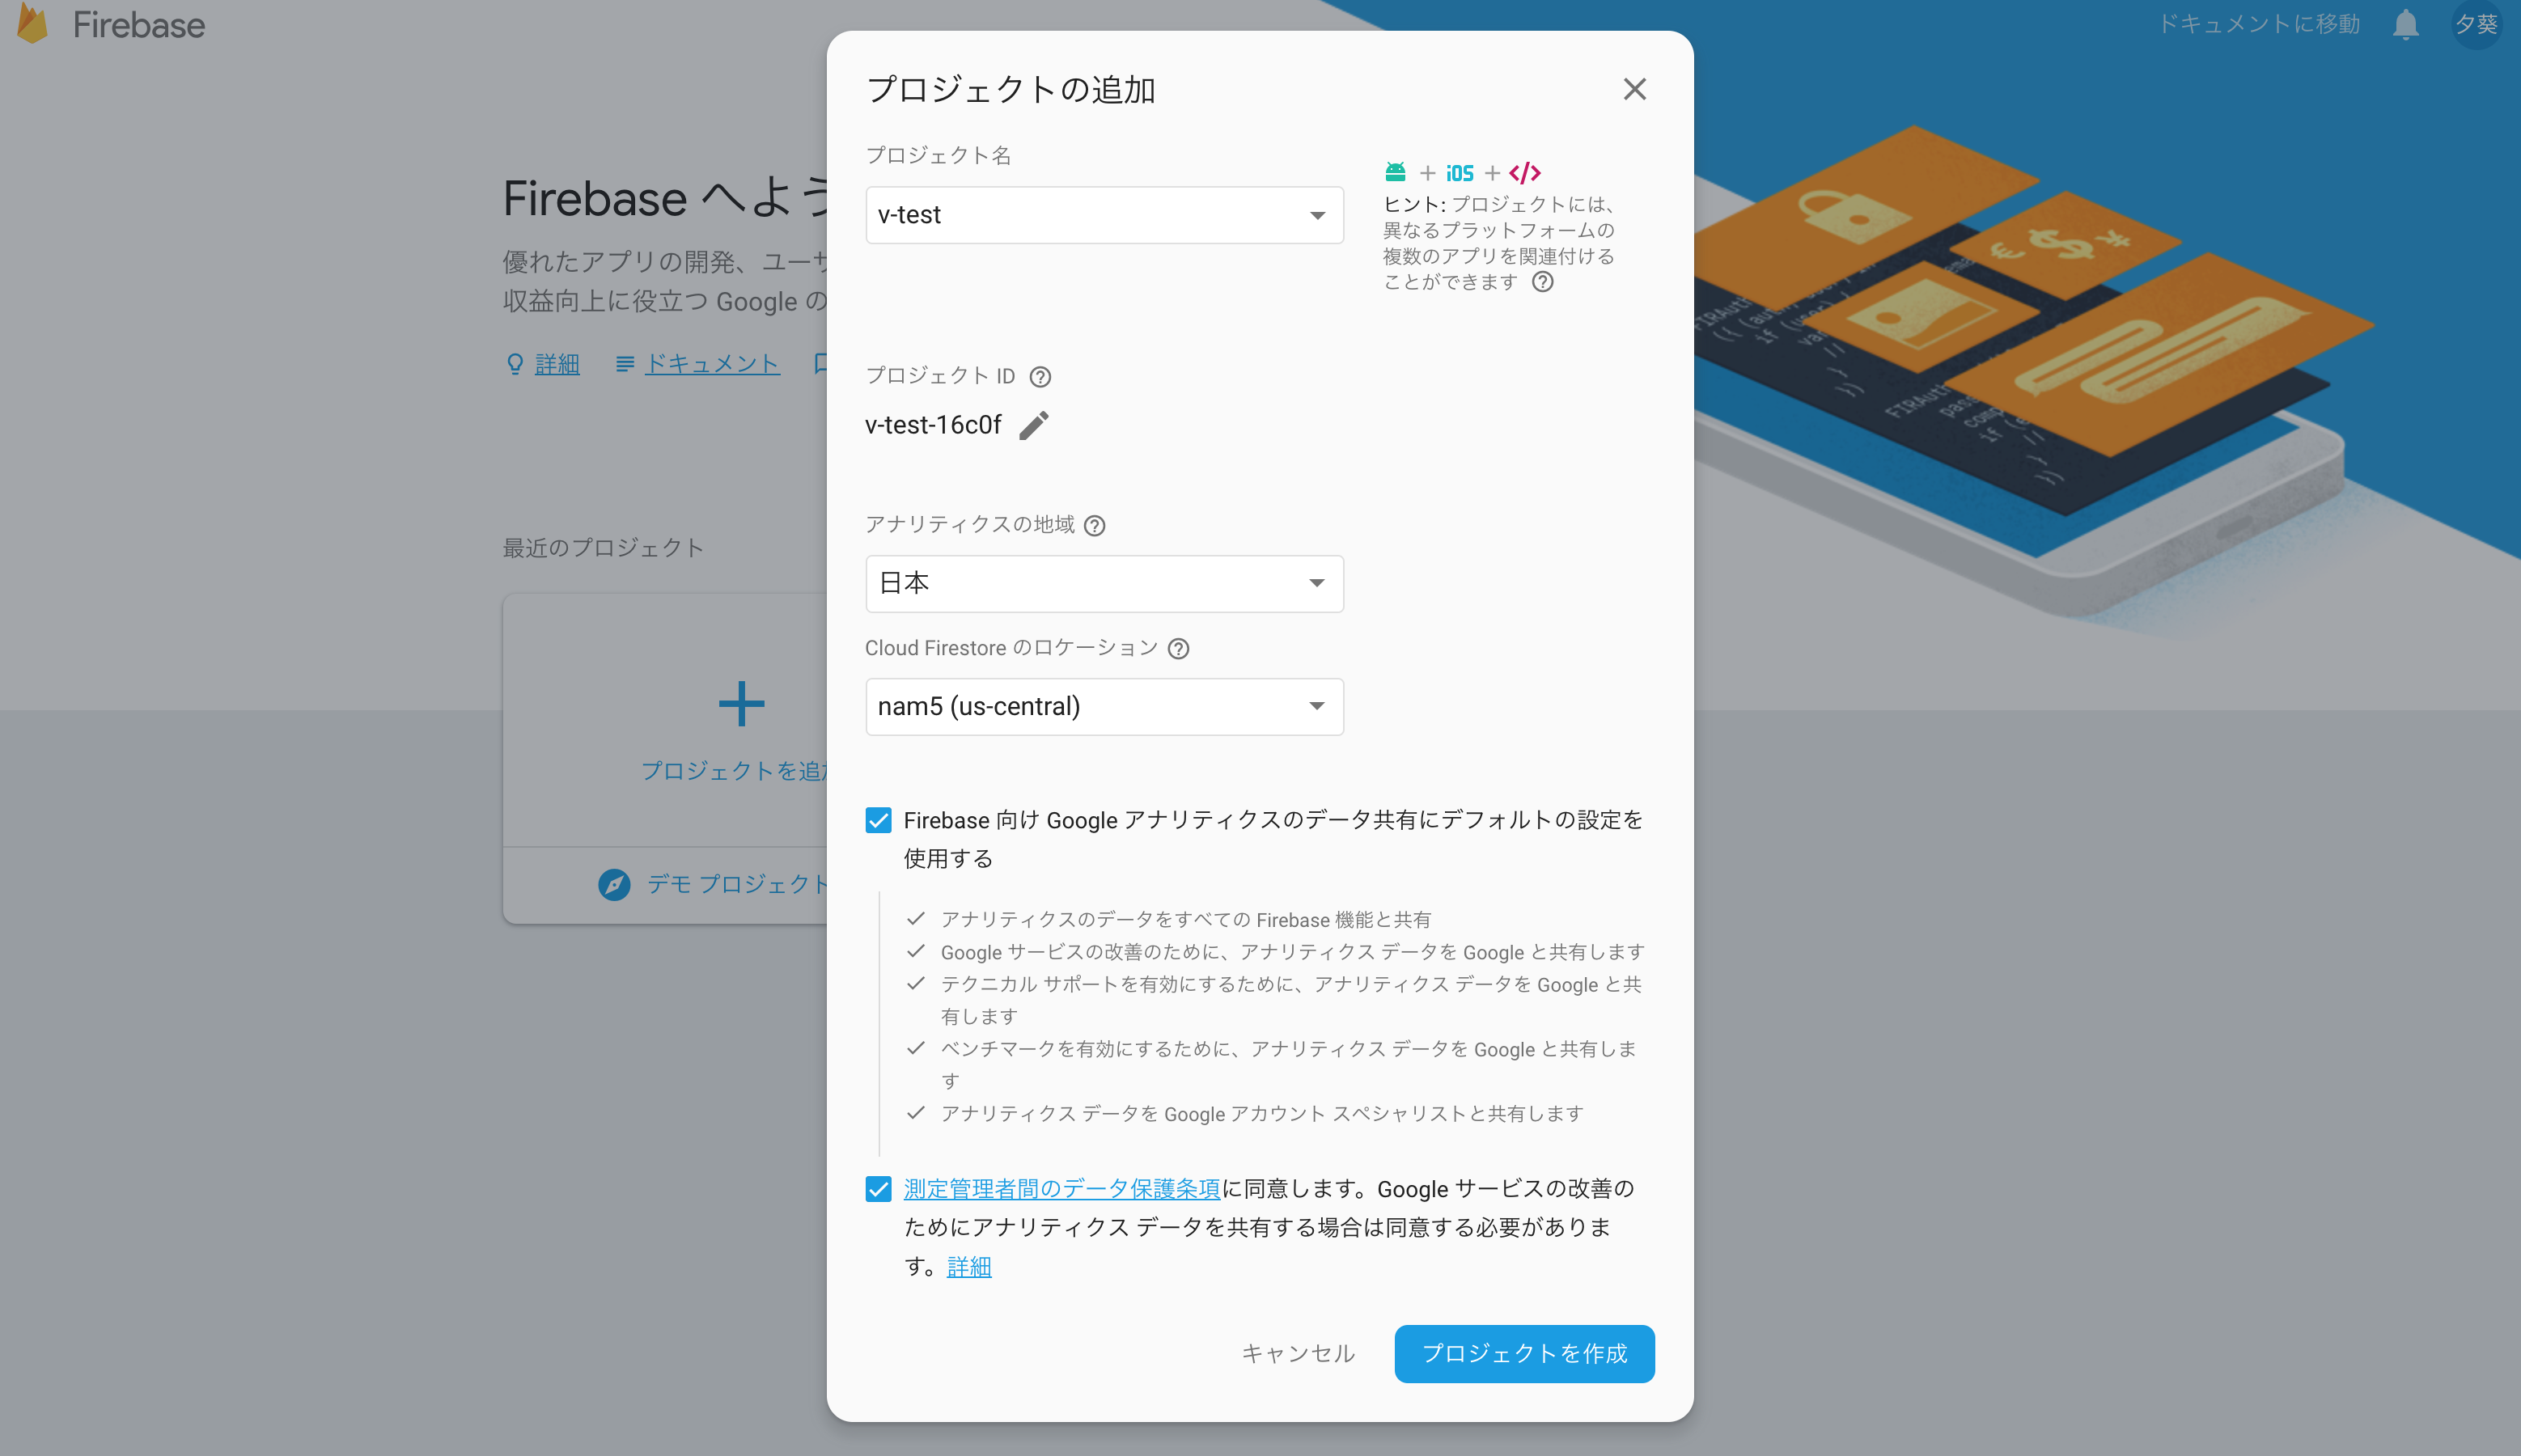
プロジェクトの作成
•以下のURLにて実施
https://console.firebase.google.com/u/0/?hl=ja
•入力例
firebase-toolsのインストールと初期化
firebaseをCLIで操作するにはfirebase-toolsをインストールします。
$ npm install -g firebase-tools
firebase コマンドが使えるようになります。firebase init で初期化します。
$ firebase init

Error: Command requires authentication, please run firebase login
まずは firebase login でログインする必要があるようなのでログインします。
$ firebase login
? Allow Firebase to collect anonymous CLI usage information? Yes

Visit this URL on any device to log in:
https://accounts.google.com/o/oauth2/auth?client_id=XXXXXXXXXXXXXXXXXXXXXX

Waiting for authentication...

✔  Success! Logged in as XXXXXXXXXXXXXXXXXXXXXX@gmail.com
firebase login を実行するとブラウザが開いて、アクセス許可を求められます。許可するとログインが完了します。今度こそfirebase initします。
firebase init

     ######## #### ########  ######## ########     ###     ######  ########
     ##        ##  ##     ## ##       ##     ##  ##   ##  ##       ##
     ######    ##  ########  ######   ########  #########  ######  ######
     ##        ##  ##    ##  ##       ##     ## ##     ##       ## ##
     ##       #### ##     ## ######## ########  ##     ##  ######  ########

You're about to initialize a Firebase project in this directory:

  /work/xxxxxxxxxx/v-test

Before we get started, keep in mind:

  * You are currently outside your home directory

? Which Firebase CLI features do you want to setup for this folder? Press Space to select features, then Enter to confirm your choices. Hosting:
 Configure and deploy Firebase Hosting sites

=== Project Setup

First, let's associate this project directory with a Firebase project.
You can create multiple project aliases by running firebase use --add,
but for now we'll just set up a default project.

? Select a default Firebase project for this directory: [create a new project]

=== Hosting Setup

Your public directory is the folder (relative to your project directory) that
will contain Hosting assets to be uploaded with firebase deploy. If you
have a build process for your assets, use your build's output directory.

? What do you want to use as your public directory? dist ←★Vueでプロジェクトを作った場合はdistで!
? Configure as a single-page app (rewrite all urls to /index.html)? No
✔  Wrote dist/404.html
✔  Wrote dist/index.html

i  Writing configuration info to firebase.json...
i  Writing project information to .firebaserc...

✔  Firebase initialization complete!

Project creation is only available from the Firebase Console
Please visit https://console.firebase.google.com to create a new project, then run firebase use --add
完了すると次のファイルが作成されます。
•.firebaserc
•firebase.json
•public/404.html
•public/index.html
firebase deployでデプロイ
$ firebase deploy --only hosting

Error: No project active. Run with --project <projectId> or define an alias by
running firebase use --add
プロジェクトIdが設定されていないようです。https://console.firebase.google.com/ に移動し、新規プロジェクトを作成をしました。作成できたらfirebase use -addを実行してプロジェクトを登録します。
$ firebase use --add
? Which project do you want to add? v-test
? What alias do you want to use for this project? (e.g. staging) master

Created alias master for v-test.
Now using alias master (v-test)
もう一度デプロイを..
$ firebase deploy --only hosting

=== Deploying to 'v-test'...

i  deploying hosting
i  hosting: preparing public directory for upload...
✔  hosting: public folder uploaded successfully
✔  hosting: 2 files uploaded successfully
i  starting release process (may take several minutes)...

✔  Deploy complete!

Project Console: https://console.firebase.google.com/project/v-test/overview
Hosting URL: https://v-testXXXXXXXXXXXXXX.firebaseapp.com
できました。Hosting URLにアクセスしてください。
リライトルール設定
rewitersを追加し、SPAのルーティングで直接アクセスできるようにしておく。
{
  "hosting": {
    "public": "dist",
    "ignore": [
      "firebase.json",
      "**/.*",
      "**/node_modules/**"
    ],
    "rewrites": [
      {
        "source": "**",
        "destination": "/index.html"
      }
    ]
  }
}
小ネタ
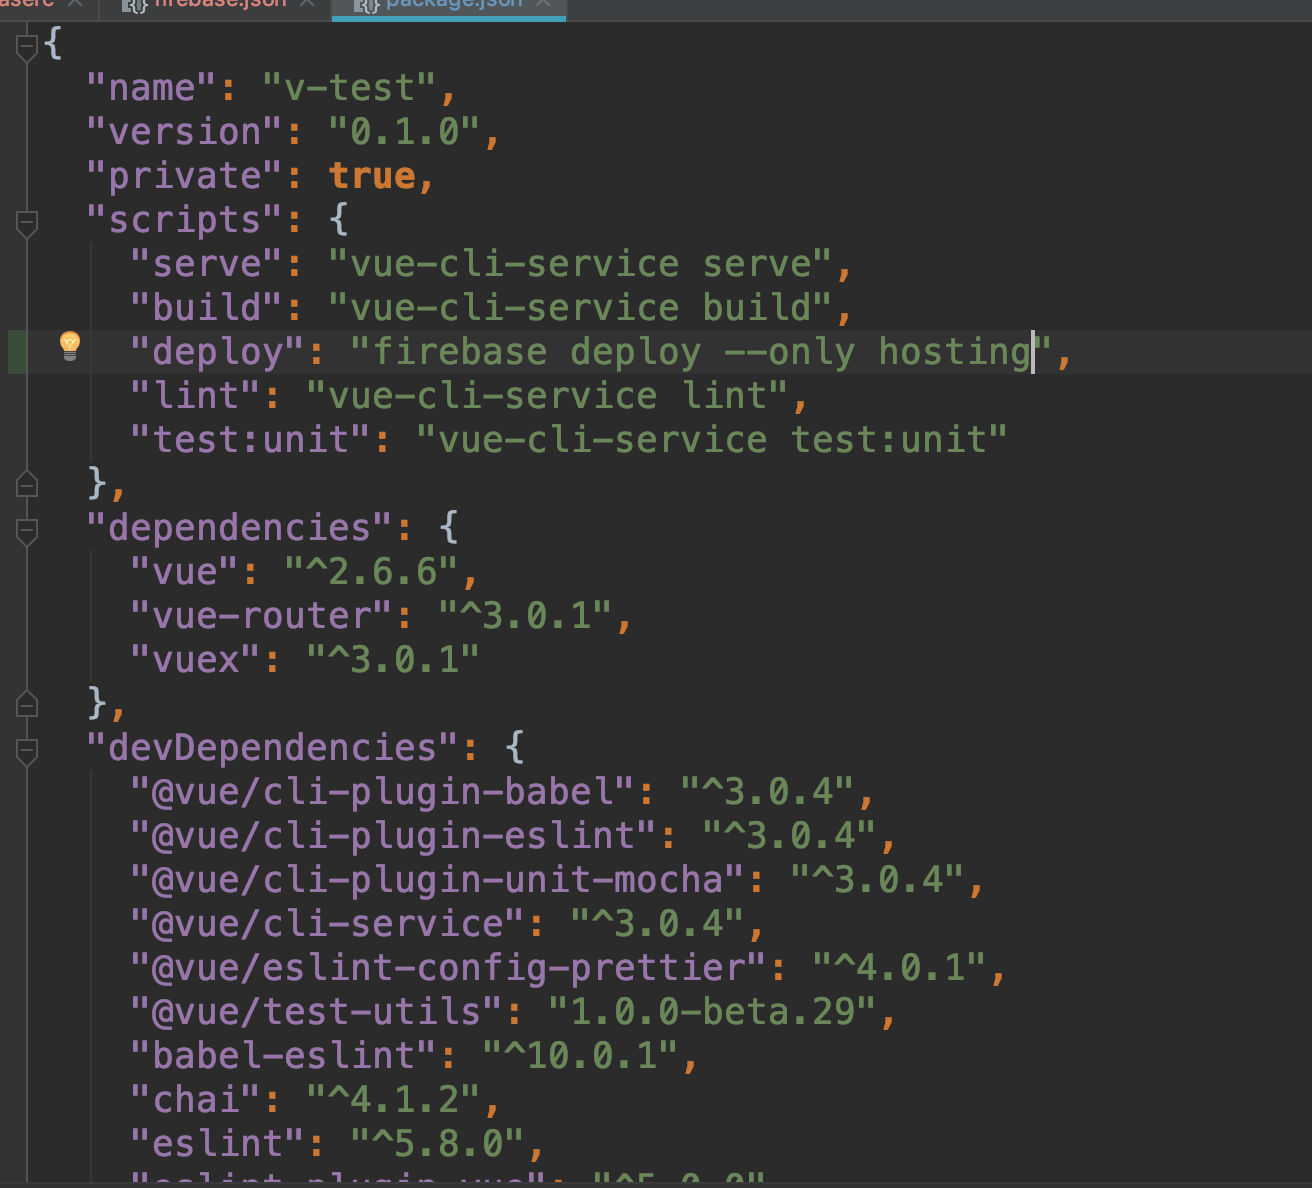
packege.jsonにてdeplyo用のコマンドを追加し、
npm run deploy
と打つとデプロイが実行されるようになる