仕事で使う予定のアプリケーションがメッセージングサービスを使っているらしく、
そういえばJMSって名前を聞くわりに実物を動かしたことないなと思い、
簡単に動かしてみることにした。
とりあえずどんな感じか試してみたいだけなので、
なるべく簡単に手抜きの形で動かしてみる。
本家サイトのGetting Startedを見ながらインストールを試みることにした。
環境
OS: Ubuntu 16.04.3 LTS \n \l
openjdk: "1.8.0_151"
Active MQ: Apache ActiveMQ 5.15.2
前提条件を確認
ソースからコンパイルするわけでなければ JRE1.7とJAVA_HOMEの設定で十分らしい。
JRE1.7 ?? と思ったが、ActiveMQのダウンロードページをみたらJava8以上にしろとあった。
とりあえず現環境のJavaを確認
# java -version
openjdk version "1.8.0_151"
OpenJDK Runtime Environment (build 1.8.0_151-8u151-b12-0ubuntu0.16.04.2-b12)
OpenJDK 64-Bit Server VM (build 25.151-b12, mixed mode)
Active MQをダウンロードできるようにwgetコマンドをインストールしておく
# apt-get install wget -y
Active MQをダウンロードして展開
# cd /opt

# wget -O apache-activemq-5.15.2-bin.tar.gz "http://www.apache.org/dyn/closer.cgi?filename=/activemq/5.15.2/apache-activemq-5.15.2-bin.tar.gz&action=download"
# tar zxf apache-activemq-5.15.2-bin.tar.gz
# rm apache-activemq-5.15.2-bin.tar.gz

# #シンボリックリンクを貼る
# ln -s /opt/apache-activemq-5.15.2 activemq
Active MQの起動
# /opt/activemq/bin/activemq start
ブラウザからアクセス
URL: http://localhost:8161/admin/
Login: admin
Passwort: admin
※ localhost部分はサーバーのホスト名
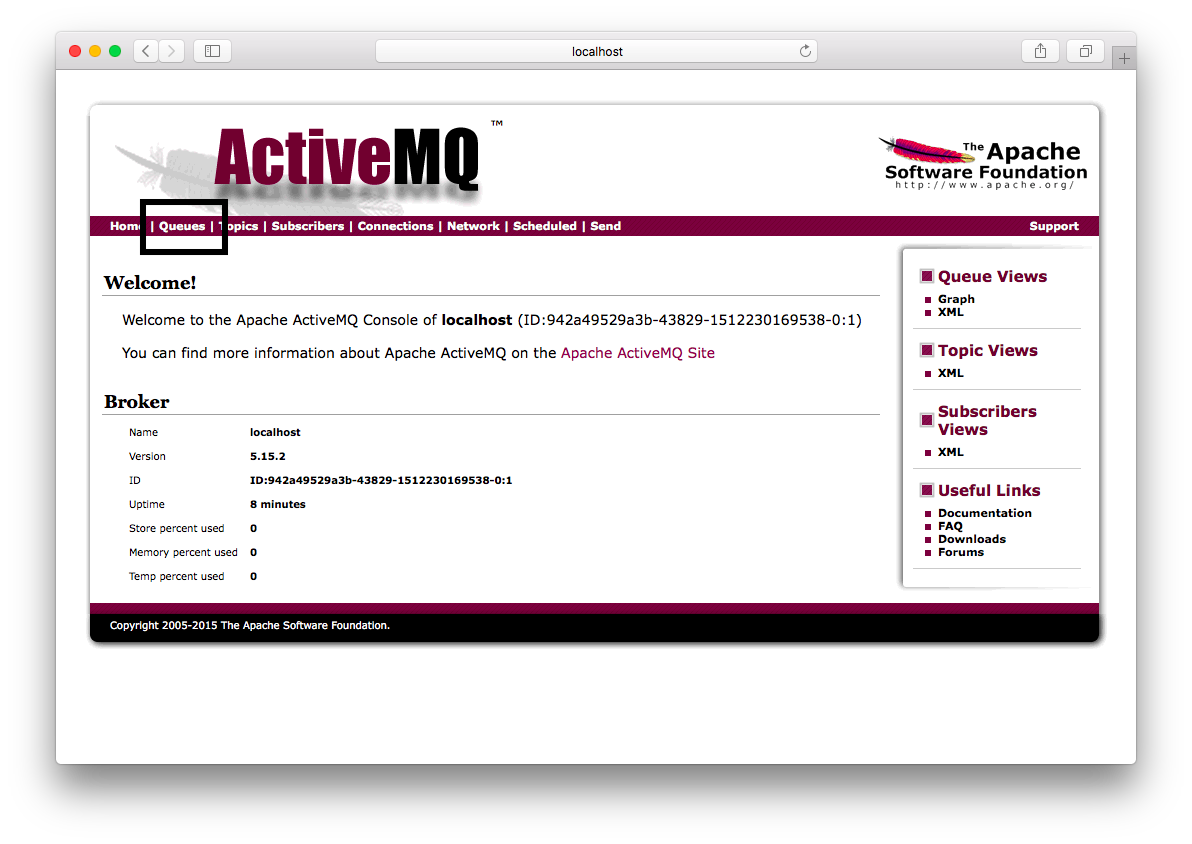
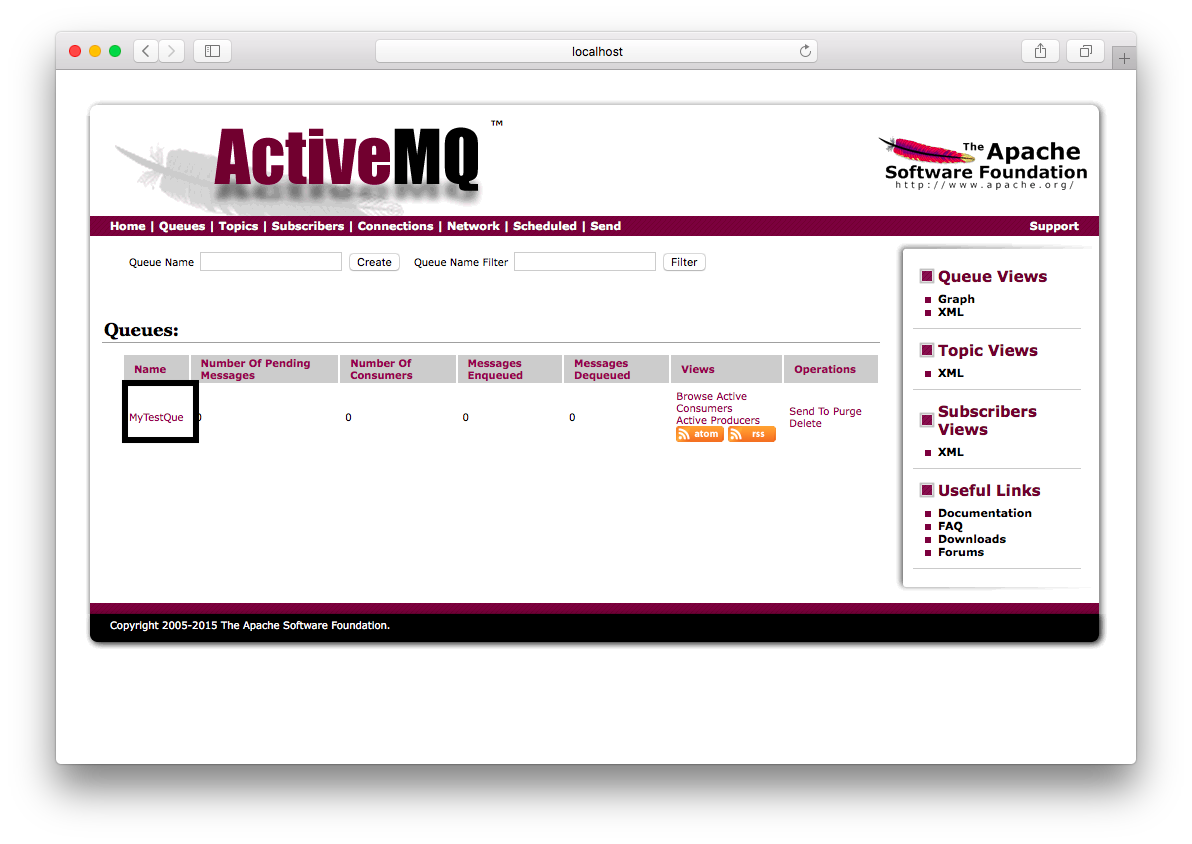
Queueを作成する
ナビゲーションのところのQueueをクリックしてQueueを登録する

サンプルのConsumerを動かす
サイトにはExamplesが用意されているのでそれを参考にConsumerを動かしてみる。
(このExampleのページ見つけた段階で、Web Console経由しないで初めからコマンドラインでProducerとConsumerのサンプル動かせばよかったのでは? と思い始めたが、せっかくなのでメッセージの送信はWeb Consoleから行う)
# /opt/activemq/bin/activemq consumer --destination queue://MyTestQue
リスニングし始めたっぽいメッセージがでてきた!!
INFO: Loading '/opt/apache-activemq-5.15.2//bin/env'
INFO: Using java '/usr/bin/java'
Java Runtime: Oracle Corporation 1.8.0_151 /usr/lib/jvm/java-8-openjdk-amd64/jre
  Heap sizes: current=62976k  free=61992k  max=932352k
    JVM args: -Xms64M -Xmx1G -Djava.util.logging.config.file=logging.properties -Djava.security.auth.login.config=/opt/apache-activemq-5.15.2//conf/login.config -Dactivemq.classpath=/opt/apache-activemq-5.15.2//conf:/opt/apache-activemq-5.15.2//../lib/: -Dactivemq.home=/opt/apache-activemq-5.15.2/ -Dactivemq.base=/opt/apache-activemq-5.15.2/ -Dactivemq.conf=/opt/apache-activemq-5.15.2//conf -Dactivemq.data=/opt/apache-activemq-5.15.2//data
Extensions classpath:
  [/opt/apache-activemq-5.15.2/lib,/opt/apache-activemq-5.15.2/lib/camel,/opt/apache-activemq-5.15.2/lib/optional,/opt/apache-activemq-5.15.2/lib/web,/opt/apache-activemq-5.15.2/lib/extra]
ACTIVEMQ_HOME: /opt/apache-activemq-5.15.2
ACTIVEMQ_BASE: /opt/apache-activemq-5.15.2
ACTIVEMQ_CONF: /opt/apache-activemq-5.15.2/conf
ACTIVEMQ_DATA: /opt/apache-activemq-5.15.2/data
 INFO | Connecting to URL: failover://tcp://localhost:61616 as user: null
 INFO | Consuming queue://MyTestQue
 INFO | Sleeping between receives 0 ms
 INFO | Running 1 parallel threads
 INFO | Successfully connected to tcp://localhost:61616
 INFO | consumer-1 wait until 1000 messages are consumed
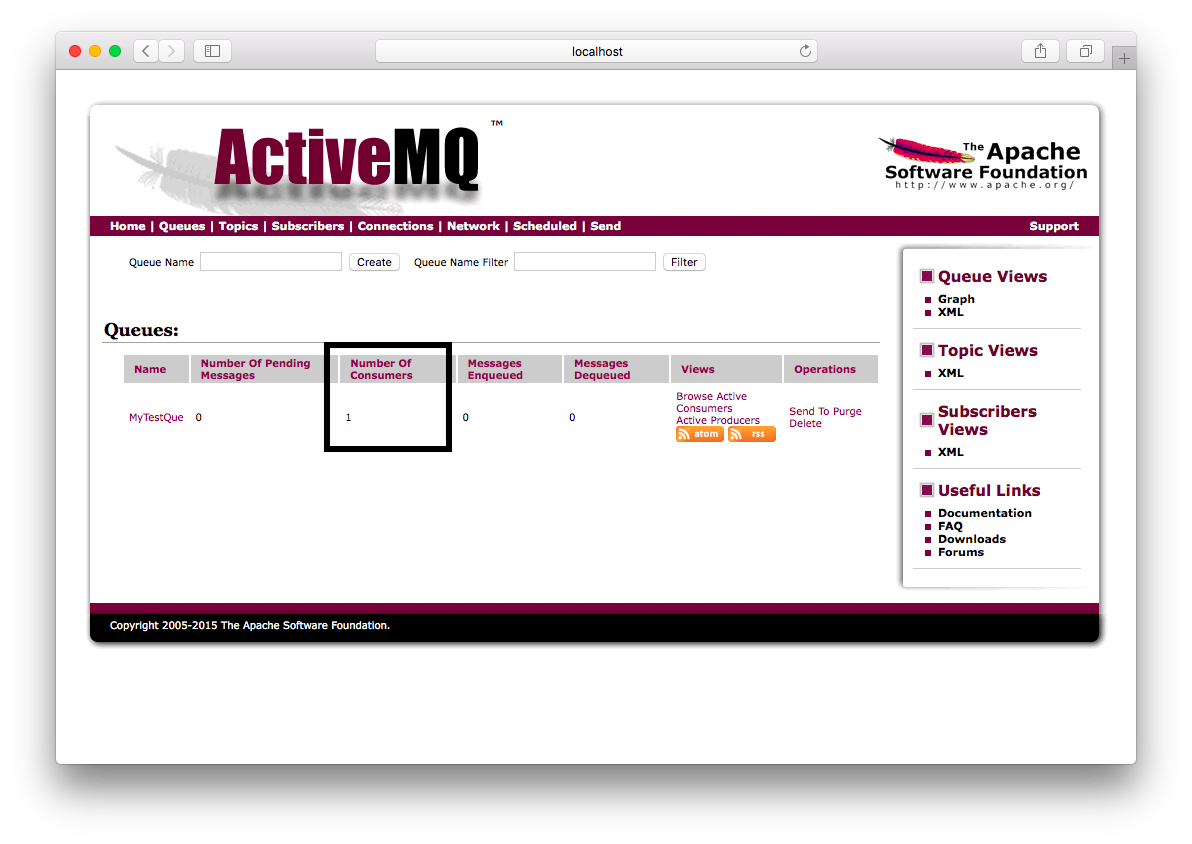
Web Consoleの方も確認してみるとこのQueueに対するConsumerが追加されていることがわかる。
Queueにメッセージを送ってみる

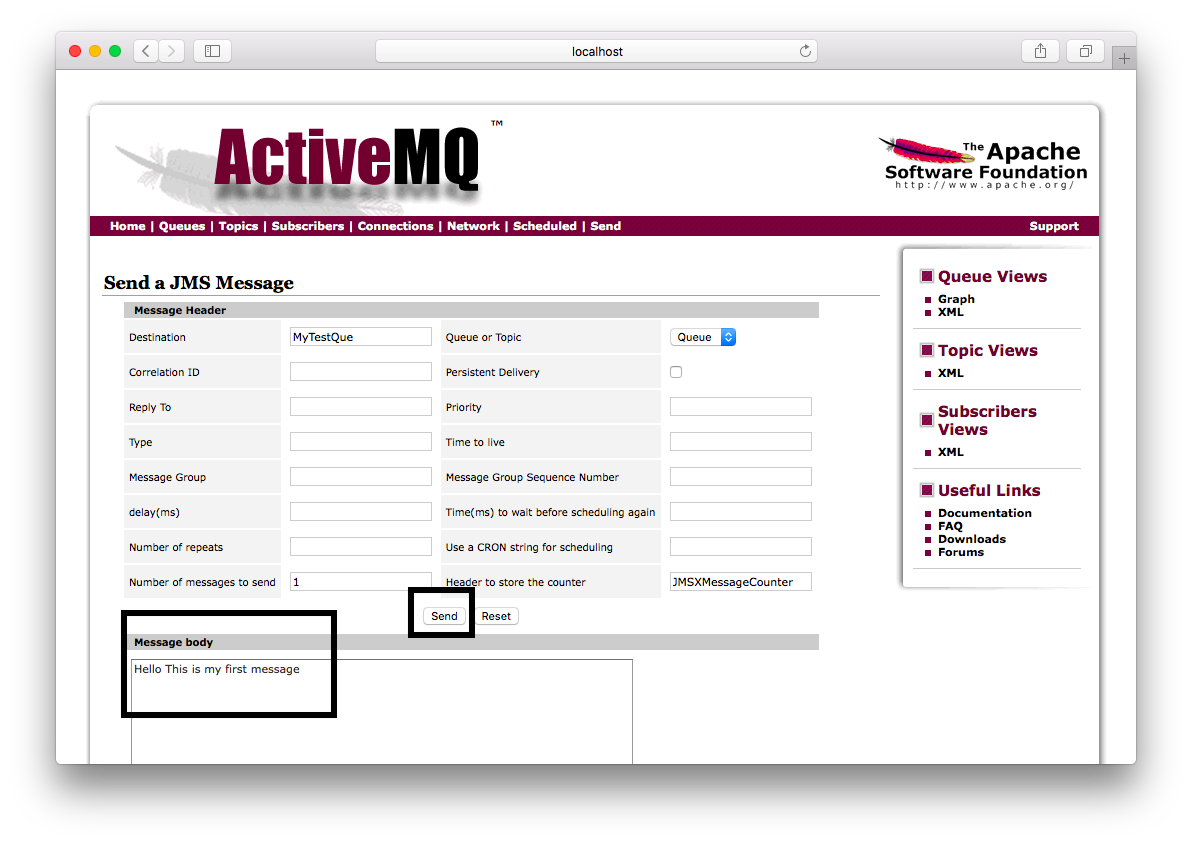
Consoleで確認
INFO | consumer-1 Received Hello This is my first message
送信されたメッセージを受け取っているっぽい
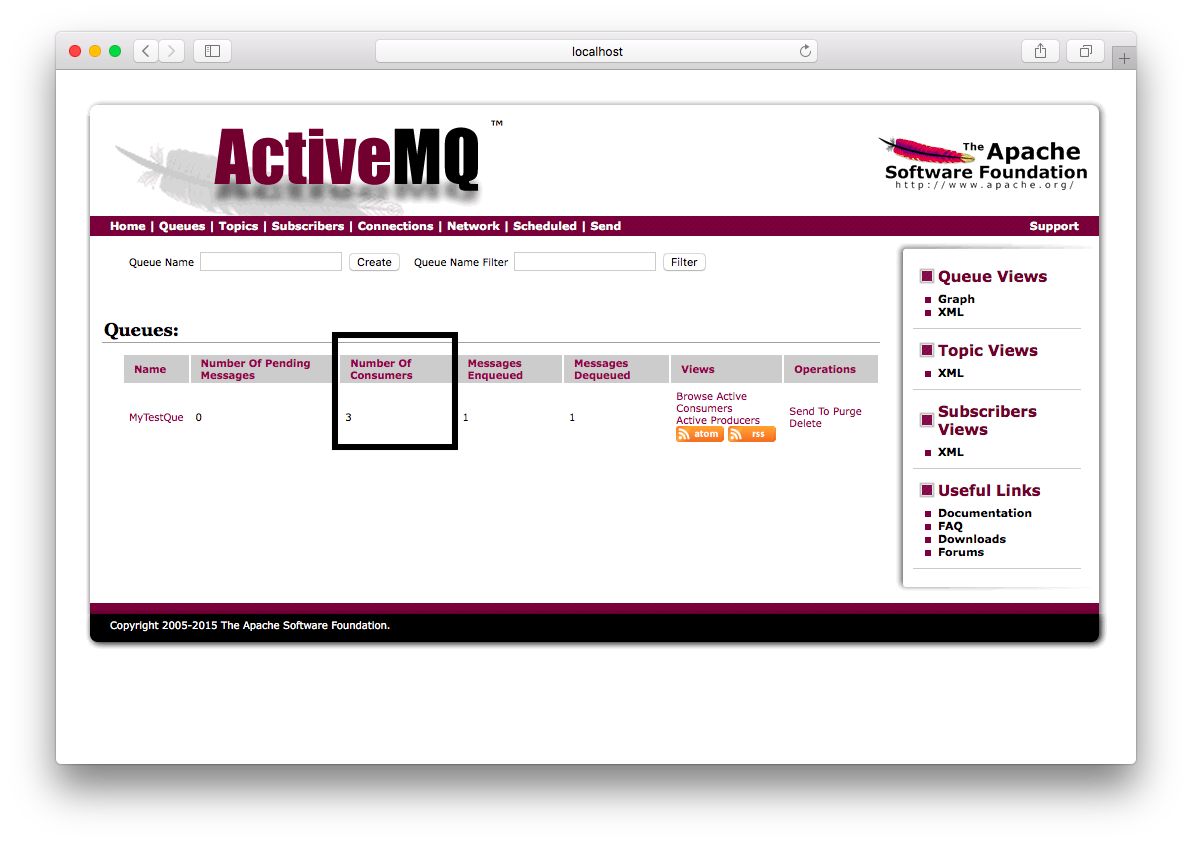
せっかくなので複数のConsumerに対してQueueにメッセージを送ってみる
Consumerを3つ立ち上げる
# /opt/activemq/bin/activemq consumer --destination queue://MyTestQue
# /opt/activemq/bin/activemq consumer --destination queue://MyTestQue
# /opt/activemq/bin/activemq consumer --destination queue://MyTestQue
Producerを立ち上げてメッセージを送る
# /opt/activemq/bin/activemq producer --message "HeyHeyHey" --destination queue://MyTestQue --messageCount 1
Consumer側でメッセージ受信できているか確認
INFO | consumer-1 Received HeyHeyHey
1つのConsumerがメッセージを受信している。
せっかくなので複数のConsumerに対してTopicにメッセージを送ってみる
Consumerを3つ立ち上げる
# /opt/activemq/bin/activemq consumer --destination topic://MyTestTopic
# /opt/activemq/bin/activemq consumer --destination topic://MyTestTopic
# /opt/activemq/bin/activemq consumer --destination topic://MyTestTopic
Producerを立ち上げてメッセージを送る
# /opt/activemq/bin/activemq producer --message "FooFooFoo" --destination topic://MyTestTopic --messageCount 1
Consumer側でメッセージ受信できているか確認
INFO | consumer-1 Received FooFooFoo
INFO | consumer-1 Received FooFooFoo
INFO | consumer-1 Received FooFooFoo
全てのConsumerがメッセージを受信できている。
QueueとTopicの違い
ざっくりとしたQueueとTopicの違いはこんな感じらしい
| 名前 | セマンティック | メッセージ受信の仕方 |
|---|---|---|
| Queues | ロードバランサ | その時アクティブな1つのConsumerにメッセージが送られる。 アクティブなConsumerがいなければ、アクティブなConsumerが現れるまでメッセージは保留される。 |
| Topics | Pub/Sub | その時アクティブな全てのConsumerにメッセージが送られる。 |
感想
デモ用プログラムも結構あるみたいなので、次は自分で簡単なProducerとConsumerを作ってみることにする。