基本のやつ、えむにすとやってみた。
手順
①MNISTデータのダウンロード
②MNISTのバイナリファイルをCSVに書き出し
③CSVデータを画像データに書き出して、ちゃんとCSVが書き出せているかを確認
④SVMで学習と評価
実行
①MNISTデータのダウンロード
MNISTデータはすでにtrain/test用のデータが分かれてgzファイルでダウンロードできます。
download.py
import os
from urllib.request import urlopen

def download(fname):
    #MNISTファイルをサーバーから取得
    print("%s downloading..." % fname)
    with urlopen("http://yann.lecun.com/exdb/mnist/" + fname) as res:
        d = res.read()
    #mnistフォルダの下にデータを名前をつけて保存
        with open("mnist/" + fname, "wb") as f:
            f.write(d)

if __name__ == "__main__":

    if not os.path.exists("mnist"):
        os.mkdir("mnist")

    download("train-images-idx3-ubyte.gz") #train画像ファイル
    download("train-labels-idx1-ubyte.gz") #train正解ラベルファイル
    download("t10k-images-idx3-ubyte.gz") #test画像ファイル
    download("t10k-labels-idx1-ubyte.gz") #test正解ラベルファイル
②MNISTのバイナリファイルをCSVに書き出し
ダウンロードしたMNISTデータはgzipのバイナリファイルのため、学習させられるようにCSVデータにします。
prepare.py
import os
import gzip
import struct

def csv_image(fname, type_):
    """
    画像データのCSV出力
     fname : MNISTのファイル名
    type_ : training / test
    """

    # 画像データをGzipファイルから読み取る

    #バイナリモードで読み込み
    with gzip.open(os.path.join("mnist", fname), "rb") as f:
        #">IIII":ビッグエンディアン(見た目通りの順番)で4バイトずつのパックで読み取り
        #_ :はじめの4バイトはマジックナンバーが書かれている
        #cnt:次の4バイトは画像の数
        #row:次の4バイトは行の数
        #cols:次の4バイトは列の数
        _, cnt, rows, cols = struct.unpack(">IIII", f.read(16))
        # 画像読み込み
        images = []
        for i in range(cnt):
            binarys = f.read(rows * cols)
            images.append(",".join([str(b) for b in binarys]))

    # CSV結果として出力
    with open(os.path.join("csv", type_ + "_image.csv"), "w") as f:
        f.write("\n".join(images))


def csv_label(fname, type_):
    """
    ラベルデータのCSV出力
     fname : MNISTのファイル名
    type_ : training / test
    """

    # ラベルデータをGzipファイルから読み取り
    with gzip.open(os.path.join("mnist", fname), "rb") as f:
        _, cnt = struct.unpack(">II", f.read(8))
        labels = []
        for i in range(cnt):
            label = str(struct.unpack("B", f.read(1))[0])
            labels.append(label)

    # CSV結果として出力します.
    with open(os.path.join("csv", type_ + "_label.csv"), "w") as f:
        f.write("\n".join(labels))


if __name__ == "__main__":

    if not os.path.exists("csv"):
        os.mkdir("csv")

    # トレーニングデータ.
    csv_image("train-images-idx3-ubyte.gz", "training")
    csv_label("train-labels-idx1-ubyte.gz", "training")

    # テストデータ.
    csv_image("t10k-images-idx3-ubyte.gz", "test")
    csv_label("t10k-labels-idx1-ubyte.gz", "test")
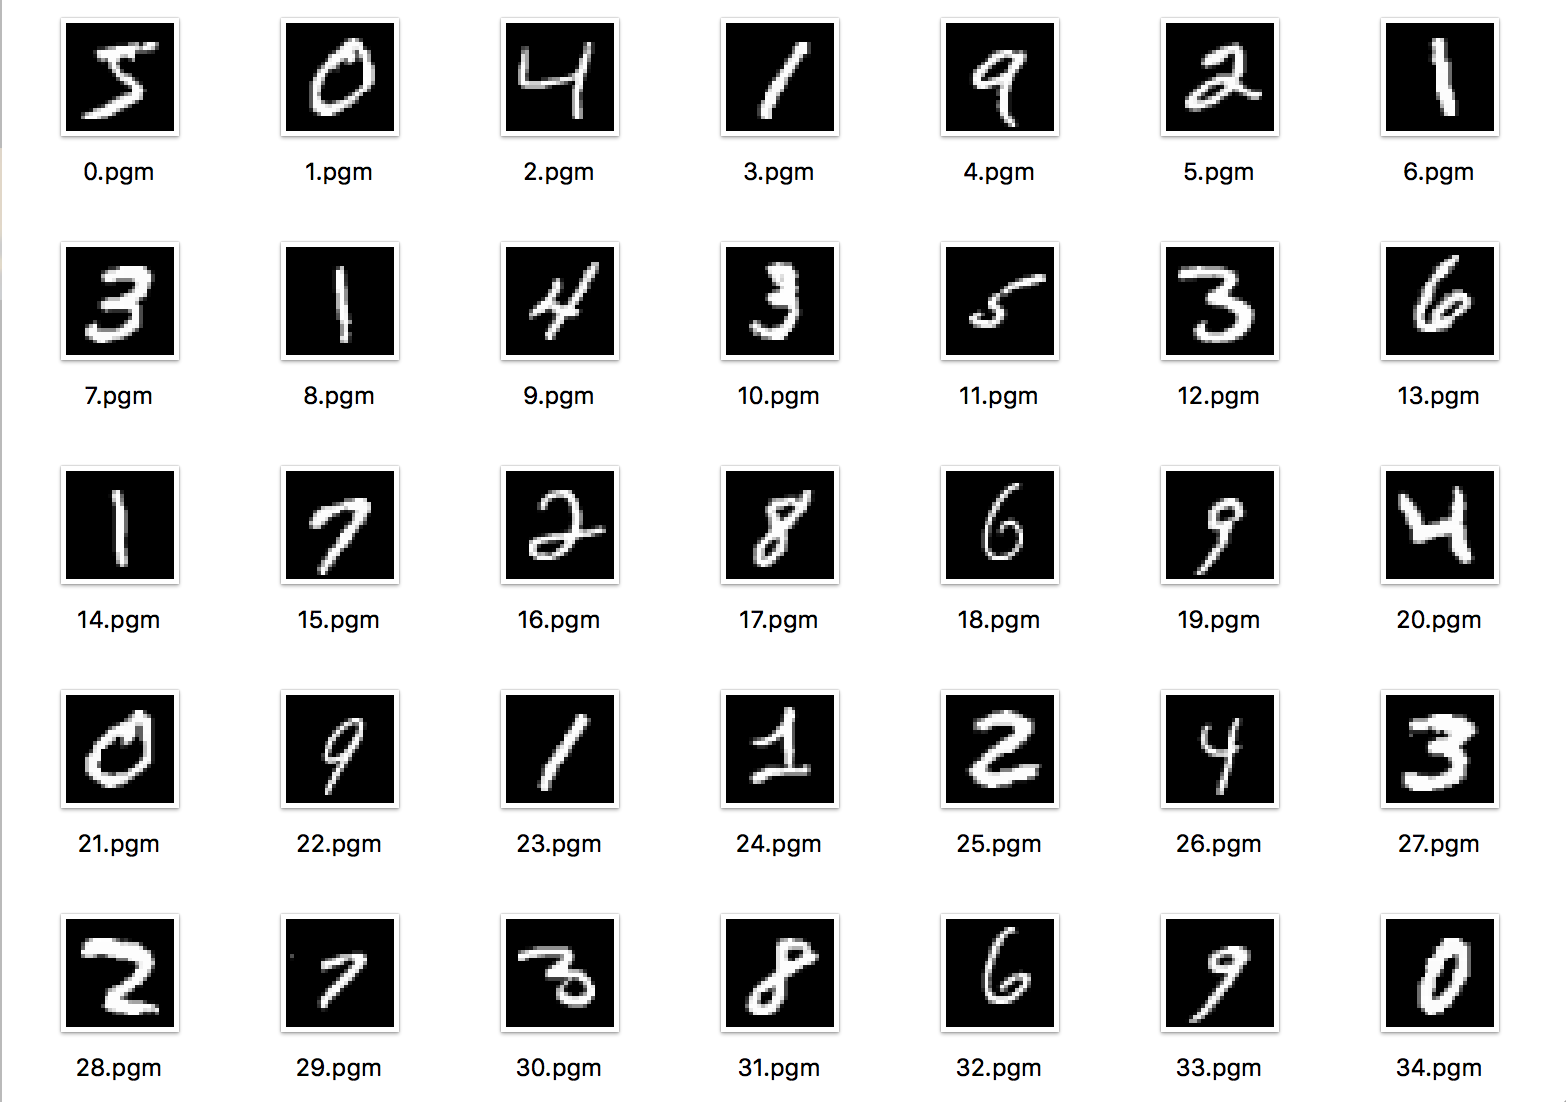
③CSVデータを画像データに書き出して、ちゃんとCSVが書き出せているかを確認
チェックチェック。
check.py
import os

CNT = 100 #100文字分だけ画像データ出力

if __name__ == "__main__":

    if not os.path.exists("image"):
        os.mkdir("image")

    with open(os.path.join("csv", "training_image.csv")) as f:
        images = f.read().split("\n")

    for i, image in enumerate(images[:CNT]):
        with open(os.path.join("image", "%d.pgm" % i), "w") as fw:
            s = "P2 28 28 255\n" #P2(PGM形式記号), 28*28サイズ, 最終画像数をヘッダーとして書く
            s += " ".join(image.split(","))
            fw.write(s)
結果
こんな感じに出力できました。
④SVMで学習と評価
これまでは下準備。さて学習です。
svm.py
import os
from sklearn import svm, metrics
from sklearn.externals import joblib

# 学習用データの数
SIZE_TRAINING = 5000

# 検証用データの数
SIZE_TEST = 500

def load_data(type_, size):
    """
        type_ : training / test
        size : 返却する要素数
    """
    #csvデータを改行してデータ数分区切っていく
    with open(os.path.join("csv", "%s_image.csv" % type_)) as f:
        images = f.read().split("\n")[:size]
    with open(os.path.join("csv", "%s_label.csv" % type_)) as f:
        labels = f.read().split("\n")[:size]

             #各ピクセルに相当する数値(白黒:白0~黒255)を256で割って0-1の値に変換
    images = [[int(i)/256 for i in image.split(",")] for image in images]
    labels = [int(l) for l in labels]

    return images, labels


if __name__ == "__main__":

    # トレーニングデータを取得します.
    images, labels = load_data("training", SIZE_TRAINING)

    # 学習
    print("学習開始")
    clf = svm.SVC()
    clf.fit(images, labels)

    # テストデータを取得
    images, labels = load_data("test", SIZE_TEST)

    # 予測
    print("予測開始")
    predict = clf.predict(images)

    # 結果表示
    print("結果")
    ac_score = metrics.accuracy_score(labels, predict)
    cl_report = metrics.classification_report(labels, predict)
    print("正解率 = ", ac_score)
    print(cl_report)

    # 結果を保存する
    if not os.path.exists("result"):
        os.mkdir("result")
    joblib.dump(clf, os.path.join("result", "svm.pkl"))
結果
tonosakiyuni-no-MacBook:answer yuni$ python3 svm.py
学習開始
予測開始
結果
正解率 =  0.902
             precision    recall  f1-score   support

          0       0.91      0.93      0.92        42
          1       0.94      1.00      0.97        67
          2       0.94      0.87      0.91        55
          3       0.90      0.82      0.86        45
          4       0.88      0.96      0.92        55
          5       0.82      0.92      0.87        50
          6       0.93      0.86      0.89        43
          7       0.86      0.86      0.86        49
          8       0.90      0.88      0.89        40
          9       0.94      0.87      0.90        54

avg / total       0.90      0.90      0.90       500
90%でした。
precision と recall の平均が f1-score なので、ここを見るといいらしい。
「1」だけダントツいいね。「1」だけ...
学習する画像数を増やせば精度は上がるはず!
と思ったのでやってみた。
学習データ: 5000 → 30000
tonosakiyuni-no-MacBook:answer yuni$ python3 svm.py
学習開始
予測開始
結果
正解率 =  0.94
             precision    recall  f1-score   support

          0       0.91      0.98      0.94        42
          1       1.00      1.00      1.00        67
          2       0.94      0.91      0.93        55
          3       0.91      0.87      0.89        45
          4       0.98      0.98      0.98        55
          5       0.88      0.92      0.90        50
          6       0.97      0.91      0.94        43
          7       0.90      0.94      0.92        49
          8       0.91      0.97      0.94        40
          9       0.96      0.91      0.93        54

avg / total       0.94      0.94      0.94       500
94%でした。
もっと上がるとおもたのに。
やっぱり「1」だけいいね、「1」だけ。
今日はここまで、お疲れ様でした。