はじめに
Spring FrameworkにはSpring Securityというライブラリがあり、認証や認可などの仕組みを簡単に作成することができます。ここでは、Spring Securityを用いて、ユーザ認証を行う例を実現してみたいと思います。
Spring Frameworkの基本をご存知ない方は、この記事の前に以下の記事に目を通しておいて頂けると後の記事が幾分読みやすくなるかと思います。
Spring Security最初の一歩
まず、build.gradleに以下を追加し、Spring Securityを使用可能とします。
dependencies {
    compile("org.springframework.boot:spring-boot-starter-web")
    compile("org.springframework.boot:spring-boot-starter-security")
    compile("org.springframework.boot:spring-boot-starter-freemarker")
}
アプリケーションが提供するページにアクセス時にID, Passwordを求める実装を行います。これはとても簡単で、@EnableWebSecurityアノテーションを付加し、以下のようなSecurityConfigクラスを実装すれば良いだけです。 以下は、ID:user, Password:passwordを求める例です(全てのページに対して)
@EnableWebSecurity
public class SecurityConfig extends WebSecurityConfigurerAdapter {
    @Autowired
    public void configureGlobal(AuthenticationManagerBuilder auth) throws Exception {
        auth.inMemoryAuthentication()
                .withUser("user").password("password").roles("USER");
    }
}
Loginページの記述はしていませんが、Spring Securityが以下のようなページを作成し、ID, Passwordを求めてくれます。
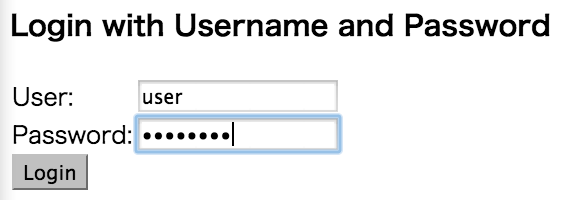
ID, Passwordを間違った場合は、エラーも返してくれます。

ログイン、ログアウト
先ほどはSpring Securityが作成してくれるログインページを利用しましたが、実際のケースではデフォルトのログインUIを使うことはないかと思います。次は、自前のログインページを作成して使うようにします。またログアウトの設定も行います。
この設定には、HttpSecurityクラスを用います。先ほど作成したSecurityConfigクラスに以下のメソッドを追加して下さい。@Overrideで記述しているように、configureメソッドは、WebSecurityConfigurerAdapterクラスに含まれるメソッドです。
    @Override
    protected void configure(HttpSecurity http) throws Exception {
        http.authorizeRequests().anyRequest().authenticated()
                .and()
                .formLogin().loginPage("/login").failureUrl("/login?error").permitAll()
                .and()
                .logout().logoutUrl("/logout").logoutSuccessUrl("/login");
    }
まず一行目のhttp.authorizedRequests().anyRequest().authenticated()で原則、ページのアクセスに認証が必要ということを記述しています。
次に .formLogin().loginPage("/login).failureUrl("login?error").permitAll()でログインページがこれから用意する/loginページであること、失敗時は/login?errorに遷移すること、そしてこのページに関しては認証なしでアクセスできることを記述しています。
最後に.logout().logoutUrl("/logout").logoutSuccessUrl("/login")でログアウトを実施するためのパスが/logoutであり、ログアウト処理終了後に/loginページに遷移することを記述しています。
次に/loginが指定された場合のControllerの記述は以下のようになります。
LoginController.java
@Controller
public class LoginController {
    @RequestMapping(value = "/login", method = RequestMethod.GET)
    public ModelAndView showLoginPage(@RequestParam Optional<String> error) {
        return new ModelAndView("login", "error", error);
    }
}
ModelAndViewを返しています。これは、先ほどの設定でID, Passwordが一致しない場合に/login?errorに遷移するのですが、その時に?errorの部分をパラメータで受けて、それをログインページのUIに渡しています。
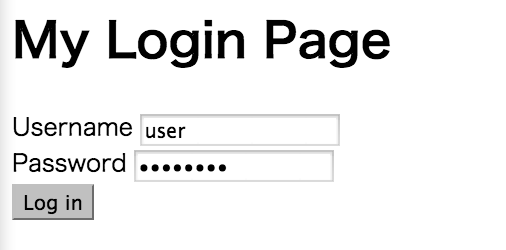
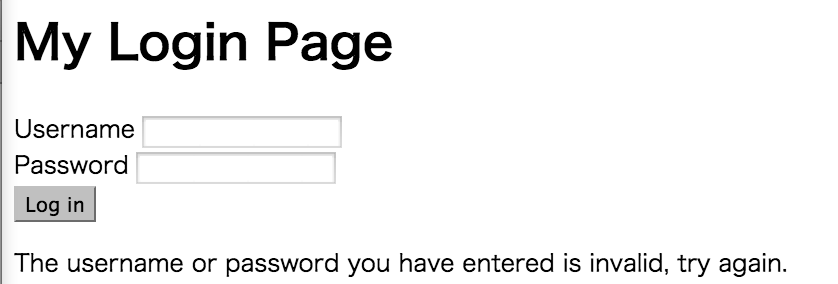
次にUsername, Passwordを入力するLoginページです。
login.ftl
<!DOCTYPE html>
<html lang="en">
    <head>
        <meta charset="utf-8">
        <title>Hello Spring</title>
    </head>
    <body>
        <h1> My Login Page </h1>
        <form role="form" action="/login" method="post">
            <div>
                <label for="username">Username</label>
                <input type="text" id="username" name="username"/>
            </div>
            <div>
                <label for="password">Password</label>
                <input type="password" id="password" name="password"/>
            </div>
            <input type="hidden" name="${_csrf.parameterName}" value="${_csrf.token}"/>
            <button type="submit" class="btn">Log in</button>
        </form>
        <#if error.isPresent()>
            <p>The username or password you have entered is invalid, try again.</p>
        </#if>
    </body>
</html>
formで指定しているusername, passwordはSpring Securityでデフォルトに指定されている変数です。これ以外を使いたい場合は、先ほどのHttpSecurityの設定をしなくてはいけません。(以下の例は、usernameをemailにしたい場合。
.usernameParameter("email")
<#if error.isPresent()>の部分で、/login?errorで起動された場合は上記のエラーメッセージが出ます。
最後にWeb Appの/にあたるindex.ftlにLogout処理を追加します。
index.ftl
<!DOCTYPE html>
<html lang="en">
    <head>
        <meta charset="utf-8">
        <title>Hello Spring</title>
    </head>
    <body>
        <h1> Welcome To Top Page </h1>
        <form action="/logout" method="post">
            <input type="hidden" name="${_csrf.parameterName}" value="${_csrf.token}"/>
            <button type="submit">Log out</button>
        </form>
    </body>
</html>
formのアクションで/logoutを指定することで/logout処理がなされます
作成したアプリケーションの画面遷移
以下正常ケースの場合です。ログイン -> ホーム -> ログイン画面に戻るです

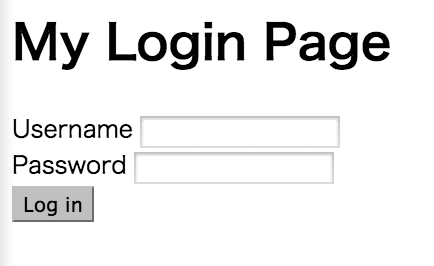
Log outボタンを押すとログインページに戻る
http://localhost:8080/login
username, passwordを間違えると
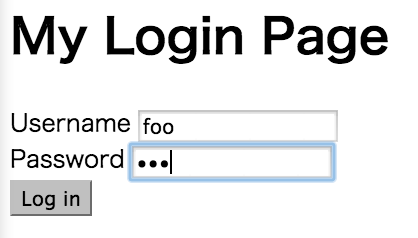
http://localhost:8080/login?error に遷移する
ロールによる制御
先ほどのHttpSecurityの設定では、全てのページの設定が均一でした。HttpSecurityでは、ユーザのロールによってアクセス可能なページの変更が可能です。代表的なところでは、Administratorのみがアクセス可能なページを用意することがあるかと思います。
まずロールを以下のように定義します。(これは便宜上Enumにしているだけで、最終的に文字列になれば何でもかまいません)
public enum Role {
USER, ADMIN
}
先ほどのSecurityConfigにadminユーザを以下のように追加します
    @Autowired
    public void configureGlobal(AuthenticationManagerBuilder auth) throws Exception {
        auth.inMemoryAuthentication()
                .withUser("user").password("password").roles(Role.USER.name())
                .and()
                .withUser("admin").password("admin").roles(Role.USER.name(), Role.ADMIN.name());
    }
そして、/adminページはADMINロールを持つユーザのみにhasRole()関数を用いて行います。また/ページはUSERロールでもアクセス可能とします。adminユーザはUSERロールも持ちますので、/にアクセスも可能です。
    @Override
    protected void configure(HttpSecurity http) throws Exception {
        http.authorizeRequests()
                .antMatchers("/admin").hasRole(Role.ADMIN.name())
                .antMatchers("/").hasRole(Role.USER.name())
                .and()
                .formLogin().loginPage("/login").failureUrl("/login?error").permitAll()
                .and()
                .logout().logoutUrl("/logout").logoutSuccessUrl("/login");
    }