目次
- プロジェクトの立ち上げ
- Hello, World
- ボタンを追加してみる。
- フルコード
- 完成
- 感想
プロジェクトの立ち上げ
Visual Studio Community for Macを使用。
今回は、Xamarin.iOSを使用して、Code-onlyでHello,Worldをやってみる。
新しいプロジェクト>iOSの単一ビューアプリを選択。
言語はC#にする。
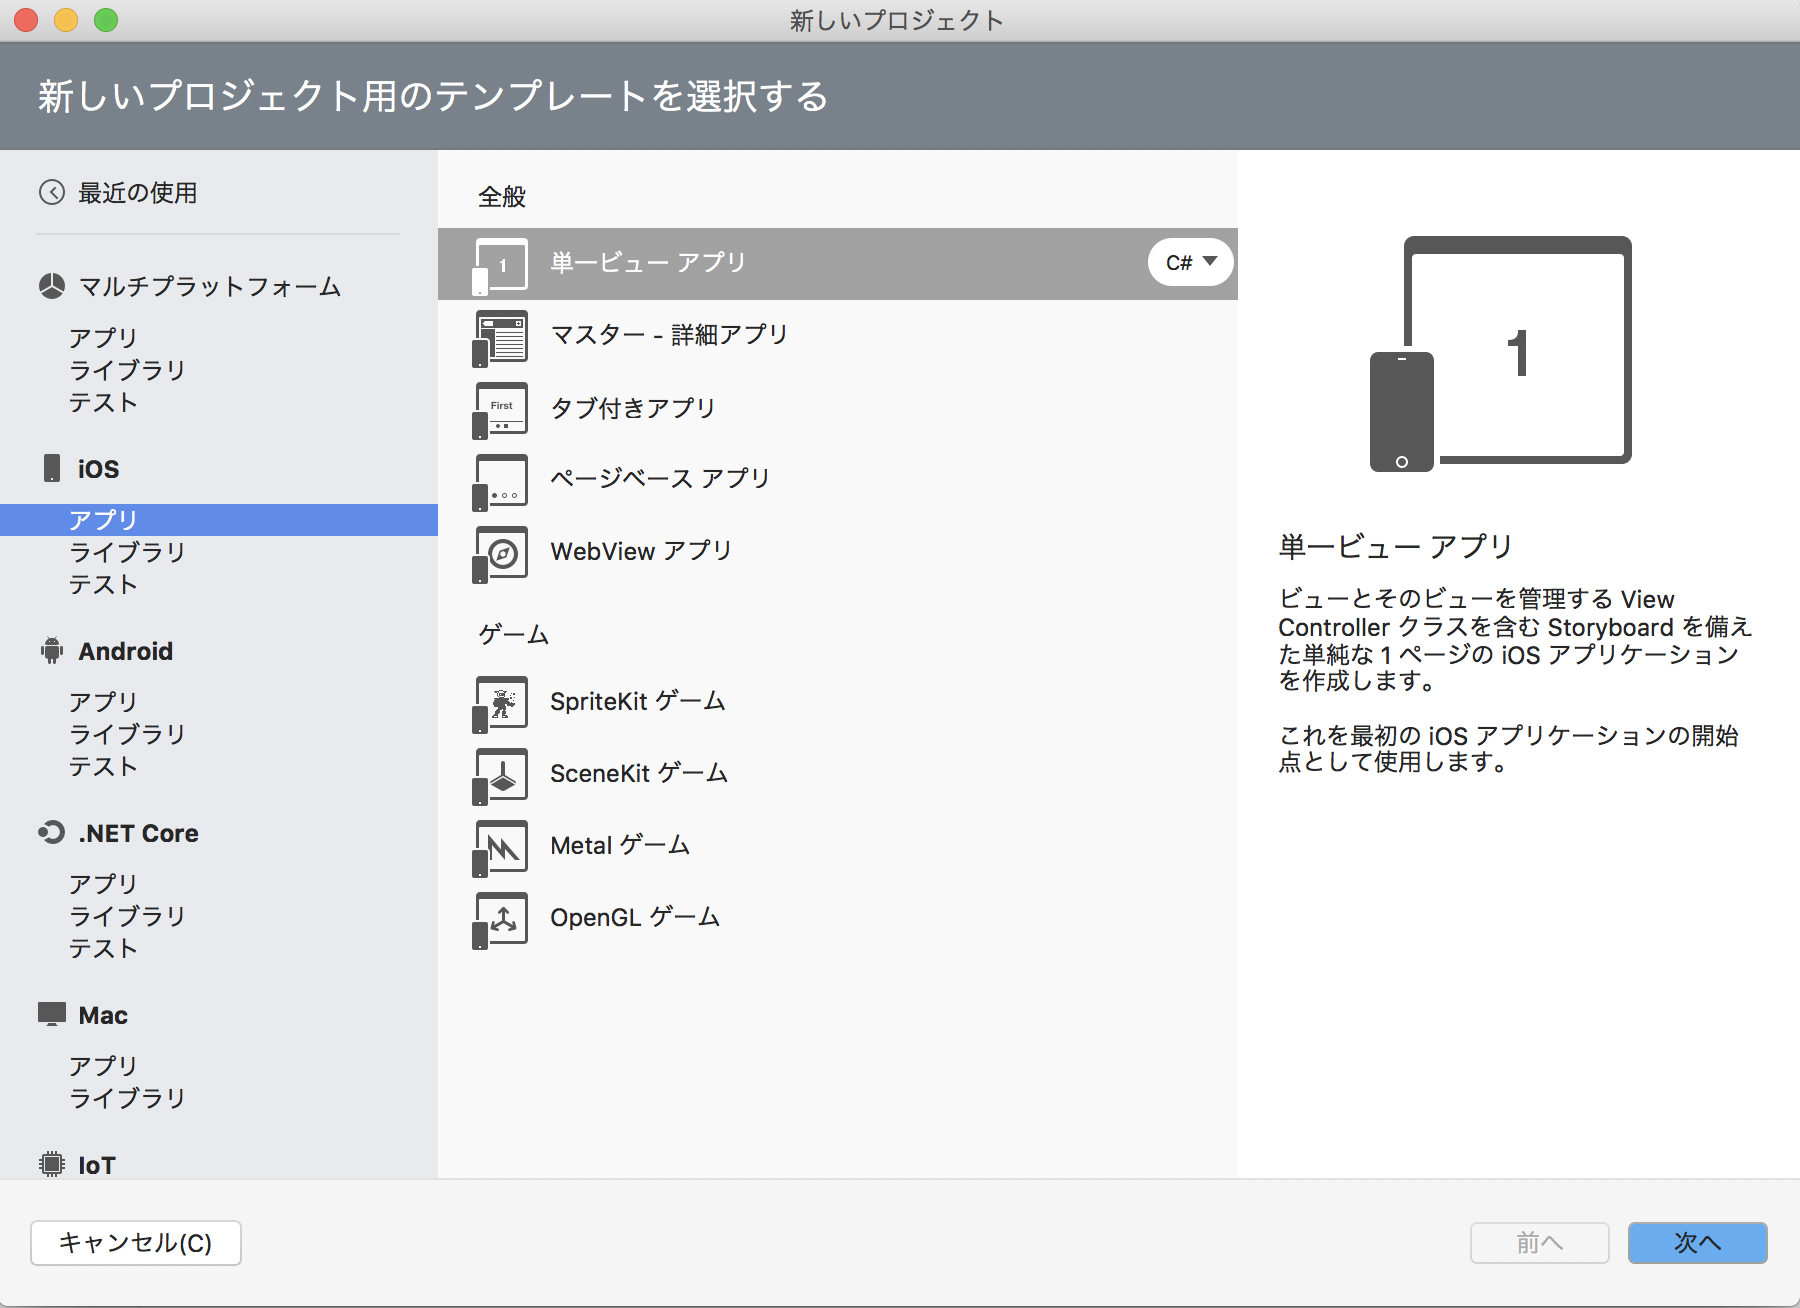
その後、プロジェクト名をつけて、作成する。
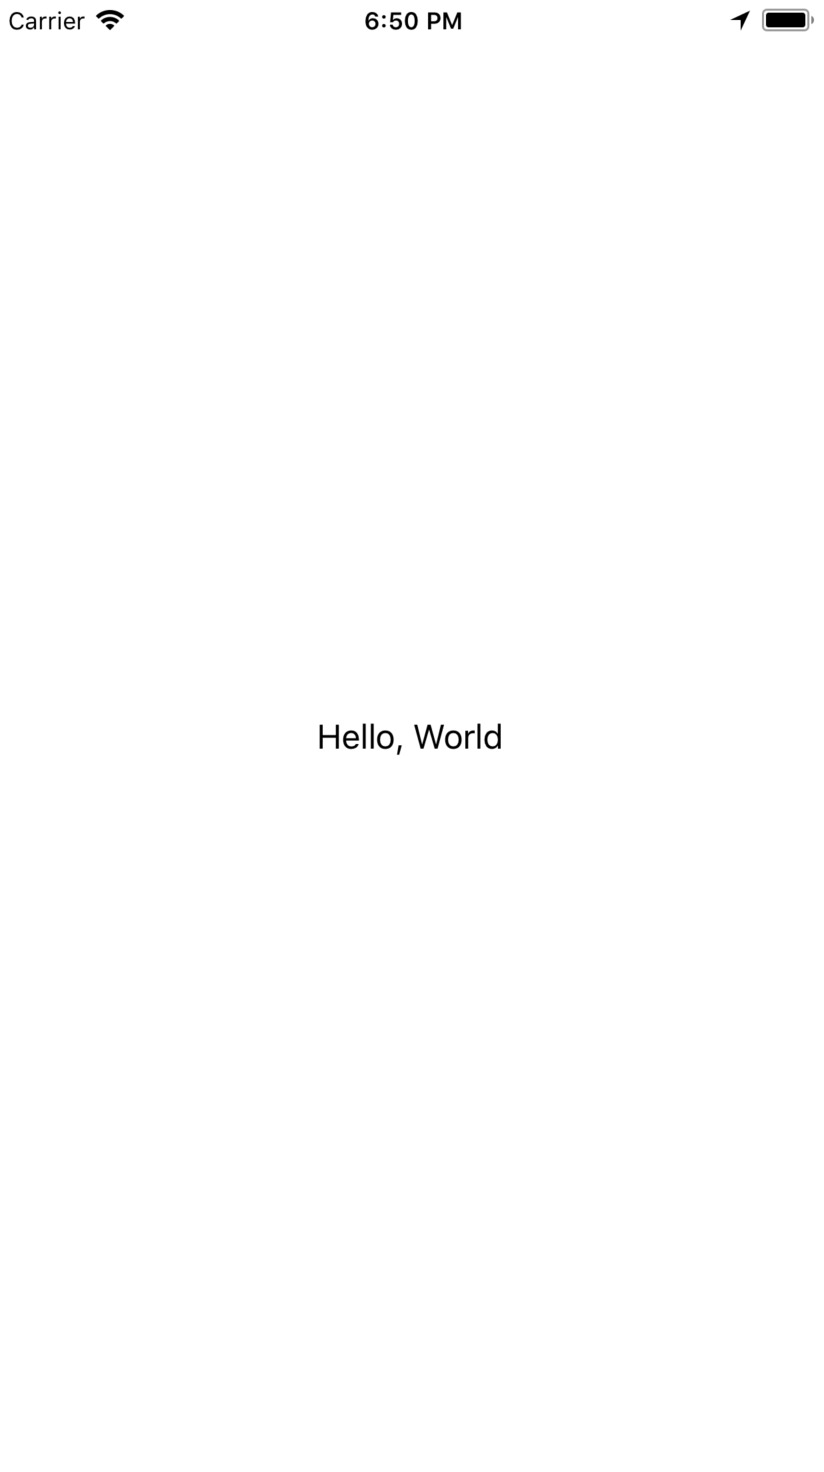
Hello, World
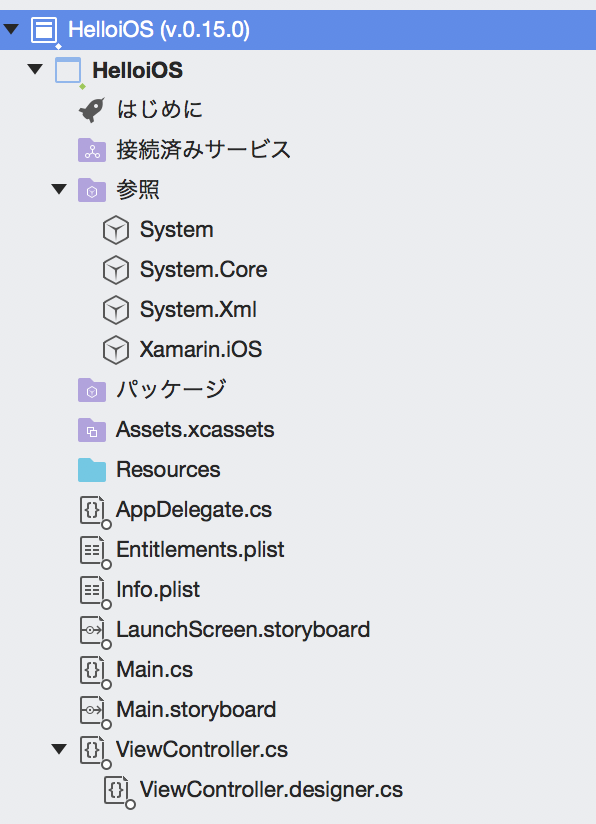
ディレクトリの中身は、こんな感じ。
今回は、ViewController.csを以下の様に編集する。
ViewController.cs
using System;
using UIKit;


namespace HelloiOS
{
    public partial class ViewController : UIViewController
    {
        protected ViewController(IntPtr handle) : base(handle)
        {
            // Note: this .ctor should not contain any initialization logic.

        }

        UILabel label = new UILabel();
        public override void ViewDidLoad()
        {
            //ディスプレイサイズ取得
            var w = UIScreen.MainScreen.Bounds.Size.Width;
            var h = UIScreen.MainScreen.Bounds.Size.Height;
            base.ViewDidLoad();

            // Perform any additional setup after loading the view, typically from a nib.

            //Hello, World
            label.Frame = new CoreGraphics.CGRect((w - 200) / 2, (h - 50) / 2, 200, 50);
            label.Text = "Hello, World";
            label.TextColor = UIColor.Black;
            label.TextAlignment = UITextAlignment.Center;
            View.AddSubview(label);

        }

        public override void DidReceiveMemoryWarning()
        {
            base.DidReceiveMemoryWarning();
            // Release any cached data, images, etc that aren't in use.
        }
    }
}
出来た。
ちなみに、Swiftで書くと、
import UIKit

class ViewController: UIViewController {
    //ディスプレイ取得
    let w = UIScreen.main.bounds.size.width
    let h = UIScreen.main.bounds.size.height
    override func viewDidLoad() {
        super.viewDidLoad()
        // Do any additional setup after loading the view, typically from a nib.

        //Hello, World
        let label = UILabel(frame: CGRect(x: (w - 200) / 2, y: (h - 50) / 2, width: 200, height: 50))
        label.text = "Hello, World"
        label.textColor = .black
        label.textAlignment = .center
        view.addSubview(label)
    }

    override func didReceiveMemoryWarning() {
        super.didReceiveMemoryWarning()
        // Dispose of any resources that can be recreated.
    }


}
うーん。書き方はちょっと違うけど、やってることは、ほぼ同じだよね。
てか、ほぼSwiftじゃない?
流石に物足りないので、ボタンを追加してみよう。
ボタンを追加してみる。
今回は、ボタンを押すとHello,WorldがPush!!!になり、
もう一度押すと、Hello,Worldに戻るという風にする。
以下のコードを、先ほど作ったlabelの下に記入する。
ViewController.cs
UIButton b = new UIButton();
b.Frame = new CoreGraphics.CGRect((w - 200) / 2, 500, 200, 50);
b.BackgroundColor = UIColor.Blue;
b.Layer.BorderColor = UIColor.Cyan.CGColor;
b.SetTitle("Push", new UIControlState());
b.SetTitleColor(UIColor.White, new UIControlState());
b.AddTarget(push, UIControlEvent.TouchUpInside);
View.AddSubview(b);
そして、クラスViewControllerの中で、以下のコードを追加する。
ViewController.cs
public void push(object sender, EventArgs e)
{
  if(label.Text == "Hello, World"){
      label.Text = "Push!!!";
      View.AddSubview(label);
  } else if(label.Text == "Push!!!"){
      label.Text = "Hello, World";
      View.AddSubview(label);
  }

}
最初、AddTarget()の宣言に手こずった・・・・。
色々試した結果、上記の書き方でいけました。
フルコード
ViewController.cs
using System;
using UIKit;


namespace HelloiOS
{
    public partial class ViewController : UIViewController
    {
        protected ViewController(IntPtr handle) : base(handle)
        {
            // Note: this .ctor should not contain any initialization logic.

        }

        UILabel label = new UILabel();
        public override void ViewDidLoad()
        {
            var w = UIScreen.MainScreen.Bounds.Size.Width;
            var h = UIScreen.MainScreen.Bounds.Size.Height;
            base.ViewDidLoad();

            // Perform any additional setup after loading the view, typically from a nib.

            label.Frame = new CoreGraphics.CGRect((w - 200) / 2, (h - 50) / 2, 200, 50);
            label.Text = "Hello, World";
            label.TextColor = UIColor.Black;
            label.TextAlignment = UITextAlignment.Center;
            View.AddSubview(label);

            UIButton b = new UIButton();
            b.Frame = new CoreGraphics.CGRect((w - 200) / 2, 500, 200, 50);
            b.BackgroundColor = UIColor.Blue;
            b.Layer.BorderColor = UIColor.Cyan.CGColor;
            b.SetTitle("Push", new UIControlState());
            b.SetTitleColor(UIColor.White, new UIControlState());
            b.AddTarget(push, UIControlEvent.TouchUpInside);
            View.AddSubview(b);


        }

        public void push(object sender, EventArgs e)
        {
            if(label.Text == "Hello, World"){
                label.Text = "Push!!!";
                View.AddSubview(label);
            } else if(label.Text == "Push!!!"){
                label.Text = "Hello, World";
                View.AddSubview(label);
            }

        }


        public override void DidReceiveMemoryWarning()
        {
            base.DidReceiveMemoryWarning();
            // Release any cached data, images, etc that aren't in use.
        }
    }
}
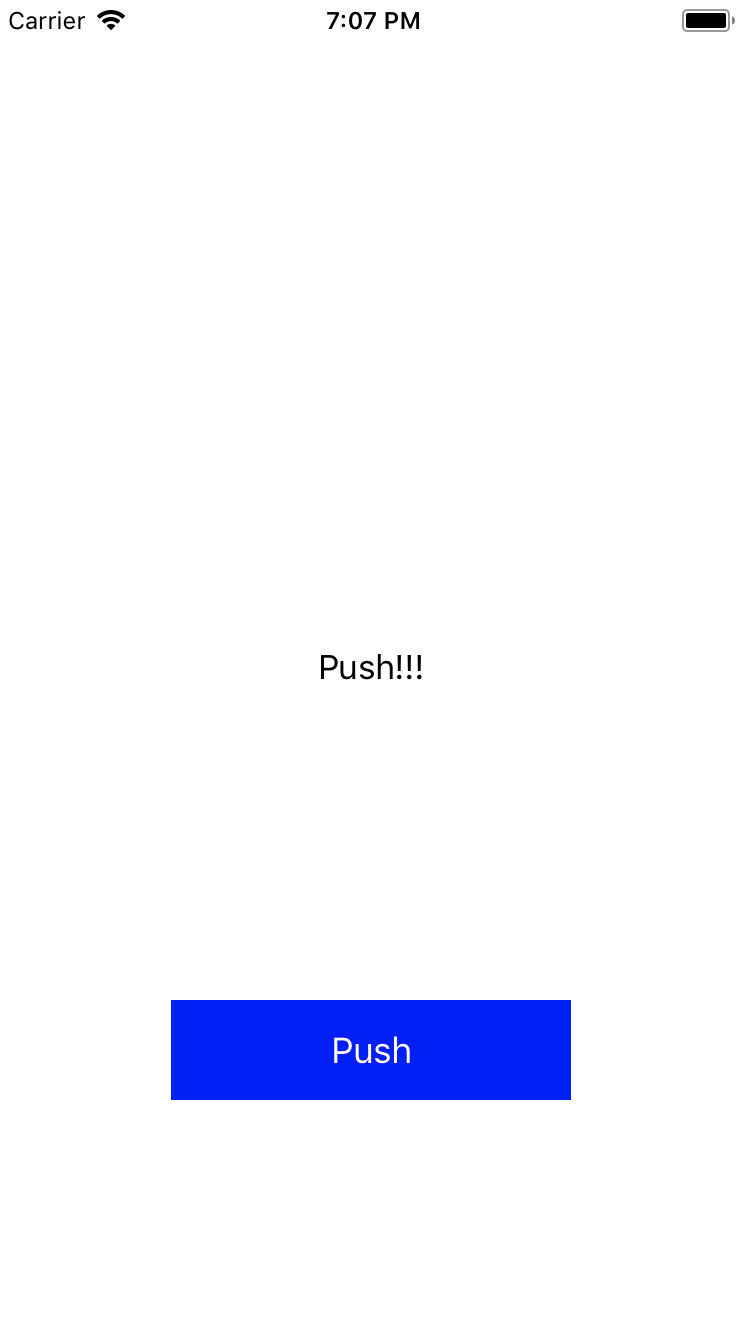
完成
・ 押す前
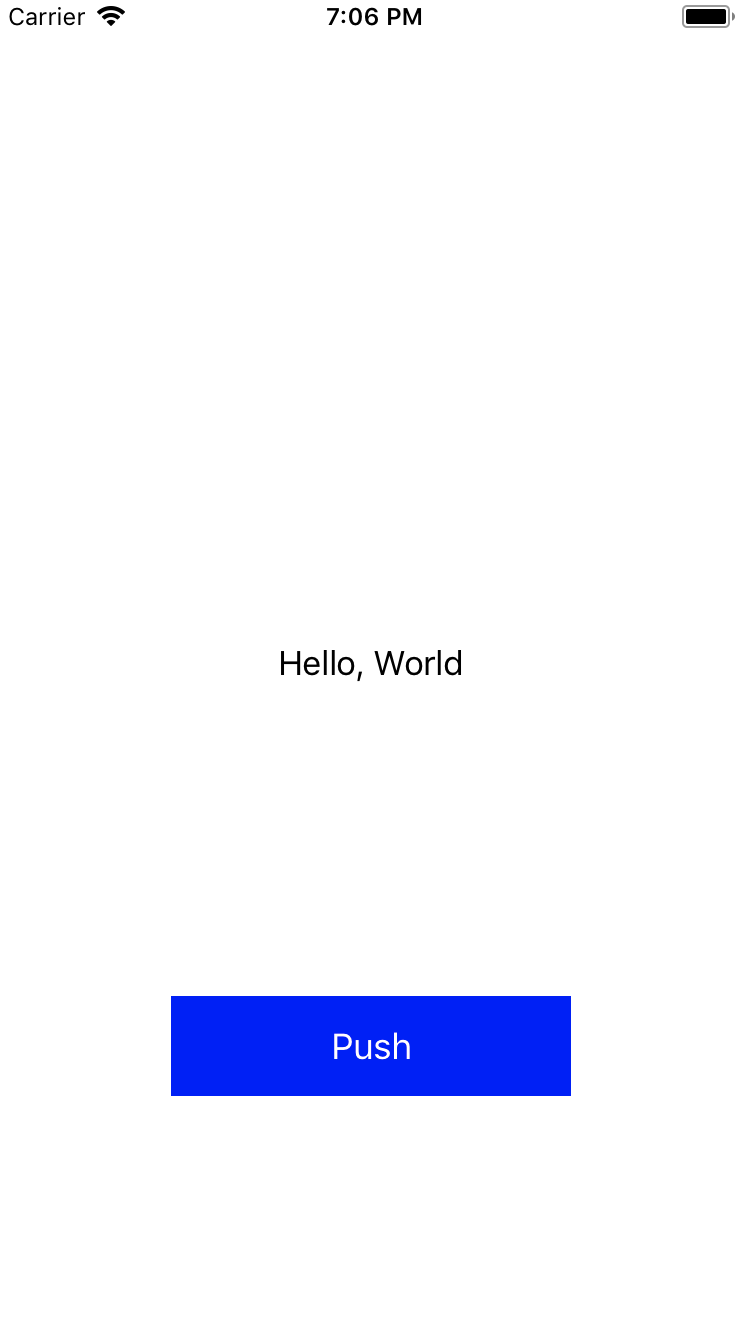
・ 押した後
感想
やってることは、ほぼ同じで、あまり新鮮味はなかったですね・・・。
でも、書き方が違うので、ボタン機能には結構手こずりました。。。
他にも、色々な機能が試せるので、
興味ある方は是非、挑戦してもらいたいです。