前置き
Laravel製のCMSとしてはOctoberCMSが有名かと思いますが、ディレクトリ構成がLaravelのデフォルトとは違ったりしてちょっと気に入らなかったので使ってませんでした。
そんな中、偶然AsgardCmsの存在を知ったので、ちょっと使ってみたいと思います。
AsgardCmsとは
Laravel5でつくられた多言語対応のCMSだそうです。
インストール
Homesteadを利用して動かします。Homesteadの環境構築方法などは割愛します。
知りたい方はこのへんを参考にしてください。(私が試したHomesteadは7.5.0でした。)
基本的には公式の導入方法解説ページのまま実行していきます。
以下の作業内容はHomestead環境での操作になります。適宜ご自身の環境に合わせて読み替えてください。
AsgardCMSインストーラー経由
AsgardCMSインストーラーをインストール
公式にある通りcomposerを使ってインストール。
composer global require asgardcms/asgardcms-installer
すんなりいくかとおもいきや、ものすごい長いエラーがでました。以下、抜粋。
Problem 1
- Installation request for asgardcms/asgardcms-installer ^0.6.0 -> satisfiable by asgardcms/asgardcms-installer[0.6].
- Conclusion: remove symfony/console v4.0.6
- Conclusion: don't install symfony/console v4.0.6
- asgardcms/asgardcms-installer 0.6 requires symfony/console ~2.7|~3.0
symfony/consoleのversion不整合みたいです。
どうやら、Laravel5.6からsymfony/console v4.0.6になったようです。
今回はlaravel5.6とついでにglobalにデフォルトで入っていたライブラリのすべてをアンインストールして対処します。
composer global remove laravel/laravel
composer global remove laravel/envoy
composer global remove laravel/installer
composer global remove laravel/lumen-installer
composer global remove laravel/spark-installer
composer global remove drush/drush
不整合を起こしていたsymfony/consoleもアンインストールされたはずです。
では気を取り直して、再度AsgardCmsインストーラーをインストール。
composer global require asgardcms/asgardcms-installer
うまくいきました。最後に慣例に則ってvesrionを出力しておきましょう。
vagrant@homestead:~$ asgardcms -V
AsgardCms Installer 1.0.0
プロジェクト作成
インストーラーをつかってプロジェクトを作ります。
Homesteadをデフォルトで動かしてる場合はnginxのドキュメントルートが/home/vagrant/code/publicになってるはずなので、プロジェクト名はcodeにしておいた方が面倒がございませぬ。
asgardcms new code
結構時間がかかりましたが、無事インストール完了。
AsgardCMSのインストール
作成したプロジェクトのディレクトリ(=記事の例だとcodeディレクトリ)に移動して、以下のコマンドを実行します。
php artisan asgard:install
envファイルを作成するために色々聞かれるので好みで答える。
Homesteadのデフォルトがデフォルトの選択肢になっているっぽい。
Enter your database driver (e.g. mysql, pgsql) [mysql]:
Enter your database host [127.0.0.1]:
Enter your database port [3306]:
Enter your database name [homestead]:
Enter your database username [homestead]:
Enter your database password (leave for no password) [secret]:
Enter you application url (e.g. http://localhost, http://dev.example.com) [http://localhost]:
以下、管理用のアカウント情報を聞かれるので答えていく。
Enter your first name:
Enter your last name:
Enter your email address:
Enter a password:
Please confirm your password:
最後、gitignoreについても聞かれるので好みで答える。
Do you want to remove composer.lock from .gitignore ? (yes/no) [yes]:
Do you want to remove package-lock.json from .gitignore ? (yes/no) [yes]:
ここまで終わったらブラウザでアクセス確認。
フロントエンド側は http://localhost

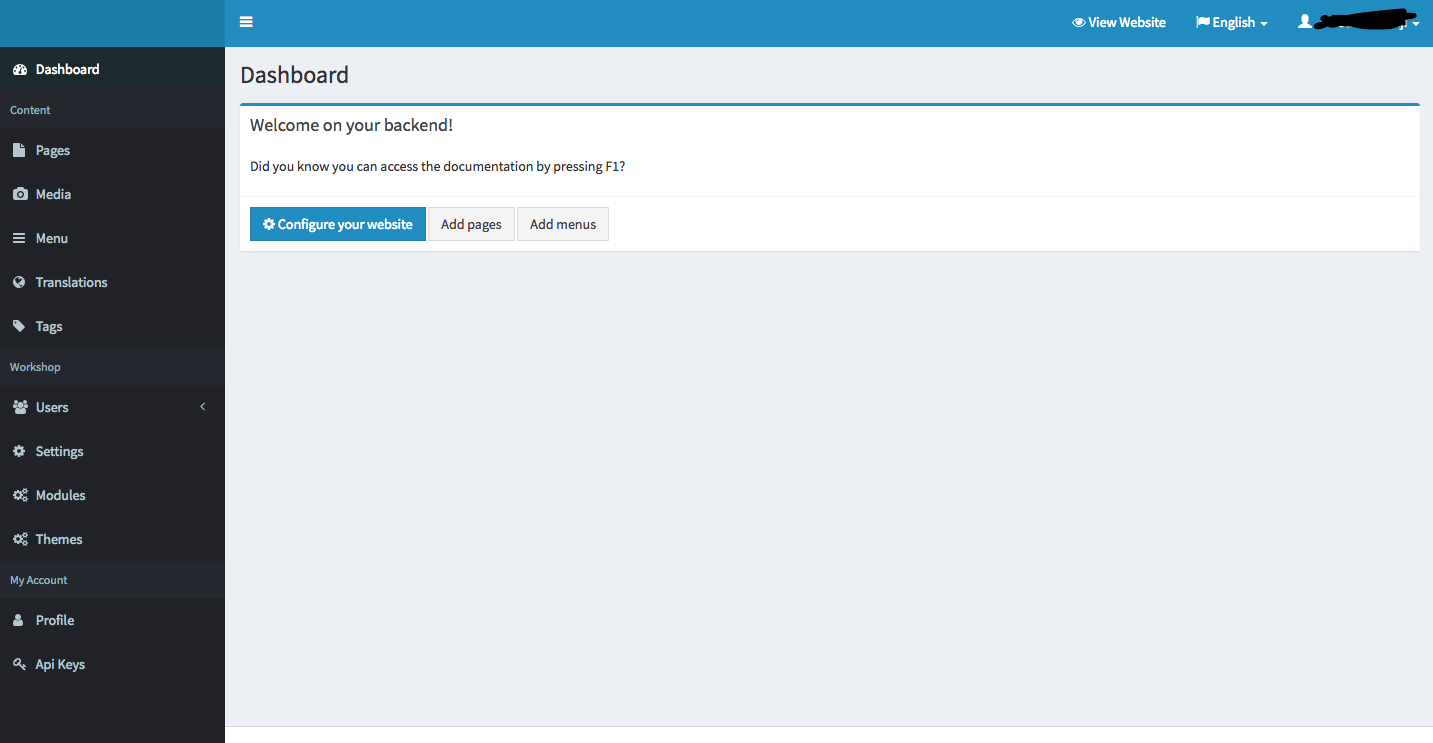
バックエンド側は http://localhost/backend
まとめ & 感想
インストールはとても楽でした。これから機能の精査などをしてみたいと思います。Wordpressあたりと比較とかしてみ鯛。