ここ最近、go, python, nodeと用途によって様々な言語で開発することが多くなったので、VM上に実行環境を作成することにする。
VirtualBoxにboot2docker(core Linux)を構築し、以下の実行環境を構築
・go lang
・node.js(python)
【用意した環境 】
・VirtualBox
・Vagrant v1.7.1
VMware Fusionも持ってるのでそちらでも確認したかったのでですが、
ライセンスが必要なので、今回はパス。
参考 : https://www.vagrantup.com/vmware
$79 (≒9,384 yen) ちょと高い...
Vagrant のインストール
公式サイトから、dmgをダウンロードしてインストール。
VirtualBoxのインストール
公式サイトから、OS X用のdmgをダウンロードしてインストール。
boot2dockerの準備
$ mkdir -p /Users/<USER NAME>/Documents/Vagrant/boot2docker
$ cd /Users/<USER NAME>/Documents/Vagrant/boot2docker

# boot2dockerの起動
$ vagrant init mitchellh/boot2docker
boot2dockerのISOイメージを作成する場合
(ISOが不要な場合は起動へ)
ここからPackerをインストール
インストール後にターミナルから以下を実行
$ cd /Users/<USER NAME>/Documents/Vagrant
$ git clone https://github.com/mitchellh/boot2docker-vagrant-box.git
$ cd boot2docker-vagrant-box.git
$ vagrant up
$ vagrant ssh -c 'cd /vagrant && sudo ./build-iso.sh'
$ vagrant destroy --force
$ packer build -only=virtualbox-iso template.json
上記を実行すると
・b2d.iso
・boot2docker_virtualbox.box
・boot2docker_virtualbox.iso
が作成されます。
boot2dockerの起動
ポートフォワードを設定する
$vi Vagrantfile

 : 省略
# Create a forwarded port mapping which allows access to a specific port
# within the machine from a port on the host machine. In the example below,
# accessing "localhost:8080" will access port 80 on the guest machine.
# config.vm.network "forwarded_port", guest: 80, host: 8080

# Add port forwarding
config.vm.network "forwarded_port", guest: 80, host: 8080

# Create a private network, which allows host-only access to the machine
# using a specific IP.
# config.vm.network "private_network", ip: "192.168.33.10"
 : 省略
boot2dockerを起動
$ vagrant up
$ vagrant ssh

boot2dockerのデータ永続化
次にboot2dockerで作成したデータの永続化を行う。
boot2docker上で以下のコマンドを実行
$ sudo su -
# cat > /var/lib/boot2docker/bootlocal.sh <<EOF
> echo "tar cf /var/lib/boot2docker/userdata.tar . -C /home/docker/" >> /opt/shutdown.sh
> EOF
# chmod +x /var/lib/boot2docker/bootlocal.sh
# sudo reboot
※これでrebootやshutdownの時に/home/docker/が/var/lib/boot2docker/userdata.tarに
バックアップされる。
【確認】
Macからssh
$ vagrant ssh
# pssword : tcuser
# boot2dockerでの作業
$ touch test
$ ls -l
  -rw-r--r--    1 docker   staff            0 Dec 13 13:22 test
$ sudo reboot
Macから再びssh
$ vagrant ssh
# pssword : tcuser
boot2docker
$ ls -l
   -rw-r--r--    1 docker   staff            0 Dec 13 13:22 test
# 存在していることを確認
dockerイメージを作成(Golang)
せっかくなので、Dockerfileからイメージを作成
※ docker pull dockerfile/go でもOK
go lang
$ mkdir golang
$ cd golang
$ vi Dockerfile

#
# Go Dockerfile
#
# https://github.com/dockerfile/go
#

# Pull base image.
FROM dockerfile/ubuntu

# Install Go
RUN \
  mkdir -p /goroot && \
  curl https://storage.googleapis.com/golang/go1.3.1.linux-amd64.tar.gz | tar xvzf - -C /goroot --strip-components=1

# Set environment variables.
ENV GOROOT /goroot
ENV GOPATH /gopath
ENV PATH $GOROOT/bin:$GOPATH/bin:$PATH

# Define working directory.
WORKDIR /gopath

# Define default command.
CMD ["bash"]
docker imageの作成
$ docker build -t ubuntu/golang .
$ docker images
REPOSITORY          TAG                 IMAGE ID            CREATED             VIRTUAL SIZE
ubuntu/golang       latest              ff635337559a        3 minutes ago       614 MB
dockerfile/ubuntu   latest              c8f87bf54eb2        8 days ago          414.6 MB
docker上のgoでHelloWorldをやってみる。
$ docker run -i -p 80:80 -t ubuntu/golang /bin/bash

$ go version
go version go1.3.1 linux/amd64

$ vi testserver.go

package main

import (
  "fmt"
  "net/http"
)

func indexHandler(w http.ResponseWriter, r *http.Request) {
  fmt.Fprintf(w, "Hello Go lang")
}

func main() {
  http.HandleFunc("/", indexHandler)
  http.ListenAndServe(":80", nil)
}


# テストなのでコンパイルなしで実施
$ go run testserver.go
Macからブラウザでアクセスして実行の確認

dockerイメージを作成(nodejs, python)
python 環境はnodejsのベースになっているのでNodejs環境のみ作成
$ mkdir ~/nodejs
$ cd ~/nodejs
$ vi Dockerfile


#
# Node.js Dockerfile
#
# https://github.com/dockerfile/nodejs
#

# Pull base image.
FROM dockerfile/python

# Install Node.js
RUN \
  cd /tmp && \
  wget http://nodejs.org/dist/node-latest.tar.gz && \
  tar xvzf node-latest.tar.gz && \
  rm -f node-latest.tar.gz && \
  cd node-v* && \
  ./configure && \
  CXX="g++ -Wno-unused-local-typedefs" make && \
  CXX="g++ -Wno-unused-local-typedefs" make install && \
  cd /tmp && \
  rm -rf /tmp/node-v* && \
  npm install -g npm && \
  echo -e '\n# Node.js\nexport PATH="node_modules/.bin:$PATH"' >> /root/.bashrc

# Define working directory.
WORKDIR /data

# Define default command.
CMD ["bash"]
docker imageの作成
$ docker build -t ubuntu/nodejs .
$ docker images
REPOSITORY TAG IMAGE ID CREATED VIRTUAL SIZE
ubuntu/nodejs latest 60d7f5969d7a 30 seconds ago 496.6 MB
ubuntu/golang latest 42a919d3c0ea 23 minutes ago 614 MB
dockerfile/python latest f08c82e36872 8 days ago 471 MB
dockerfile/ubuntu latest c8f87bf54eb2 8 days ago 414.6 MB
$ docker run -i -p 80:80 -t ubuntu/nodejs /bin/bash
$ npm version
{ http_parser: '1.0',
node: '0.10.33',
v8: '3.14.5.9',
ares: '1.9.0-DEV',
uv: '0.10.29',
zlib: '1.2.3',
modules: '11',
openssl: '1.0.1j',
npm: '2.1.12' }
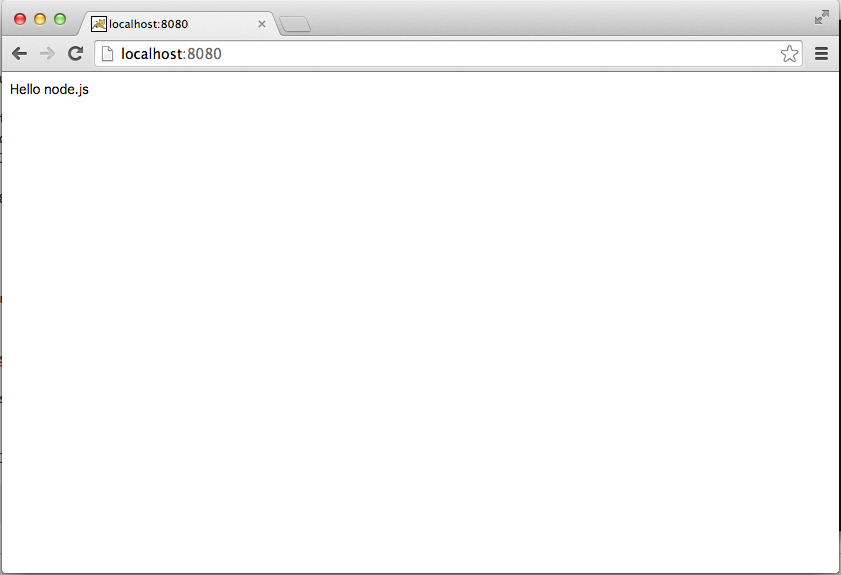
# serverの作成
$ vi app.js
var http = require('http');
var server = http.createServer(function (req, res) {
res.writeHead(200, {'Content-Type': 'text/plain'});
res.end('Hello World node.js');
});
server.listen(80);
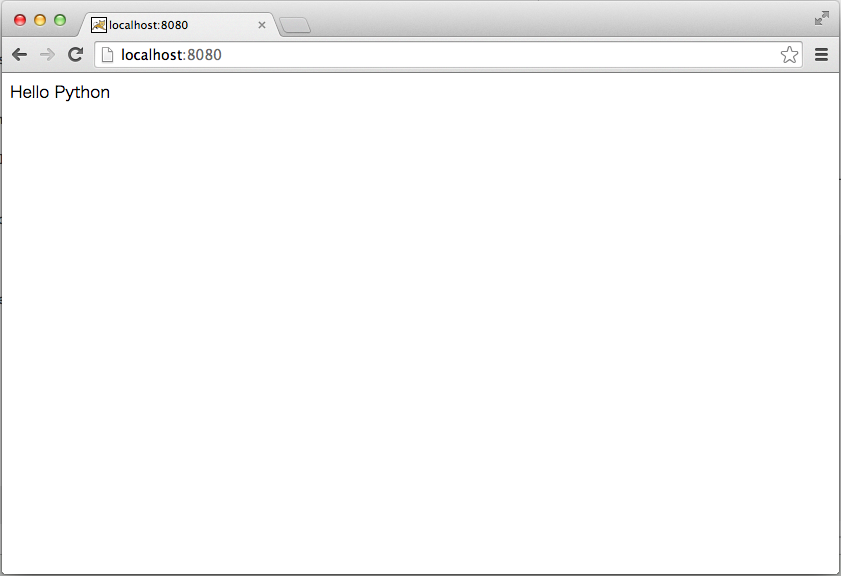
同じ環境でpythonもテスト
# ubuntu/nodejsで実行

$ python --version
Python 2.7.6

$ vi index.html
<html>
<body>
    Hello Python
</body>
</html>

$ python -m SimpleHTTPServer 80
docker 不要コンテナの削除
dockerでは起動後の差分ファイルを保持しているので不要になったら削除する。
$ docker ps -a
CONTAINER ID        IMAGE                  COMMAND             CREATED             STATUS                      PORTS               NAMES
8675a8897319        ubuntu/nodejs:latest   "/bin/bash"         8 seconds ago       Exited (0) 7 seconds ago                        hungry_carson
f71e1d22b5e6        ubuntu/golang:latest   "/bin/bash"         56 seconds ago      Exited (0) 54 seconds ago                       prickly_shockley

#不要コンテナのIDを指定
$ docker rm 8675a8897319 f71e1d22b5e6


# イメージを削除する場合
$ docker images
REPOSITORY          TAG                 IMAGE ID            CREATED             VIRTUAL SIZE
ubuntu/nodejs       latest              60d7f5969d7a        About an hour ago   496.6 MB
ubuntu/golang       latest              42a919d3c0ea        About an hour ago   614 MB
dockerfile/python   latest              f08c82e36872        8 days ago          471 MB
dockerfile/ubuntu   latest              c8f87bf54eb2        8 days ago          414.6 MB

$ docker rmi < IMAGE ID >
コンテナやイメージを一括で削除する場合
# remove container
$ docker rm `docker ps -a -q`

# remove images
$ docker rmi $(docker images | awk '/^<none>/ { print $3 }')
マルチロケーション開発やアジャイル開発する際にはGitHubでソース管理して
Dockerfileで環境管理すればモビリティに適した開発ができます。
そろそろ、Macが限界なのでboot2dockerはベアメタルで構築したいと思います。