Google Driveを使ったWebアプリを作成しようと思ったので、Drive APIを使うまでの手順を残しておきます。
環境
$ ng version

     _                      _                 ____ _     ___
    / \   _ __   __ _ _   _| | __ _ _ __     / ___| |   |_ _|
   / △ \ | '_ \ / _` | | | | |/ _` | '__|   | |   | |    | |
  / ___ \| | | | (_| | |_| | | (_| | |      | |___| |___ | |
 /_/   \_\_| |_|\__, |\__,_|_|\__,_|_|       \____|_____|___|
                |___/


Angular CLI: 10.1.7
Node: 12.16.3
OS: darwin x64

Angular: 10.1.6
... animations, common, compiler, compiler-cli, core, forms
... platform-browser, platform-browser-dynamic, router
Ivy Workspace: Yes

Package                         Version
---------------------------------------------------------
@angular-devkit/architect       0.1001.7
@angular-devkit/build-angular   0.1001.7
@angular-devkit/core            10.1.7
@angular-devkit/schematics      10.1.7
@angular/cli                    10.1.7
@schematics/angular             10.1.7
@schematics/update              0.1001.7
rxjs                            6.6.3
typescript                      4.0.5
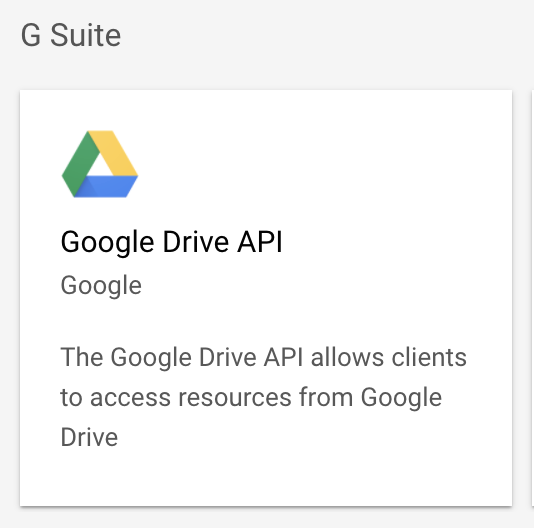
Google Drive APIの準備
Browser Quickstartを参考にDrive APIの準備をします
※Node.js向けのページがありますが、Angularだと色んなパッケージが足りないというエラーになってめんどくさいので、シンプルなJS用手順でやります
前提
- GCP(Google Cloud Platformへの登録が必要です)
1. GCPにてDriveAPIを有効化
-
Enable Drive APIボタンを押下 - プロジェクト名を入力するダイアログが表示されるため、プロジェクト名を入力しNEXT押下
- GCP上に指定の名前でプロジェクトが作成されます
- しばらくすると作成が完了した旨が表示され、クライアントIDやシークレットが表示されるためコピーしておきます
- credentials.jsonのダウンロードができるので、ダウンロードしておきます
2. API Keyの発行
-
Create API Keyボタンを押下します - 上記で作成したプロジェクト名を指定します
- しばらくするとAPI Keyが発行されるので、コピーします
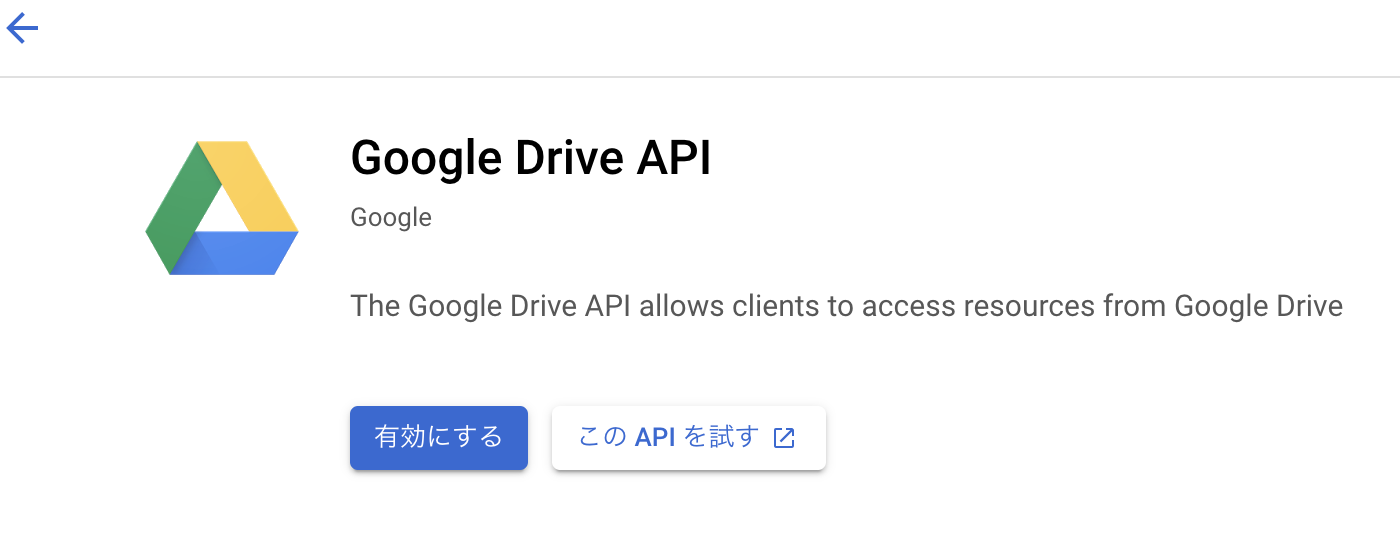
3. APIの有効化
- Google API Consoleにアクセスします
- 「Create API Key」で作成されたプロジェクトを選択します
- 「APIとサービスの有効化」を押下

- Drive APIを選択します
- 「有効にする」を押下します
※API Keyの制限
Angularの場合、環境変数はenvironment.tsにベタ書きすることになるため、プライベートリポジトリでも念のためAPIKeyは見られても問題ないようにしておきます。
- Google API Consoleの「認証情報」メニューからAPI Keyの編集を行います
- 今回はHTTPリファラで制限します
- 今回はGitHub Pagesで公開するため、GitHub PagesのURLを指定します
- 面倒な場合は
https://{username}.github.ioとhttps://{username}.github.io/*を登録しておくと良いと思います
- 面倒な場合は
- これで、指定のURL意外でAPI Keyを使われても大丈夫です
- 今回はGitHub Pagesで公開するため、GitHub PagesのURLを指定します
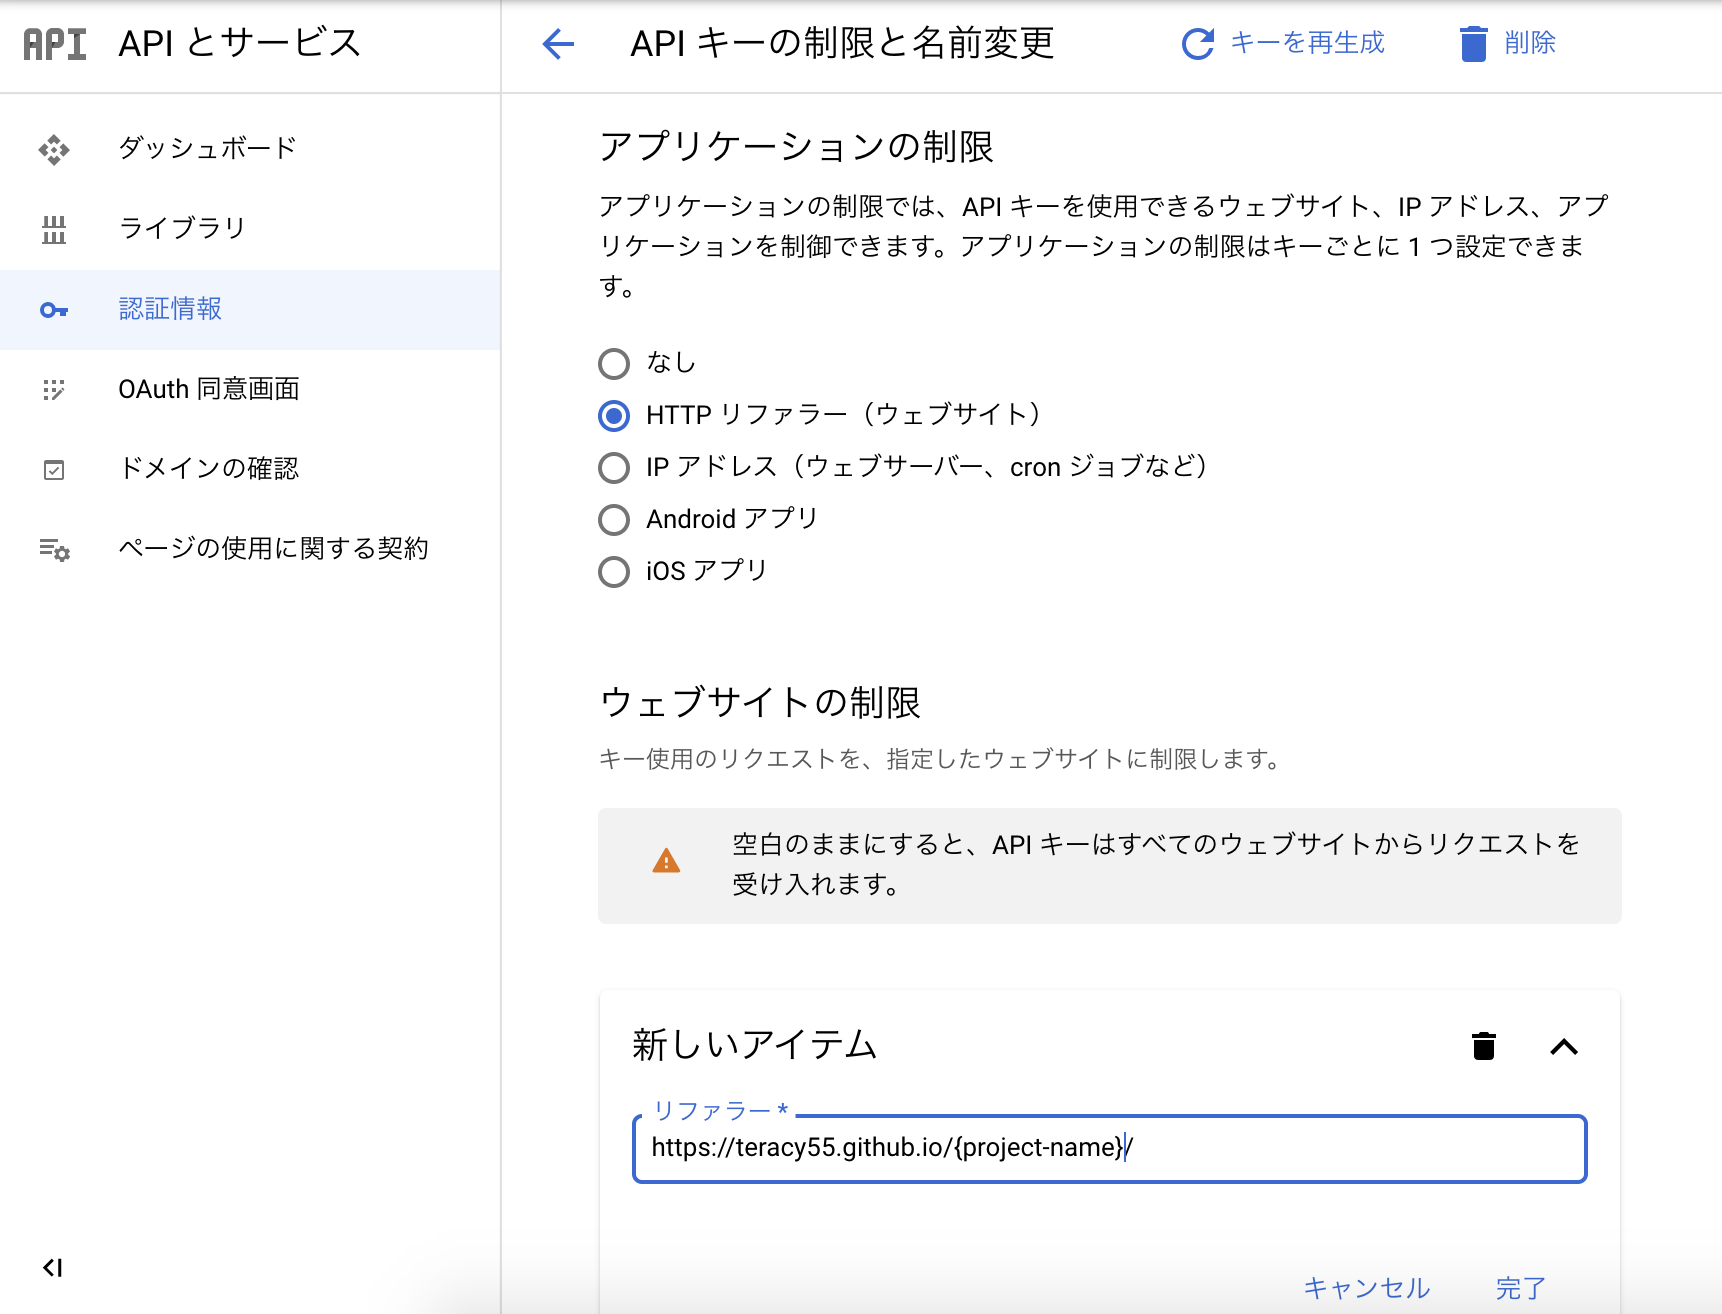
参考:https://cloud.google.com/docs/authentication/api-keys?hl=ja#api_key_restrictions
これでDrive APIの準備は完了です
Angular側の対応
環境変数の定義
環境変数にクライアントIDとAPI Keyをセットします
※公開リポジトリの場合、注意が必要です
src/environments/environment.ts
export const environment = {
  production: false,
  googleDriveAPI: {
    clientId: {クライアントIDを指定},
    apiKey: {API Keyを指定},
  }
};
※prodにも同様の定義を追加します
本番用にAPI KeyとOAuthClientIDを別途発行した方が良いです
GoogleAPI用のサービスを作成
src/shared/google-api.service.ts
import { EventEmitter, Injectable } from '@angular/core';
import { environment } from 'src/environments/environment';

@Injectable({ providedIn: 'root' })
export class GoogleApiService {
  readonly DISCOVERY_DOCS = [
    'https://www.googleapis.com/discovery/v1/apis/drive/v3/rest',
  ];
  readonly SCOPES = 'https://www.googleapis.com/auth/drive.metadata.readonly';

  /** Google API JS読み込み完了時 */
  readonly onLoad = new EventEmitter<boolean>();
  /** 認証状態変更検知用 */
  readonly onChangeStatus = new EventEmitter<boolean>();

  get gapi() {
    return (window as any).gapi;
  }
  get instAuth2() {
    return this.gapi.auth2.getAuthInstance();
  }

  public init() {
    this.loadGoogleApiScript();
  }

  /**
   * sign in
   *
   * 完了はonChangeStatusをsubscribeすること
   */
  public signIn() {
    this.instAuth2.signIn();
  }

  /**
   * sign out
   *
   * 完了はonChangeStatusをsubscribeすること
   */
  public signOut() {
    this.instAuth2.signOut();
  }

  /**
   * GoogleAPIのJSファイル読み込み
   * ※これやらないとグローバル変数のgapiが参照できない
   */
  private loadGoogleApiScript() {
    const elScript = document.createElement('script');
    elScript.async = true;
    elScript.defer = true;
    elScript.src = 'https://apis.google.com/js/api.js';

    // jsファイル読み込み完了時(フラグを落とすことで画面表示を開始する)
    elScript.onload = this.handleClientLoad();

    document.head.appendChild(elScript);
  }

  private handleClientLoad() {
    const self = this;
    return (event) => self.gapi.load('client:auth2', self.handleInitClient());
  }

  private handleInitClient() {
    const self = this;
    return () =>
      self.gapi.client
        .init({
          apiKey: environment.googleDriveAPI.apiKey,
          clientId: environment.googleDriveAPI.clientId,
          discoveryDocs: self.DISCOVERY_DOCS,
          scope: self.SCOPES,
        })
        .then(
          () => {
            // JS読み込み完了を通知
            self.onLoad.emit(true);

            const isSignedIn = self.instAuth2.isSignedIn;
            // Listen for sign-in state changes.
            isSignedIn.listen((isSignIn: boolean) => {
              self.onChangeStatus.emit(isSignIn);
            });

            // 最初のSignIn状態を通知
            self.onChangeStatus.next(isSignedIn.get());
          },
          (error) => {
            console.error(error);
            // on error
            self.onLoad.emit(false);
          }
        );
  }
}
認証が通らないと画面が出ないように制御
- Google APIのJSが読み込まれるまで画面が出ないように制御
- 認証済みであれば
sign outボタン、未認証であればsign inボタンを表示する
src/app/app.component.ts
import { ChangeDetectorRef, Component, OnInit } from '@angular/core';
import { GoogleApiService } from './shared/google-api.service';

@Component({
  selector: 'app-root',
  template: `
    <div *ngIf="!isLoading">
      <div>
        <button *ngIf="isSignedIn" (click)="onClickSignOut()">sign out</button>
        <button *ngIf="!isSignedIn" (click)="onClickSignIn()">sign in</button>
      </div>
      <router-outlet *ngIf="isSignedIn"></router-outlet>
      <div></div>
    </div>
  `,
})
export class AppComponent implements OnInit {
  /**
   * 読み込み中フラグ
   * trueの間は画面表示させない
   */
  isLoading = true;
  isSignedIn = false;

  constructor(
    private googleapi: GoogleApiService,
    private cdRef: ChangeDetectorRef
  ) {}

  async ngOnInit() {
    this.googleapi.init();

    this.googleapi.onChangeStatus.subscribe((isSignIn: boolean) => {
      this.isSignedIn = isSignIn;
      // 画面更新
      this.cdRef.detectChanges();
    });

    this.googleapi.onLoad.subscribe((result) => {
      this.isLoading = false;
      // 画面更新
      this.cdRef.detectChanges();
    });
  }

  onClickSignIn() {
    this.googleapi.signIn();
  }
  onClickSignOut() {
    this.googleapi.signOut();
  }
}
ローカル起動時のポートを変更
localhost:4200だとOAuthClientのロードでエラーになるためポートを8000に変更します
package.json
"scripts": {
  "start": "ng serve --port 8000"
}
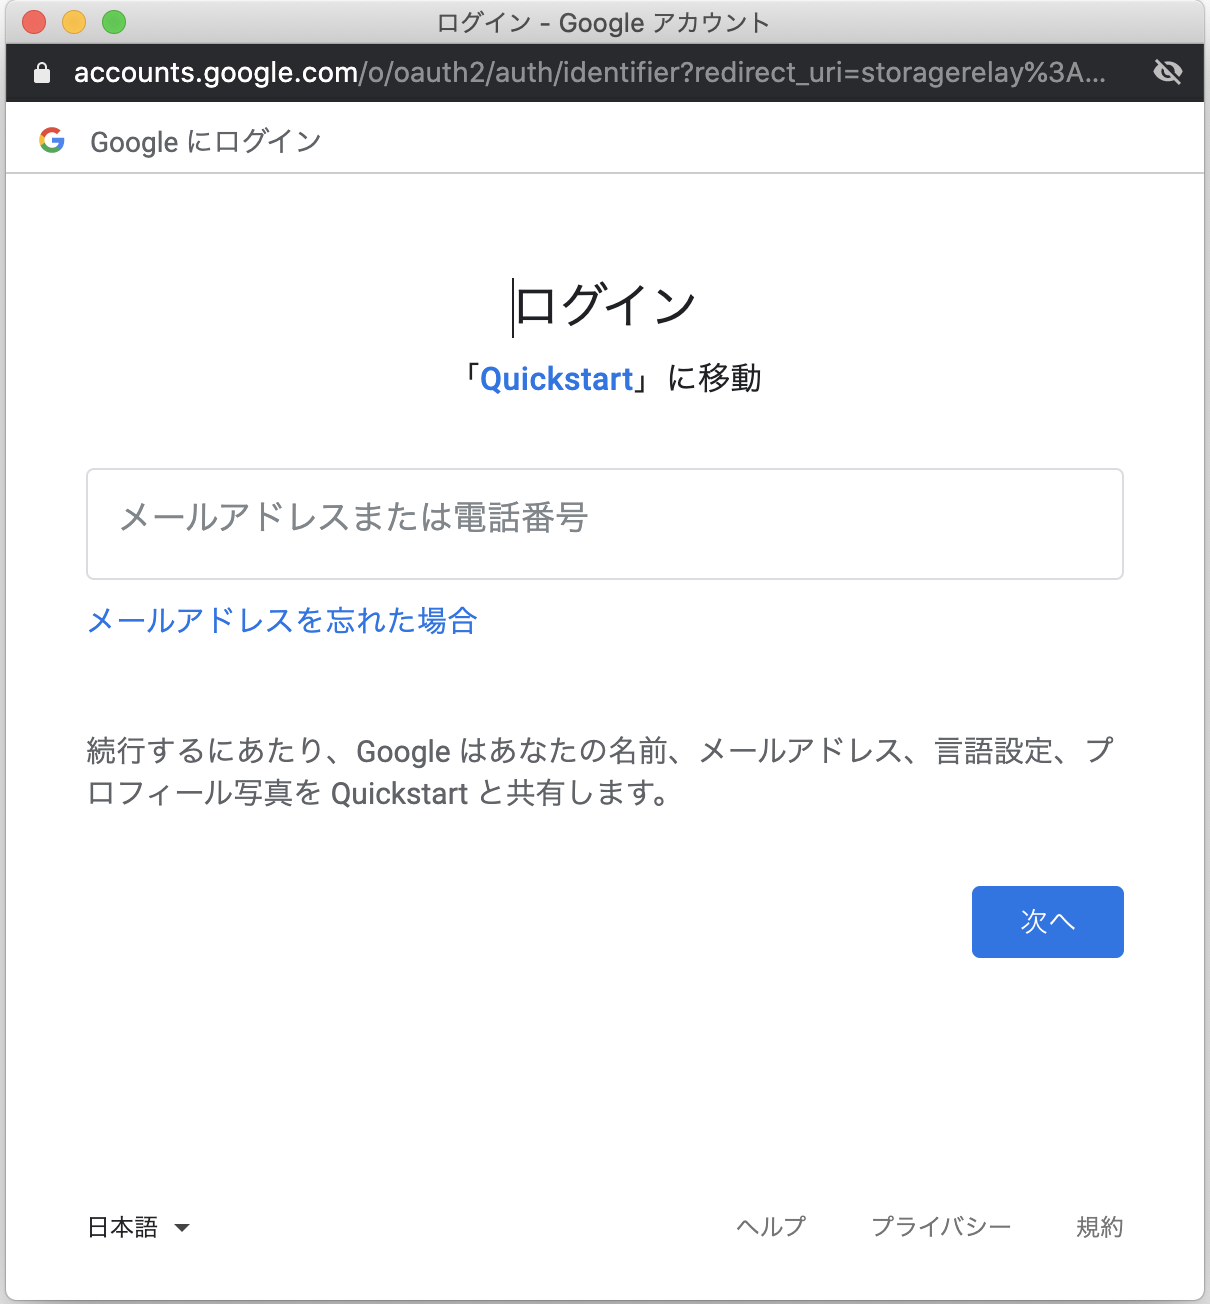
起動してみる
-
npm startでサーバーを起動し、http://localhost:8000 にアクセスします -
sign inボタンを押下すると以下のようなGoogleのログインダイアログが表示されます
Drive APIを使う
Drive API用のサービスを作成します
src/app/shared/google-drive-api.service.ts
import { Injectable } from '@angular/core';
import { GoogleApiService } from './google-api.service';

@Injectable()
export class GoogleDriveApiService {
  constructor(private googleapi: GoogleApiService) {}

  get drive() {
    return this.googleapi.gapi.client.drive;
  }

  async getFiles(): Promise<{ id: string; name: string }[]> {
    try {
      const result = await this.drive.files.list({
        pageSize: 10,
        fields: 'nextPageToken, files(id, name)',
      });
      console.log(result);
      if (result.status === 200) {
        return result.result.files;
      } else {
        throw new Error();
      }
    } catch (err) {
      console.error(err);
      return [];
    }
  }
}
これでファイル一覧が取得できます