はじめに
私はmacOSのアプリケーションを現在開発しています。
tableをつかったことが無かったので今回はとりあえず文献の多いiOSのtableViewを使って見ようかと思います。
慣れてきたらmacOSでも開発を行っていく。
参考文献
完成図
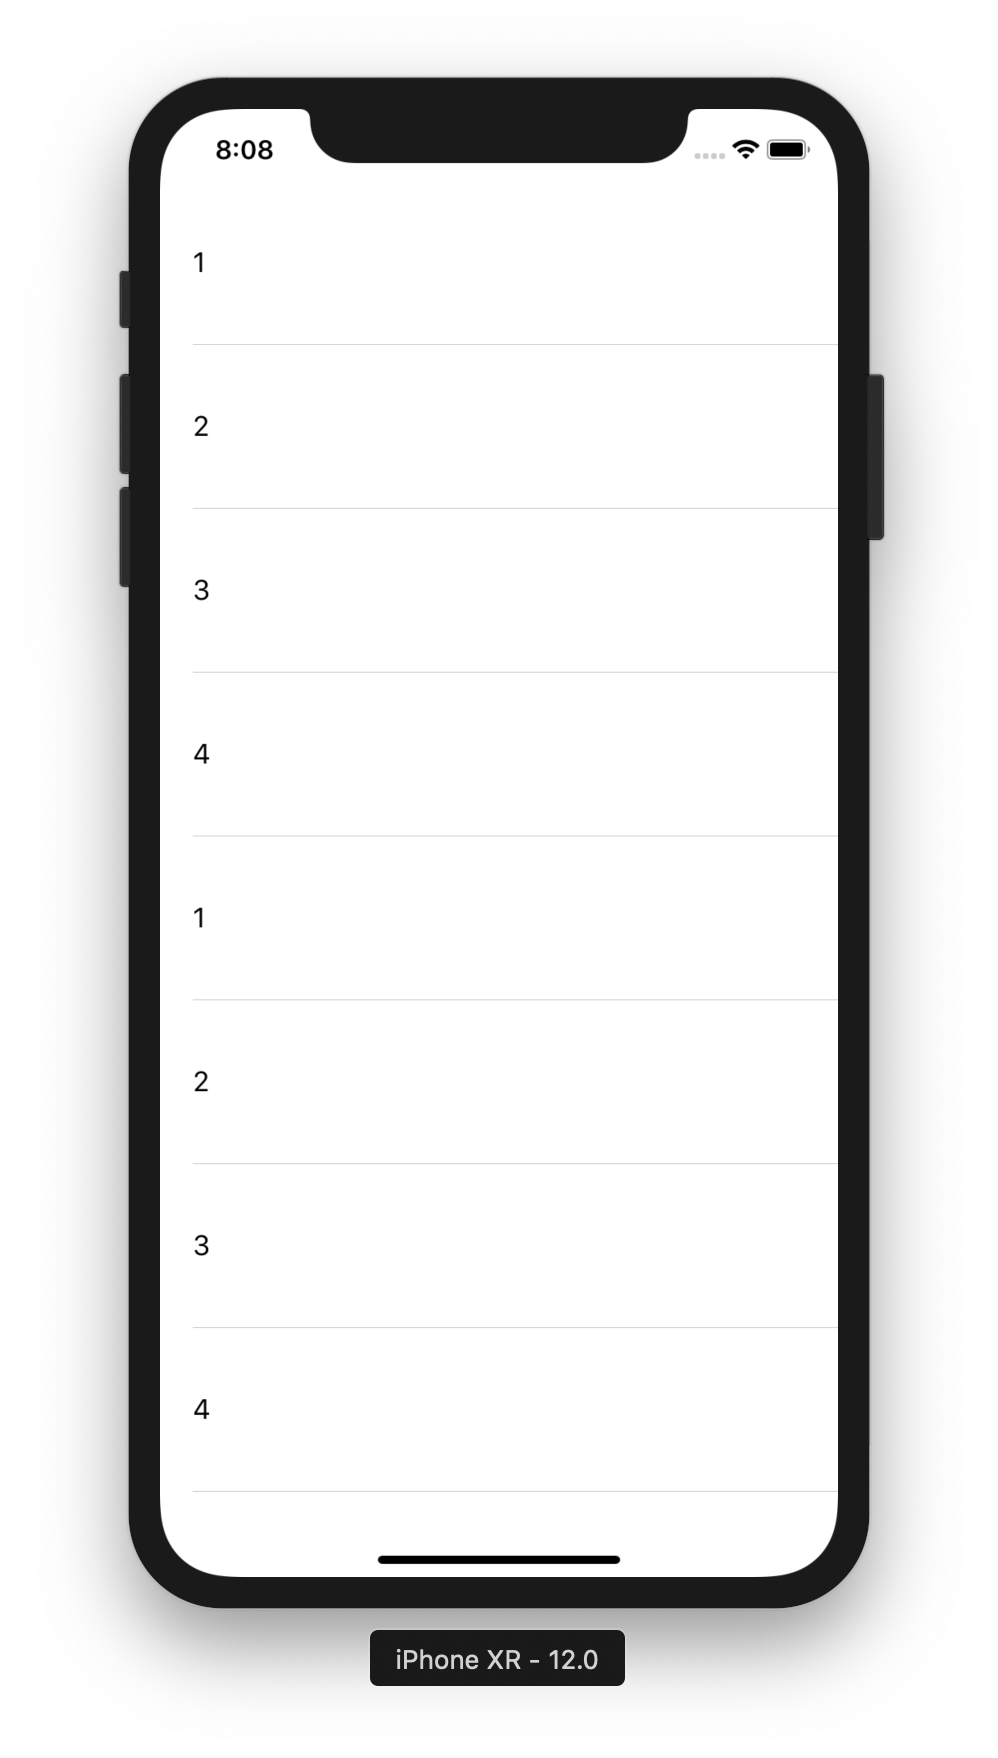 ・cellの大きさは100
・cellのstyleはBasic
・cellの大きさは100
・cellのstyleはBasic
UI
Main.storyboardを使ってボタン等を配置していく。
LibraryからTableViewを選択。

TableViewを画面に配置
TableViewを配置したら、要素を画面に固定するためAdd New Constraintsを用いる。
constraints
強制、圧迫、束縛、制約 するもの、窮屈な感じ
こんなイメージ
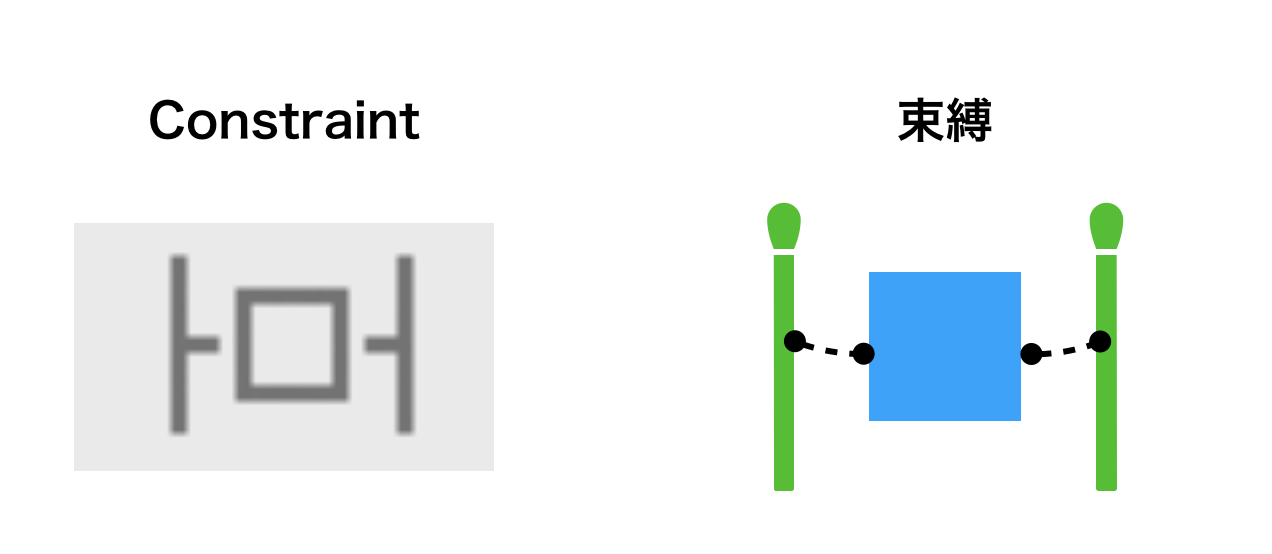 要素が紐で拘束されているイメージ
TableViewを束縛
Add New Constraintsを用いて四方の要素を束縛。

TableViewにcellを追加
Attributesインスペクタを編集
- Prototype Cellsを1に変更する
- TableView上にPrototype Cellsが表示される。
- cellのStyleはBasicを使用
 Cellの大きさを変更したい場合、TableViewの**Sizeインスペクタ**を選択し
TableViewCell の RowHeightを編集。☓
tableViewのRowHeightを編集したらできた。○
Cellの大きさを変更したい場合、TableViewの**Sizeインスペクタ**を選択し
TableViewCell の RowHeightを編集。☓
tableViewのRowHeightを編集したらできた。○
View ControllerにTableViewを追加
追加するもの
- dataSource
- delegate
この操作をすることでTableの値を使うことができる。

以上でTableViewのUIは終わり…次は、プログラム
Programing
- UITableViewDataSource、UITableViewDelegateのプロトコルを追加
class ViewController: UIViewController,UITableViewDataSource,UITableViewDelegate{
## code
}
2.2つファンクションを追加
   func tableView(_ tableView: UITableView,numberOfRowsInSection section: Int) -> Int {
        ##code
    }
1つ目のファンクションのパラメータは以下のようになっている。
・func tableView(_ tableView: UITableView, numberOfRowsInSection section: Int) -> Int
| parameters | 説明 |
|---|---|
| tableView | どのTableViewからのリクエストなのか |
| section | tableView内のセクションを識別する番号。 |
| Returns | tableViewのcell数を設定 |
|---|
2つ目にファンクションのパラメータは以下のようになっている。
・func tableView(_ tableView: UITableView,cellForRowAt indexPath: IndexPath) -> UITableViewCell
    func tableView(_ tableView: UITableView,cellForRowAt indexPath: IndexPath) -> UITableViewCell {
        ##code
    }
| parameters | 説明 |
|---|---|
| tableView | tableViewオブジェクトがcellを要求 |
| indexPath | tableView内のcellの内部パス |
| Returns | cellの中身をtableViewに反映 |
|---|
このファンクションは、cellごとに実行されている。
indexPathが1ループごとにカウントアップされ1つ目のファンクションで設定した数まで実行したらループを抜ける。
実装
import UIKit

class ViewController: UIViewController,UITableViewDataSource,UITableViewDelegate {
    let data = ["1","2","3"]
    func tableView(_ tableView: UITableView, numberOfRowsInSection section: Int) -> Int {
        //tableViewのcell数を設定。
        return data.count//定数dataの要素数を返り値に

    }

    func tableView(_ tableView: UITableView, cellForRowAt indexPath: IndexPath) -> UITableViewCell {
        var cell = tableView.dequeueReusableCell(withIdentifier: "cell", for: indexPath)
        //このメソッドのwithIdentifierパラメータはcellのIdentifireを呼び出すので、
        //PrototypeCellsのAttribute Inspector-->Identifireを編集
        //indexPathパラメータは、tableViewから値を参照する。
        cell.textLabel?.text = data[indexPath.row]
        //tableViewにcellを返す。
        return cell
    }


    @IBOutlet weak var tableView: UITableView!
    override func viewDidLoad() {
        super.viewDidLoad()
        // Do any additional setup after loading the view, typically from a nib.
    }

}
おわりに
今回はiOSのtableViewについて触った。このtableViewを使うときには
2つのファンクションを定義することが必須条件であることがわかった。
次は、別ファンクションから呼び出したファイルの内容を一覧表示させるプログラムを書いていく。