はじめに
Kotlin Android Extensions、とても便利ですよね。View binding用ライブラリとしてKotlinで開発する際、使わない理由はないくらいです。ただ、Event BindingがなくButterKnifeやKotterknifeに比べ物足りないのも事実。
ですが、Event Bindingの箇所だけButterKnife使うのは悔しい…
ということで、今回はDataBindingを使うことにします。
検証環境
kotlin 1.3.0
gradle-plugin 3.2.1
DataBindingの使い方
使うにはいくつか設定が必要です。
app/build.gradle
apply plugin: 'kotlin-kapt'
// 略
android {
    // 略
    dataBinding {
        enabled = true
    }
    // 略
}
※ kaptが必要ないというようなタイトルの記事もあり、誤解してしまいがちですがコンパイラの指定が必要なくなっただけでapplyは必要!(確認した限りではデータのバインディングに使うBRクラスなどを参照する場合は必須です)
次にlayoutも変更します
fragment_example.xml
<!-- もとのファイルのrootにlayoutタグを追加、dataにイベントハンドラ用のクラスとして、ExampleFragmentを設定 -->
<layout
    xmlns:android="http://schemas.android.com/apk/res/android"
    xmlns:app="http://schemas.android.com/apk/res-auto">
    <data>
        <variable name="handlers" type="com.example.app.fragments.ExampleFragment" />
    </data>
  <androidx.constraintlayout.widget.ConstraintLayout
        android:layout_width="match_parent"
        android:layout_height="match_parent">
        <!-- android:onClick要素が使えるようになるのでここで呼び出すメソッドを設定 -->
    <Button
            android:layout_width="match_parent"
            android:layout_height="wrap_content"
            android:text="はじめる"
            android:onClick="@{handlers::onButtonClick}" />
       </androidx.constraintlayout.widget.ConstraintLayout>
</layout>
次にイベントをバインディングします
ExampleFragment.kt
class ExampleFragment : BaseFragment() {
    companion object {
        val TAG = ExampleFragment::class.java.simpleName
    }

    override fun onCreateView(inflater: LayoutInflater, container: ViewGroup?, savedInstanceState: Bundle?): View? {
        super.onCreateView(inflater, container, savedInstanceState)

        // FragmentExampleBindingクラスはlayoutファイル名から自動生成される
        val binding = bind<FragmentExampleBinding>(inflater
                                                   , container
                                                   , R.layout.fragment_example)
        // ここでイベントをバインドします
        binding.handlers = this
        // ここでの返却値はbindingしたrootを返す
        return binding.root
    }

    fun onButtonClick(view: View) {
        Log.d("Kotlin時代のDataBindingのすゝめ")
    }
}
ここでのポイントとして汎用的にbind、unbindできるようにbaseクラスを定義します
BaseFragment.kt
abstract class BaseFragment: Fragment() {
    var binding: ViewDataBinding? = null

    inline fun <reified T : ViewDataBinding> bind(inflater: LayoutInflater
                                                  , container: ViewGroup?
                                                  , layoutId: Int): T {

        binding = DataBindingUtil.inflate<T>(inflater
                                             , layoutId
                                             , container
                                             , false)

        return binding as T
    }

    override fun onDestroyView() {
        super.onDestroyView()
        // メモリリーク対策。ButterKnifeとかと同じで必ずunbindすること!
        binding?.unbind()
    }
}
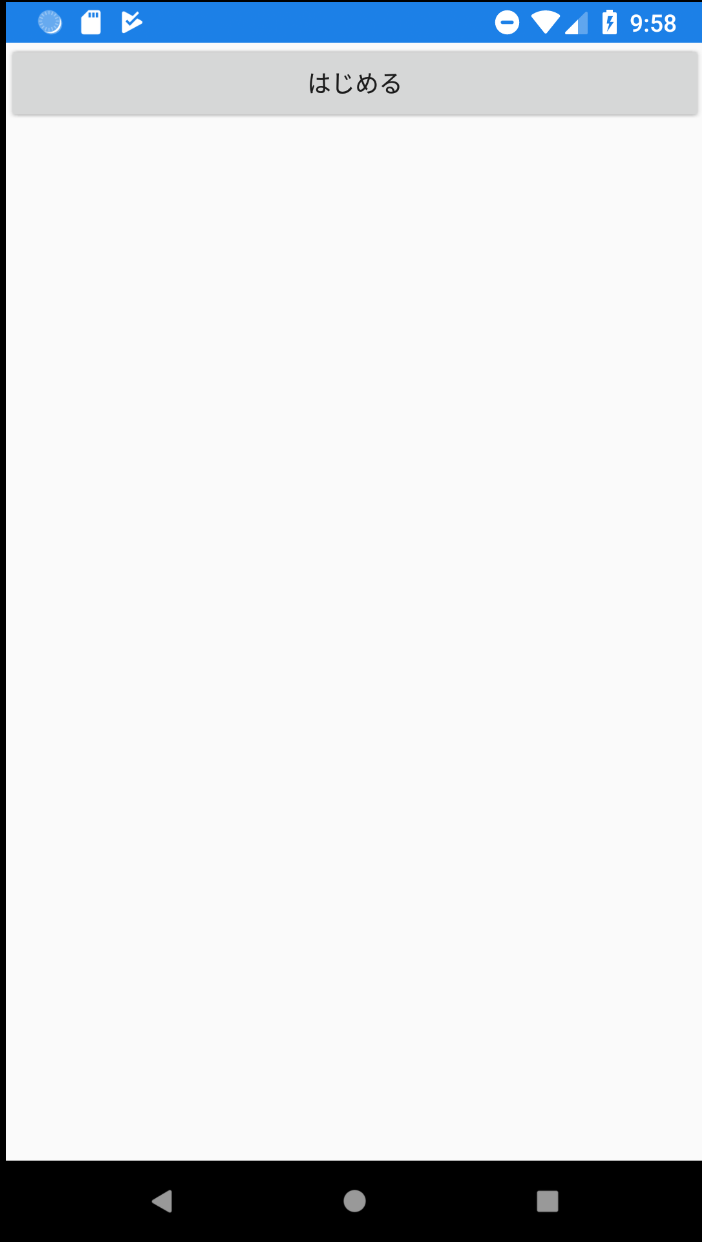
ここまで来たらアプリを起動してみます。
ボタンをタップすると…

無事、onButtonClickが呼ばれました!
Logcat
2018-11-12 22:01:52.574 23898-23898/com.example.android D/ExampleFragment: Kotlin時代のDataBindingのすゝめ
最後に
いかがでしょうか?可読性がとても良くなるのでおすすめです!
以上、Kotlin時代のDataBindingのご紹介でした!