普段画像ファイルを見るときは、画像ビューワーか、Comixという圧縮されたファイルの中の画像ファイルを展開せずに見れるツールを使っています。

とても使いやすいツールで気に入っているのですが、開発は随分前から止まっていて、7z書庫形式に対応していないのが残念なんです。
comix-4.0.4-7z.patchというのもあるみたいなのですが、ちょっと気が進まず放置してました。
無ければ作るしか無いかな
デスクトップアプリケーションの本命は、クロスプラットフォームで、Web技術の活かせるElectronが大注目だと勝手に思っていまして、習作に画像ビューワーを作るのもいいかなと。
分からないことダラケなので、一つ一つ要素技術を物にしてこうと思います。
まずは、zipファイルを展開
zipファイルの展開ライブラリとして、node-zipを利用することにしました。
次のコマンドで、インストールします。
$ npm install node-zip --save-dev
余談ですが、ElectronではもうWebAssemblyが使えるだろうから圧縮ファイルの展開部分は、高速に処理できるかなと目論んでいたのですが、まだChromeも開発版にしか入ってない未来の技術でした。
でも実際に試してみると大きめの画像を展開しても一瞬で表示されるので、杞憂だったかも。
表示部分(HTML)
HTMLは詳しくないので、サンプルを切り貼りした簡素な見た目です。
少しでも見栄えが良くなるように、マテリアルデザインのライブラリを入れています。。。
ボタンを押すと標準ファイル選択ダイアログが開いて、圧縮ファイルを選択できます。
<!DOCTYPE html>
<html>
<head>
<meta charset="UTF-8">
<title>image from zip file</title>
<link rel="stylesheet" href="https://storage.googleapis.com/code.getmdl.io/1.0.0/material.indigo-pink.min.css">
<script src="https://storage.googleapis.com/code.getmdl.io/1.0.0/material.min.js"></script>
<link rel="stylesheet" href="https://fonts.googleapis.com/icon?family=Material+Icons">
<script src="./js/base64-encode.js"></script>
</head>
<body>
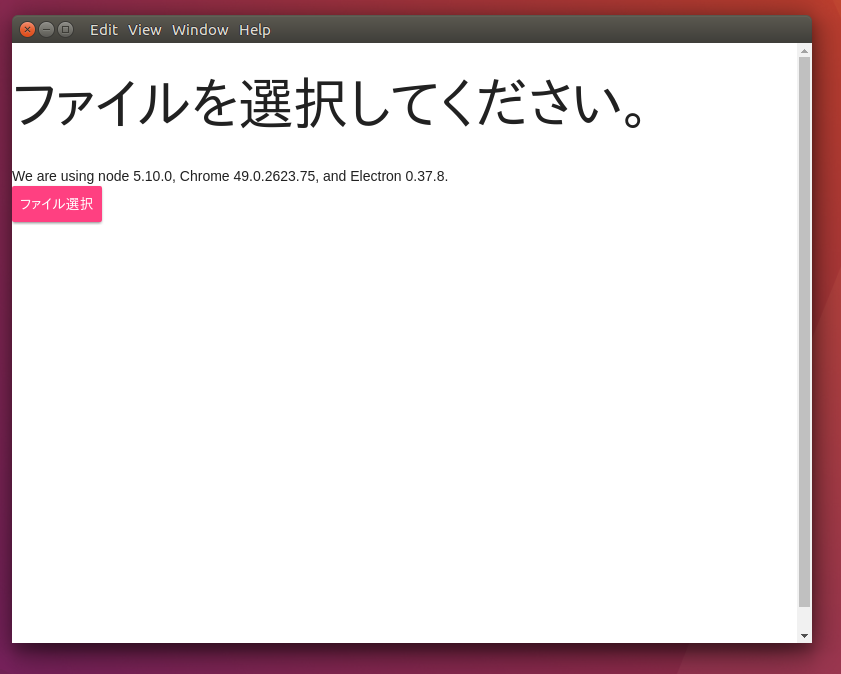
<h1>ファイルを選択してください。</h1>
We are using node <script>document.write(process.versions.node)</script>, Chrome <script>document.write(process.versions.chrome)</script>,
and Electron <script>document.write(process.versions.electron)</script>.
<div class="container">
<button id="fileSelect" type="button" class="mdl-button mdl-js-button mdl-button--raised mdl-button--accent mdl-js-ripple-effect">ファイル選択</button>
</div>
<div><ul id="imageContainer"></ul></div>
ファイル選択処理
jQueryを使って、ボタン処理は行っています。
使い方にコツがいるらしいのですが、何も考えずネットで見つけたサンプルを利用してます(笑)
    <script>
        // node_integrationを行うとmodule.exports関係の事情でjQuery/$がundefinedになるので
        // それの回避コード
        window.jQuery = window.$ = require('./js/jquery-3.0.0.min.js');
    </script>
    <script>
        var remote = require('remote');
        var dialog = remote.require('dialog');
        var browserWindow = remote.require('browser-window');
        var fs = require('fs');

$(function(){
    // ボタンが押されたときの挙動
    $('#fileSelect').on('click', function(){
        var focusedWindow = browserWindow.getFocusedWindow();

        dialog.showOpenDialog(focusedWindow, {
            properties: ['openFile'],
            filters: [{
                name: 'zipファイル',
                extensions: ['zip']
            }]
        }, function(files){
       // ボタンが押された後の処理
        });
    });
});
    </script>
Zipファイルの展開
選択されたファイルを展開する処理です。
zip.files[ファイル名][データタイプ]に入っています。
files.forEach(function(file){
    fs.readFile(file, 'binary', function(err, data) {
    if (err) throw err;

    var zip = new require('node-zip')(data, {base64: false, checkCRC32: true});

    for (var i in zip.files) {
        for (var j in zip.files[i]) {
            if (j == '_data') {
                // 展開されたイメージデータ
            }
        }
    }
});
画像に変換する
オンメモリで処理したかったので、ここが一番手こずりました。
dataURI形式に変換して、imgタグへ流し込むという手順が、動的に画像を処理する一般的な手法のようです。(たぶん)
ファイル名の拡張子から画像形式を判別して、dataURI形式の文字列へ変換しています。
var type = i.split('.');
var kind = 'jpeg';
if (type[type.length - 1].toLowerCase() == 'png') {
    kind = 'png';
}
var dataURI = 'data:image/' + kind + ';base64,' + base64_encode(zip.files[i][j]);
画像の追加
画像を並べるために、動的にタグを生成して、子要素として追加してます。
サイズとか調整せず原寸で表示しています。
var imageContainer = document.getElementById('imageContainer');
var img = document.createElement('img');

img.addEventListener("load", function () {
    var li = document.createElement('li');
    li.appendChild(this);
    imageContainer.appendChild(li);
});
img.setAttribute("src", dataURI);
ソースコードは、Githubに置いてあります。
まだまだ、先は長いですが、一個ずつ要素技術を解決していこうと思います。