はじめに
何回煎じるんだって言うほどよく見る内容ですが、Firebaseを用いてデプロイする機会があったので、ある程度知識をまとめてみました。
あくまで備忘録として記すので、もしわかりにくい部分が会ったらご指摘お願いします。
また、今回の記事はこの記事を非常に参考にさせてもらいました。
使用環境
MacBook (version: 10.15.4)
Nuxt (version: 2.11.0)
firebase sparkプラン
firebase-tools (version: 8.2.0)
目標
- Nuxtで作ったアプリケーションを、動的コンテンツとしてデプロイしたい。
- さらにBasic認証もかけれれば完璧。
0.概観
デプロイの流れ

①Firebase Hostingにアクセスします。
②HostingされるとFirebase Functionsに必ずリライトします。
③Nuxtアプリをレンダリングして、クライアントサイドに返します。
ディレクトリ構造
以下が最終的なアプリのディレクトリ構造になります。
ただし、今回関係ない部分は省略しています。
<プロジェクト名>
├── firebase.json
├── nuxt.config.js
~
~
├── functions
│   ├── index.js
│   └── node_modules
├── plugins
│   └── firebase.js
└── public
    └── index.html
1.Nuxtアプリ作成
yarnの場合
yarn create nuxt-app 生成ファイル名

npmの場合
npx create-nuxt-app <project-name>
とりあえずnuxtアプリを生成します。
詳しくは、こちらをご覧ください。
2.firebaseの初期化
今回は、firebase CLIなどは既にインストールされている状態のものとします。
firebaseの最初の導入に関してはこちらをご覧ください。
まず、以下のコマンドでfirebaseを初期化します。
firebase init
そうすると、例の如く何を初期化するか聞かれるので、今回はFunctions, Hositngを選択。
? Which Firebase CLI features do you want to set up for this folder? Press Space
 to select features, then Enter to confirm your choices. (Press <space> to selec
t, <a> to toggle all, <i> to invert selection)
❯◯ Database: Deploy Firebase Realtime Database Rules
 ◯ Firestore: Deploy rules and create indexes for Firestore
 ◯ Functions: Configure and deploy Cloud Functions
 ◯ Hosting: Configure and deploy Firebase Hosting sites
 ◯ Storage: Deploy Cloud Storage security rules
 ◯ Emulators: Set up local emulators for Firebase features
以降は色々聞かれるので、基本そのままEnter連打で構いません。
またHostingをinitした時に/.firebasercと/firebase.jsonが生成されます。
念のため説明しておくと、/firebasercはデプロイするプロジェクトを設定しておくファイルで、/firebase.jsonはデプロイ時にどのような操作をするか決定するファイルになります。
/firebase.jsonに関しては 3. で取り扱います。
3.デプロイ時の操作の決定
上の 2. で話した通り/firebase.jsonの中身を弄って、デプロイ時にfirebase functionsに操作をリライトできるようにします。
{
  "functions": {
    "functions": {
      "source": "functions"
    }
  },
  "hosting": {
    "public": ".nuxt/dist",
    "ignore": [
      "firebase.json",
      "**/.*",
      "**/node_modules/**"
    ],
    "rewrites": [
      {
        "source": "**",
        "destination": "ssr"
      }
    ]
  }
}
このように記述すると、全てのルートで後述するssr関数にリライトすることができます。
4.Functionsの依存関係の調整
{
  "name": "functions",
  "description": "Cloud Functions for Firebase",
  "scripts": {
    "serve": "firebase serve --only functions",
    "shell": "firebase functions:shell",
    "start": "npm run shell",
    "deploy": "firebase deploy --only functions",
    "logs": "firebase functions:log"
+ },
+  "engines": {
+    "node": "10"
+  },
  "dependencies": {
    "firebase-admin": "^8.6.0",
    "firebase-functions": "^3.3.0",
+   "nuxt": "^2.10.2"
  },
  "devDependencies": {
    "firebase-functions-test": "^0.1.6"
  },
  "private": true
}
nodeのバージョンはデフォルトで、8なので10にしておきます。
またfunctions内にはnuxtは入っていないので、
cd functions && npm install --save nuxt
をしておきます。
5.Functionsの内容を記述する
3.で書いたように、Hostingされると全てのパスにおいてfunctions/index.jsにリライトされます。
const functions = require('firebase-functions');
const { Nuxt } = require('nuxt');
const nuxt = new Nuxt({
    buildDir: 'ssr',
    dev: false
});

exports.ssr = functions.https.onRequest(async (req, res) => {
    await nuxt.ready()
    return nuxt.render(req, res)
})
以上で、各々のルートでレンダリングするようにかけています。
4.で記述したssrはここでexportsしたものになります。
またここで指定したbuildDirはデプロイ時に作成するディレクトリ名になります。
またその際のパスは/functions/ssr/となります。
6.package.jsonでビルドコマンドを変更
今後デプロイがしやすくなるように、コマンドを調整します。
{
  "name": "***********",
  "version": "1.0.0",
  "description": "My cat's meow Nuxt.js project",
  "author": "Shiba-You",
  "private": true,
  "scripts": {
    "dev": "nuxt",
+   "build": "nuxt build && npm run build:copy:ssr",
+   "build:copy:ssr": "rimraf functions/ssr && mkdirp functions/ssr && cp -R .nuxt/dist functions/ssr/dist",
    "start": "nuxt start",
    "generate": "nuxt generate",
    "lint": "eslint --ext .js,.vue --ignore-path .gitignore ."
  },
  "dependencies": {
    "nuxt": "^2.0.0",
    "@nuxtjs/dotenv": "^1.4.0"
  },
  "devDependencies": {
    "@nuxtjs/vuetify": "^1.0.0",
    "@nuxtjs/eslint-config": "^2.0.0",
    "@nuxtjs/eslint-module": "^1.0.0",
    "babel-eslint": "^10.0.1",
    "eslint": "^6.1.0",
    "eslint-plugin-nuxt": ">=0.4.2"
  }
}
以上のように変更・追加することで、/functions/ssr/distに静的ファイル群をコピーすることができます。
7.実行
現在、/functionsにいればプロジェクトファイル直下に戻った上で、ビルドしてJSファイルをミニファイします。
(functionsにいれば) cd ../
npm run build
実際にデプロイする前に、プレビューしておきます。
firebase serve
特に指定しなければ以下のように5000ポートが開いていると思うので、ローカル上で正しく動作できているか確認します。
✔  functions: functions emulator started at http://localhost:5001
i  functions: Watching "/Users/**********/*********/functions" for Cloud Functions...
i  hosting: Serving hosting files from: dist
✔  hosting: Local server: http://localhost:5000
問題なければ本番サーバーにデプロイします。
firebase deploy
? Would you like to proceed with deletion? Selecting no will continue the rest
of the deployments. No
i  functions: continuing with other deployments.
✔  functions[ssr(us-central1)]: Successful update operation.
i  hosting[hall-repoter-dev]: finalizing version...
✔  hosting[hall-repoter-dev]: version finalized
i  hosting[hall-repoter-dev]: releasing new version...
✔  hosting[hall-repoter-dev]: release complete

✔  Deploy complete!

Project Console: https://console.firebase.google.com/project/***************/overview
Hosting URL: https://******************.web.app
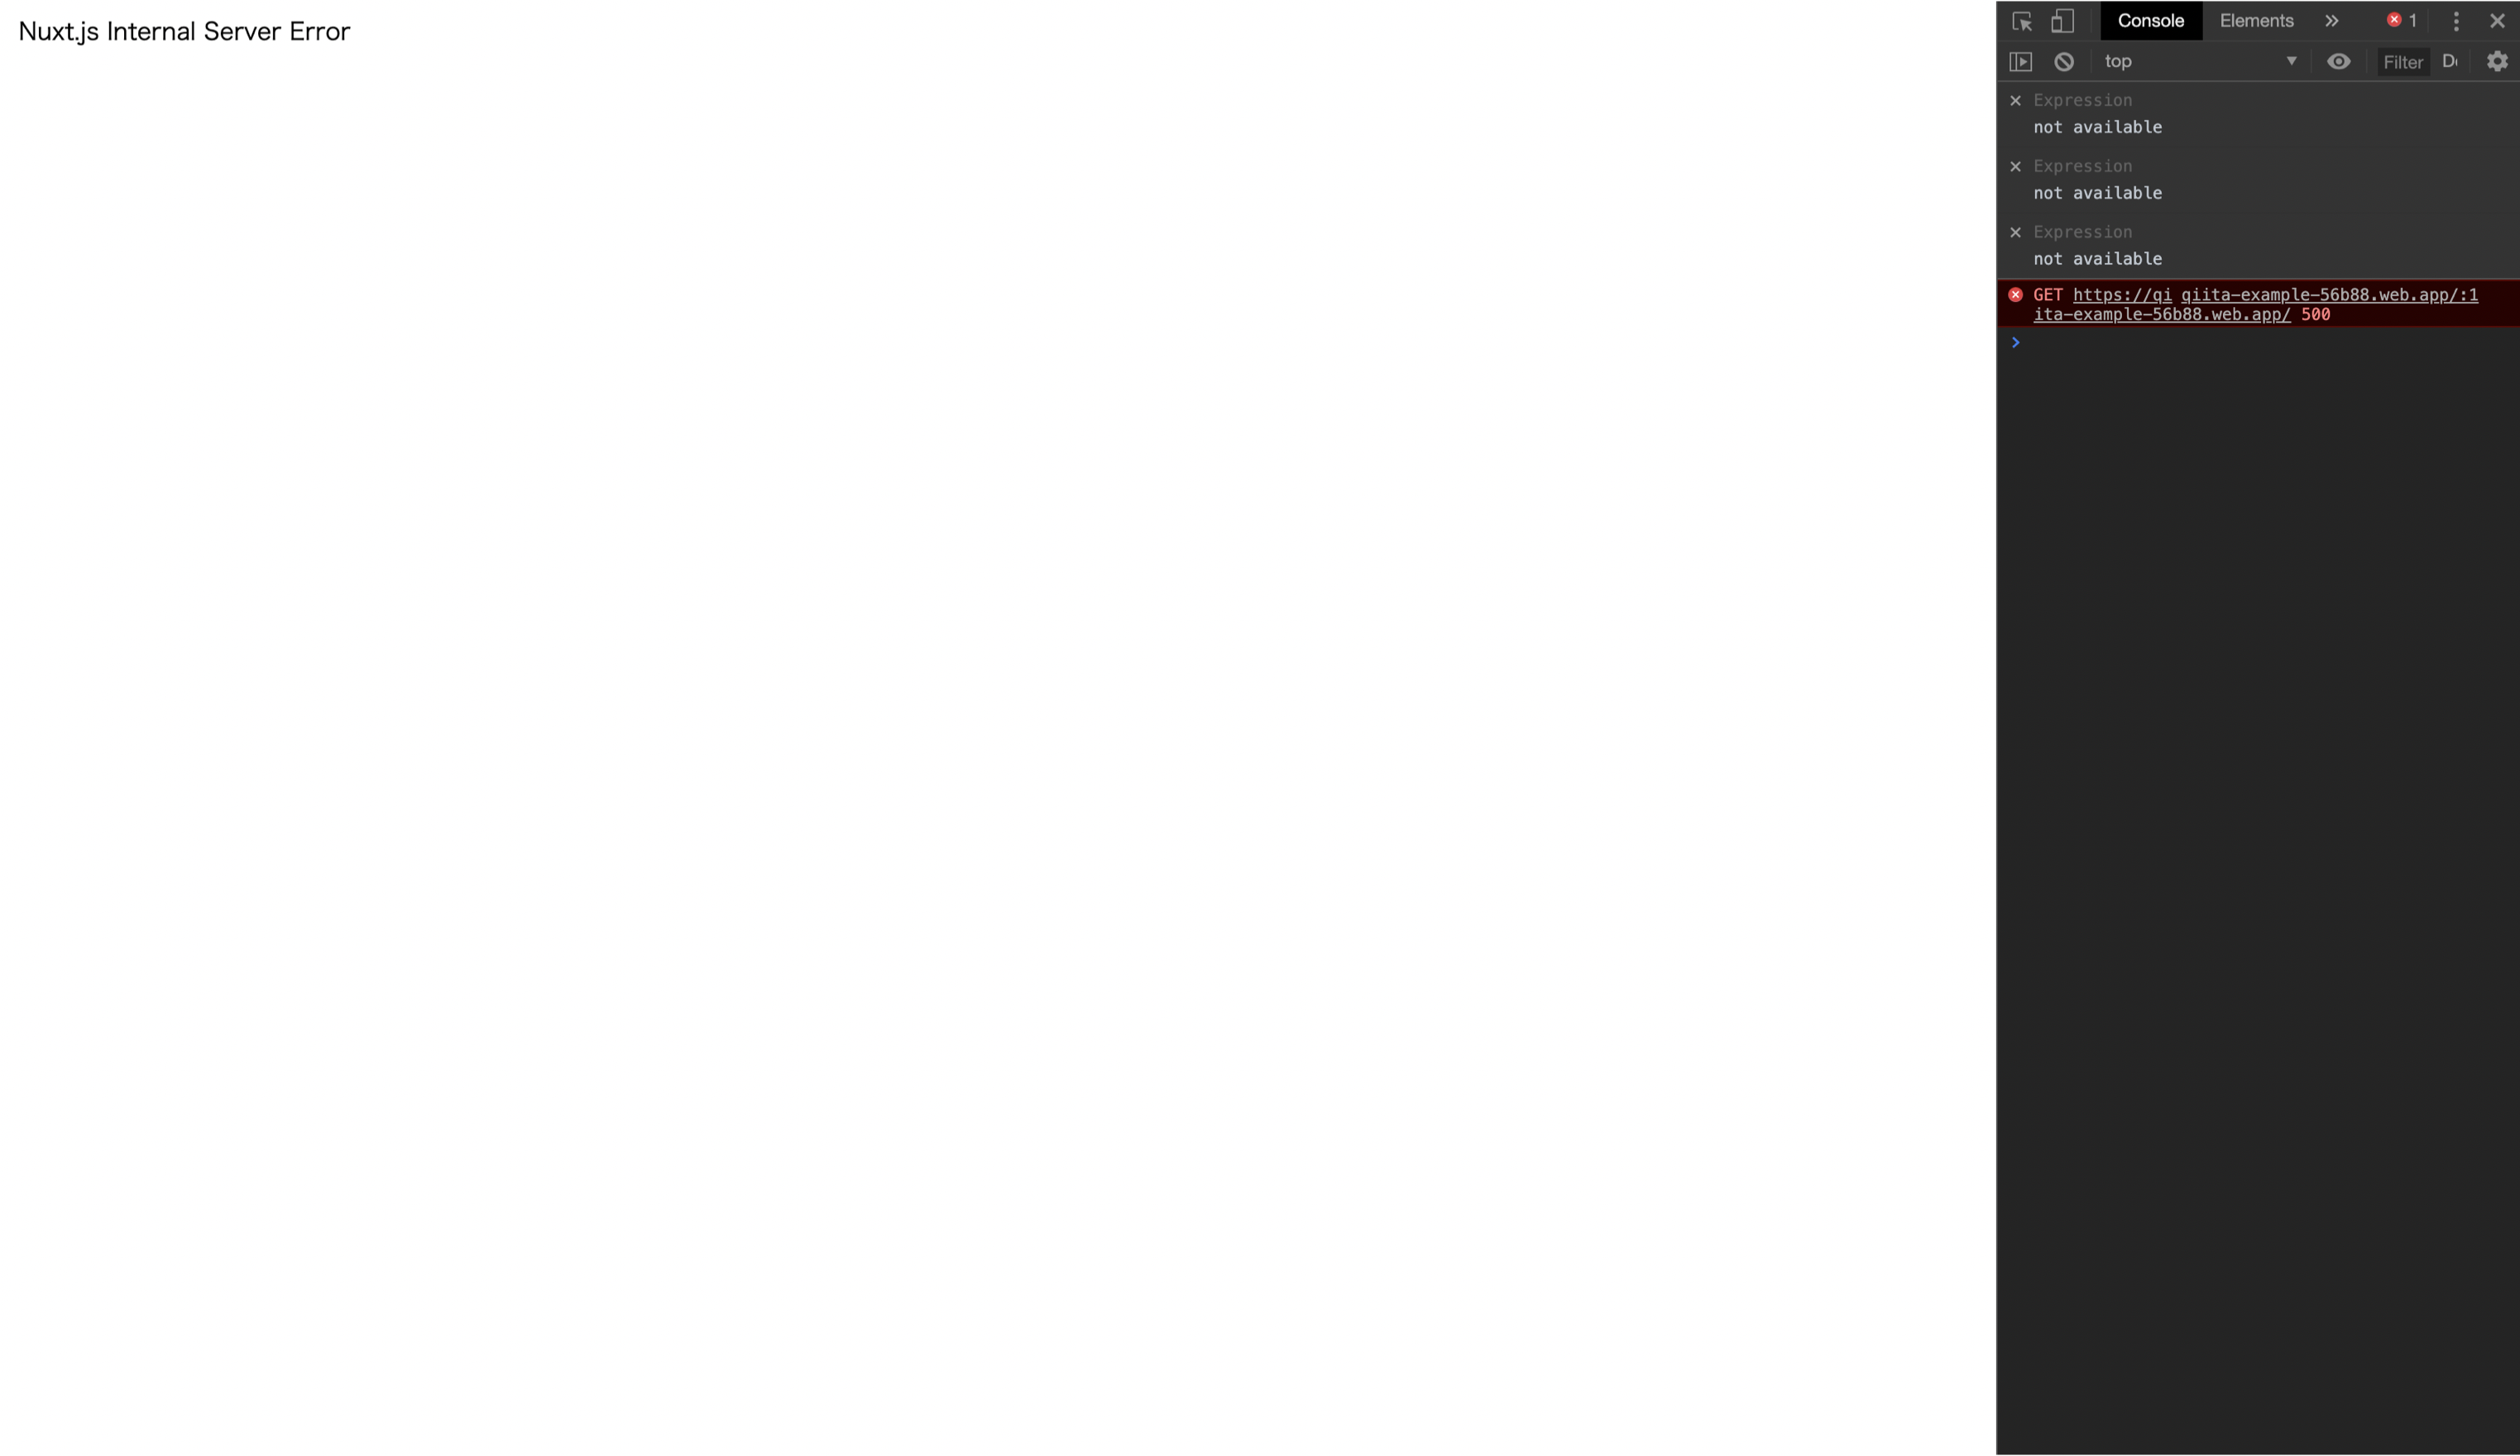
Hosting URLに表示されているURLに自分のプロジェクトが動作していたらデプロイ成功です。
おまけ
以下個人的に詰まった点等を紹介します。
エラー例①: firebase serveしても期待通りに動いてくれない
firebase serveしても上のように表示されるだけで期待通りに動いてくれない場合は、functions内の依存関係がおかしかったり、必要な物がインストール出来ていない可能性が高いです。
なので、まずは
cd functions && npm install firebase
をしてfirebaseが入っているか確かめます。
それでも治らない場合は
npm rm nuxt-sass-resources-loader --save-dev
npm i nuxt-sass-resources-loader
をしてみてください。
自分はこれで、エラーから抜け出すことができました。
エラー例②: firestoreからデータが持ってこれない
これはまた別件になりますが、ローカルでは動いていたfirestoreが動かないことがあります。(自分がそうでした)
なので、動くようにセキュリティルールを変更します。
ちなみに、セキュリティルールはfirebaseのコンソールの「Database」→「ルール」で開くことができます。

ここを、以下のように変更します。
service cloud.firestore {
  match /databases/{database}/documents {
    match /{document=**} {
      allow read, write;
    }
  }
}
ただし、このルールは誰でもDbを書き換えれるルールなので、その辺は注意してください。
Basic認証もデプロイしてみる
どうせならBasic認証もあったほうがいいので試してみました。
まずは必要なパッケージをインストールします。
cd functions && npm install --save basic-auth-connect express
またfunctions/index.jsも書き直します。
const functions = require('firebase-functions');
const express = require('express');
const basicAuth = require('basic-auth-connect');
const { Nuxt } = require('nuxt');

const nuxt = new Nuxt({
  buildDir: 'ssr',
  dev: false
});

const USERNAME = '任意のユーザーID'
const PASSWORD = '任意のパスワード'

const app = express()

app.use(basicAuth(USERNAME, PASSWORD))

app.use(async (req, res) => {
  await nuxt.ready()
  nuxt.render(req, res)
})

exports.ssr = functions.https.onRequest(app)
以上のように変更するだけで、Basic認証が実装できます。
まとめ
今回はSSRをデプロイしてみましたが、自分がサーバーやらインフラやらに弱いことを痛感しました。
もう少しその辺を掘り下げて勉強してみます。
参考
https://agelog.hateblo.jp/entry/2019/11/25/001401
https://qiita.com/sugitata/items/be357fcaab744fd02a4f
https://qiita.com/ykoizumi0903/items/55fd678d261a8c308f0f
https://qiita.com/seya/items/225f859d775b31047000