(注)ここでは最終結果だけでなくエラーの試行錯誤も含めて書いていきます。
また中途半端でもアップし後々更新することとします。
目的
以前行った回帰分析をwebアプリ化してみます。
web化の手法
pythonにはFlaskというフレームワークがあるため使ってみます。
Djangoという本格的なものもあるようですが、とりあえずはそこまでは必要ないとおもいますので。
サンプルの実行
フォルダ構成
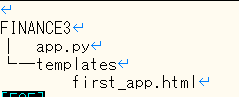
app_sample.py
from flask import Flask, render_template
app = Flask(__name__)
@app.route('/')
def index():
    return render_template('first_app.html')
if __name__ == '__main__':
    app.run()
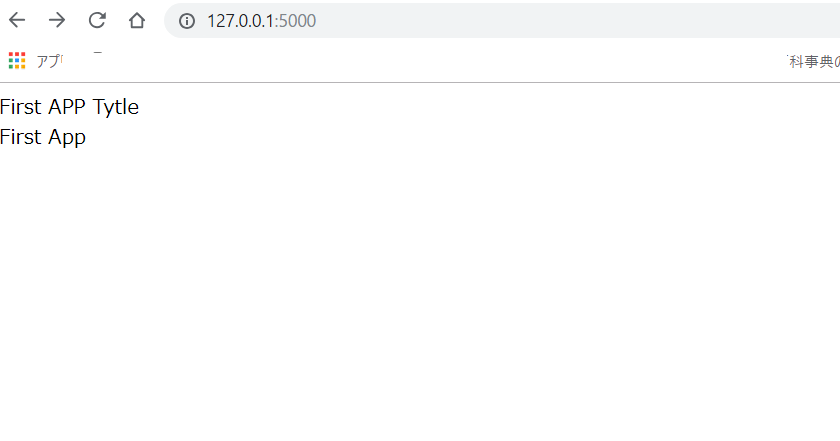
first_app.html
<!doctype html>
<html>
    <head>
        <tytle>First APP Tytle</tytle>
    </head>
    <body>
        <div>First App </div>
    </body>
</html>
結果
試算の実行
フォルダ構成
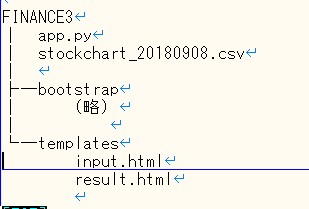
input.htmlで入力させ、result.htmlに出力します。
最初にいつもの学習。
app.py
from flask import Flask, render_template,request
from sklearn.linear_model import LinearRegression
import pandas as pd
import numpy as np

stock_data = pd.read_csv('stockchart_201809xx.csv')
count_s =  len(stock_data)
owarine = stock_data['終値'].values.tolist()
successive_data = []
answers = []
for i in range(4, count_s):
    successive_data.append([owarine[i-4], owarine[i-3], owarine[i-2], owarine[i-1]])
    answers.append(owarine[i] )
reg = LinearRegression().fit(successive_data, answers)
input.htmlを呼ぶところ。
app.py
app = Flask(__name__)

@app.route('/')
def index():
    return render_template('input.html')
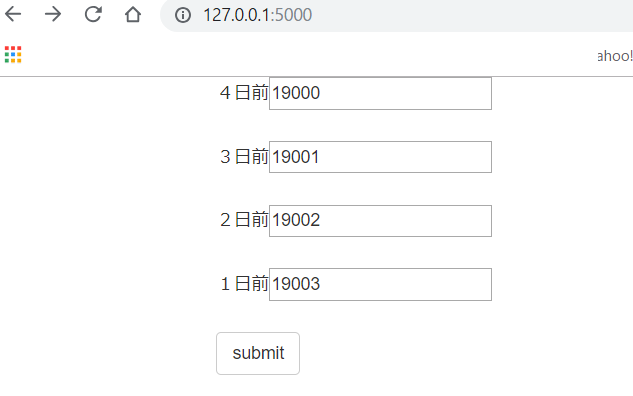
input.html(form部分のみ抜粋)
          <form action = "/result" method = "POST" class="form-group">
            <p>4日前<input type = "text" name = "bef4" class="form-group"/></p>
            <p>3日前<input type = "text" name = "bef3" class="form-group"/></p>
            <p>2日前<input type = "text" name = "bef2" class="form-group"/></p>
            <p>1日前<input type = "text" name = "bef1" class="form-group"/></p>
            <p><input  type = "submit" value = "submit" class="btn btn-default"/></p>
          </form>
app.py
@app.route('/result',methods = ['POST', 'GET'])
def result():
if request.method == 'POST':
try:
val1 = float(request.form['bef4'])
except ValueError:
return "4日前の値が数字ではありません"
(略)
test_data = np.array([[val1,val2,val3,val4]])
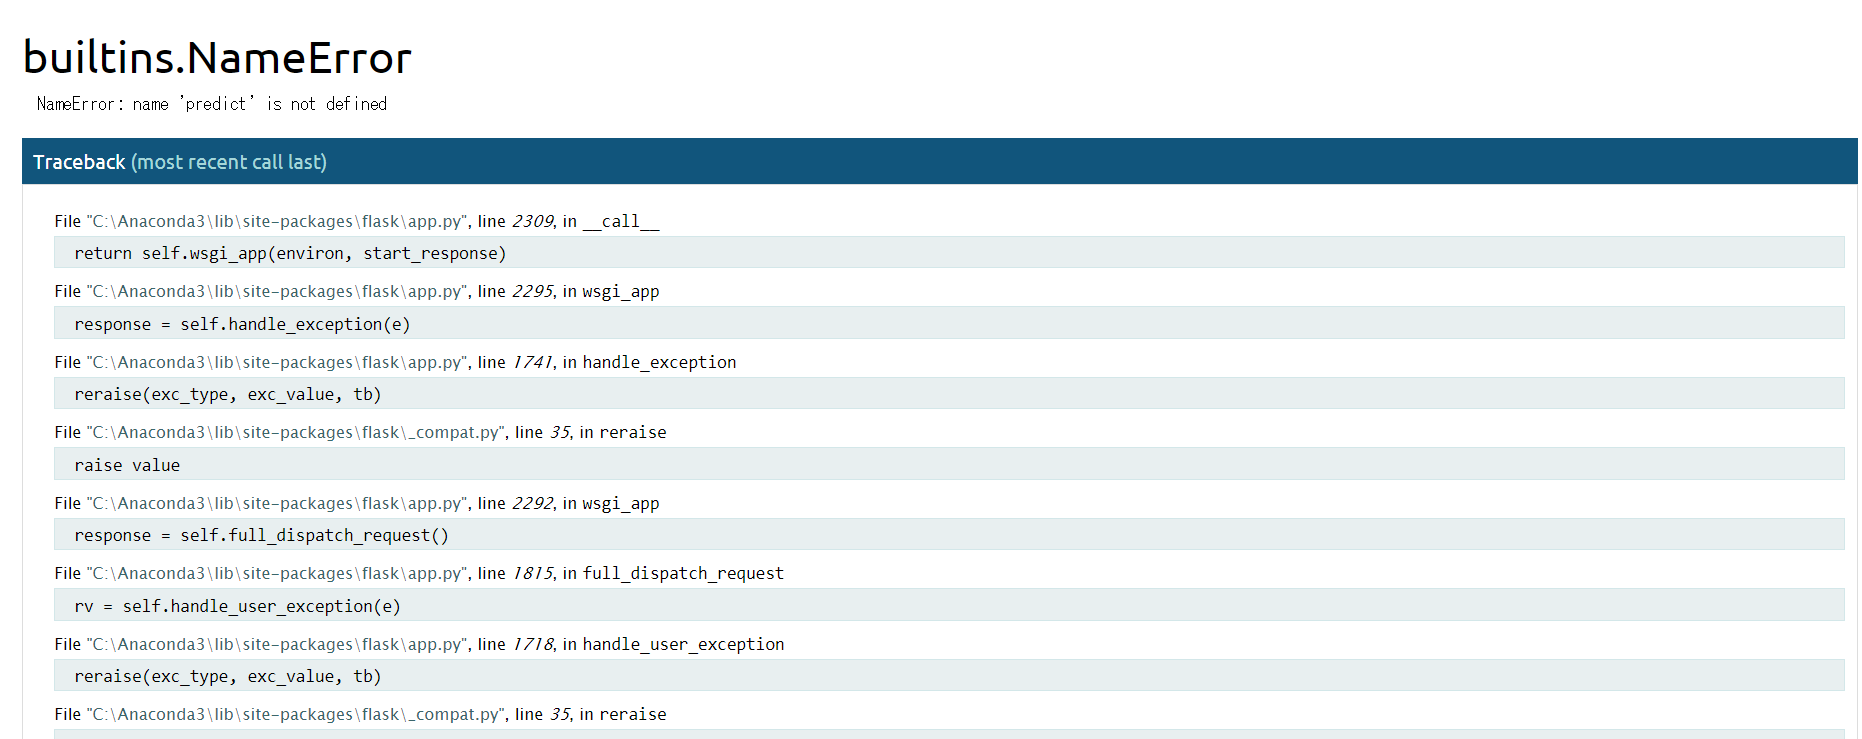
predicted = reg.predict(test_data)
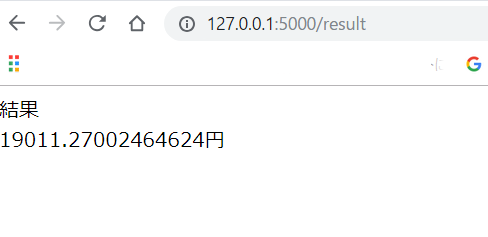
msg = str(predicted.tolist()[0]) + "円"
return render_template("result.html",val = msg)
if __name__ == '__main__':
app.debug = True
app.run()
result.html(body部分のみ抜粋)
    <body>
        <div>{{ val }} </div>
    </body>
index.htmlにはbootstrapを適用してみました。
http://~/resultにアクセスしたときの処理
(formの「action = "/result"」と合わせる)
「methods = ['POST', 'GET']」postでもgetでも受け付けるという意味。
floatで受け付けられるか判断し、okの場合のみ受け付け。
エラーの場合はリターンした内容が表示されます。
結果
↓
メモ
1) htmlはUTF-8で作成します。保存するときもです。
「unicodedecodeerror: 'utf-8' codec can't decode」というエラーになります。
2)app.debug = Trueとすることでエラーの時デバック画面を表示できます。
ソース

面白そうだったので以下の画像を使ってみました。
https://qiita.com/po3rin/items/eac851304cf058c532af