WebVRを実装するにあたって、ライブラリ、フレームワークにはいくつも選択肢がありますので、使い始めは複数のライブラリを交互に試用してみるというケースが多いと思われます。
この記事は私がAndroid8.0でモバイル版Chrome(67.0.3396.87)を使用して
1. ThreeJS + WebVR Boilerplate
2. A-Frame
3. React 360(React VR)
と、試していった時に発生したトラブルと、その対処方法をメモしたものです。
発生した現象と対処法
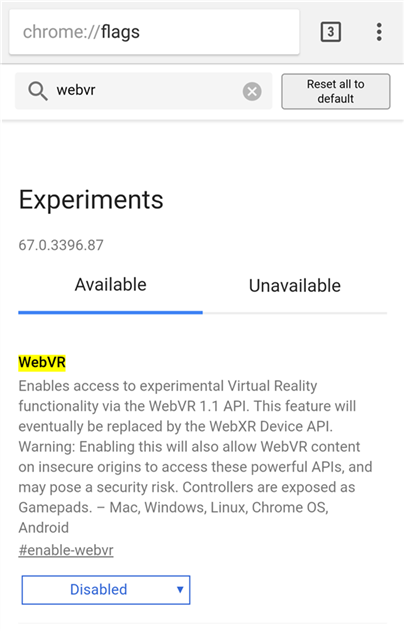
手っ取り早く内容を知りたい方の為に結論から言ってしまうと、ライブラリによってはWebVRを動作させるために必要になる設定 chrome://flags#enable-webvr があるのですが、これを有効にすると、動作しなくなるライブラリもあるということになります。
具体的には
1. ThreeJS + WebVR Boilerplate
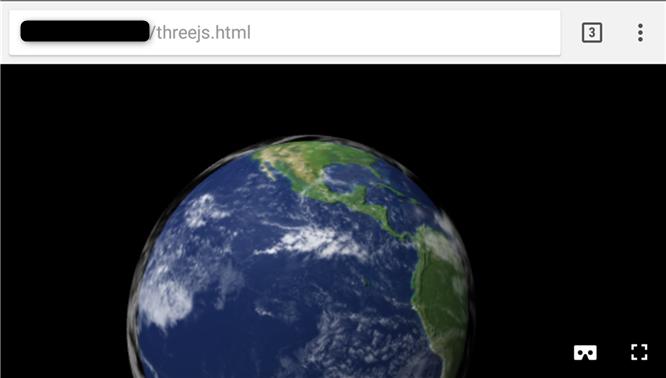
まずは一つ目のライブラリ。こちらの記事を参考に作りました。
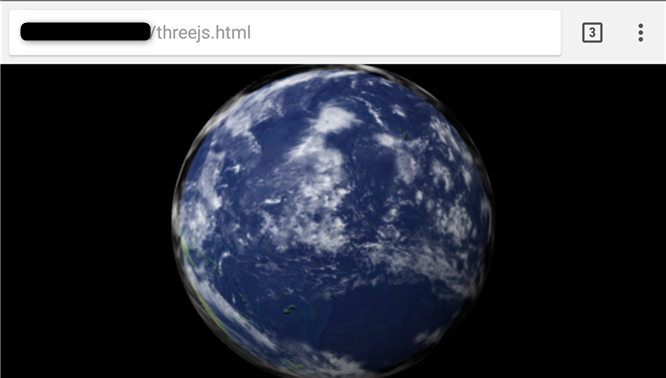
基本の形状そのままだと画的に寂しかったので地球のモデルを表示するようにアレンジしています。(サイズや回転速度等は適当です)
<!doctype html>
<html>
  <head>
    <meta charset="utf8">
    <meta name="viewport" content="width=device-width,initial-scale=1">
    <style type="text/css">
    <!--
    body {
        margin: 0;
    }
    canvas {
        height: 100%;
        width: 100%;
    }
    -->
    </style>
  </head>
  <body>
    <script src="https://cdnjs.cloudflare.com/ajax/libs/three.js/r76/three.min.js"></script>
    <script src="VRControls.js"></script>
    <script src="VREffect.js"></script>
    <script src="webvr-polyfill.js"></script>
    <script src="webvr-manager.js"></script>
    <script src="app.js"></script>
  </body>
</html>
var scene = new THREE.Scene(); // シーン
// ブラウザのサイズからカメラ定義
var camera = new THREE.PerspectiveCamera(75, window.innerWidth / window.innerHeight, 0.1, 1000); // カメラ
// ブラウザのサイズにレンダラをセット
var renderer = new THREE.WebGLRenderer({antialias: true}); // レンダラ
renderer.setSize(window.innerWidth, window.innerHeight);
document.body.appendChild(renderer.domElement);

// VR制御
var controls = new THREE.VRControls(camera);
controls.standing = true;
// VRエフェクト
var effect = new THREE.VREffect(renderer);
effect.setSize(window.innerWidth, window.innerHeight);
// VRマネージャ
var manager = new WebVRManager(renderer, effect);
// イベントハンドラ登録
window.addEventListener('resize', onResize, true);
window.addEventListener('vrdisplaypresentchange', onResize, true);

// ライティング
var directionalLight = new THREE.DirectionalLight( 0xffffff, 1 ); // 平行光源(色、強度)
directionalLight.position.set(-2,2,3);
scene.add( directionalLight );
var ambientLight = new THREE.AmbientLight( 0x333333); // 環境光(色、強度)
scene.add( ambientLight );

// 地球用の球体オブジェクト作成
var earth_geometory = new THREE.SphereGeometry(150, 100, 100); // オブジェクト定義
// 地球テクスチャの読み込み
var earthTexture = THREE.ImageUtils.loadTexture( "earth01.png" );
// 地球バンプマップテクスチャの読み込み
var earthbumpTexture = THREE.ImageUtils.loadTexture( "earth-bump.png");
// メッシュマテリアルの設定 テクスチャをマップ
var material = new THREE.MeshPhongMaterial( {
    map: earthTexture, color: 0xFFFFFF,specular:0x050505,
    bumpMap: earthbumpTexture, bumpScale: 3
});
var earth = new THREE.Mesh(earth_geometory, material); // 地球用球体オブジェクトに地球テクスチャのマテリアルを適用して地球モデル作成
earth.position.set(0, 0, -250);
scene.add(earth); // シーンにオブジェクト追加

// 雲用の球体オブジェクト
var cloud_geometry = new THREE.SphereGeometry(155, 100, 100); // 覆うように地球より少し大きいサイズ
// 雲テクスチャの読み込み
var cloudsTexture = THREE.ImageUtils.loadTexture( "earth-cloud.png" );
// マテリアルの設定 PNGの透明部分をいかす
var materialClouds = new THREE.MeshLambertMaterial( {
    color: 0xFFFFFF,
    map: cloudsTexture, transparent: true
});
// 雲用球体オブジェクトに雲テクスチャのマテリアル適用
cloud = new THREE.Mesh( cloud_geometry, materialClouds );
cloud.position.set(0, 0, -250);
// シーンへの追加
scene.add( cloud );

function render() {
    earth.rotation.y += 0.001;
    cloud.rotation.y += 0.0018;
    requestAnimationFrame(render);
    controls.update();
    manager.render(scene, camera);
}
render(); // レンダリング

function onResize(e) {
    effect.setSize(window.innerWidth, window.innerHeight);
    camera.aspect = window.innerWidth / window.innerHeight;
    camera.updateProjectionMatrix();
}
表示はこんな感じ。カメラがジャイロに連動しますし、画面右下にVR画面への切り替えアイコンが表示されています。
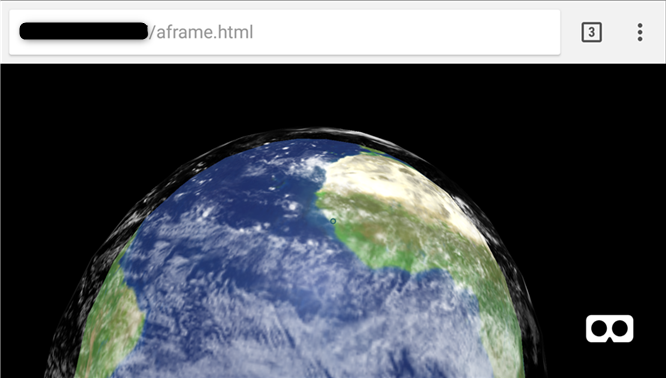
2. A-Frame
次はA-Frameで1.と同じモデルを表示してみます。
<!doctype html>
<html>
  <head>
    <title>WebVR TEST A-Frame ver.</title>
    <script src="https://aframe.io/releases/latest/aframe.js"></script>
  </head>
  <body>
    <a-scene>
        <a-camera position="0 0 130"
            cursor-visible="true"
            cursor-scale="2"
            cursor-color="#4CC3D9"
            cursor-offset="2"
            cursor-maxdistance="100"
            cursor-opacity="0.5">
        </a-camera>

        <a-entity light="type: ambient; color: #FFFFFF"></a-entity>
        <a-entity light="type: directional; color: #FFFFFF; intensity: 1.5" position="-1 1 20"></a-entity>

        <a-sky color="#000000"></a-sky>

        <a-entity id="earth" position="0 0 -10">
            <a-sphere position="0 0 0" radius="100" src="earth01.png">
                <a-animation attribute="rotation"
                    dur="50000"
                    fill="both"
                    to="0 360 0"
                    repeat="indefinite"
                    easing="linear"
                >
                </a-animation>
            </a-sphere>
            <a-sphere position="0 0 0" radius="105" src="earth-cloud.png">
                <a-animation attribute="rotation"
                    dur="40000"
                    fill="both"
                    to="0 360 0"
                    repeat="indefinite"
                    easing="linear"
                >
                </a-animation>
            </a-sphere>
        </a-entity>
    </a-scene>
  </body>
</html>
表示はこうなりました。少し見栄えは違いますが、概ね1.と同じ感じです。
3. React 360(React VR)
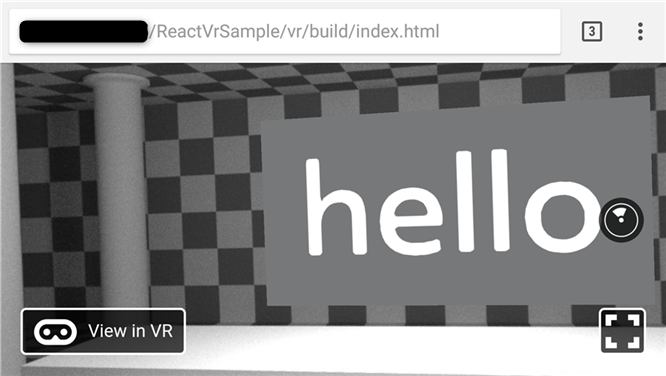
最後のReact VRですが、こちらの記事を参考にHello World的な画面を表示したところこんな感じに。
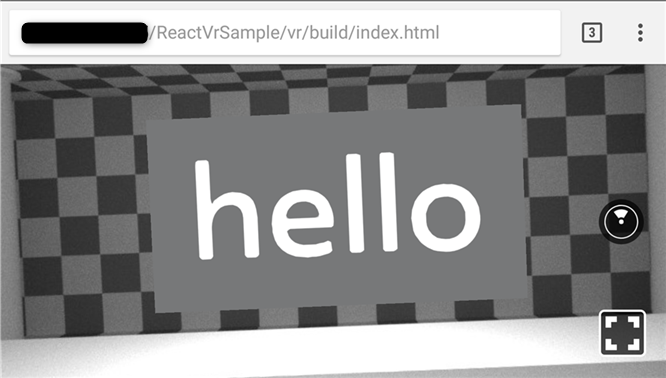
カメラは追従するけど、VR画面に切替できない……。
ちょっと焦りましたが、記事後半にヒントがありました。
Chromeの設定「chrome://flags#enable-webvr」を「有効」にしておきます。
これですね。
設定を変更してリトライ。
VR画面の切り替え有効になりました。
ここで問題発生
先に作った1.の画面を再度表示させてみたところ、モデルの表示はされるがカメラの追従はせず、VR画面への切り替えもできないという状態になっていました。 当然、1.の作業完了後にコードは一切編集していません。
結局のところ、この現象の原因としては先述した通り chrome://flags#enable-webvr の設定を有効にしたことにあったわけですが、2.のA-Frameには特に影響がなかったこともあって、原因を特定するのに時間がかかってしまいました。
しかし、同系統の機能実現のためのライブラリ間に同居できない設定があるというのは、なかなか厄介な状況ですね。