[!NOTE]
この記事は 2013/03/16 に momoto.github.io へ投稿した内容を Qiita へ移行してきたものです
Gentoo Linux 20121213 をインストールした手順の記録です。インストールメディアは install-x86-minimal-20121213.iso を使用しています。DHCP によりネットワークは既に接続できる状態を前提にしています。
1. 起動

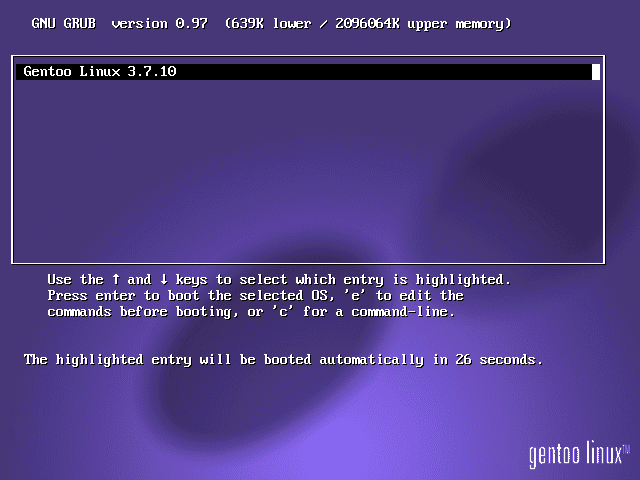
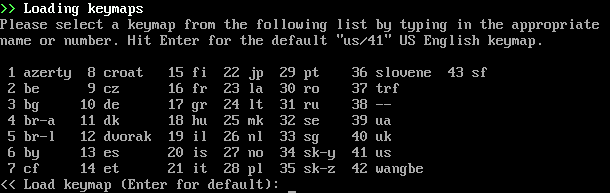
カーネルとブートオプションの指定画面では、特に何も指定しないままEnterキーを押してインストールを始める。すぐにキーボード配列の選択画面が現れるので、日本語配列のキーボードを使用している場合は 22 と入力する。
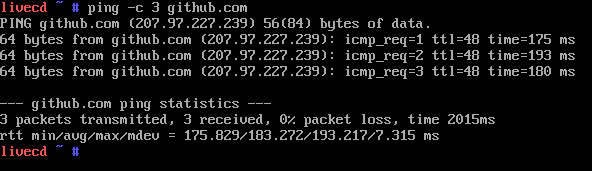
起動が完了し root にログインできたら、ping コマンド等でネットワークへの接続を確認する。
2. ストレージデバイスの準備
Gentoo Linuxをインストールするストレージデバイスを用意していく。SCSI またはシリアルATA で接続されているデバイスは lsscsi コマンドで一覧できるので、システムを記録するブロックデバイス(/dev/sdaなど)を確認する。この記事では parted を使用して、単純なブートパーティションとルートパーティションを /dev/sda に作成する。
livecd ~ # lsscsi
[0:0:0:0]    disk    ATA      VBOX HARDDISK    1.0   /dev/sda
[2:0:0:0]    cd/dvd  VBOX     CD-ROM           1.0   /dev/sr0
parted で使用できるコマンドは help で確認することができる。mklabel でパーティションラベルを指定し、mkpart でパーティションを区切っていく。
livecd ~ # parted /dev/sda

GNU Parted 3.1
Using /dev/sda
Welcome to GNU Parted! Type 'help' to view a list of commands.

(parted) mklabel msdos # パーティンションラベルを指定
(parted) mkpart primary ext2 0 32mb # ブートパーティションを作成

Warning: The resulting partition is not properly aligned for best performance.
Ignore/Cancel? i # 開始位置がディスクのオフセットとアラインメント要求に一致しない場合の警告

(parted) mkpart primary ext4 32mb -1s # ルートパーティションを作成

Warning: The resulting partition is not properly aligned for best performance.
Ignore/Cancel? i

(parted) print # 作成したパーティションの確認

Model: ATA VBOX HARDDISK (scsi)
Disk /dev/sda: 8590MB
Sector size (logical/physical): 512B/512B
Partition Table: msdos
Disk Flags:

Number  Start   End     Size    Type     File system  Flags
 1      512B    32.0MB  32.0MB  primary
 2      32.0MB  8590MB  8558MB  primary

(parted) quit # 対話を終了する

Information: You may need to update /etc/fstab.
次に、上で作成したパーティションにファイルシステムを適用する。上記例の mkpart で指定したように /dev/sda1 に ext2 を、/dev/sda2 に ext4 を適用する。
livecd ~ # mkfs.ext2 /dev/sda1
mke2fs 1.42 (29-Nov-2011)
Filesystem label=
OS type: Linux
...
Allocating group tables: done
Writing inode tables: done
Writing superblocks and filesystem accounting information: done

livecd ~ # mkfs.ext4 /dev/sda2
mke2fs 1.42 (29-Nov-2011)
Filesystem label=
OS type: Linux
...
Allocating group tables: done
Writing inode tables: done
Creating journal (32768 blocks): done
Writing superblocks and filesystem accounting information: done
パーティションとファイルシステムが用意できたら、ルートパーティションは /mnt/gentoo へ、ブートパーティションは /mnt/gentoo/boot へ、それぞれのディレクトリへマウントする。
livecd ~ # mount /dev/sda2 /mnt/gentoo/
livecd ~ # mkdir /mnt/gentoo/boot
livecd ~ # mount /dev/sda1 /mnt/gentoo/boot/
3. システムのインストール
3-1. stage3 tarballとportageのダウンロード
まず、システムをインストールしようとしているマウントポイント /mnt/gentoo へ移動し、links コマンドで Gentoo ミラーリストへアクセスする。
livecd ~ # cd /mnt/gentoo/
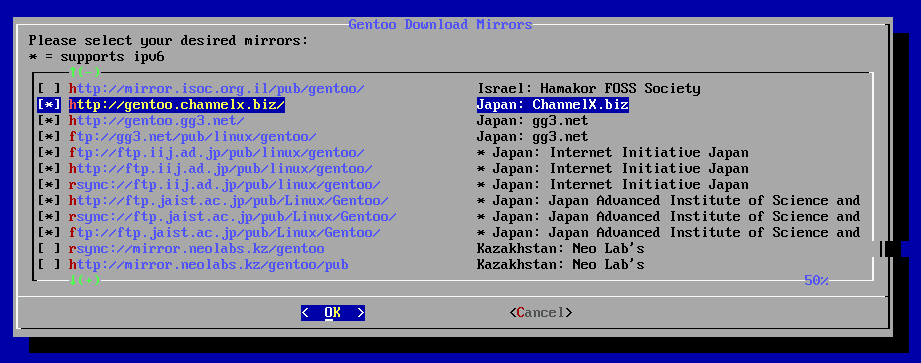
livecd gentoo # links http://www.gentoo.org/main/en/mirrors.xml
テキスト/ グラフィックウェブブラウザの links でミラーリストにアクセスすると次の画像のように表示される:
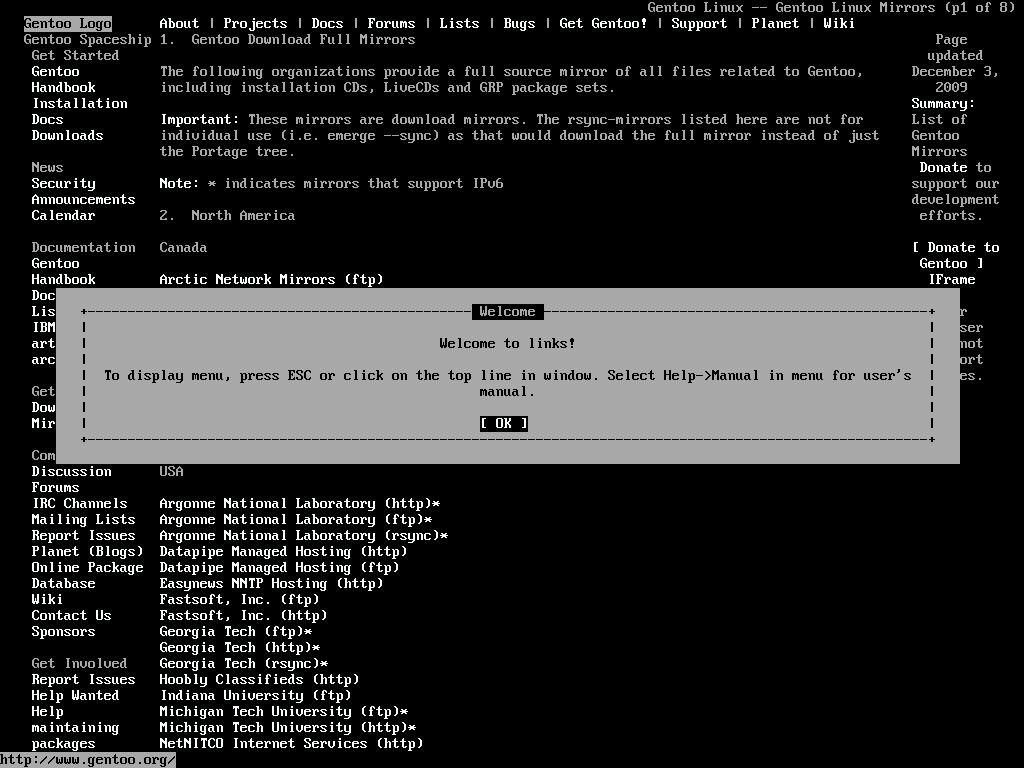
links が起動したらミラーリストから国内のミラーへ移り、stage3-<architecture>–<release>.tar.bz2とportage-latest.tar.bz2 をダウンロードする。JAIST(北陸先端科学技術大学院大学) のミラーであれば releases/x86/current-stage3/ と snapshots/ のディレクトリに配置されている。ダウンロード後、それぞれの tarball を次のオプションで展開する。
livecd gentoo # tar xvjpf stage3-*.tar.bz2
livecd gentoo # tar xvjf /mnt/gentoo/portage-latest.tar.bz2 -C /mnt/gentoo/usr
3-2. Portage の設定
続いて、/etc/make.conf に Portage の変数を設定する。最低限、必要な変数である-marchには命令セットアーキテクチャを指定する。環境やプログラムによって最適な設定は異なるものであるし、Portage の設定はシステムに広く影響しうるので、この記事では Gentoo Linux ドキュメント で一般的と紹介されている例を使用する。
livecd gentoo # touch /mnt/gentoo/etc/make.conf
livecd gentoo # nano -w /mnt/gentoo/etc/make.conf

  ---
  CFLAGS="-O2 -march=i686 -pipe"
  CXXFLAGS="${CFLAGS}"
  MAKEOPT="-j2"
mirrorselect コマンドでミラーを選択する。選択したミラーの情報は /etc/make.conf に記録される。
livecd gentoo # mirrorselect -i -o >> /mnt/gentoo/etc/make.conf
* Downloading a list of mirrors... Got 222 mirrors.
3-3. /proc と /dev のマウント、chroot、ロケールとタイムゾーンの設定
livecd gentoo # mount -t proc none /mnt/gentoo/proc/
livecd gentoo # mount --rbind /dev/ /mnt/gentoo/dev/
livecd gentoo # chroot /mnt/gentoo/ /bin/bash
livecd / # env-update
>>> Regenerating /etc/ld.so.cache...
livecd / # source  /etc/profile
livecd / # export PS1="(chroot) $PS1"
/etc/locale.gen から指定するロケールの行(ja_JP.UTF-8 UTF-8)をアンコメントして locele-gen コマンドを実行する。
(chroot) livecd / # nano -w /etc/locale.gen
(chroot) livecd / # locale-gen
 * Generating 1 locales (this might take a while) with 1 jobs
 *  (1/1) Generating ja_JP.UTF-8 ... [ ok ]
 * Generation complete
(chroot) livecd / #
(chroot) livecd / # cp /usr/share/zoneinfo/Japan /etc/localtime
3-4. Portageによるインストール
(chroot) livecd / # emerge --sync

 ...
 * An update to portage is available. It is _highly_ recommended
 * that you update portage now, before any other packages are updated.

 * To update portage, run 'emerge portage' now.


 * IMPORTANT: 7 news items need reading for repository 'gentoo'.
 * Use eselect news to read news items.

(chroot) livecd / #
サポートされているプロファイルの一覧を確認し、選択する。
(chroot) livecd / # eselect profile list
Available profile symlink targets:
  [1]   default/linux/x86/13.0
  [2]   default/linux/x86/13.0/selinux
  [3]   default/linux/x86/13.0/desktop
  [4]   default/linux/x86/13.0/desktop/gnome
  [5]   default/linux/x86/13.0/desktop/kde
  [6]   default/linux/x86/13.0/developer
  [7]   hardened/linux/x86
  [8]   hardened/linux/x86/selinux
  [9]   hardened/linux/uclibc/x86
(chroot) livecd / #
(chroot) livecd / # eselect profile set 1
gentoo-sourcesをインストールする。このパッケージにはLinuxカーネルが含まれている。
(chroot) livecd / # emerge gentoo-sources
カーネルソースのコンフィギュレーションとコンパイルする。ここではマニュアル(手動)ではなく genkernel を使用する。
(chroot) livecd / # emerge genkernel
(chroot) livecd / # genkernel all
4. 再起動
再機動をする前にシステムで使用するパーティションを /etc/fstab へ記述する。上述の例であれば /dev/sda1 と /dev/sda2 のふたつを記述する。
(chroot) livecd / # nano -w /etc/fstab

  ---
  /dev/sda1               /boot           ext2            noauto,noatime  1 2
  /dev/sda2               /               ext4            noatime         0 1
  #/dev/cdrom              /mnt/cdrom      auto            noauto,ro       0 0
次にブートローダをインストールする。GRUB を使用する場合、emerge でインストールし、/boot/grub/grub.conf を書き換えた後、grub-install を実行する。
(chroot) livecd / # emerge grub
(chroot) livecd / # nano -w /boot/grub/grub.conf

  ---
  default 0
  timeout 30
  splashimage=(hd0,0)/boot/grub/splash.xpm.gz

  title Gentoo Linux 3.7.10
  root (hd0,0)
  kernel /boot/kernel-genkernel-x86-3.7.10-gentoo root=/dev/ram0 real_root=/dev/sda2
  initrd /boot/initramfs-genkernel-x86-3.7.10-gentoo
  ---

(chroot) livecd / # grep -v rootfs /proc/mounts > /etc/mtab
(chroot) livecd / # grub-install --no-floppy /dev/sda
最後にchroot環境を抜けて、マウントしたパーティションをアンマウントし、再起動する。
(chroot) livecd / # exit
livecd gentoo # cd
livecd ~ # umount -l /mnt/gentoo/dev{/shm,/pts,}
livecd ~ # umount -l /mnt/gentoo{/boot,/proc,}
livecd ~ # reboot
再起動の後、ブートローダが動作してシステムが起動されたらインストールが完了する。インストールの後は、上述の手順からは省いていたシステム設定(ユーザーの追加、パスワード変更)を行なっていく。