Sassとは
cssを効率よく記述するための仕組み。
ネスト構造での記述ができたり、変数や四則演算、関数、スタイルの継承などができる。
SassにはSCSS記法とSASS記法がある。
後者は開発者に不人気らしく、前者が主流らしい。
scssファイル→cssファイルにコンパイルして利用する。
今回はpreprosというツールを使ってコンパイルする。
インストール
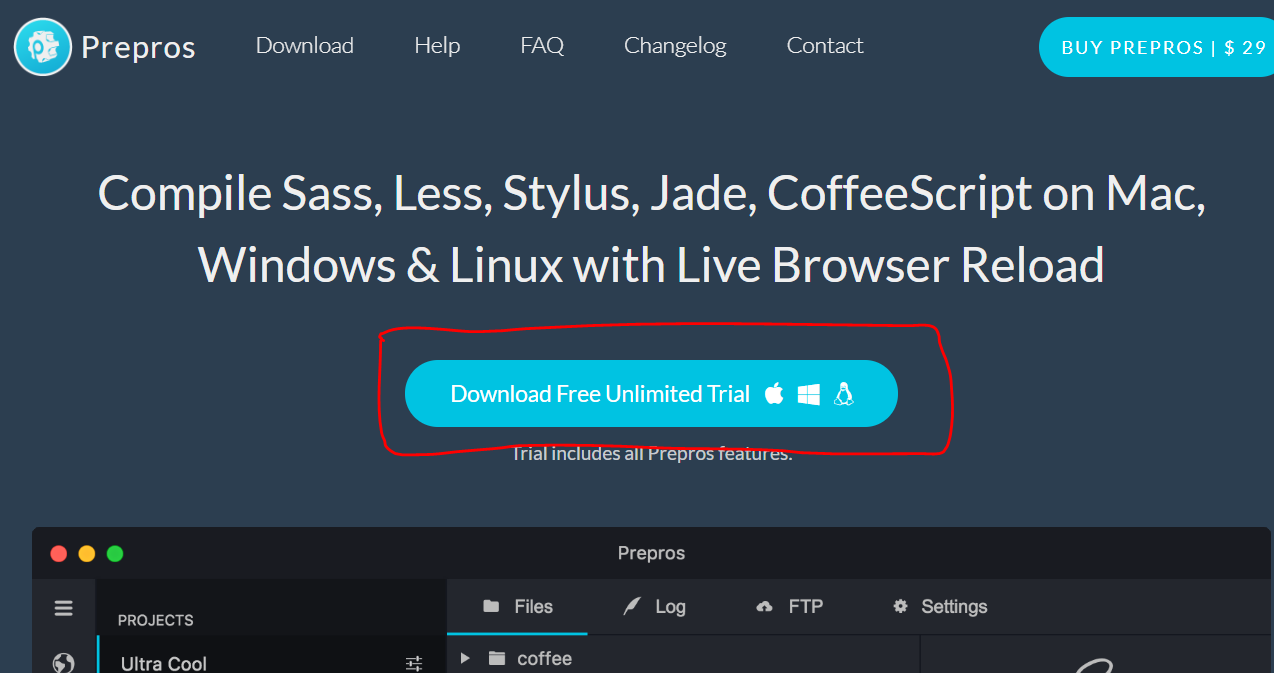
prepros公式 : https://prepros.io/
preprosの公式サイトへ飛んで以下のボタンをクリックする。
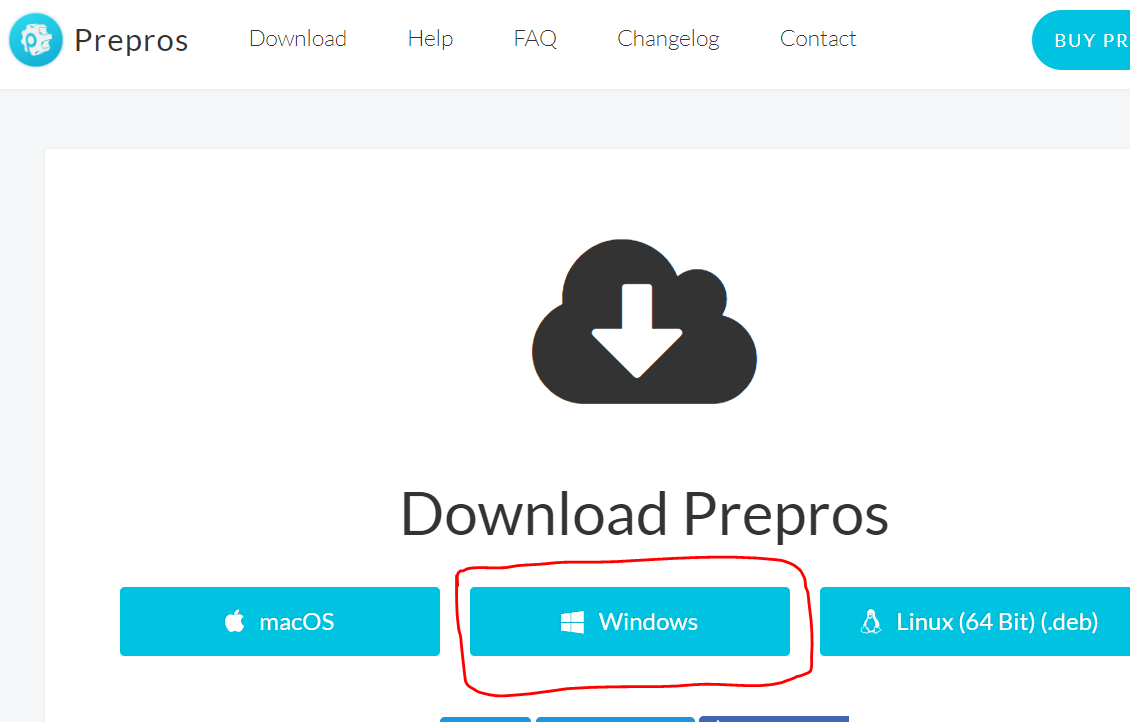
続いて、以下のボタンをクリックする。
インストーラを起動すると、デスクトップにショートカットが作成される。
作業フォルダに以下のようなフォルダ構成でフォルダを作成する。
directories_and_files
  root
    L js
    L css
        L style.css
    L scss
        L style.scss
    index.html
preprosを起動する。
画面左のPROJECTSの下あたりにrootディレクトリをドラッグ&ドロップする。
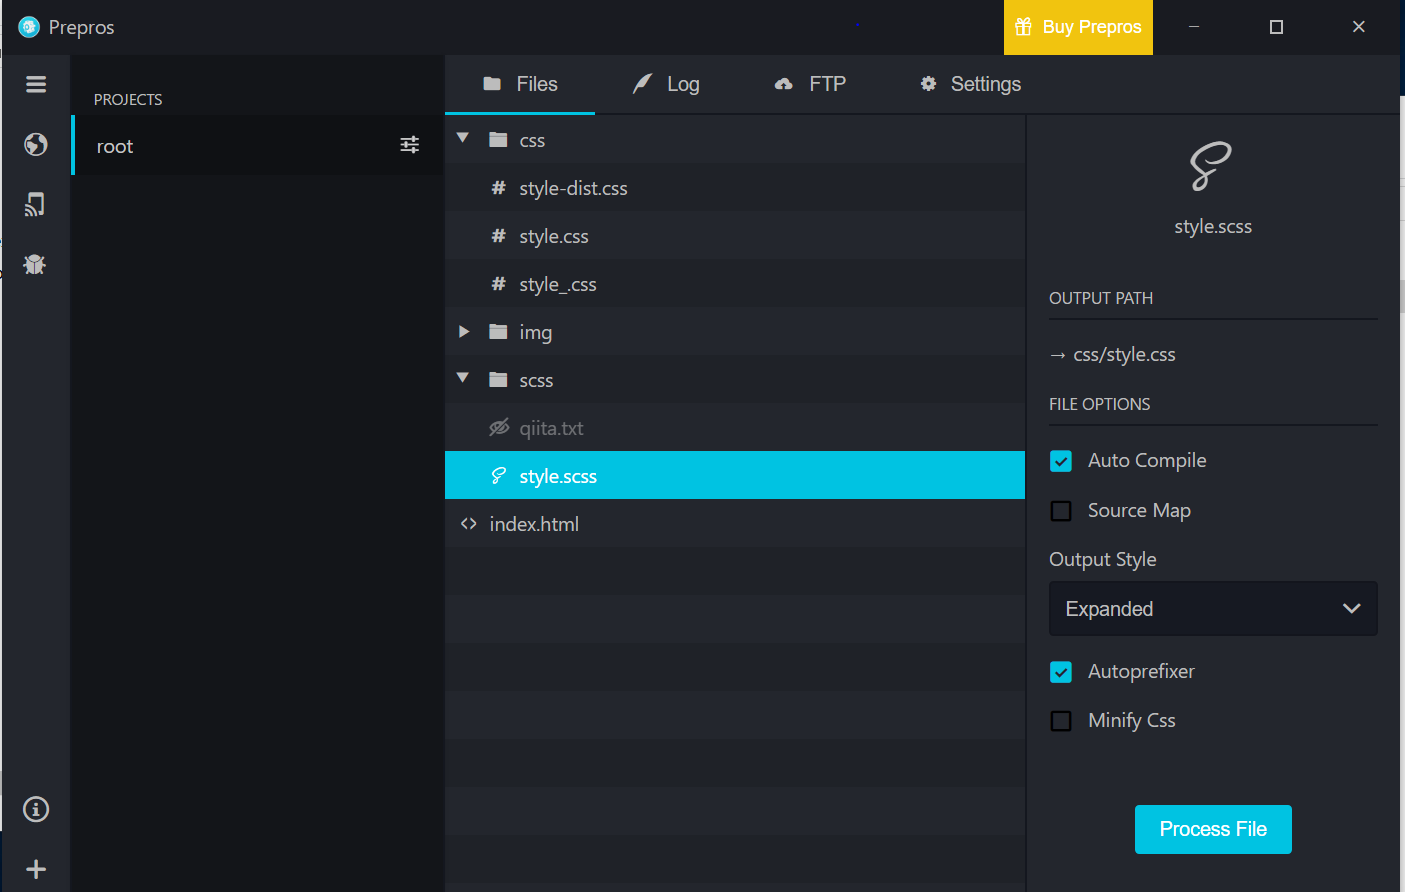
style.scssを選択してAutoCompileにチェックを付け、ProcessFileをクリックする。
あとはvscodeとかでstyle.scssを保存するたびに勝手にコンパイルされてstyle.cssが生成される。
使ってみる
ネスト構造
style.scss
// ネスト構造での記述
.box {
    width: 200px;
    height: 200px;
    background-color: aquamarine;
    p {
        font-size: 8px;
        margin: 10px;
        // hover時に何かさせたいとき
        a {
            text-decoration: none;
            // 入れ子の構造の中で&が使われたとき、その親要素のセレクタを指す。
            &:hover {
                font-weight: bold;
            }
        }
    }
}
変数を扱う
style.scss
// 変数:データにつけるラベル
// Sassで扱えるデータ型(数値、文字列、真偽、色、リスト)
$baseFontSize: 12px;
.box {
    p {
        font-size: $baseFontSize;
    }
}

// 文字列を扱う
// #{}は変数を評価する
// 文字列内に埋め込むには#{}を使おう。
$imgDir: "../img/";
.box {
    background: url("#{$imgDir}test.jpg");
}

// カラーを扱う
$brandColor: rgba(255,0,0,0.9);
.box {
    p {
        color: $brandColor;
        // Sassには標準で用意されている関数がある。
        // Sass built-in functionとかで検索すると情報がヒットするので確認してください。
        // ここではlightenを使って明るさを変更します。
        color: lighten($brandColor, 30%);
    }
}
四則演算
style.scss
// 四則演算
$baseFontSize: 12px;
.box {
    p {
        font-size: $baseFontSize - 2;
    }
}
条件分岐
style.scss
// 条件分岐
// @if @else
// 比較演算子の種類
// == != <> <= >=
$debugMode: true;

.box {
    @if $debugMode == true {
        color: red;
    } @else {
        color: green;
    }
}
繰り返し処理
style.scss
// 繰り返し処理
// @for
// @while
@for $i from 10 through 14 {
    .fs#{$i} {font-size: 10px;
              font-weight: bold;}
}

$i: 10;
@while $i <= 14 {
    .fs#{$i} {font-size: #{$i}px;}
    $i: $i + 1;
}
リストを扱う
style.scss
// リスト操作
$animals: cat, dog, tiger;
@each $animal in $animals {
    .#{$animal}-icon {background: url("#{$animal}.png");}
}
関数を扱う
style.scss
// グローバル変数は_gloabals.scss
// ファンクションは_functions.scss
// というようにファイルを分けると管理しやすい。
// 読み込みは
// @import "gloabal";
// のように、アンダーバーと拡張子を省いたファイル名で指定する。
$totalWidth: 940px;
$columnCount: 5;

@function getColumnWidth($width, $count) {
    // 計算処理
    $padding: 10px;
    $columnWidth: floor($width - ($padding * ($count - 1)) / $count);
    @debug $columnWidth;
    @return $totalWidth;
}

.grid {
    float: left;
    width: getColumnWidth($totalWidth, $columnCount);
}
mixinを使う
複数の設定をまとめて定義できる。
引数を渡して値に反映させることができる。
style.scss
@mixin round {
    border-radius: 4px;
}

.box {
    @include round;
}

// mixinに引数を渡す。
@mixin round($arg:4px) {
    border-radius: $arg;
}

.box {
    @include round(10px);
}
extendを使う
設定を継承することができる。
style.scss
.msg {
    font-size: 12px;
    font-weight: bold;
    padding: 2px 4px;
    color: white;
}

.errorMsg {
    @extend .msg;
    background: red;
}

.warningMsg {
    @extend .msg;
    background: orange;
}
mixinとextendについて
使ってみて、mixinとextendは使用箇所が増えてくると影響範囲を管理するのが大変でした。
何らかの基準で影響範囲をわかりやすくした上で使わないと、css破綻の原因になるかもしれない気がしました。