作ったもの
読書感想を本の表紙に帯を重ねた画像にしてSNSかLINEにシェアできるアプリを作成します。
hostingは Firebase 使います。認証もできたら追加したい。
構成
- typescript
- React (Hooks)
- repository : https://github.com/ryosuketter/obi
- hosting : Firebase : https://obishare.web.app/
(進めていくうちに更新の可能性あり)
環境
React App Project の作成
create react-appで雛形を作成。
$ yarn create react-app obi --template typescript
必要なパッケージをインストール。
$ cd obi
$ yarn add typescript @types/node @types/react @types/react-dom @types/jest
$ yarn add firebase @types/firebase
以下コマンドを打つと、ブラウザが起動しサンプルのページが表示される。
$ yarn start

これでローカル上で、React + TypeScriptの環境ができた。
Firebaseのセットアップ
FirebaseのConsoleで新しいProjectの作成します。
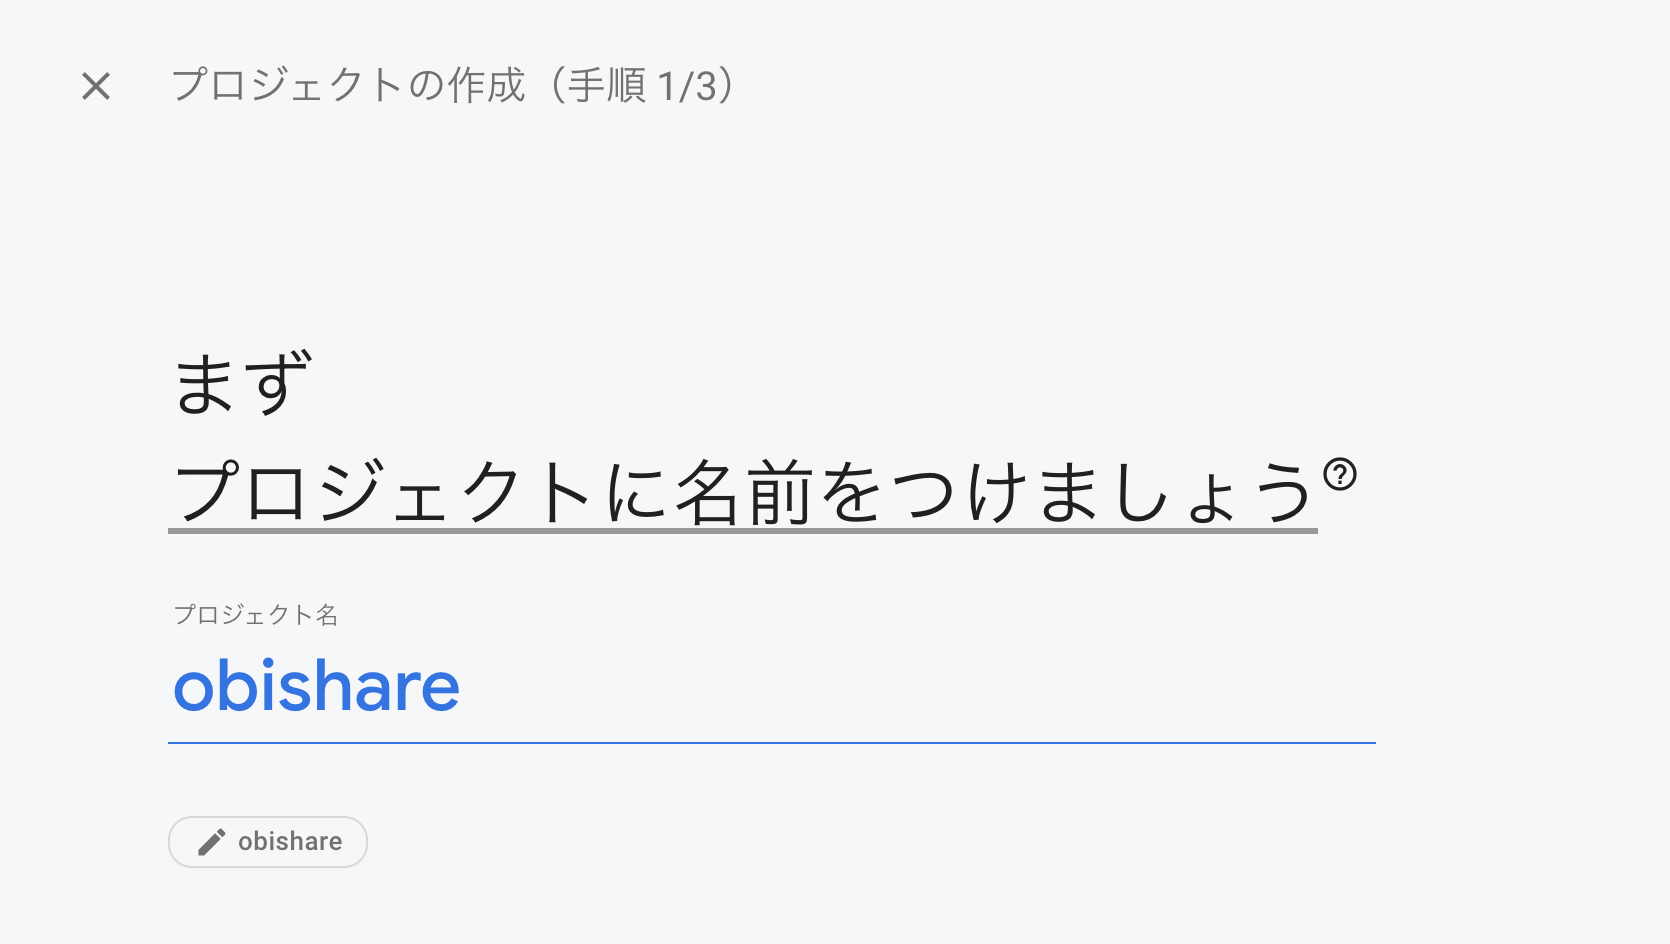
Google アナリティクス は一応有効にする。
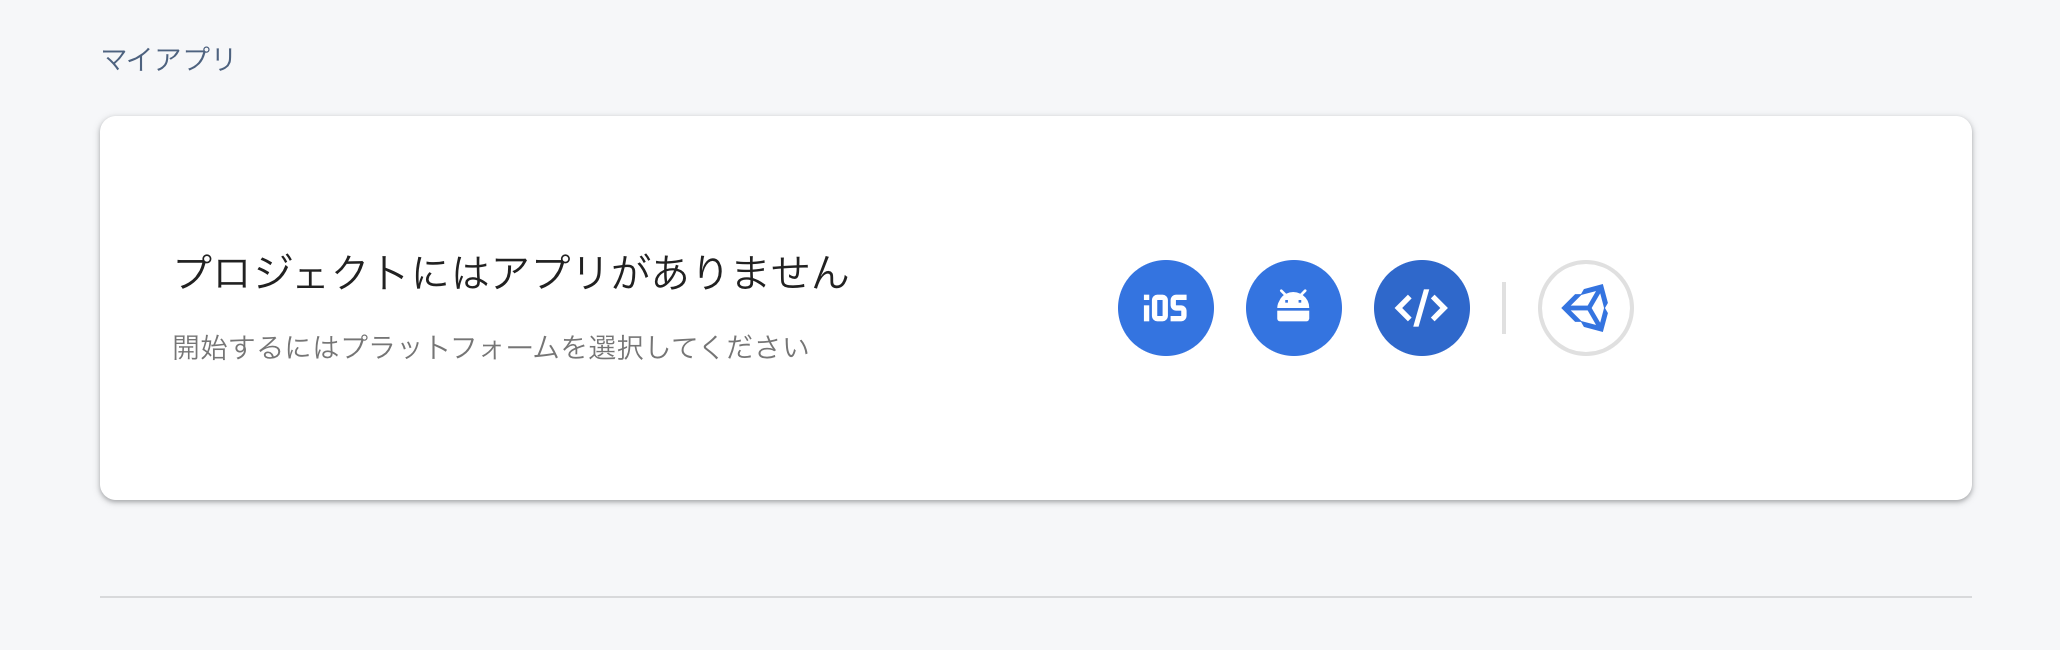
settingsの下の方にiOSかAndroidかWeb(</>)のボタンがあるのでWebのボタンをクリックします。
Firebase CLI のインストール
Firebase Hosting を使用してサイトをホストするには、Firebase CLI(コマンドライン ツール)が必要です。
次の npm コマンドを実行して、CLI をインストールするか、最新バージョンの CLI に更新します。
npm install -g firebase-tools
Google へのログイン
firebase login
参考
ローカルで Firebase init して、Firebaseと紐付ける
$ firebase init
ホスティング(Firebase Hostingサイトの設定と展開)にだけしかチェックしていません。
? Which Firebase CLI features do you want to set up for this folder? Press Space to select features, then Enter to confirm your
choices.
 ◯ Database: Configure Firebase Realtime Database and deploy rules
 ◯ Firestore: Deploy rules and create indexes for Firestore
 ◯ Functions: Configure and deploy Cloud Functions
 ◉ Hosting: Configure and deploy Firebase Hosting sites
 ◯ Storage: Deploy Cloud Storage security rules
 ◯ Emulators: Set up local emulators for Firebase features
 ◯ Remote Config: Get, deploy, and rollback configurations for Remote Config
Setup の Log は以下です。
=== Hosting Setup

Your public directory is the folder (relative to your project directory) that
will contain Hosting assets to be uploaded with firebase deploy. If you
have a build process for your assets, use your build's output directory.

? What do you want to use as your public directory? public
? Configure as a single-page app (rewrite all urls to /index.html)? No
? Set up automatic builds and deploys with GitHub? Yes
✔  Wrote public/404.html
? File public/index.html already exists. Overwrite? No
i  Skipping write of public/index.html

i  Detected a .git folder at /Users/ryosuke/Project/obi
i  Authorizing with GitHub to upload your service account to a GitHub repository's secrets store.

Waiting for authentication...

✔  Success! Logged into GitHub as ryosuketter

? For which GitHub repository would you like to set up a GitHub workflow? (format: user/repository) ryosuketter/obi

✔  Created service account github-action-322889681 with Firebase Hosting admin permissions.
✔  Uploaded service account JSON to GitHub as secret FIREBASE_SERVICE_ACCOUNT_OBISHARE.
i  You can manage your secrets at https://github.com/ryosuketter/obi/settings/secrets.

? Set up the workflow to run a build script before every deploy? Yes
? What script should be run before every deploy?

✔  Created workflow file /Users/ryosuke/Project/obi/.github/workflows/firebase-hosting-pull-request.yml
? Set up automatic deployment to your site's live channel when a PR is merged? Yes
? What is the name of the GitHub branch associated with your site's live channel? main

✔  Created workflow file /Users/ryosuke/Project/obi/.github/workflows/firebase-hosting-merge.yml

i  Action required: Visit this URL to revoke authorization for the Firebase CLI GitHub OAuth App:
https://github.com/settings/connections/applications/89cf50f02ac6aaed3484
i  Action required: Push any new workflow file(s) to your repo

i  Writing configuration info to firebase.json...
i  Writing project information to .firebaserc...

✔  Firebase initialization complete!
Deployする
$ firebase deploy
そして、いざホスティングしても公開URL (https://myobi-b92f8.web.app/) には、React App 初期画面が反映されていませんでした。
Publicディレクトリが対象になっているので、Reactのbulidディレクトリに変更します。
{
  "hosting": {
    "public": "build", // public -> build
    "ignore": [
      "firebase.json",
      "**/.*",
      "**/node_modules/**"
    ]
  }
}
そうすると、いつものReact の あの画面が反映されました。

参考
【React入門】Firebase Hostingに公開する方法 – デプロイ | UX BEAR【ゆえっくま】
Deploy に関して
npm scriptにdeployスクリプトを追加することで
"scripts": {
    ...
    "deploy": "firebase deploy"
},
これで deploy できるようにする。
$ yarn deploy
そすれば、下記で、build と deploy できるようになるので。
$ yarn build
$ yarn deploy
そうすると、いつものReact の あの画面が
firebase にも反映されました。
参考
Firebase公式のGitHubとHostingのインテグレーションが熱い🔥
フロントエンド 開発環境設定
eslintの警告やエラーを無視したままコミットをしないように、できれば、
git add 〜
git commit 〜
の際にeslintによるチェックをかけて、commitできないようにします。
また、VSCode保存時にコード整形の設定もします。
- husky : gitコマンドをhookして、指定したコマンド(linterなりspecなり)を走られることができる
- lint-staged : ステージングしたファイルに対して特定のコマンドを実行できる
- prettier : コードフォーマッター(ソースコード を整形してくれるツール)
- eslint : 定めたコーディングルールに合わないことをすると即時エラーをだす
- eslint-config-prettier : 競合するeslintのルールを無効化することができる
インストールコマンド
$ yarn add -D husky lint-staged prettier eslint eslint-config-prettier
また、以下もインストールします。
$ yarn add -D @typescript-eslint/eslint-plugin eslint-plugin-react eslint-plugin-react-hooks @typescript-eslint/parser
eslintの設定
{
  // 適用する環境
  "env": {
    "es6": true,
    "node": true,
    "browser": true,
    "commonjs": true
  },
  // パーサー
  "parser": "@typescript-eslint/parser",
  // jsx を使います
  "parserOptions": {
    "ecmaVersion": 2018,
    "ecmaFeatures": {
      "jsx": true
    },
    "sourceType": "module"
  },
  // React のバージョンは自動検出に
  "settings": {
    "react": {
      "version": "detect"
    }
  },
  "plugins": ["react-hooks", "react", "@typescript-eslint"],
  // 基本的にルールは recommended に従う
  // prettier 関連は配列の最後尾に書く
  "extends": [
    "eslint:recommended",
    "plugin:@typescript-eslint/eslint-recommended",
    "plugin:@typescript-eslint/recommended",
    "plugin:react/recommended",
    "plugin:react-hooks/recommended",
    "prettier",
    "prettier/react",
    "prettier/@typescript-eslint"
  ],
  "rules": {
    // TypeScirpt なので prop-types は要らない
    "react/prop-types": "off"
  },
  // .js ファイルをオーバーライド (webpack.conig.jsなど)
  "overrides": [
    {
      "files": ["*.js"],
      "rules": {
        "@typescript-eslint/no-var-requires": "off",
        "@typescript-eslint/explicit-function-return-type": "off"
      }
    }
  ]
}
eslint が単体で動くかを検証。
$ yarn eslint . --ext .tsx --ext .ts


*******/obi/src/App.tsx
  5:1  warning  Missing return type on function  @typescript-eslint/explicit-module-boundary-types

*******/obi/src/reportWebVitals.ts
  3:25  warning  Missing return type on function  @typescript-eslint/explicit-module-boundary-types
2つ warningが出たけど、トリアヘズ気にしない。
参考
VSCode + ESLint + Prettier + React + TypeScript (自分用メモ Fall, 2020) - Qiita
prrettierの設定
{
  "printWidth": 120,
  "singleQuote": true,
  "trailingComma": "none",
  "tabWidth": 2,
  "useTabs": true,
  "semi": false,
  "jsxSingleQuote": true,
  "arrowParens": "avoid",
  "bracketSpacing": true,
  "jsxBracketSameLine": true
}
- printWidth: 改行上限値
- singleQuote: " " → ' '
- trailingComma: 文末のコンマ ,
- tabWidth: タブサイズ
- useTabs: インデントにタブを使用
- Semi: セミコロンの有無
- jsxSingleQuote: jsxにおける " " → ' '
- arrowParens: allow関数での ( ) の有無
- bracketSpacing: {module} → { module }
- jsxBracketSameLine: を複数行に分ける
参考
.prettierでコードを綺麗に - GitPress.io
ファイル保存時にフォーマットをおこなう場合
VSCodeの.setting.jsonを編集します。
"editor.formatOnSave"をfalseに設定するとESLintのfixが対象でないファイルのフォーマットが行われません。
ESLintでfixを実行するファイルのみ"editor.formatOnSave"をfalseにします。
"editor.codeActionsOnSave": {
    "source.fixAll.eslint": true
  },
  "editor.defaultFormatter": "esbenp.prettier-vscode",
  "editor.formatOnSave": true,
  // Enable per-language basis by scoping for Prettier
  "[javascript]": {
    "editor.formatOnSave": true
  },
  "[javascriptreact]": {
    "editor.formatOnSave": true
  },
  "[typescriptreact]": {
    "editor.formatOnSave": true
  },
  "[typescript]": {
      "editor.formatOnSave": false
  }
これで、できてますね。
参考
【VSCode】ESLint(fixあり/fixなし)とPrettierを保存時に走らせる - Qiita### huskyとlint-stagedの設定
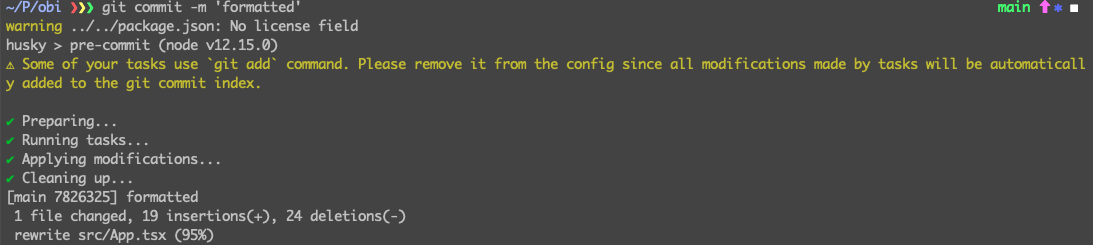
lint-staged と huskyの設定
{
  "lint-staged": {
    "*.js": [
      "eslint --fix",
      "git add"
    ]
  },
  "husky": {
    "hooks": {
      "pre-commit": "lint-staged"
    }
  }
}
"scripts": {...},などと同階層に追加します。
試しに、git commit したら、ちゃんとチェックしてくれていました。
今回はこれで終わりです。