はじめに
前回の記事でLaravel+Vueを使い、API経由でuser_id:1の投稿として記事を投稿できるようにしました。
EC2のLaravel6.0環境でリレーションさせる AWS/Laravel連載(12)
今回は投稿をログイン中のユーザーIDに紐付けます。
api_tokenカラムの追加
APIでログイン中のユーザーを認証します。
基本的に公式ドキュメントを参考に進めます。
まずはユーザーごとのAPIトークンを保存するカラムを作ります。
$ php artisan make:migration add_api_token_to_users_table --table=users
...
    /**
     * Run the migrations.
     *
     * @return void
     */
    public function up()
    {
        Schema::table('users', function (Blueprint $table) {
            //
            $table->string('api_token', 80)->after('password')
                        ->unique()
                        ->nullable()
                        ->default(null);
        });
    }

    /**
     * Reverse the migrations.
     *
     * @return void
     */
    public function down()
    {
        Schema::table('users', function (Blueprint $table) {
            //
            $table->dropColumn('api_token');
        });
    }
...
fillableを定義している場合、入れておかないとトークン更新処理ができないので注意。
...
    protected $fillable = [
        'name', 'email', 'password', 'api_token'
    ];
...
ログイン・ログアウト時にトークンを更新
ログイン時にトークンを更新し、ログアウト時にトークンを消す処理を加えます。
...
use Illuminate\Support\Str;
use Illuminate\Http\Request;

class LoginController extends Controller
{
...
    /**
     * The user has been authenticated.
     *
     * @param  \Illuminate\Http\Request  $request
     * @param  mixed  $user
     * @return mixed
     */
    protected function authenticated(Request $request, $user)
    {
        $user->update(['api_token' => Str::random(80)]);
    }

    /**
     * Log the user out of the application.
     *
     * @param  \Illuminate\Http\Request  $request
     * @return \Illuminate\Http\Response
     */
    public function logout(Request $request)
    {
        $user = $request->user();
        $user->update(['api_token' => null]);
        $this->guard()->logout();

        $request->session()->invalidate();

        return $this->loggedOut($request) ?: redirect('/');
    }
ちなみにauthenticatedとlogoutを書くだけで処理が動くのは、
vendor/laravel/framework/src/Illuminate/Foundation/Auth/AuthenticatesUsers.php
にあるメソッドをオーバーライドしているからです。
metaタグにapi_tokenを入れる
...
    <meta name="api_token" content="{{ Auth::user()->api_token ?? null }}">
...
routesの修正
Route::middleware('auth:api')->group(function () {
    Route::apiResource('posts', 'PostController');
});
middlewareでauth:apiを入れることで、認証済みユーザーのみアクセスできるcontrollerになります。
また、api_tokenのバリデーションチェックも自動的にしてくれます。
controllerの修正
...
    /**
     * Display a listing of the resource.
     *
     * @return \Illuminate\Http\Response
     */
    public function index()
    {
        return Post::with('user')->latest()->paginate();
    }

    /**
     * Store a newly created resource in storage.
     *
     * @param  \Illuminate\Http\Request  $request
     * @return \Illuminate\Http\Response
     */
    public function store(Request $request)
    {
        $validatedData = $request->validate([
            'title' => 'required|max:255',
            'content' => 'required',
        ]);
        return $request->user()->posts()->create($request->all());
    }
...
一部解説
return Post::with('user')->latest()->paginate();
view側で投稿者名を表示したいので、postだけでなくuser情報も取得します。
APIでなければwith('user')なくても表示はできます。(が、N+1問題で無駄にSQL流れるので非推奨)
APIの場合はリレーションのテーブルはあらかじめwithで指定しておく必要があります。
return $request->user()->posts()->create($request->all());
ここで認証済みユーザーの投稿としてcreateします。
間違ってもリクエストパラメータでuser_idを持たせて保存しないこと!リクエストパラメータは改竄が簡単にできるので、別ユーザーを成りすましたcreateが流せる脆弱性になり得ます。
js(Vue)の修正
const app = new Vue({
  el: '#app',
  data: {
    posts: [],
    title: '',
    content: '',
    errors: {},
    api_token: document.getElementsByName('api_token')[0].content,
  },
  methods: {
    fetchPosts: function(){
      axios.get('/api/posts?api_token=' + this.api_token).then((res)=>{
        this.posts = res.data
      })
    },
    onSubmit: function(){
      const params = {
        title: this.title,
        content: this.content,
        api_token: this.api_token,
      };
      this.errors = {};
      axios.post('/api/posts', params).then(res =>{
        this.title = '';
        this.content = '';
        this.fetchPosts();
      }).catch(err =>{
        for(var key in err.response.data.errors) {
            this.$set(this.errors, key, err.response.data.errors[key].join('<br>'));
        }
      });
    }
  },
  created() {
    this.fetchPosts()
  },
});
getもpostも、API部分にパラメータとしてapi_tokenを追加します。
それにより、APIを叩いた際にトークン情報も一緒に送信され、どのユーザーからのリクエストか特定できます。
$ npm run dev
app.js修正後はビルドを忘れずに。
viewの修正
                        <thead>
                            <tr>
                            <th>ID</th>
                            <th>投稿者</th>
                            <th>タイトル</th>
                            <th>本文</th>
                            </tr>
                        </thead>
                        <tbody>
                            <tr v-for="post in posts.data" v-bind:key="post.id" v-cloak>
                                <td>@{{ post.id }}</td>
                                <td>@{{ post.user.name }}</td>
                                <td>@{{ post.title }}</td>
                                <td>@{{ post.content }}</td></td>
                            </tr>
                        </tbody>
投稿者の表示を追加します。
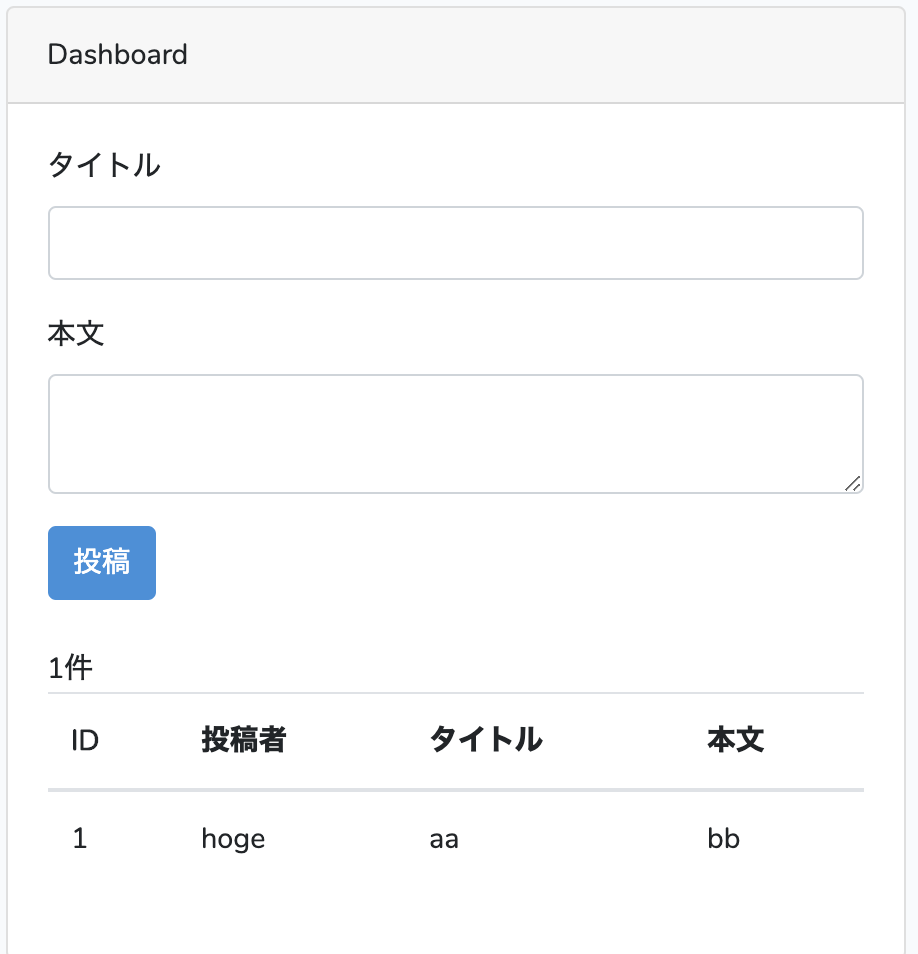
動かす
あとはタイトル本文を入れて投稿ボタンを押すと、投稿者名が紐付いた状態で保存・表示されます。