HomeAssistantとESP32上で動作するJavascriptで連携します。
連携には、HomeAssistantのRESTful IntegrationとRESTful Commandを使います。
RESTful IntegrationとしてESP32を登録すると、センサーやスイッチとしてふるまうことができます。それにより、継続的にセンサ値を取得し、あとで値をグラフとして表示することができます。今回は、温度センサ・湿度センサとして振舞うようにします。
RESTful Commandは、ESP32に対して電源On/Offなどの指示を出せるようにします。それにより、別の状態変化をトリガとして、指示をだせるようになります。今回は、ESP32についているLEDをOn/Offできるようにします。
RESTful Integration
Web I/F
今回はセンサーとして登録します。
ESP32とは、HTTP GetまたはPostで連携します。
ESP32で動作するJavascript環境の制限から、以下のような形式で呼び出します。
-
GETの場合
URL:http://[ESP32のIPアドレス]/customcall_get?message=temperature -
POSTの場合
URL:http://[ESP32のIPアドレス]/customcall_post
Body: { "message": "humidity" }
見ての通り、messageというパラメータを付けて、区別するようにしました。
ESP32内のJavascriptが上記を受け取ると、以下JSONとして値を返すように実装します。
{
  "status": "OK",
  "message": "温度または湿度"
}
Configuration
configuration.yaml に rest: !include_dir_merge_list rest_sensors と記載し、rest_sensors フォルダにファイルを作成し記述します。
# Loads default set of integrations. Do not remove.
default_config:

# Load frontend themes from the themes folder
frontend:
  themes: !include_dir_merge_named themes

automation: !include automations.yaml
script: !include scripts.yaml
scene: !include scenes.yaml

rest: !include_dir_merge_list rest_sensors
rest_command: !include rest_command.yaml
- resource: http://192.168.1.248/customcall_post
  method: POST
  headers:
    Content-Type: application/json
  payload: >
    {"message": "temperature"}
  scan_interval: 59
  sensor:
    - name: ESP32_Temperature
      value_template: "{{ value_json.message | float }}"
      unit_of_measurement: "°C"
- resource: http://192.168.1.248/customcall_get?message=humidity
  method: GET
  scan_interval: 60
  sensor:
    - name: ESP32 Humidity
      value_template: "{{ value_json.message | float }}"
      unit_of_measurement: "%"
RESTful Command
configuration.yamlに以下のように追記しました。
rest_command: !include rest_command.yaml
同フォルダに、rest_command.yamlを置きます。
led_on:
  url: "http://192.168.1.248/customcall_get?message=led_on"
  method: GET

led_off:
  url: "http://192.168.1.248/customcall_get?message=led_off"
  method: GET
これで、LEDをOn/Offできるようになりました。
ESP32内のJavascript
ESP32としてM5StickCを使いました。
以下のようなコードになります。
外部からPOSTまたはGETの呼び出しを受けると、http.setCustomCallbackで定義したコールバック関数が呼び出されるので、その中でmessageの内容に従って処理します。コールバック関数の戻り値がそのまま外部の呼び出し元に返ります。
import * as http from "Http";
import * as env from "Env";
import * as gpio from "Gpio";
import * as wire from "Wire";

gpio.pinMode(10, gpio.OUTPUT);
gpio.digitalWrite(10, gpio.HIGH);
wire.begin(0, 26);

http.setCustomCallback((message, method) =>{
  console.log("callbacked");
  console.log(message, method);

  if( message == "temperature" ){
    var ret = env.sht30_get();
    return ret.cTemp;
  }else if( message == "humidity" ){
    var ret = env.sht30_get();
    return ret.humidity;
  }else if( message == "led_on" ){
    gpio.digitalWrite(10, gpio.LOW);
  }else if( message == "led_off" ){
    gpio.digitalWrite(10, gpio.HIGH);
  }else{
    return "unknown message";
  }
});

function loop(){
  esp32.update();
}
HomeAssistant画面から確認する。
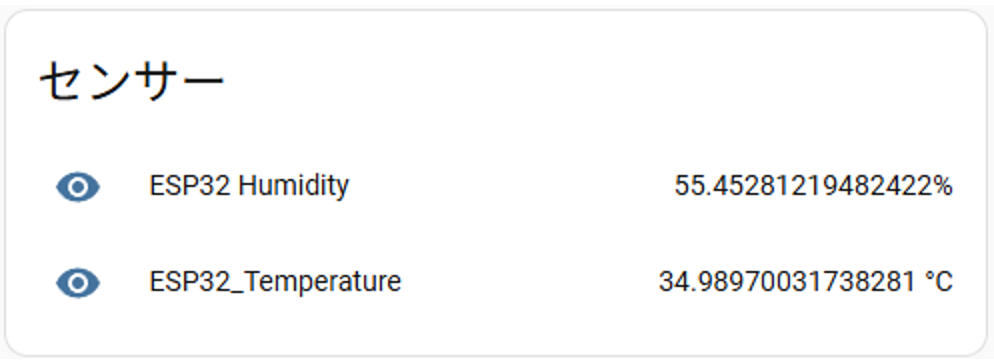
RESTful Integration
トップページに現在の値が表示されてます。
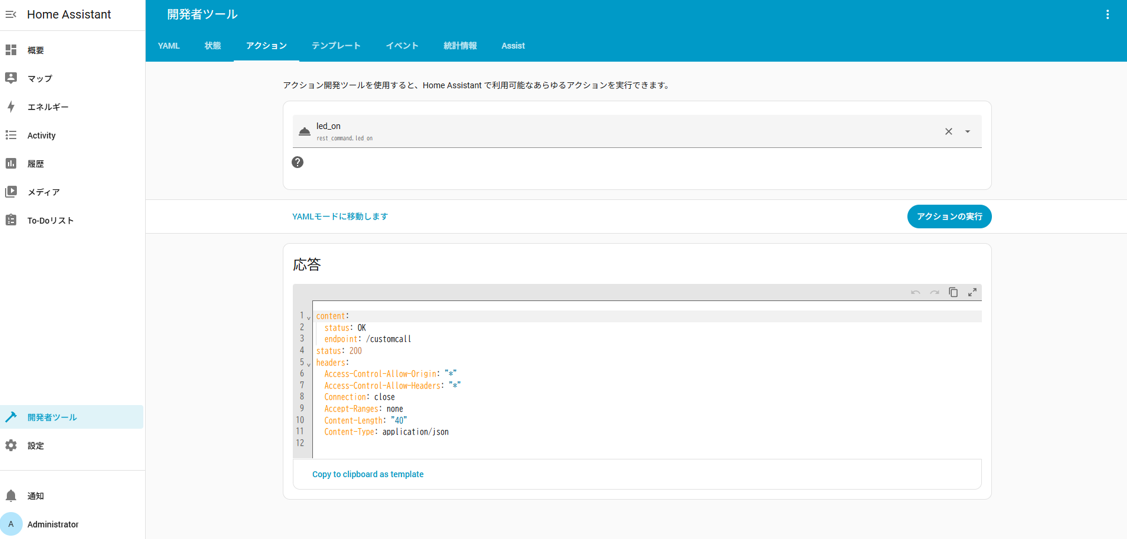
RESTful Command
試しに、管理者ツールのアクションから選択して実行できます。
参考サイト
https://www.home-assistant.io/integrations/rest
https://www.home-assistant.io/integrations/sensor.rest/
https://www.home-assistant.io/integrations/rest_command/
(参考) ESP32で動作するJavascript実行環境
ESP32で動作するJavascript実行環境を公開しています。
「電子書籍:M5StackとJavascriptではじめるIoTデバイス制御」
サポートサイト
(参考)ESP32で動作するJavascriptライブラリ
| ライブラリ名 | 概要 |
|---|---|
| Esp32 | ESP32 に関連する基本的な機能を提供します。 |
| Console | UART にデバッグ文を出力します。 |
| Audio | I2S に接続されたスピーカから MP3 音声を再生します。 |
| Camera | ESP32 に接続されたカメラの画像撮影機能を提供します。 |
| Crypto | 暗号機能を提供します。 |
| Env | I2C に接続された温湿度センサ(SHT30、DH12)を操作します。 |
| EspNow | EspNow の機能を提供します。 |
| Gpio | ESP32 の GPIO を制御します。 |
| Http | HttpGateway を介して、HTTPS 通信します。 |
| Imu | ESP32 に接続された 6 軸姿勢センサを制御します。 |
| Ir | ESP32 に接続した赤外線送受信機を制御します。 |
| Input | ボタンの押下を検出します。 |
| Lcd | ESP32 に接続した LCD の表示を制御します。 |
| Ledc | ESP32 の GPIO ピンに対して PWM 出力します。 |
| Pixels | ESP32 に接続した RGB LED を制御します。 |
| Prefs | ESP32 の不揮発メモリの読み書きをします。 |
| Rtc | ESP32 に接続した RTC から時刻を設定・取得します。 |
| Sd | ESP32 に接続された microSD カードのストレージに対するファイルの読み書きをします。 |
| Udp | UDP パケットを送受信します。 |
| Uart | UART 通信のための機能を提供します。 |
| Utils | base64、url エンコード、HTTP 通信などのユーティリティです。 |
| Websocket | Websocket による通信機能を提供します。 |
| WebsocketClient | Websocket によるクライアント通信機能を提供します。 |
| Wire | 周辺デバイスとの I2C 通信のための機能を提供します。 |
| UnitAngle8 | 8 ポテンショメータユニットを制御します。 |
| UnitAudioPlayer | オーディオプレイヤーユニットを制御します。 |
| UnitByteButton | バイトボタンユニットを制御します。 |
| UnitColor | カラーセンサユニットを制御します。 |
| UnitEnvPro | 環境センサ Pro ユニットを制御します。 |
| UnitGas | ガスセンサーユニットを制御します。 |
| UnitGesture | ジェスチャーユニットを制御します。 |
| UnitImuPro | IMU Pro ユニットを制御します。 |
| UnitPbhub | I/O ハブユニットを制御します。 |
| UnitSonicIo | 超音波測距ユニット I/O を制御します。 |
| UnitStep16 | Step16ロータリエンコーダユニットを制御します。 |
以上