概要
PILのtransformを理解したかった。
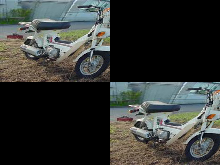
元画像
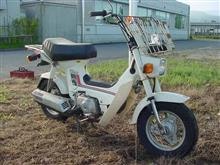
Image.PERSPECTIVE
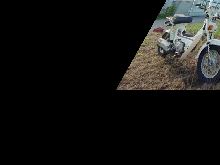
from PIL import Image

img = Image.open("p1m.jpg")
img = img.transform(img.size, Image.PERSPECTIVE, (3.0, 1.7, -500.0, 0, 3.0, 0, 0.000045, 0.007))
img.save("a0.png");
Image.EXTENT
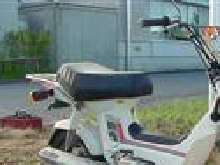
from PIL import Image

img = Image.open("p1m.jpg")
img = img.transform(img.size, Image.EXTENT, (10, 0, 135, 100))
img.save("a1.png");
Image.AFFINE
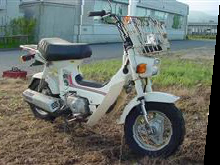
from PIL import Image

img = Image.open("p1m.jpg")
img = img.transform(img.size, Image.AFFINE, (1, 0.1, 0, 0, 1, 0,))
img.save("a2.png");
Image.QUAD

from PIL import Image

img = Image.open("p1m.jpg")
img = img.transform(img.size, Image.QUAD, (0, 0, 50, 50, 200, 50, 250, 0))
img.save("a3.png");
Image.MESH
from PIL import Image

img = Image.open("p1m.jpg")
(w, h) = img.size
img = img.transform(img.size, Image.MESH, [((0, 0, w // 2, h // 2), (0, 0, 0, h, w, h, w - 100, 0)), ((w // 2, h // 2, w, h), (0, 0, 0, h, w, h, w - 100, 0))])
img.save("a4.png");
以上。